That Is So Us {Incorporating Personal Touches}

The big day is about 45 days away and to say that I am excited is an understatement!  
Last blog post, I mentioned that the next few weeks are all about the details. Our flowers are all set and we met with the DJ last week. Currently, in our (little) free time we are working on the "personal touches." When first discussing the wedding, we always knew we wanted the day to be a big party with our friends and family from our current home (Arizona) and our home states (Wisconsin and Illinois).  We also wanted to make sure we found fun ways to incorporate us and things that speak to who we are as individuals and a couple. I wanted to share some of our "personal touches" that we have planned (and of course, keep some a secret!):

Scrabble

When searching Pinterest, Eric and I both fell in love with this image! We love playing games! In fact, when buying a home some of our first purchases were board game essentials like scrabble, jenga and monopoly! This seemed like such a tasteful yet fun way to incorporate something we love into the wedding!

Scrabble Table Assignment

Source

We even incorporated scrabble into our engagement photos!
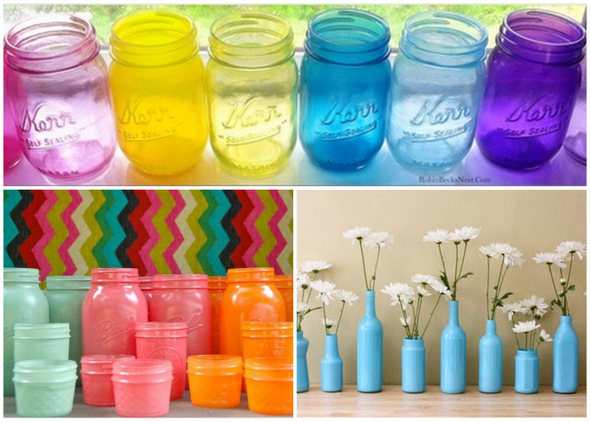
Brushfire Photography Eric Jess Seville Wedding

DIY

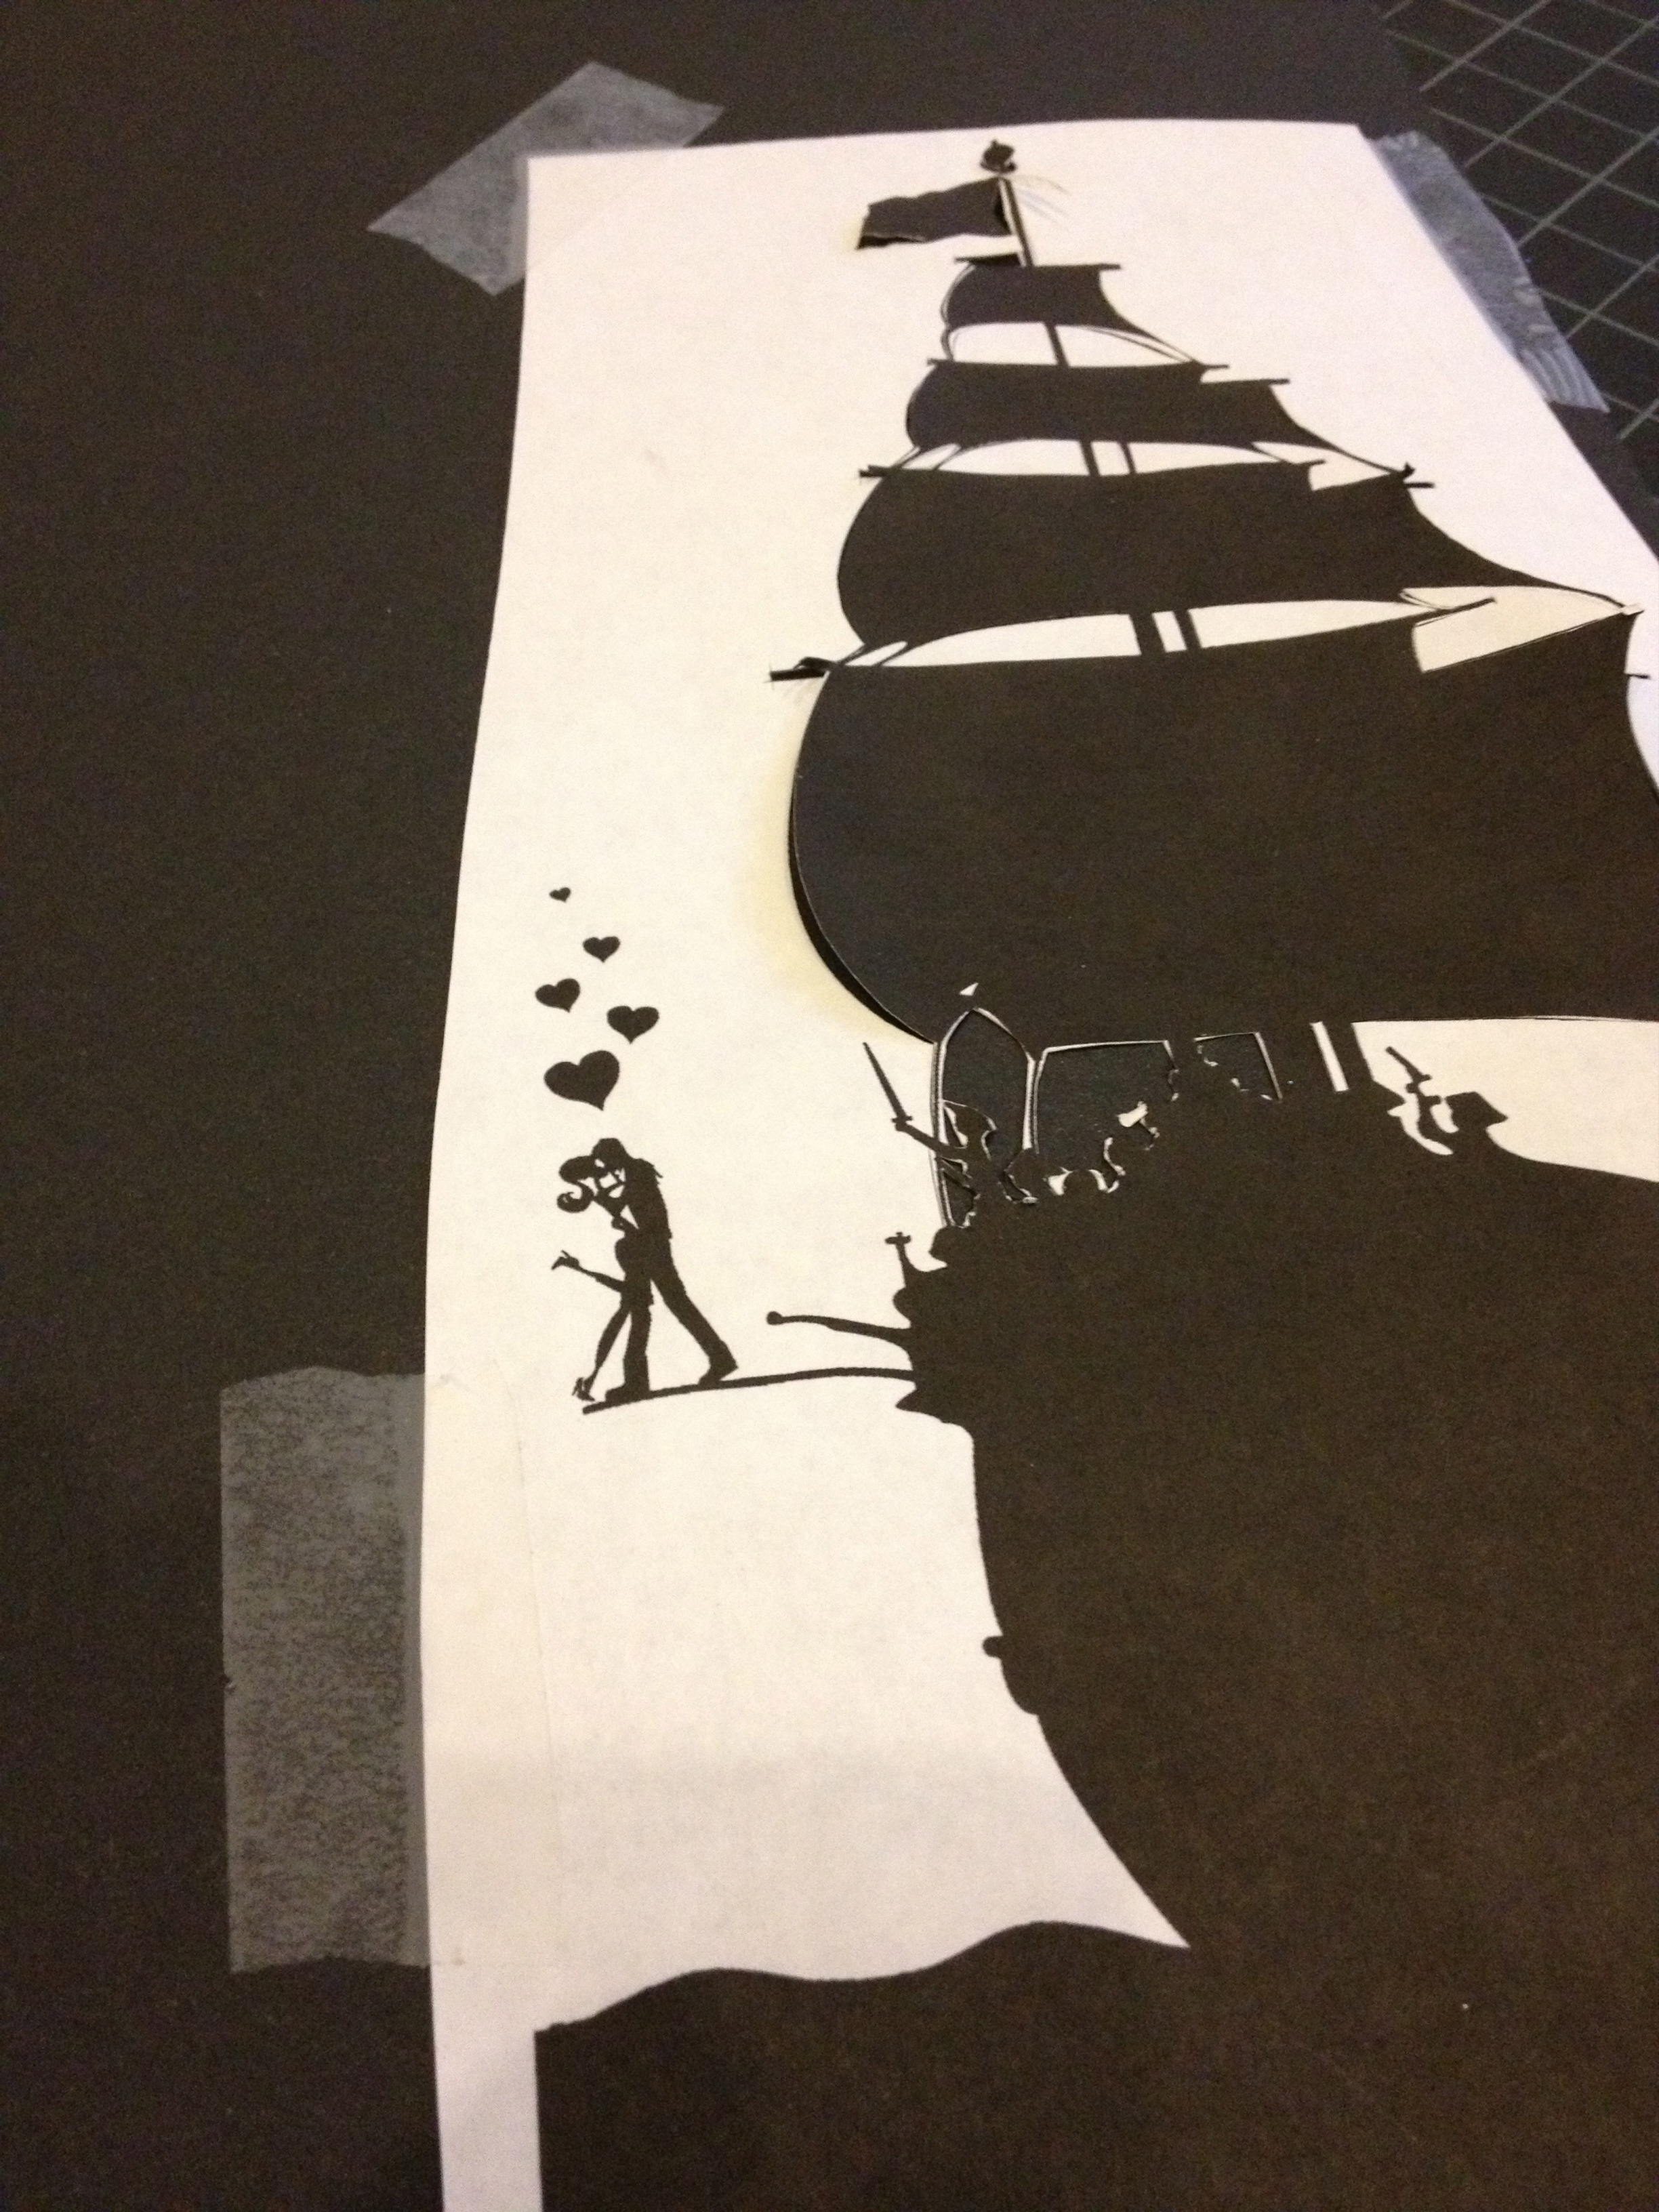
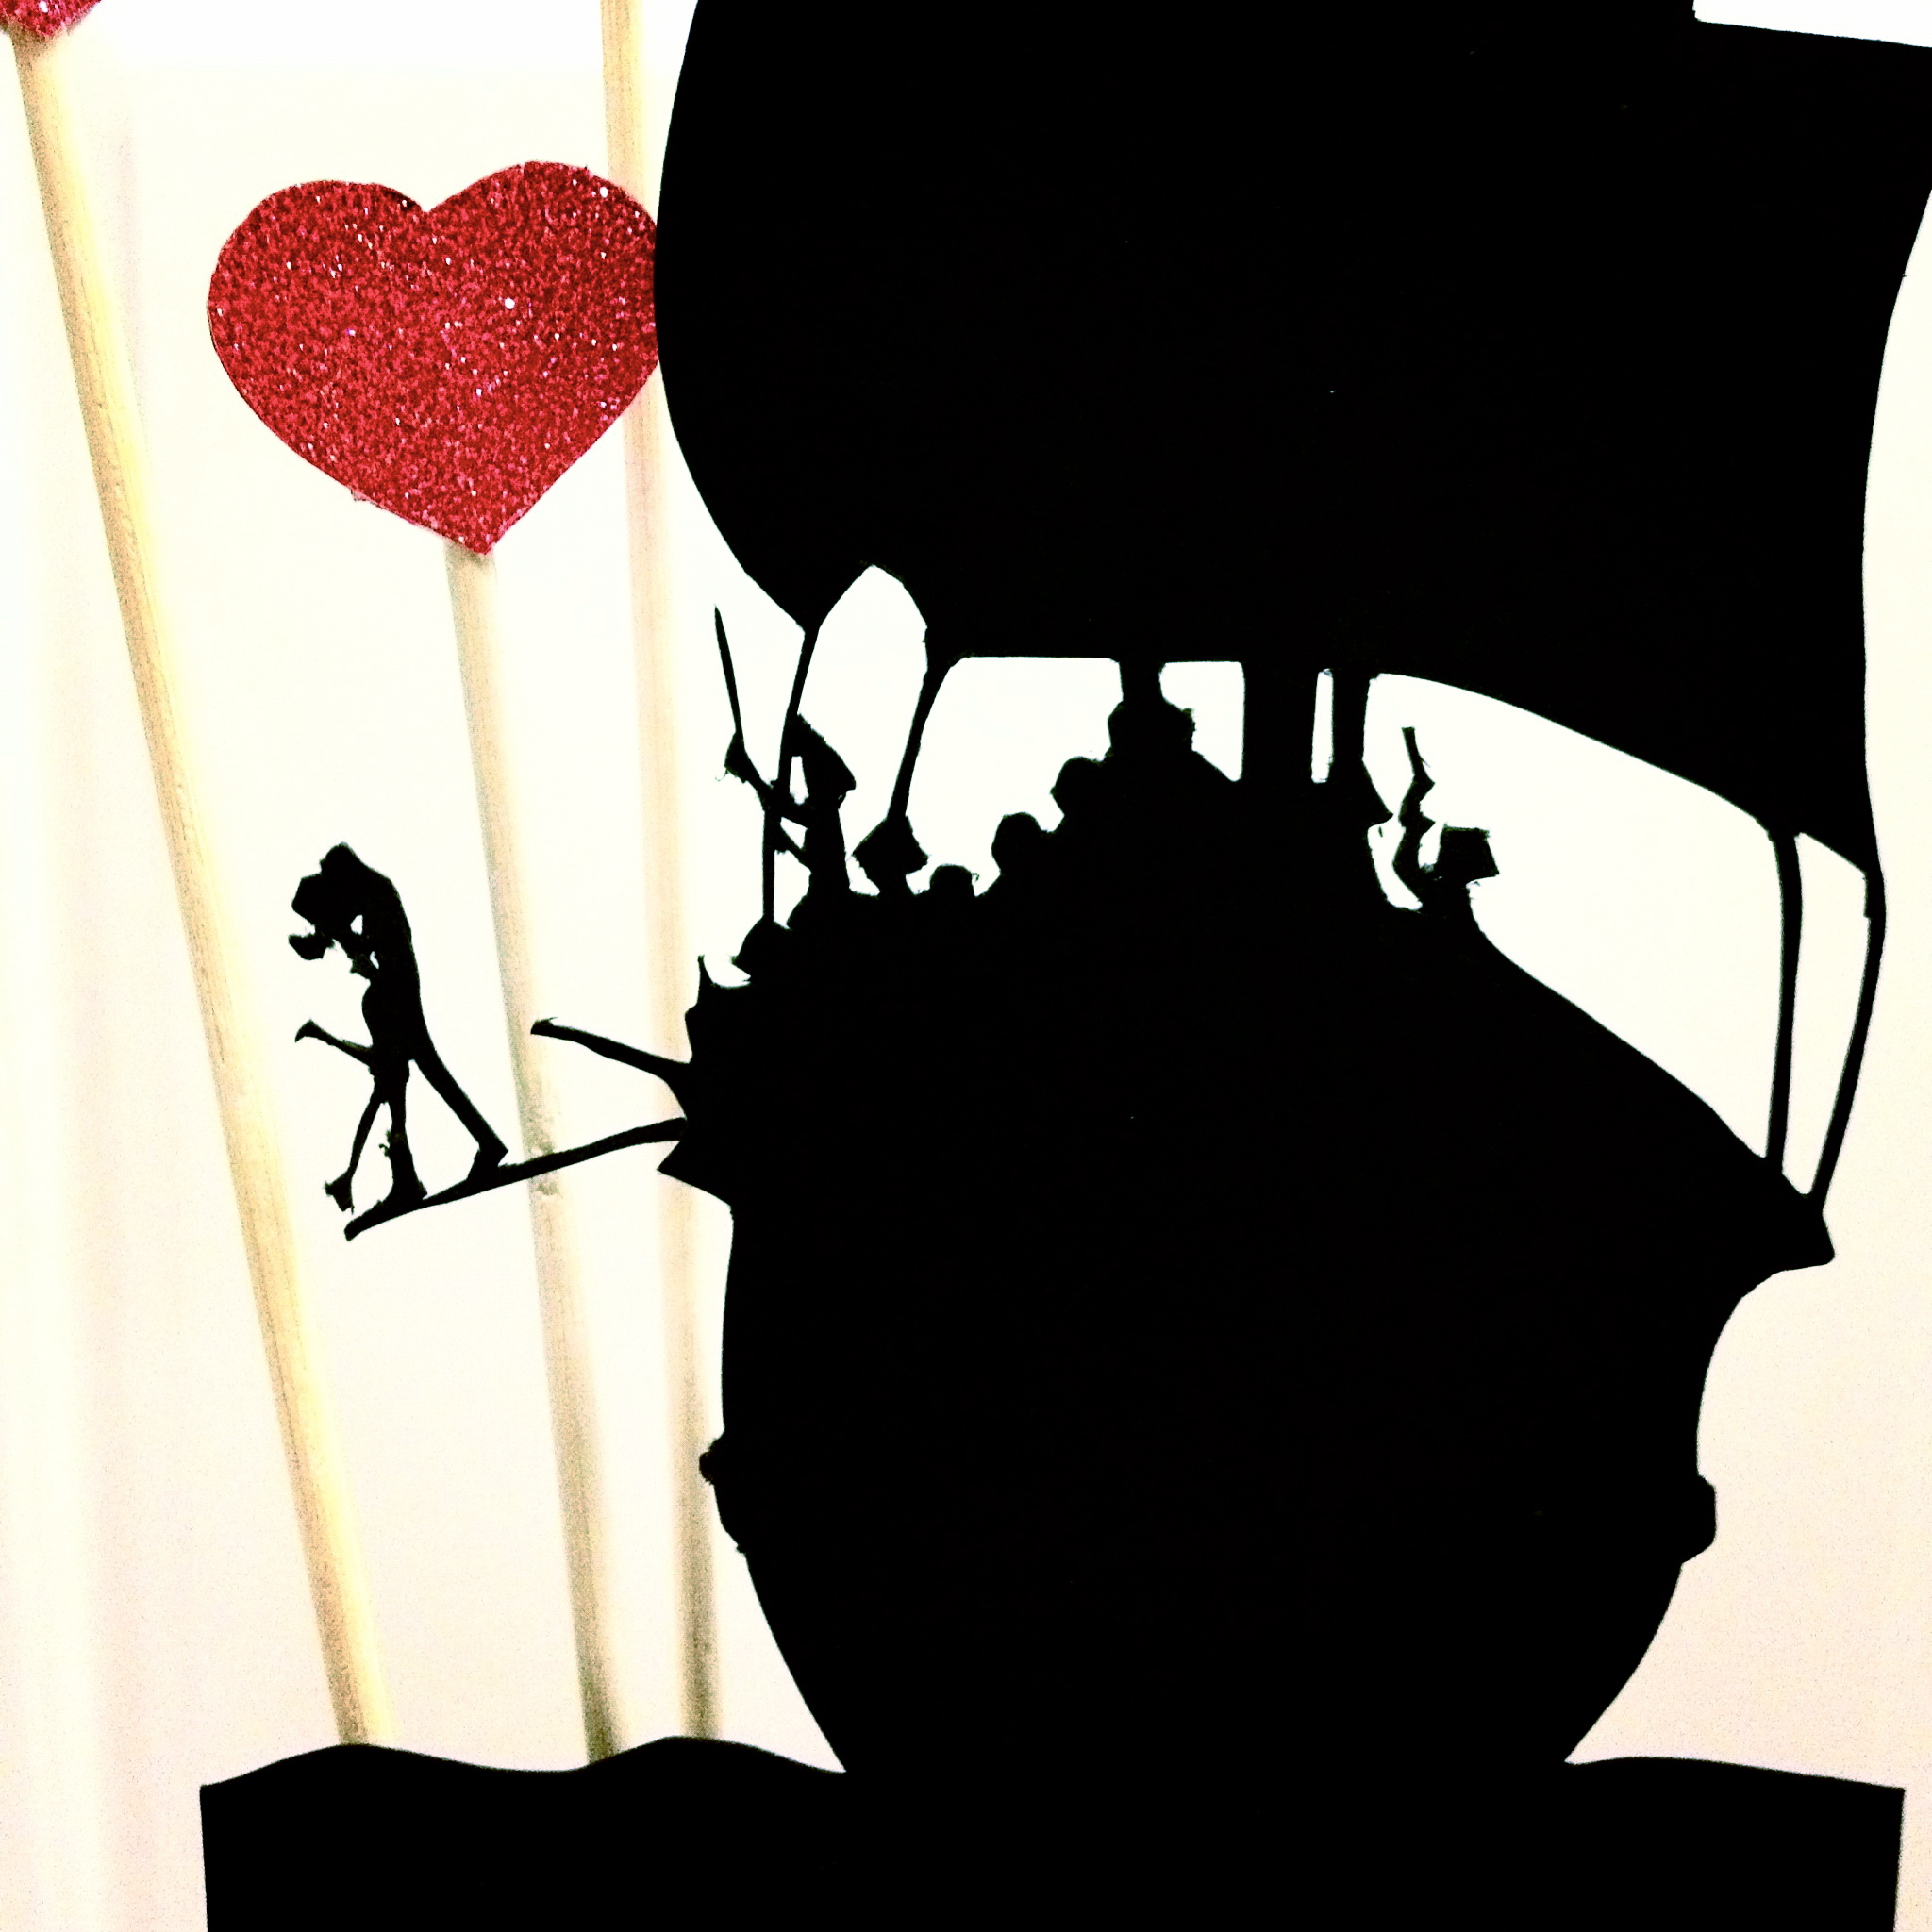
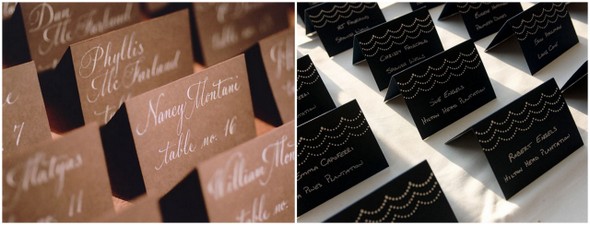
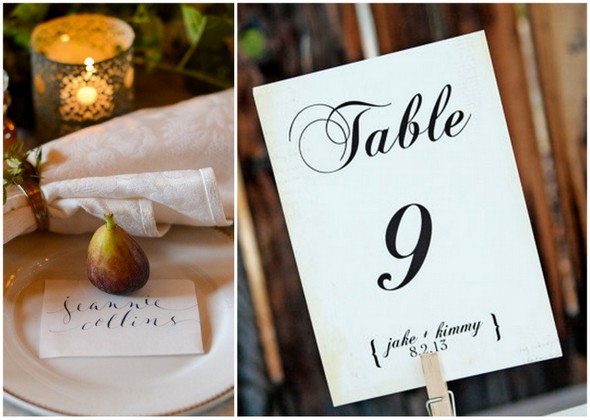
I am typically not a DIY-type person. I find that usually I just end up getting frustrated or have to spend hours just to make one thing! Eric, on the other hand, is very handy and actually pretty crafty. When we first moved in our home, Eric built a workshop/tool table out of wood! So we've put his handiness to good use and he's been making items for the wedding like our table numbers!

Wood Table NumbersWood Table Number
Sources: 1 and 2
Music 

Eric and I both love music! We do have very different tastes in music though and when we met with our DJ he pointed that out to us! The DJ had a a simple and short "fun fact" questionnaire on his paperwork about who we are and we had to list our favorite music artists. Our answers: Eric- Eminem and Jess- Jack's Mannequin. After going down the rest of the list (favorite sports team, favorite movie, job, etc) the DJ asked us how we even hang out! I am a true believer in opposites attract!When it came to picking out music for our big moments (processional, recessional, first dance), it was not an easy decision. We both felt it was an important aspect of the day and wanted to make sure thought was put into each song. I am the type of person who links memories to music. For example, every time I hear Genesis "I Can't Dance" (woah, 1991!) I remember being little sitting in the back seat of my dads convertible car and us just singing at the top of our lungs. It is one of my happiest memories. Knowing how important music is to both of us, we talked about "our songs" for weeks on end.The sweetest moment in all of wedding planning is that Eric insisted on picking out our first dance song and I think he did an excellent job! Can't wait for our dance as husband and wife :)

First Dance
Frist Dance
How are you incorporating personal touches on your big day?
Until Next Week!

Jess

Follow my wedding inspiration board on Pinterest

Tweet me @jessdawnd

Mismatched Vases

When it comes to wedding decor, I plan to keep it simple, mixing vintage and recycled items. I really love the look of mismatched vases.

Sources:  1, 2 & 3

Sources: 1, 2, 3 & 4

Over the last year, I have been collecting potential wedding decor from thrift stores, flea market and estate sales. I am gradually building my collection of vases.

I have also been saving interesting bottles which I may dye or paint.

I came across the following how-to articles if you are interested in a DIY bottle coloring project:

Tinting Spray painting Painting 

I plan to try these out and will report back on what worked the best for me.

Sources: 1, 2 & 3

Did you mix match vases or bottles for you wedding? Know any great pointers on dying or painting bottles?

Thankful for {family}

Thanksgiving is one of my favorite holidays (I think I say this at every holiday). I love Thanksgiving because it's all about bringing loved ones together to cook and enjoy a wonderful meal and remember what we are all thankful for. No presents. Just family, football, lazy couch time, cooking together, feasting and a long weekend ahead. ahhh I love Thanksgiving! So this week I've been thinking a lot about family and how we can incorporate our past generations into our wedding day, show a little bit of our families' histories, and also honor some people who will be there in spirit. I love the idea of using pictures, because it adds a personal touch and gives guests a chance to see that you have your grandma's nose or your grandpa's gap-tooth. You can't go wrong with pictures.

Source: all images above

Source: Mason Jar Photos

Source: Lockets on Bouquet

Are you doing something special to honor your family?

Happy Thanksgiving everyone! Hope you enjoy the holiday with those you love!

the meeting of the mom's

I'm a family person, I always have been & always will be; it means everything to me.  It's not the old days where the parents meet at the wedding & exchange pleasantries but nothing more.  I want more than that.  My dream is to one day be one of those couples who have both parents visit for the holidays.  I'm lucky that both of our families raised us this way & that hopefully this dream will come true.  But first, the families need to meet!  I decided mother's first.  And, I couldn't think of a better event for them to meet than to go wedding dress shopping with me!  It gives the perfect backdrop: excitement, smiles, laughs (ok, maybe also some happy tears), and of course champagne!

Source (from top left): Westside Wedding, Bijou BrideIntimate Weddings, Wedding by ColorIntimate Weddings, PronoviasWhat Anna Lovesthemette

I had previously fallen in-love with this adorable vintage wedding dress stamp, so I decided to make invitations using it to send to my mom, future mother-in-law, and 3 of my local bridesmaids.

And this gave me the opportunity to try out this DIY faux calligraphy.

Source: Side by Side

 I've recently become obsessed with my embossing gun & this was the perfect time for me to add another project to the list!


the {bridesmaid} proposal

I wanted to ask my bridesmaids to be a part of our wedding in a very special way.  That was something I thought of for a very long time.  I didn't want to just ask them verbally or give them a simple card, I wanted something more, something special that they would remember.  Of course I scoured Etsy for different ideas, but nothing seemed just right.  I found a variety of ideas on how to word the question.  But how to ask?

Source (from top left):Trimmings Shop, The Inspired Note, PaperEtiquette,Caffeine Colour

Bubbly, to me, always signifies celebration and is exactly what I like to drink with my girls.

Source (from top left): Daily Cup of Couture, Classy & Style, Zoie loves, Classy in the City, Everything Fab, Global Good Group, The Glitter Guide, Riches for Rags    

So, I decided to make the bubbly the way to ask them to be a part of the wedding!  I found different ideas of how to include champagne or wine in an invitation.

Source (from left): maddiegdesignsSouthern Fried Paper, Letter Love Designs, Pepper Lindsey & Co.

As a do-it-yourself girl {and bride}, I wanted to design the tags myself rather than outsourcing the project.  I'm new to photoshop & illustrator, but it was fun learning when you have a thoughtful gift in mind.  I had to go with my go-to pattern {polka dots} and my main wedding color {yellow}.

Source: me!

They turned out great & I couldn't have been happier!  Best of all, it really screamed me!  cheers.

Designed By Me

Source: Malia Cano Photography

Make your wedding scream you!  I've read this time and time again in every wedding magazine, website and blog.  But, how does one do this in a day and age where there's pinterest, loverly, etsy, and a million wedding blogs all showcasing the perfect, and incredibly creative wedding?  I have always been a planner, and though I haven't thrown a million parties, when I do I go all out & enjoy the act of decorating and making each aspect really my own-this I'm sure my friends would attest to.  When it comes to planning my wedding, I want everything to be perfect.  I'm sure we all do.  But I really do.  I want it to be so perfectly us, with adorable details that have our personal signature.  There's just one issue.  So many of the wedding ideas have been done, so how do I make it different?  How do I make it unique?  These are the questions I've been asking myself at every step since we got engaged.

I'm still at the beginning of the wedding planning process.  Sure, we have a lot of the big decisions done, but not the design aspects.  I am in the "hunt & gather" stages, trying to determine what I love and what is doable.  After trying to put myself into one of the more obvious design categories, whether it be modern, rustic, vintage, classic {the list goes on}, I realized I could emulate my design style I've already developed into my home: eclectic!  So, I'm no longer trying to decide if an idea "goes" with the "theme" because it all does!  Now, the only issue is how to cull the ideas down & not try to do everything and the kitchen sink!  I hope you enjoy following me on this path.

Source (from Left): Lori Barbely Photography, the decorista, sweet designs.

Source (from left): Southern Weddings, source.

Source (from left): Food ChannelLove Me Do Photography, Languid Lovely, Belle the Magazine, The Sweetest Occasion

DIY Cake Topper Cutouts

I've seen so many cute silhouette cake toppers on Pinterest lately, that I thought I'd have a stab at my own. And while I'm at it, why not personalize it? If you recall, our Save the Dates had a little pirate theme that we screen printed. I wanted to replicate that design for our cake toppers. So, here we go... here's how to make customized cake topper cutouts!

Materials needed:

- Paper (I used cardstock black and glitter red from Paper Source)

- Wooden Skewers

- X-Acto Knife

- Mat for cutting

- Glue (I used Elmer's)

- Printouts of what you want your silhouettes to be

- Heavy books

- Scotch tape

For a double sided cake topper, like the hearts I made, fold your paper in half and tape it closed on the sides. Then tape your stencil to the paper, so it doesn't slide around when you're cutting.

Trace the stencil lines, pushing as hard as you can! You have 3 layers of paper to get through, but don't worry if you can't cut all of the way through. If you're like me and don't have the willpower to cut through all 3 layers of paper, take your stencil off, and trace back over the lines you cut with your X-Acto knife, pushing all of the way through the paper.


Success!!

Match up the hearts (or whatever shape you're doing) that are the same size, and put glue on the backs of just one of each of the pairs. Then stick the wooden skewer on the middle of the heart with glue, with the pointy side inside of the heart (leaving the blunt end of the skewer at the other end - basically the opposite of what I'm showing below). Roll the stick around a bit to spread the glue.


Press the matching hearts together, pushing them together around the skewer. Wipe off any glue that squeezes out of the sides. Then cover each half of the heart with a heavy book. Basically, push two books up next to each other so they both meet at the skewer. Leave it alone for a day as it dries!


When the hearts are dry, take your X-Acto knife and cut around the edges so there are no white spots sticking out. You may also want to color in the white edges with a red pen (or whatever colors you're using), so you don't see any white. And now you have some cute glittery heart cake toppers!

As for a more complicated stencil, where you probably only want to cut out one silhouette (because cutting out matching ones would be impossible!), it's all basically the same. You just have to be much more careful when you're cutting.


Once you think you have the entire stencil cut out, remove the stencil from your paper. Finish cutting all of the lines and corners very carefully directly on the paper, so it pops out clean and easy. Then glue or tape your cutout to a skewer.

Then stick it on a cake, take a picture, and eat the cake. You've earned it!

I rather enjoyed this delicious vegan chocolate cake from Café Indigo after all of this :)

Paper Extras {tying everything together}

I am a sucker for paper - stationary, thank you cards, menus...you name it. So when it comes to my wedding, I get giddy over not just the invitations, but all the 'extras.' Here are some images inspiring me...

Source

Source

Source

Source

Source: Left, top right, bottom right

I came to the realization recently (after getting a quote from a designer) that these things do not come cheap, so there may be some DIY in my future! I won't be able to do everything so I'll also have to get creative with different vendors. Knowing that it's going to take more than just hiring a designer and approving the design, I realize this all will require some extra work. But I know that the savings and getting to have more of a hand in everything will make it worth it.

I was really inspired by fellow E&I blogger who recently posted about her DIY invitations - check them out! I also love Kim's, here.

Did you DIY all or part of your wedding invitations and/or the extra paper goods? How did it go for you?

DIY Invitations Revealed

After spending a year oohing and ahhing over all of the gorgeous invitation suites I saw on Pinterest, we reached a point where we finally had to come up with our own. And as with everything else, to my fiancé's dismay, I needed it to be DIY. Let me briefly digress by saying that every line on my exhaustive (and exhausting) budget is a chance for a little competition. Hence the overkill on DIY projects.

Oh, hello budget. You think my invitations are going to cost $800? Well, think again!

Anyways, after several trips to Paper Source and FedEx Kinko's, and after a couple of crying fits in front of Photoshop, we finally finished our eco-friendly DIY invitations. Et voilà!

And here is the whole thing constructed and deconstructed...


"One day I will find the right words, and they will be simple." - Jack Kerouac

Remember the Kerouac quote on the envelope? It's one of our favorites, so we tied it into the invitation wording :)

And Kyle even drew custom maps for us!


I have to admit that even though I never wanted to look at another invitation in my entire life by the time we got these in the mail, I was quite eager to hear what people thought. I mean, I watercolored 199 pieces of paper and Kyle typed 106 custom RSVP cards and envelopes after all!

Here is what we did in summary: I designed the invitations on Photoshop using some cool free fonts, Kyle drew the maps by hand and we scanned them in, we bought all of the paper products from Paper Source (all at least 30% recycled!) including the vintage San Francisco postcards, bought eco-friendly hemp string and antique sailboat charms from etsy, found some great 1950s sports car stamps for the postcards on ebay, bought the rest of the stamps from the regular old Post Office, had everything printed and cut at FedEx Kinko's, glued the envelope liners into the envelopes, watercolored a bunch of things, tied figure 8 knots on all of the strings to attach the sailboat charms, typed the RSVP cards and envelopes on our 1920 Underwood typewriter, drank a bunch of wine, and finally put all 53 invites together. Phew!

ALL of this, all of the postage, paper, supplies, sticky tape, paint brushes, printing, etc cost $360. Well under my $800 budget. Take that budget!!

So, what do you think? I'm dying to hear!

MAKING THIS: Wedding Signs

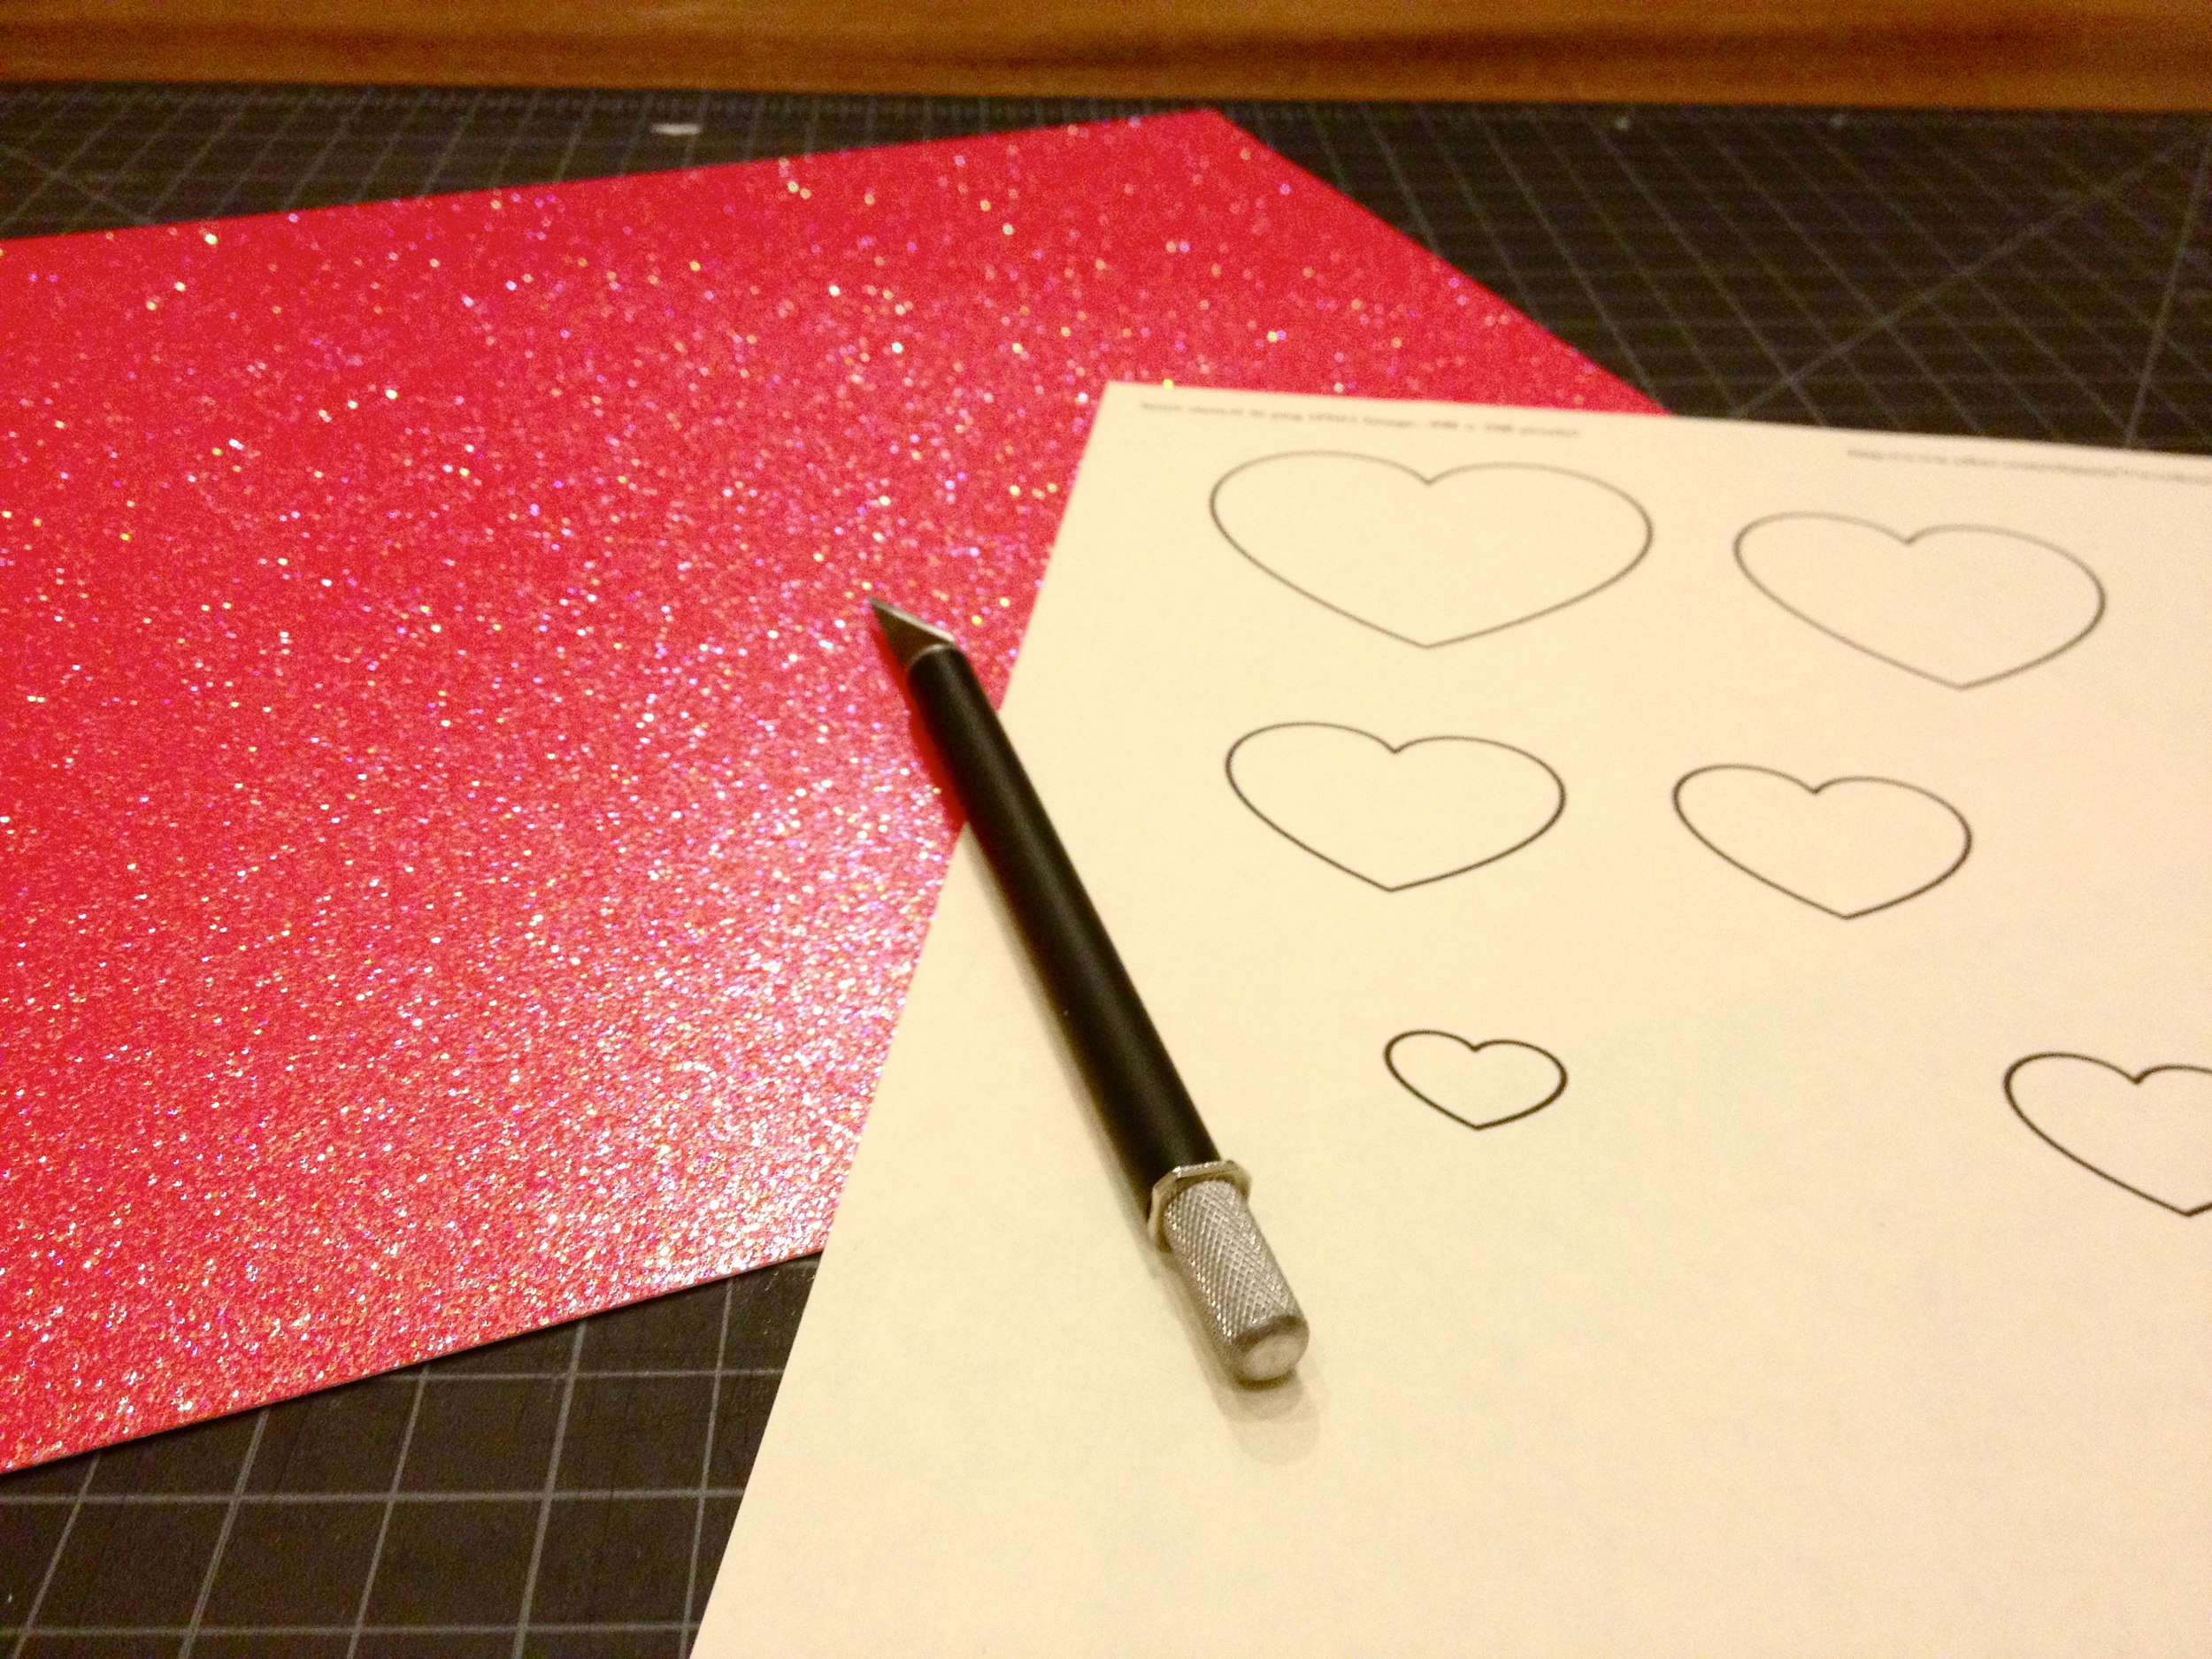
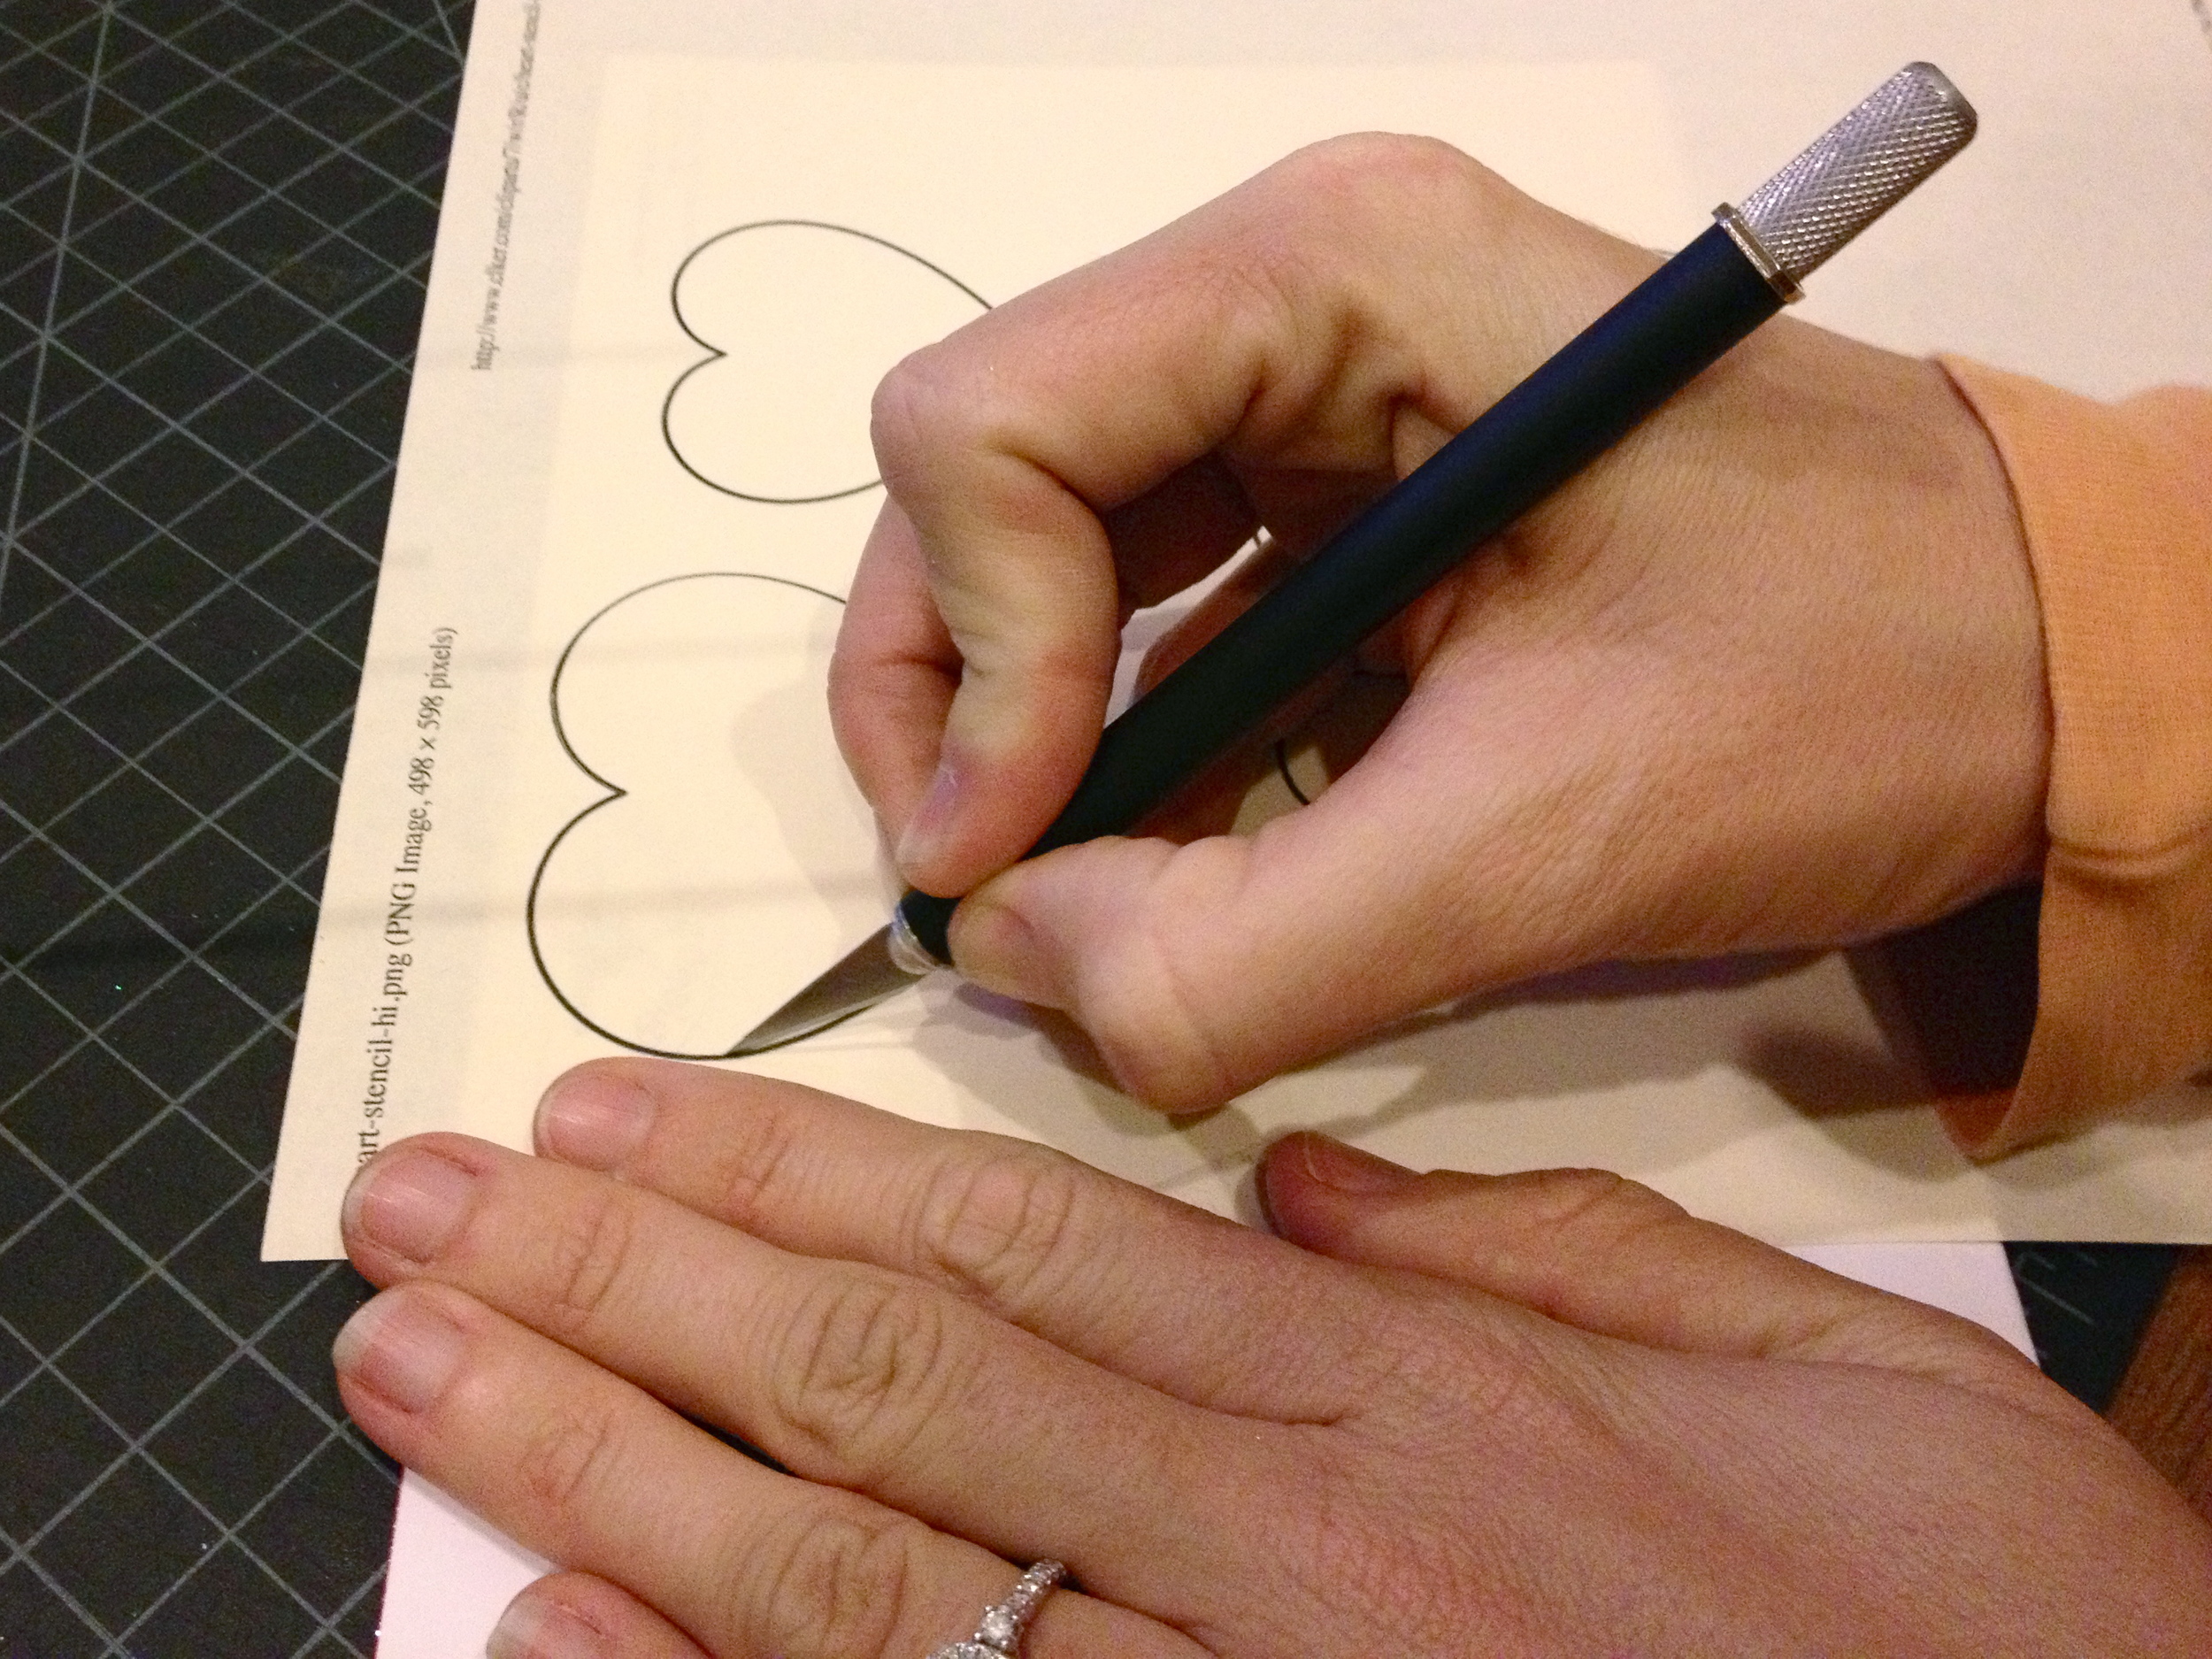
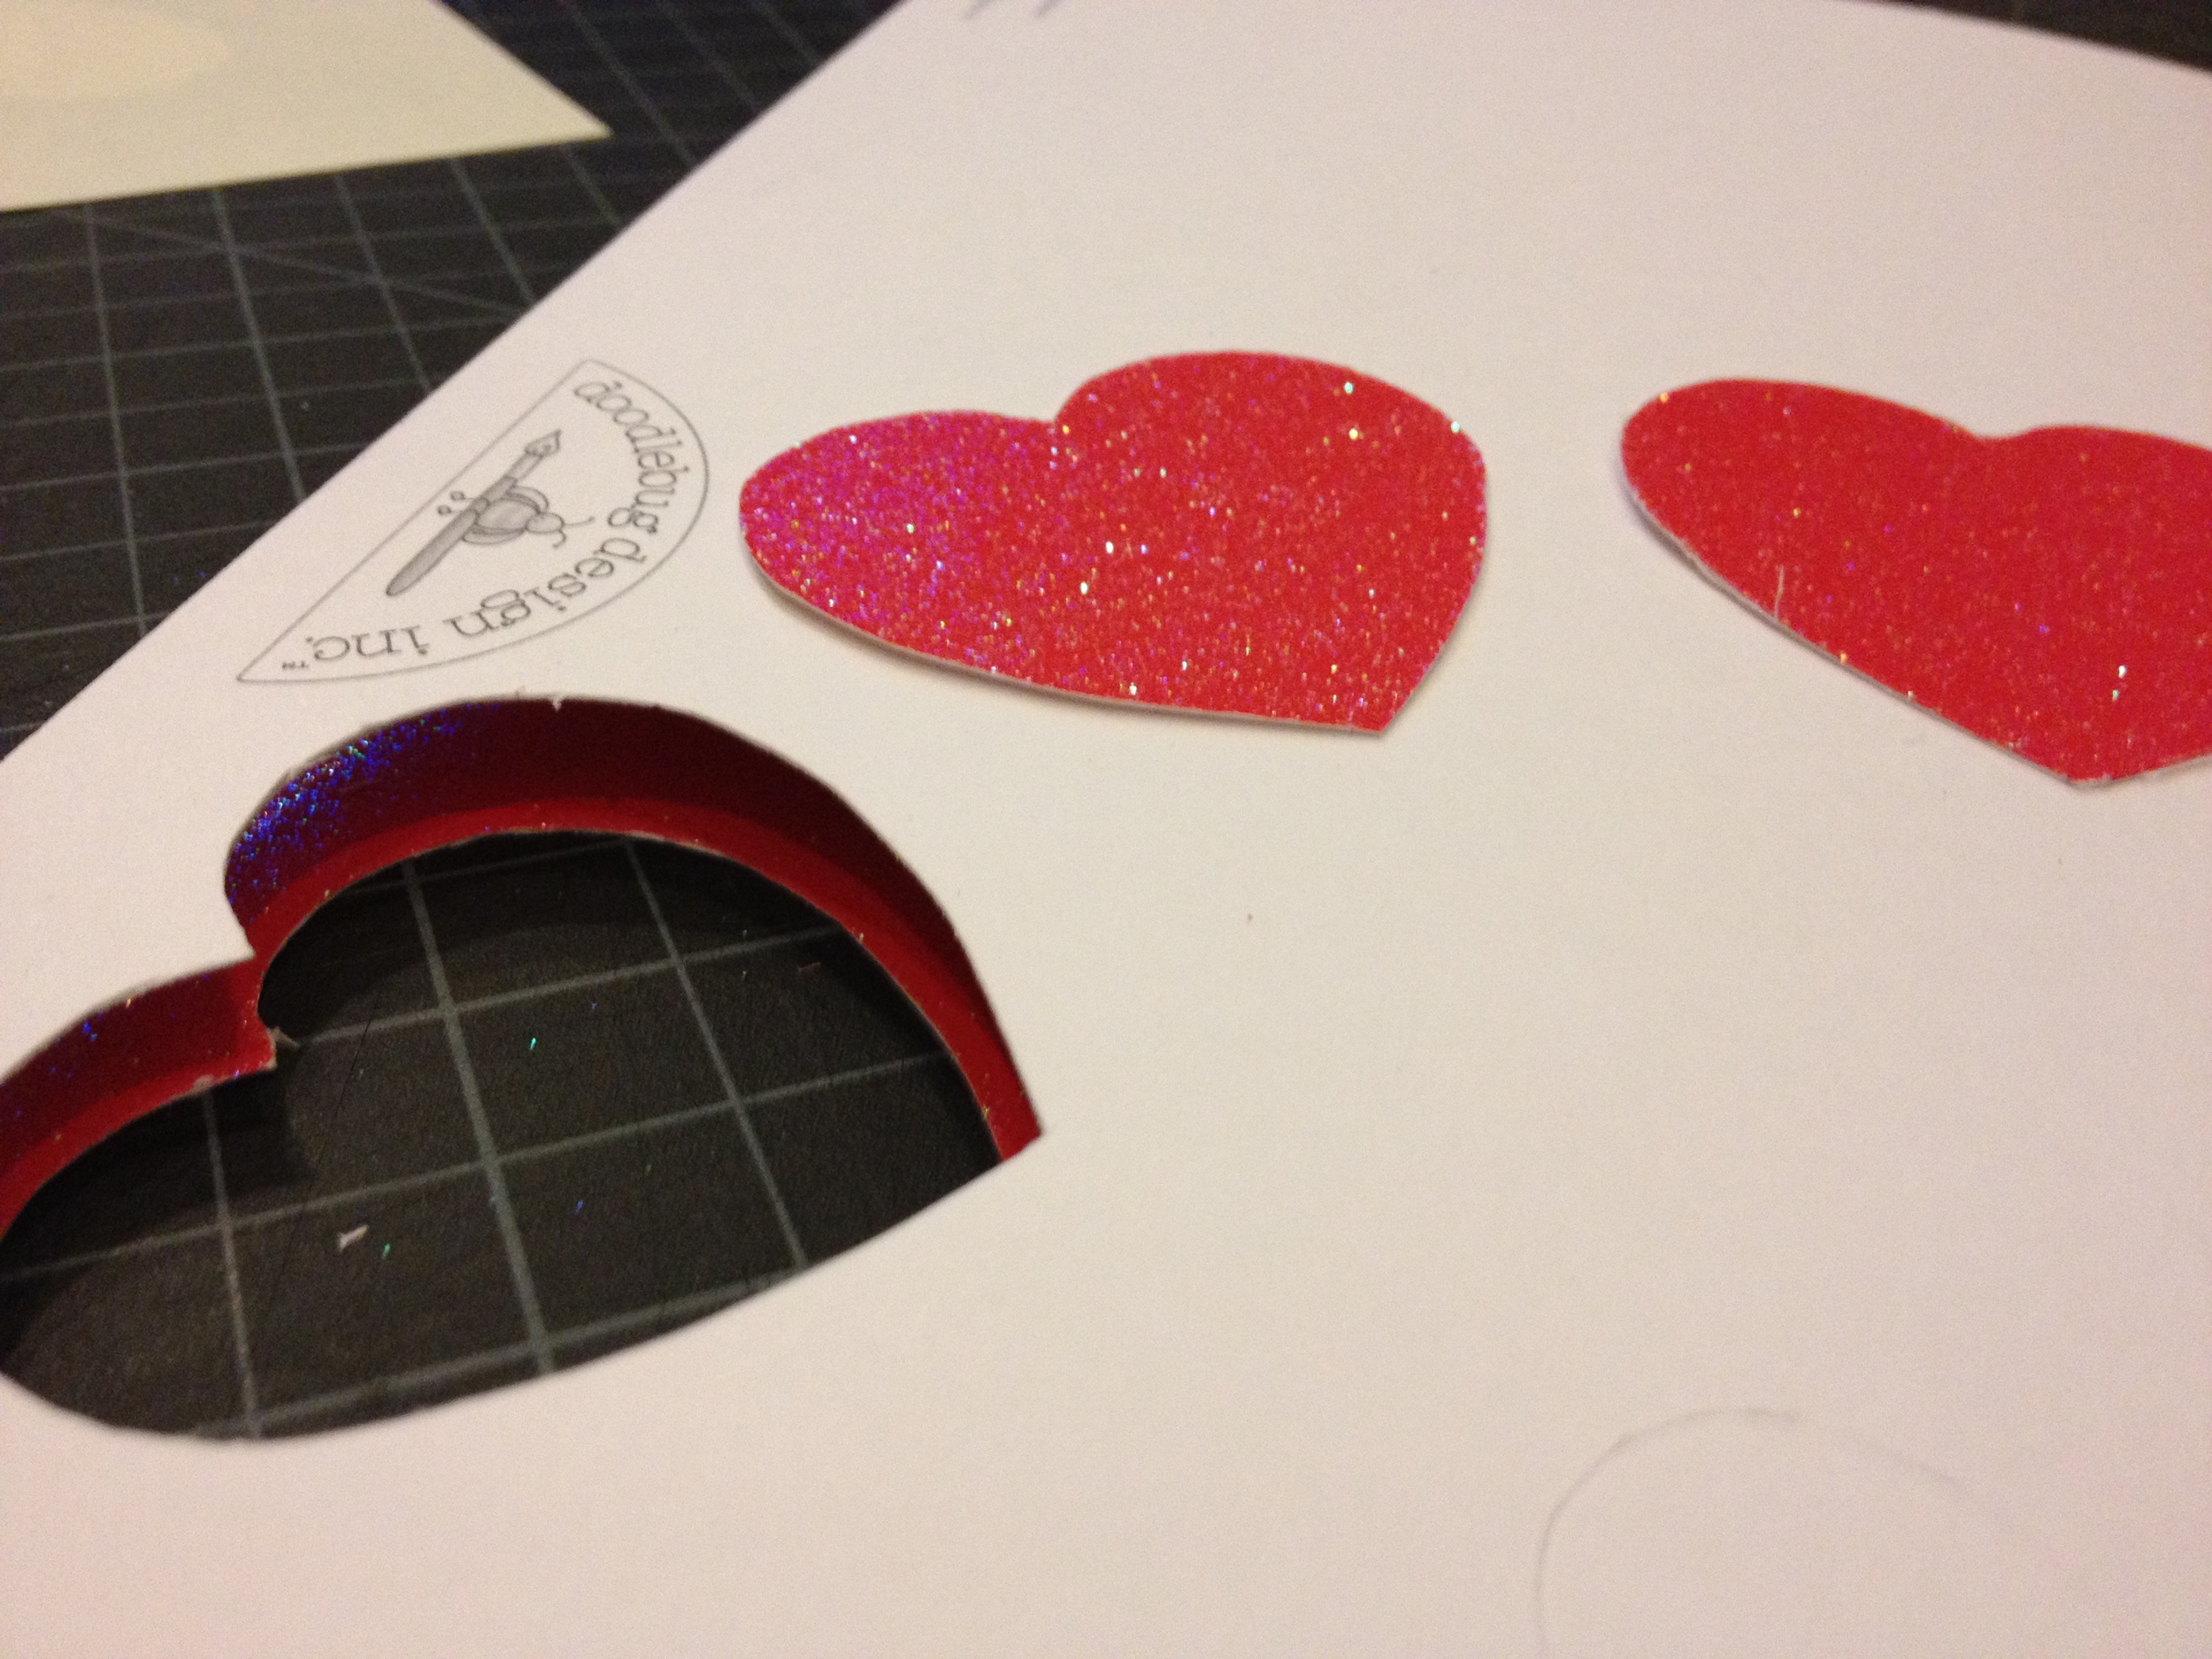
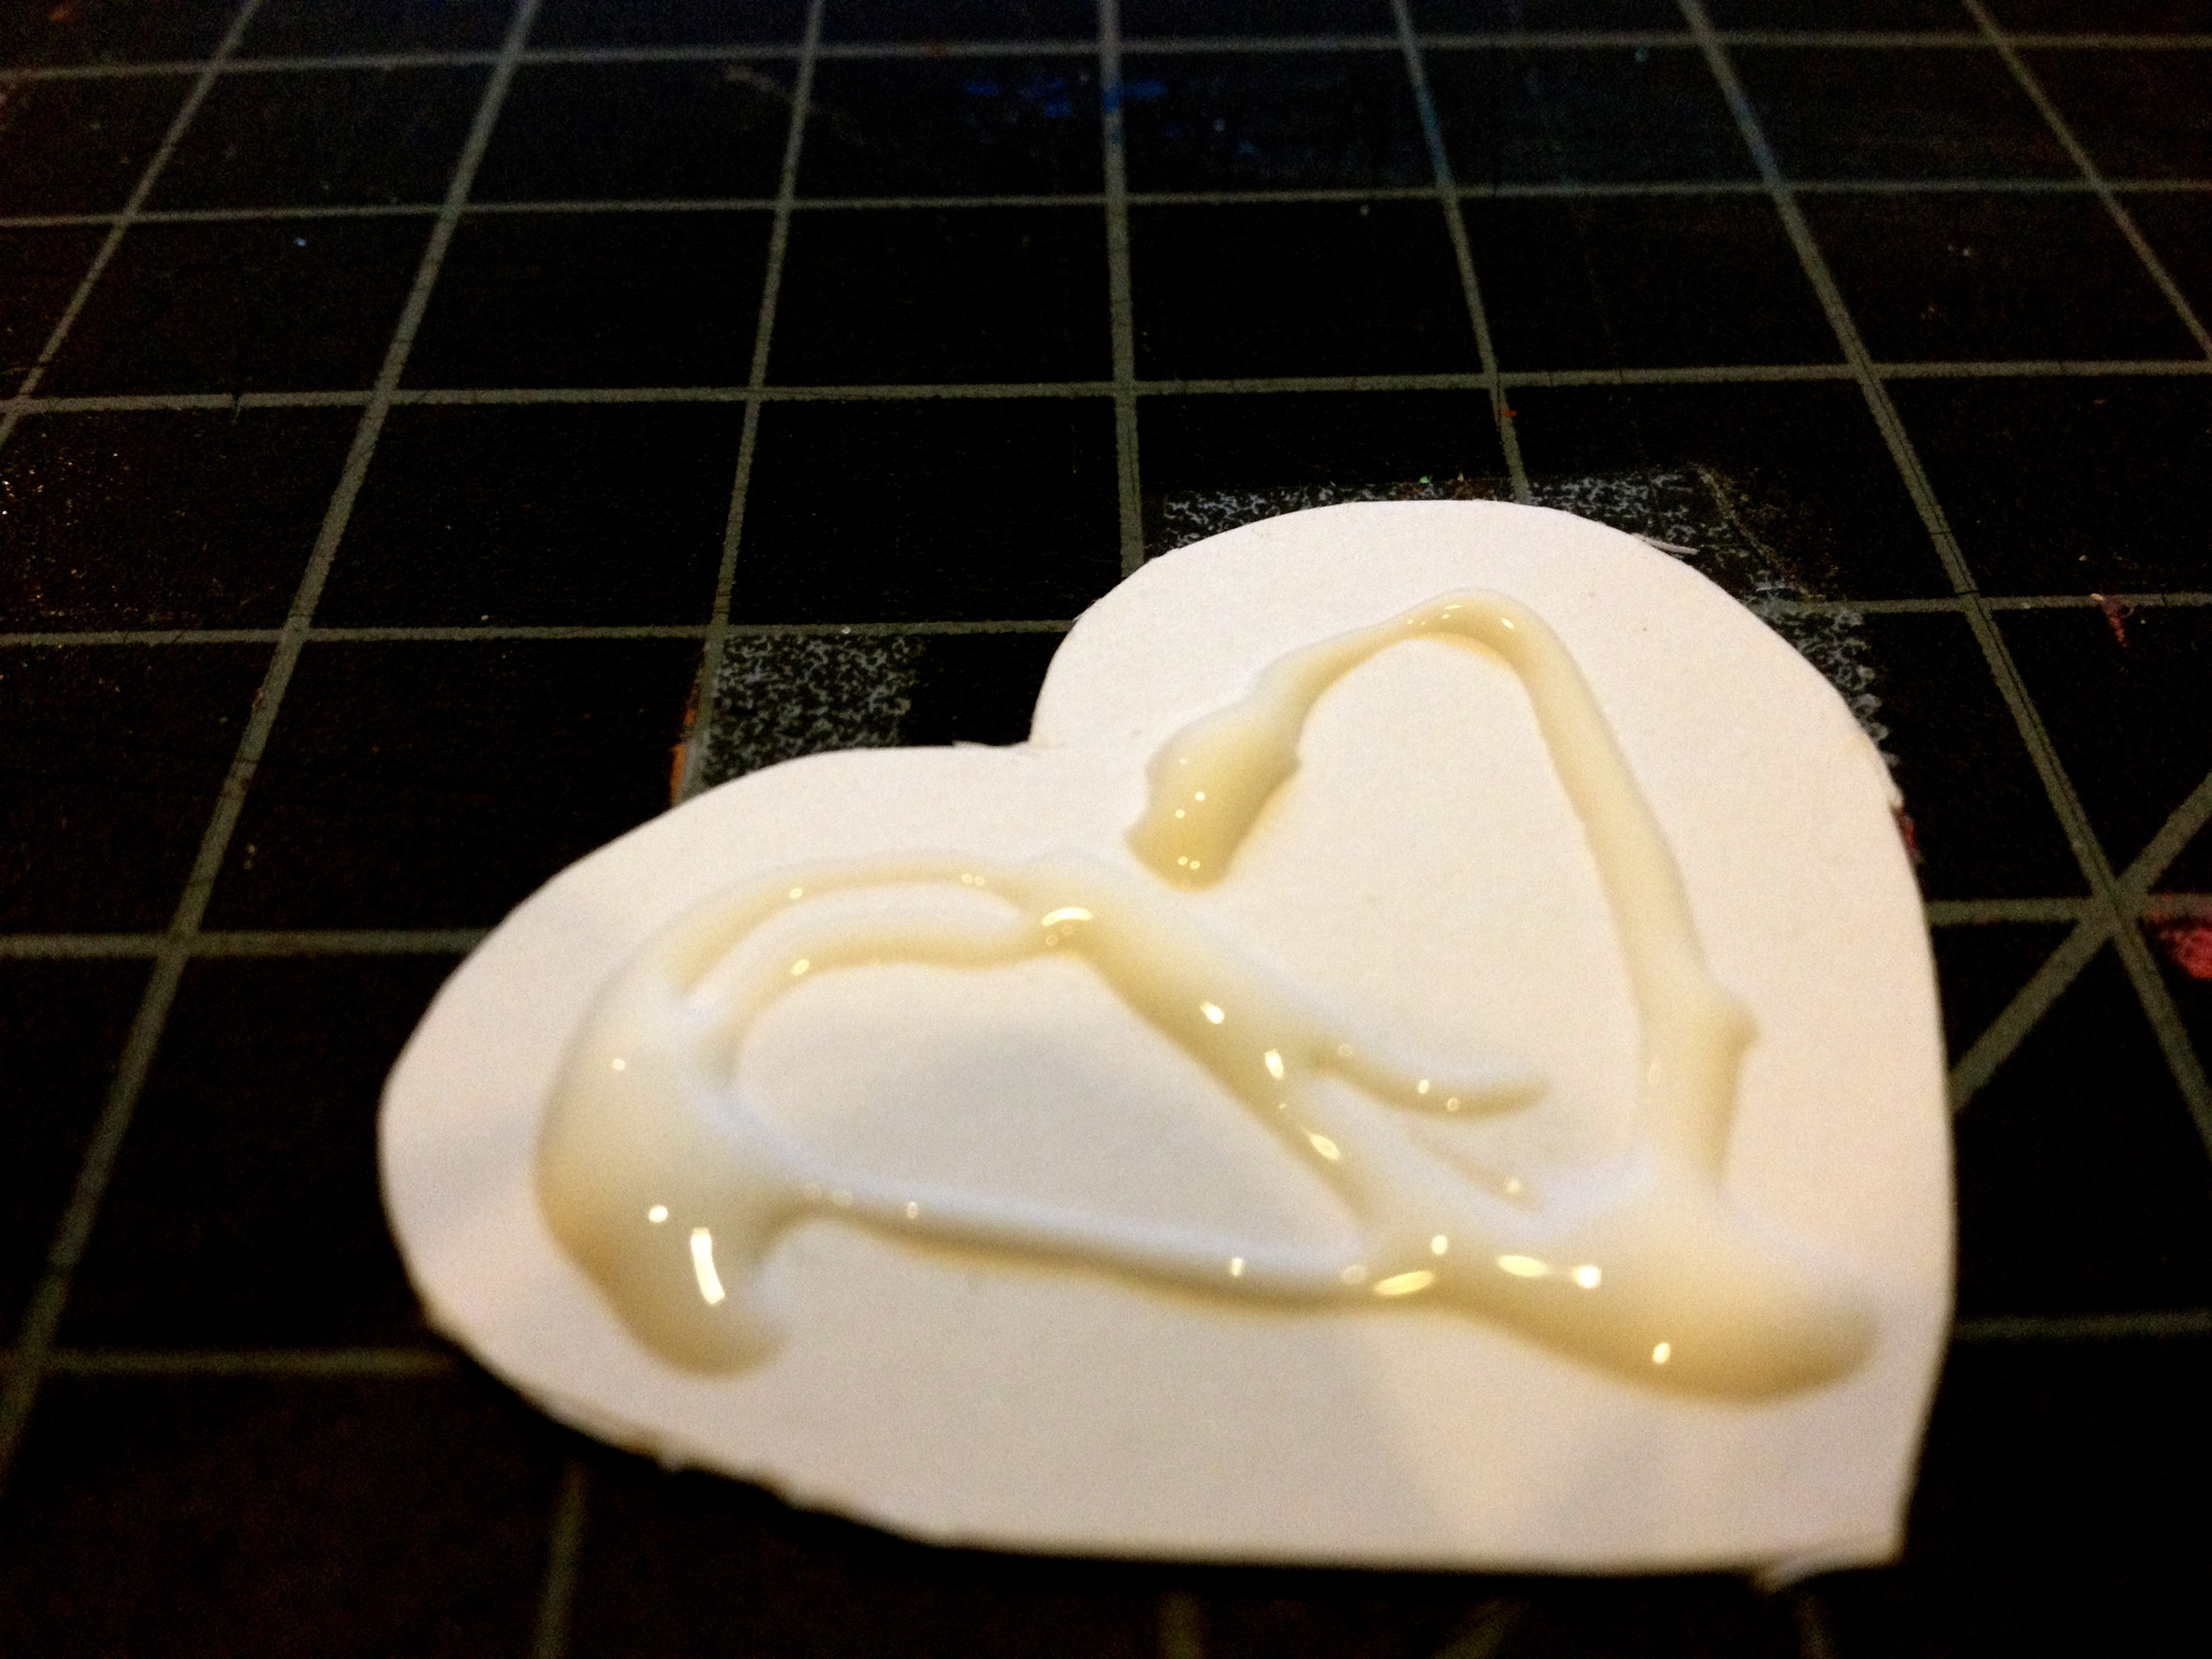
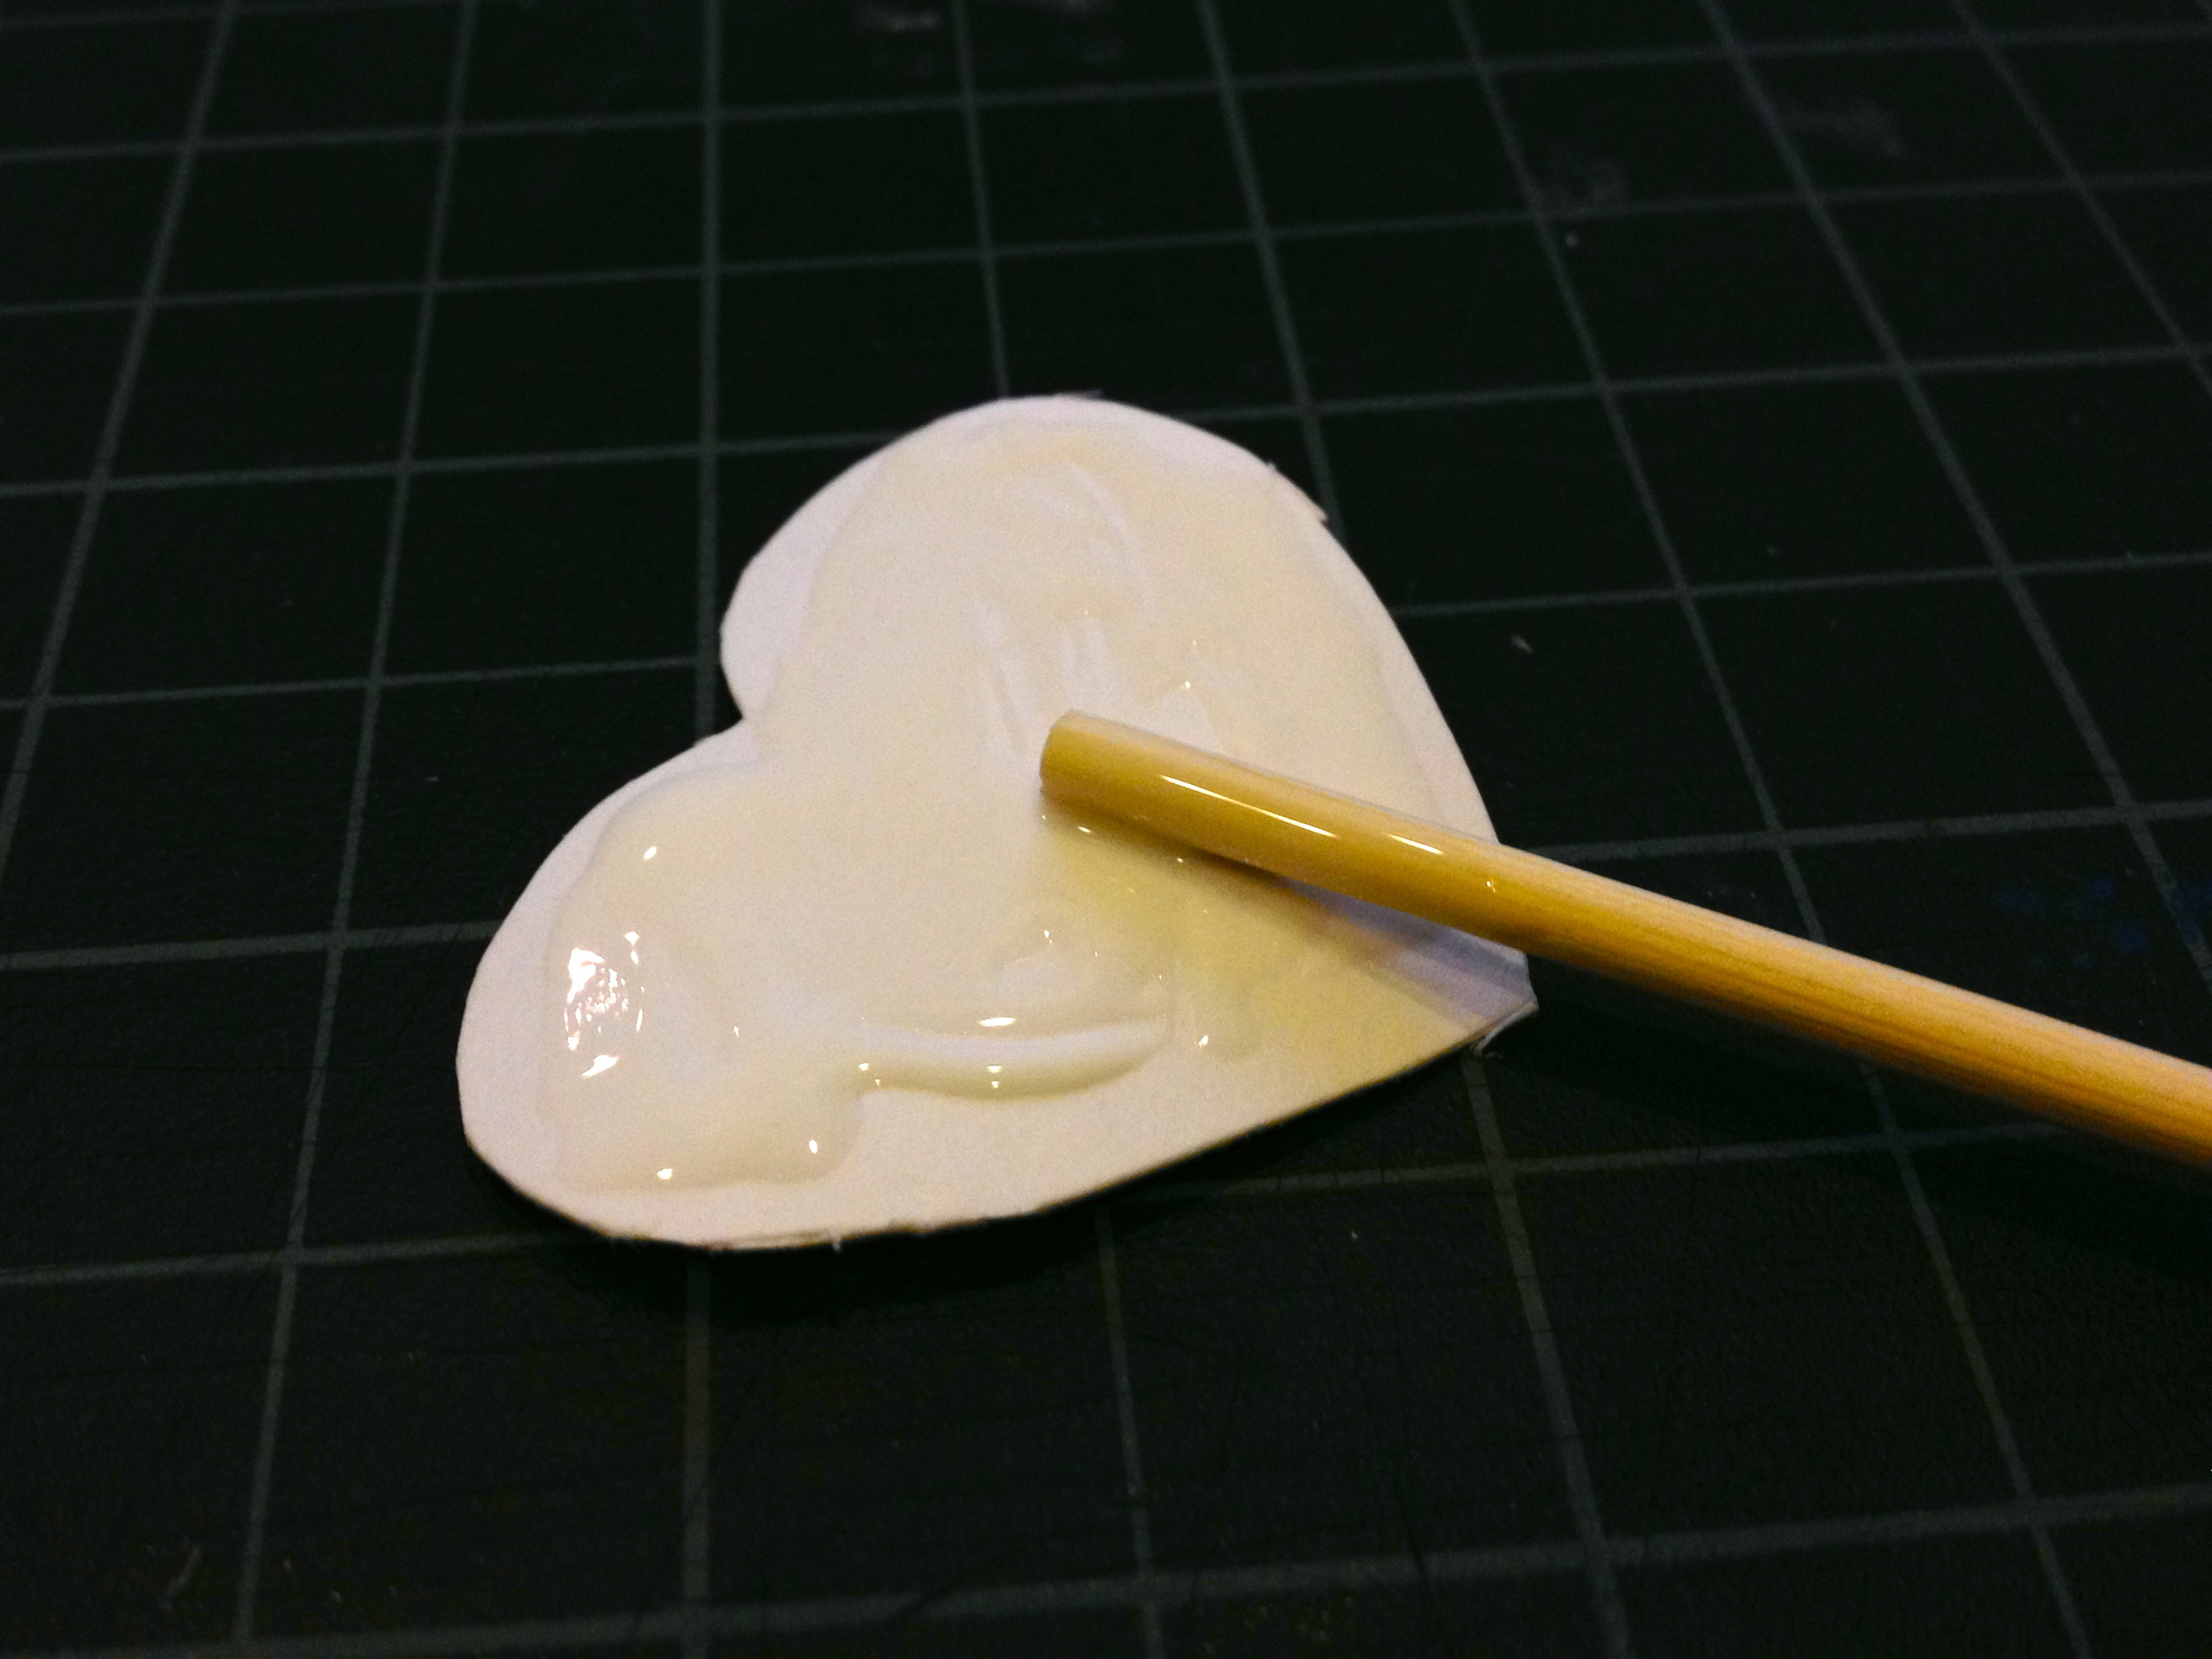
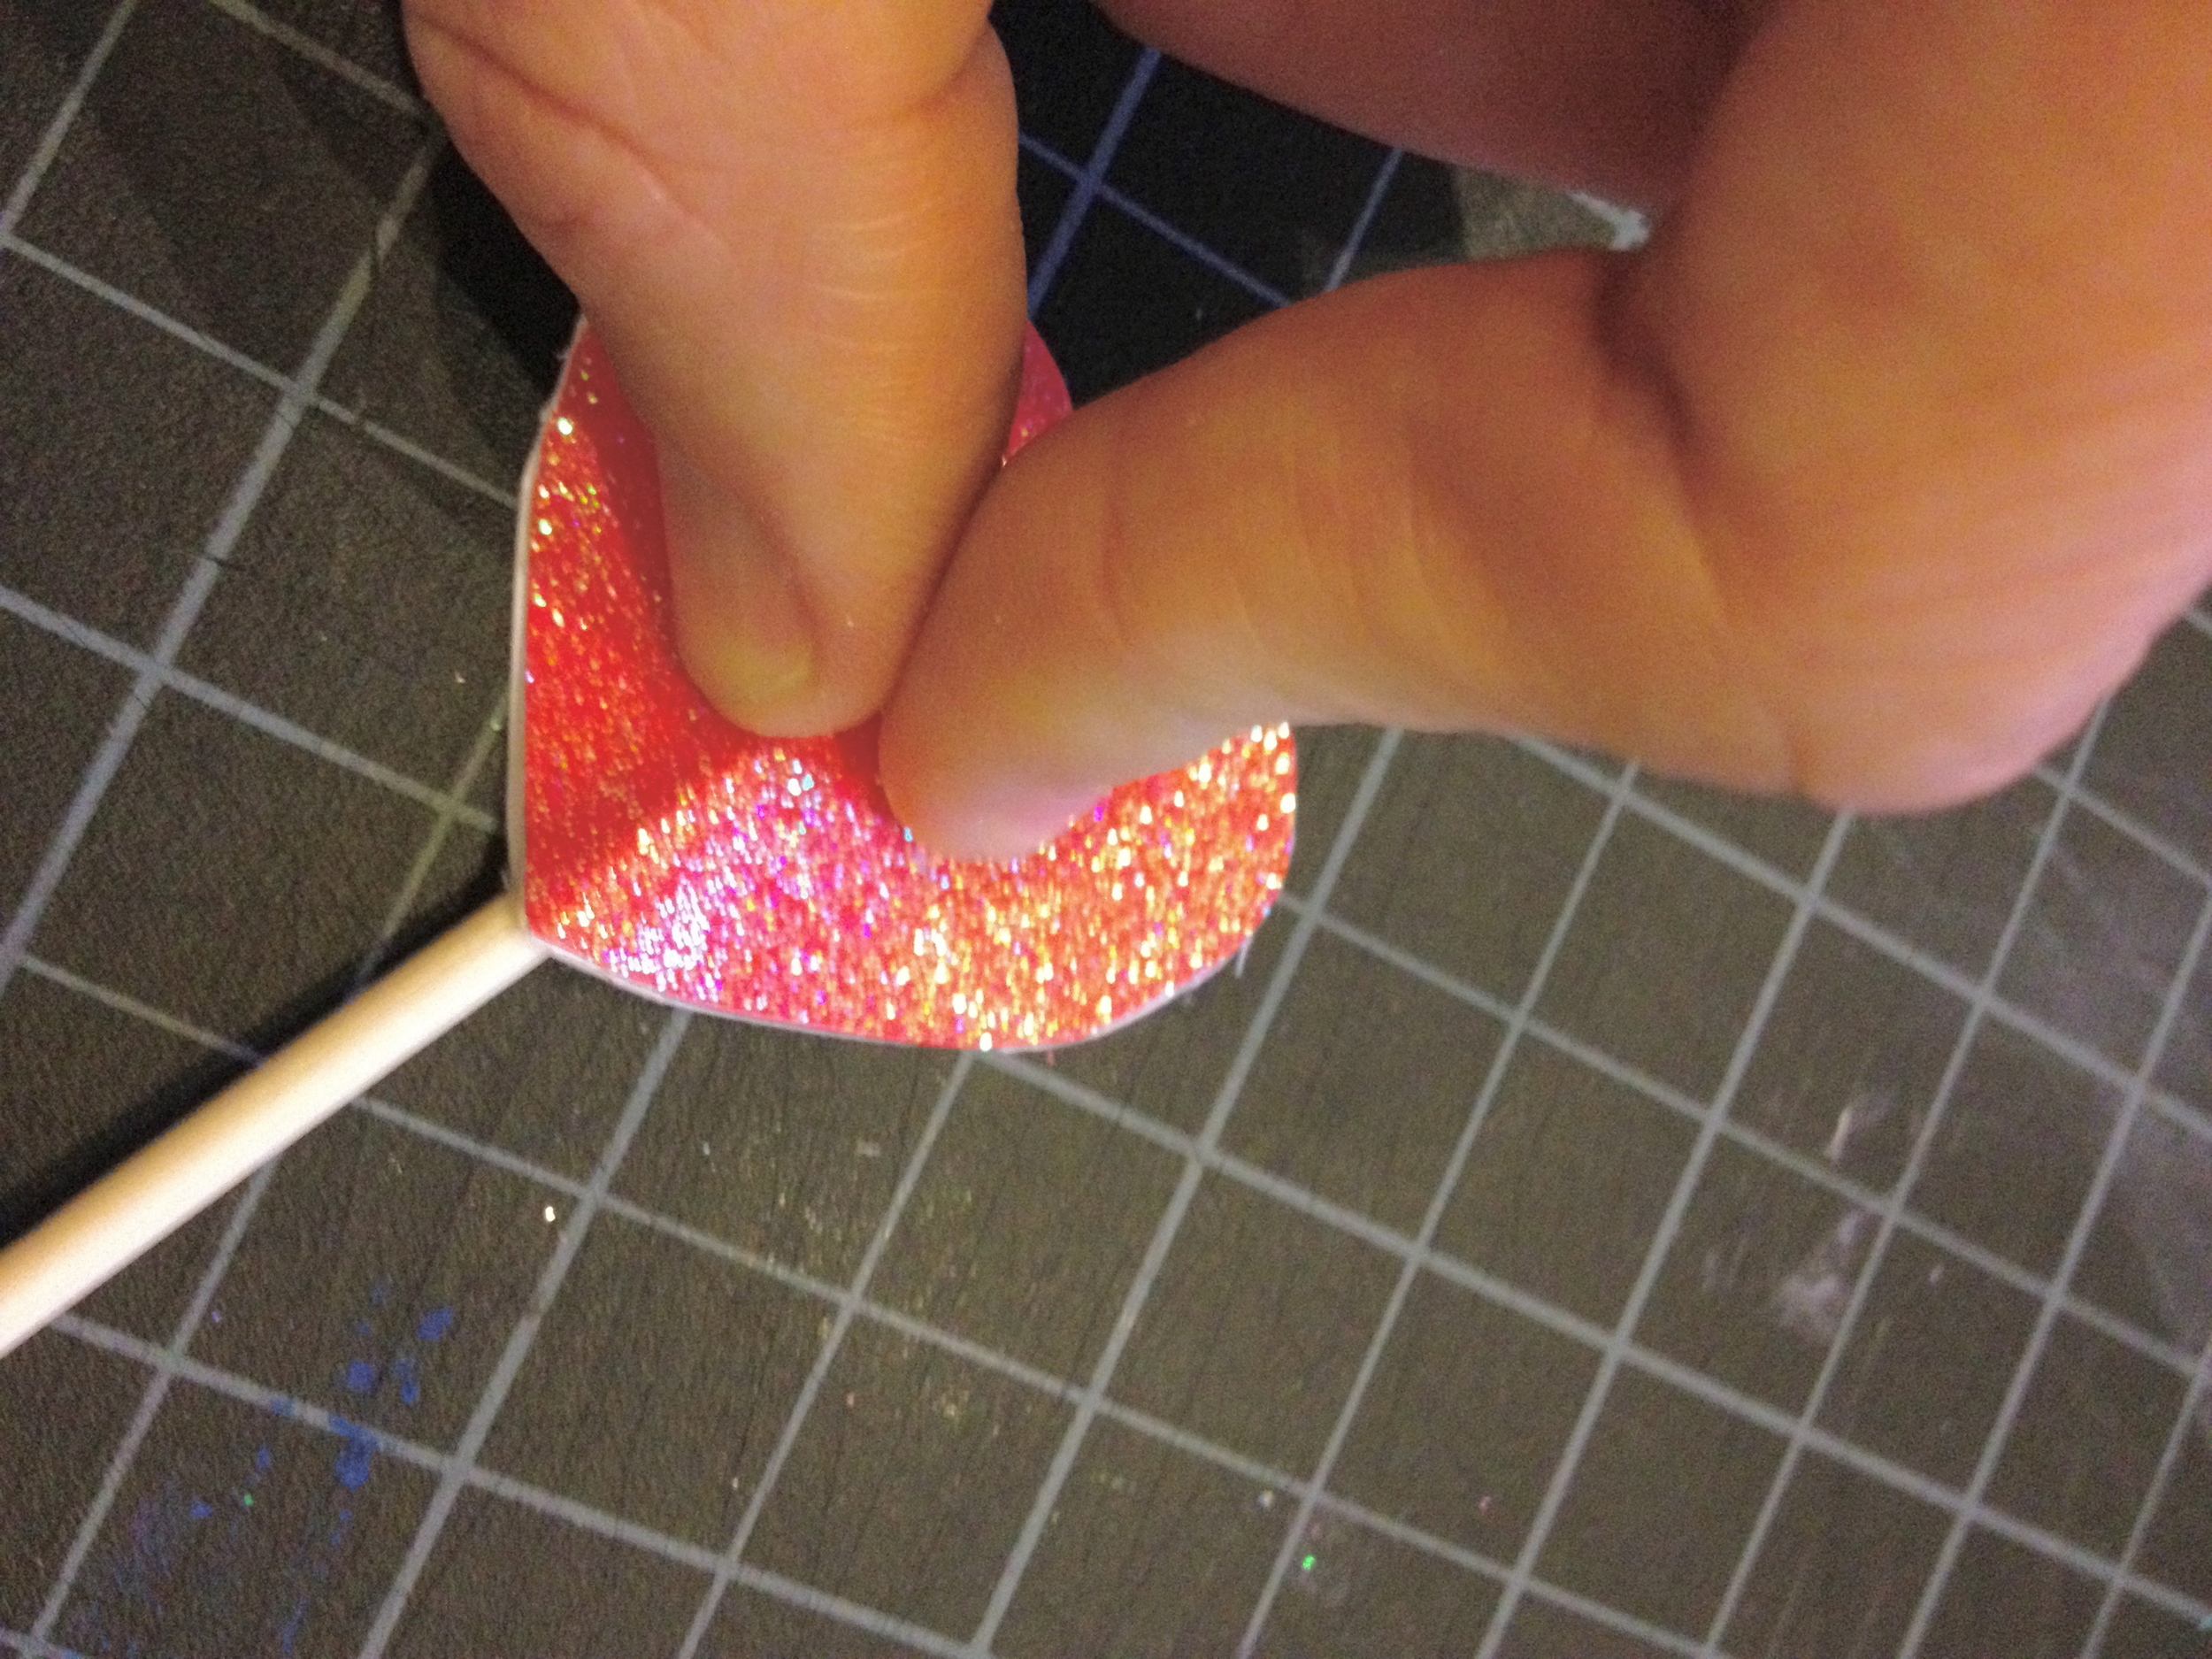
Today we are making super simple wedding signs. These are pretty darn easy and really amp up any piece of your wedding. A "sweet nothings" sign above your dessert table, a ceremony sign across the altar, a "gifts" sign or how about a s'more table sign for a little something special for your guests.

Things to grab before starting this project:  1.  White Letters from Michaels. \\ 2. Jute Twine from Home Depot \\ Glue Gun

  • Decide what you want your lovely signs to say. "Give Me Your Forever" is a lyric from a Ben Harper song. Feel free to pull from whatever inspiration you choose.
  • Layout the letters evenly on the twine and glue! Glue like crazy :)
  • And there you have it! Enjoy making some fabulous signs for your big day! (Or even for your home)

 Enjoy!