Fun at the bar

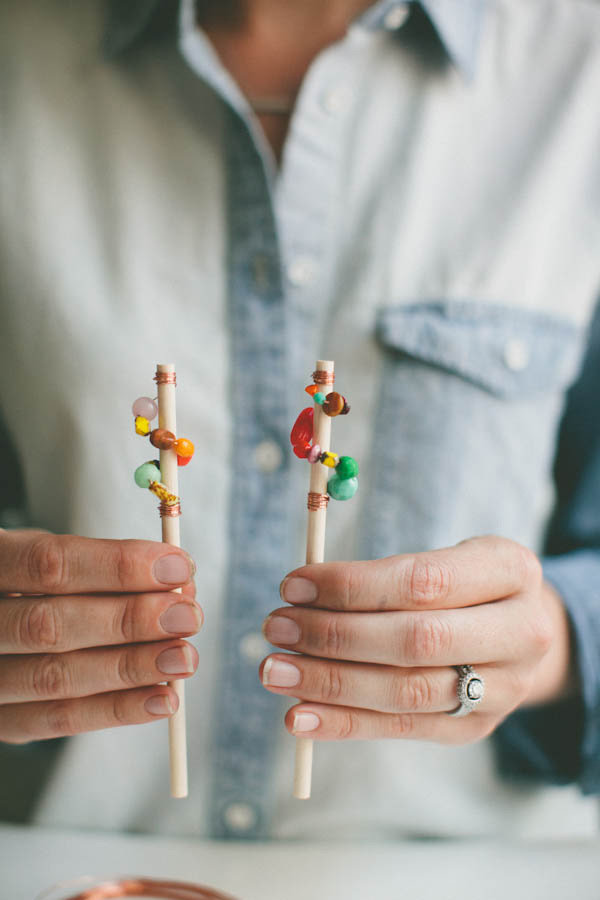
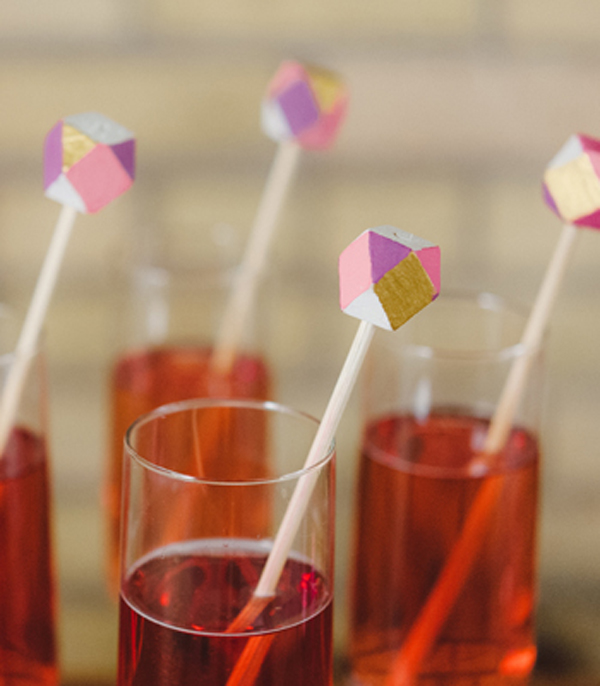
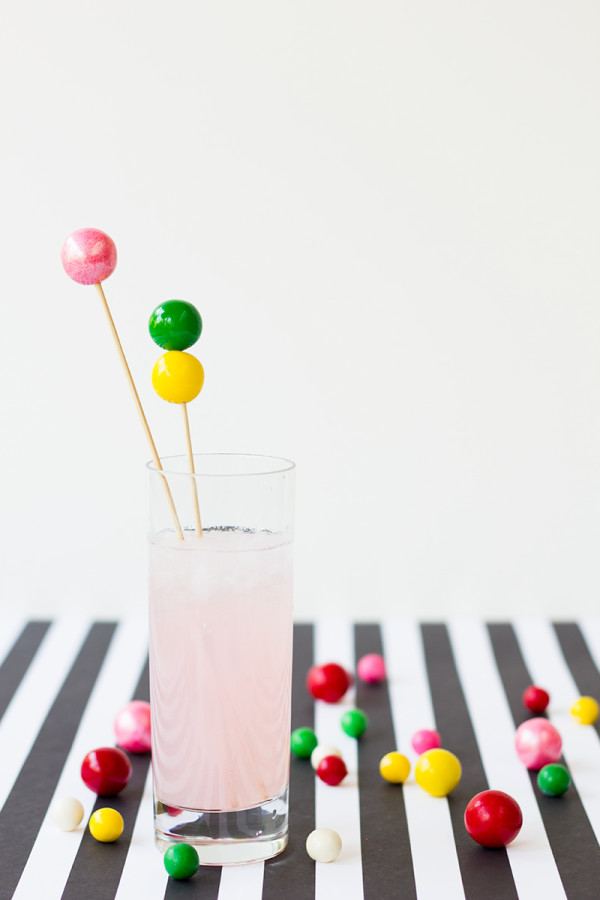
  One of the things we were looking for in a venue - although it wasn't mandatory - was the ability to stock our own bar. And luckily for us, we found a venue that would allow us to do that. Not only will we save a good amount of money by bringing in our own alcohol, but we can customize which types of beverage we want to serve, and we can showcase some local wineries, breweries, and distilleries. Because we're saving on what we're serving, I thought it would be fun to make some bar accessories to make this a really fun part of the party. The bar will be the focal point of the cocktail hour between ceremony and dinner, so I thought it would be fun to infuse people's drinks with the spirit of the event: Bright, Bold, with a little quirk. Here are some of my favorite ideas I've found so far:

DIY-Gumball-Drink-Stirrers-600x900Source: Studio DIY

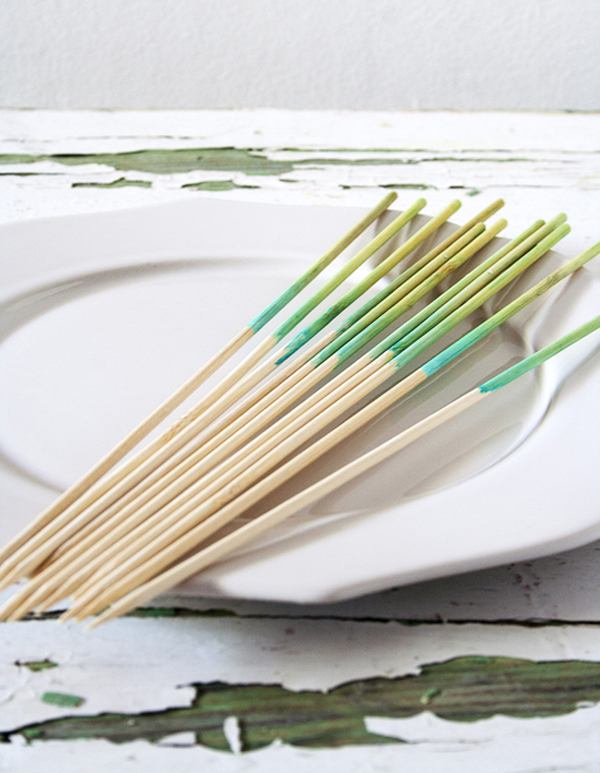
ombre_skewers_final2Source: Somewhere Splendid

cocktail-stirrers-scout-blog-101Source: Scout Blog

These geometric stirrers definitely capture our aesthetic, and they're really cute! I think painting each facade a different color with a stirrer or two for 150 guests might be a bit much, though.

geo_stirrers2-350x400Source: Confetti Pop

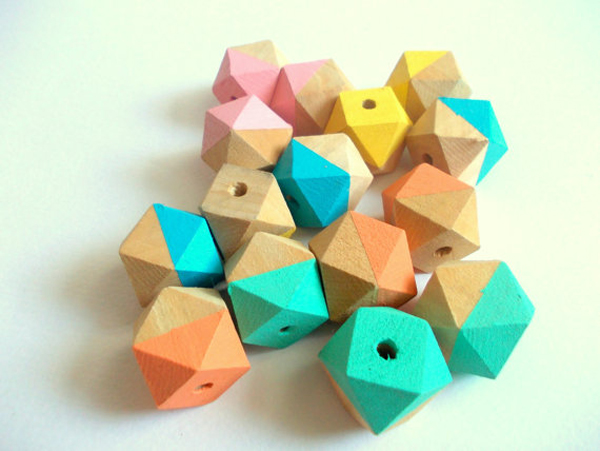
Instead, I think I'll buy plain wood faceted beads and we'll casually dip dye them in bright colors like these ones I found on etsy. After I round up the supplies I'll be sure to share how they turn out! Now that the weather is cooling down and we're coming inside from a seattle summer I've got DIYs up my sleeve left and right!

il_570xN.448705518_654t

Source: Like Beads 8

 What are your ideas for sprucing up drinks for your guests


Letterpress at home

According to most wedding ettiquette guides, the time to send save the dates is approximately 6 months before your big day. Well, last week marked 7 months to go for us, so time to get cranking on getting Save the Dates ready, stamped, and out the door! 749595683911_SVxdU3Ib_l


Source: Designspiration

I've been thinking for a little while about what I wanted to do, whether I wanted to buy something off the shelf, have something designed for us, or make it on my own. There are tons of ideas on my Big Day and Pretty Paper pinterest boards that are all across the charts. We're still toying with the idea of having our invites custom designed, so I decided I would save some money on the save the dates and DIY them.

ult_kit_wipe_web


Source: Lifestyle Crafts

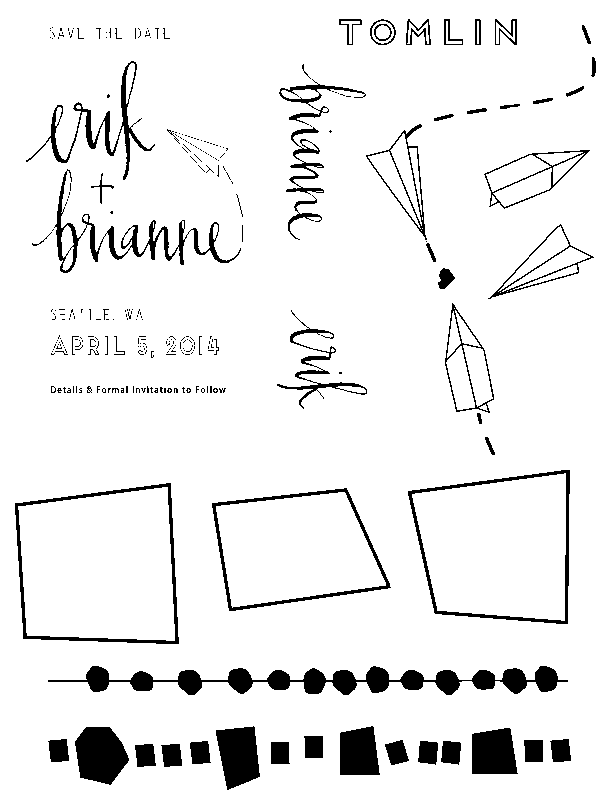
My friend Jenny has a Letterpress set up from Lifestyle Crafts (the first generation of the one seen here) that she let me play with recently, and I was surprised that it really was an easy way to get a quality letterpress look on your own. I spent some time in photoshop and then I've ordered a custom plate and am ready to get printing. It arrived about a week after I ordered it and the customer service folks at Lifestyle were great in helping me tweak a couple things to get the best quality image.

Brianne Save the Date

Source: The Ravenna Girls

The nice thing about having plates made is that you have a 6" x 8" surface area to order, so you can get extra images to use for escort cards, coasters, or stationery with your new married name. Our Save the Date design is just the upper left portion of the image above. I deconstructed our custom pattern, and also added some components like calligraphy we had done for some address stamps last Christmas (calligraphy by A Fabulous Fete). Hopefully some of these components I will be able to use again and again.

Whimsical-DIY-Polka-Dot-Kraft-Paper-Save-the-Dates


Source: Oh So Beautiful Paper

I have the plate in hand and now I'm just waiting to choose which paper I'll use. I have some beautiful teal watercolor paper and was originally planning to do a painted treatment similar to this beautiful piece, but I'm not sure thats going to work with the letterpress ink so I'm still in brainstorming mode. Will keep you posted! I'm also sharing some sneak peeks of the process on my instagram account (I'm @ravennagirlb) if you want to follow along there!

{doable} Do It Yourself

This week has been full of crafting for me. Over the past few months I've realized I should outsource some of the projects (thank you etsy!) and other projects were simple enough to do myself. Here are some of the images that have inspired me to get my DIY on, followed by my personal tips to get the jobs done.

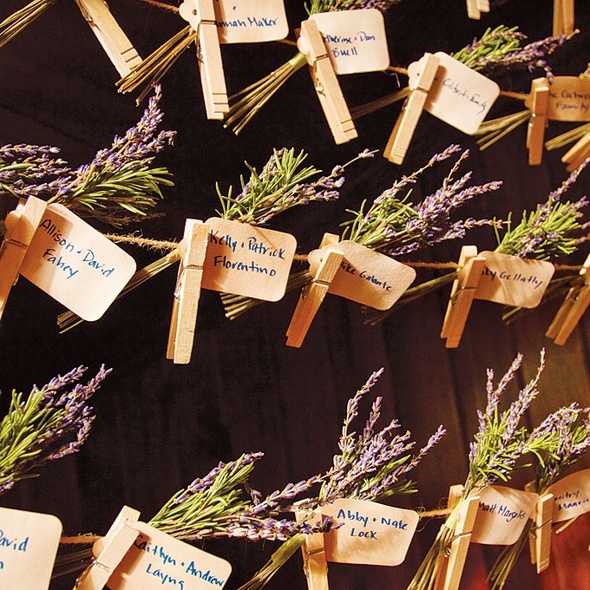
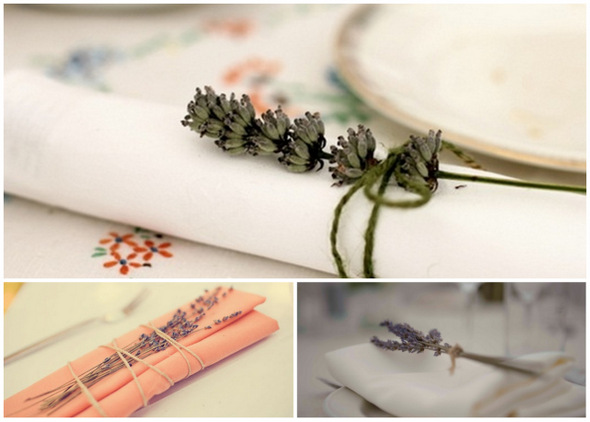
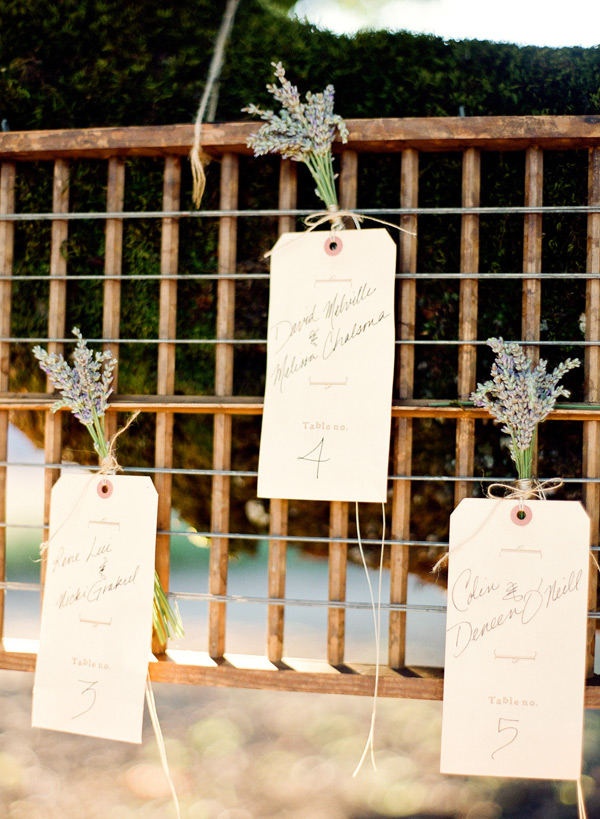
Lavender bunches with escort cards
7fcfdf074d7c4df73fe1e94ef84ea10cd5f0335e6f2e8fbe59da09639abd35c3-001 Sources: Top, Bottom 

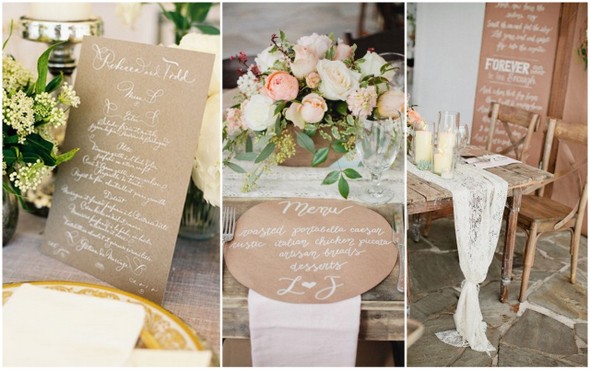
Menus and a lace runner for the head table:
Wedding Crafts1 Sources: Left, Center, Right

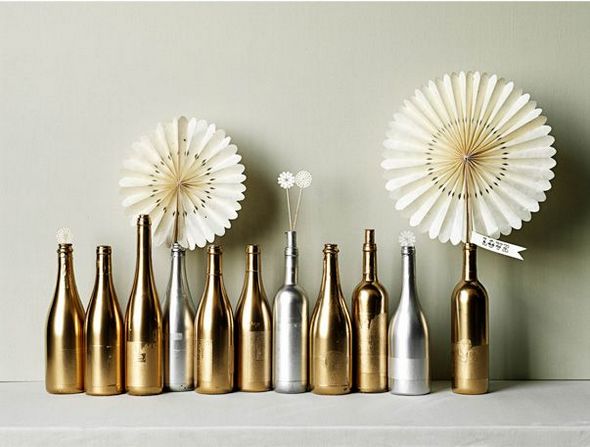
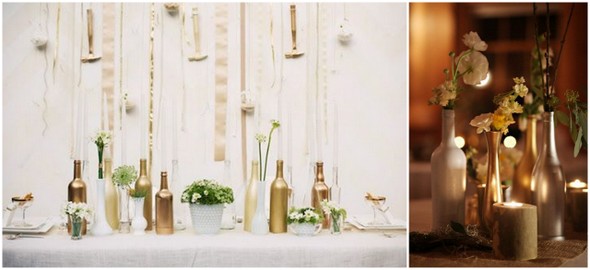
Metallic assorted bottles for the welcome party:
Wedding Crafts29b5e911693dc542ba4402bcdf6251513-001 Sources: LeftRightBottom

This is how it went for me...

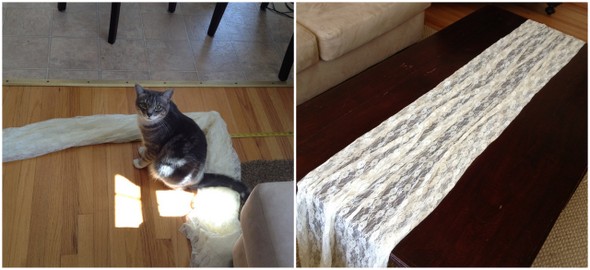
DIY No-Sew Table Runner: SUPPLIES: Lace Fabric | Fabric Scissors | Tape Measure
Wedding Crafts3

I bought the lace fabric at a discount fabric store for $23. I measured the fabric to make sure it would run the length of the table and have enough to hang down on either side. I then cut the fabric to the width I wanted. I realized if I gathered the fabric, as shown, the edges would be hidden and therefore don't need to be finished. I will be using the jute twine from the escort cards to tie each end like in my inspiration image. This project worked well for me because we only have one farm table as our head table. The other tables are round and will just have the standard linens. If you wanted to do this for more tables, you could easily get two runners out of the width - just make sure you get the length you need so you don't have breaks in the fabric.

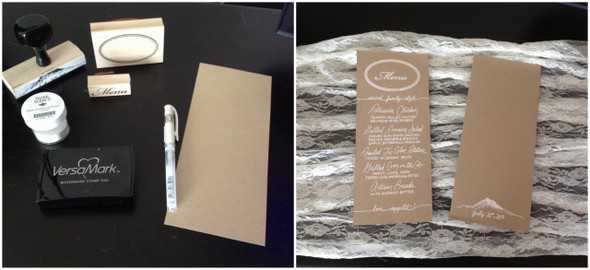
DIY Stamped & Embossed Menus: SUPPLIES: Stamps | Stamp Pad | Kraft Paper | Embossing Powder | Embossing Tool
Wedding Crafts5

I used stamps and the heat embossing powder and tool for the top oval and 'Menu' part. For the rest, I used the white pen to write it out. It took me a couple tries to get the layout and spacing just right. To help myself from writing at a slant, I used a piece of thicker, contrasting paper and held that under the line I was writing. Then, as I wrote each item, I watched the space between my line and the other piece of paper. Slant avoided! I did enough for two per table.

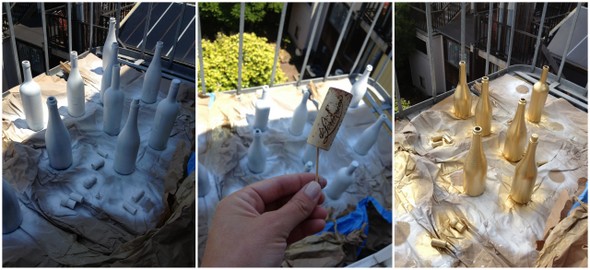
DIY Metallic Bottles: SUPPLIES: Assorted Bottles | Primer Spray | Metallic Spray
Wedding Crafts4

For my welcome party, I knew I wanted something cost effective and related to wine since it will be held at a Springhouse Cellar - a tasting room in Hood River, OR. I found the images of gold and silver wine and champagne bottles and HAD to give it a try.

I left the labels on and used a primer and then metallic spray bottles - I just went to my local paint store and they helped me figure out what to buy. In addition to the bottles, I also sprayed some corks to sprinkle around the bottles and I called my florist who said she would provide the single stems of white and green flowers. Easy! And all-in it will come to under $90 to decorate about six tables. Not bad, right?! *Hint: take your engagement ring off and don't do this the week before your wedding - or use some gloves!

DIY Lavender Bunch Escort Cards: SUPPLIES: Lavender Sprig | Jute Twine | Cloth Pins | Small Cards (used business card sized paper from Paper Source) | Hole Punch | Pen

I haven't done this project yet, but my florist recommended grouping couples and families onto one card - that way you have less to do and the display at the wedding won't be overwhelming.

Happy crafting and happy Fourth of July to you all!
 

Style It: Ceremony Sign

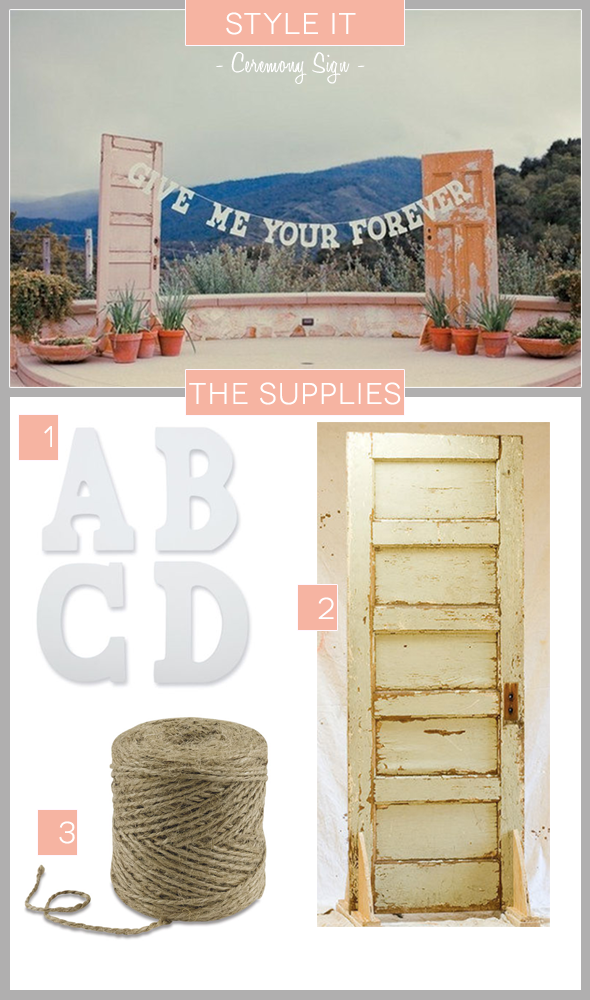
Ceremony signs are one of my favorite wedding details. I think they are one of the most special decorations you could have on your wedding day. Whatever you choose to do with that altar, make it a true reflection of you. I get lots and lots of emails about my ceremony sign, and even more emails about those fabulous doors. So how do you achieve the look? And where does it all come from? So here it goes!

Style It:

It is so easy to style a fabulous ceremony sign for your wedding day. Check out what you need to make it happen!

Invitation Design

BRSD-1_rev

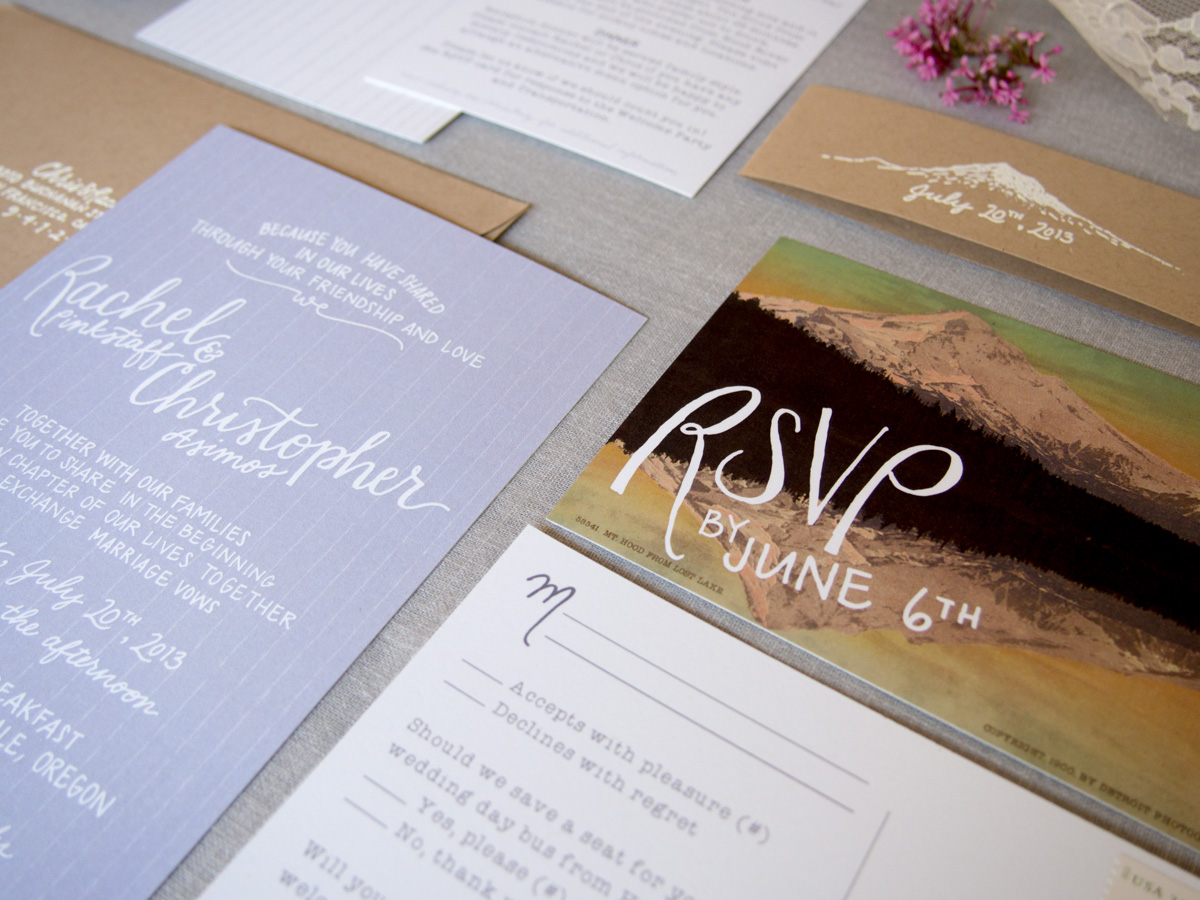
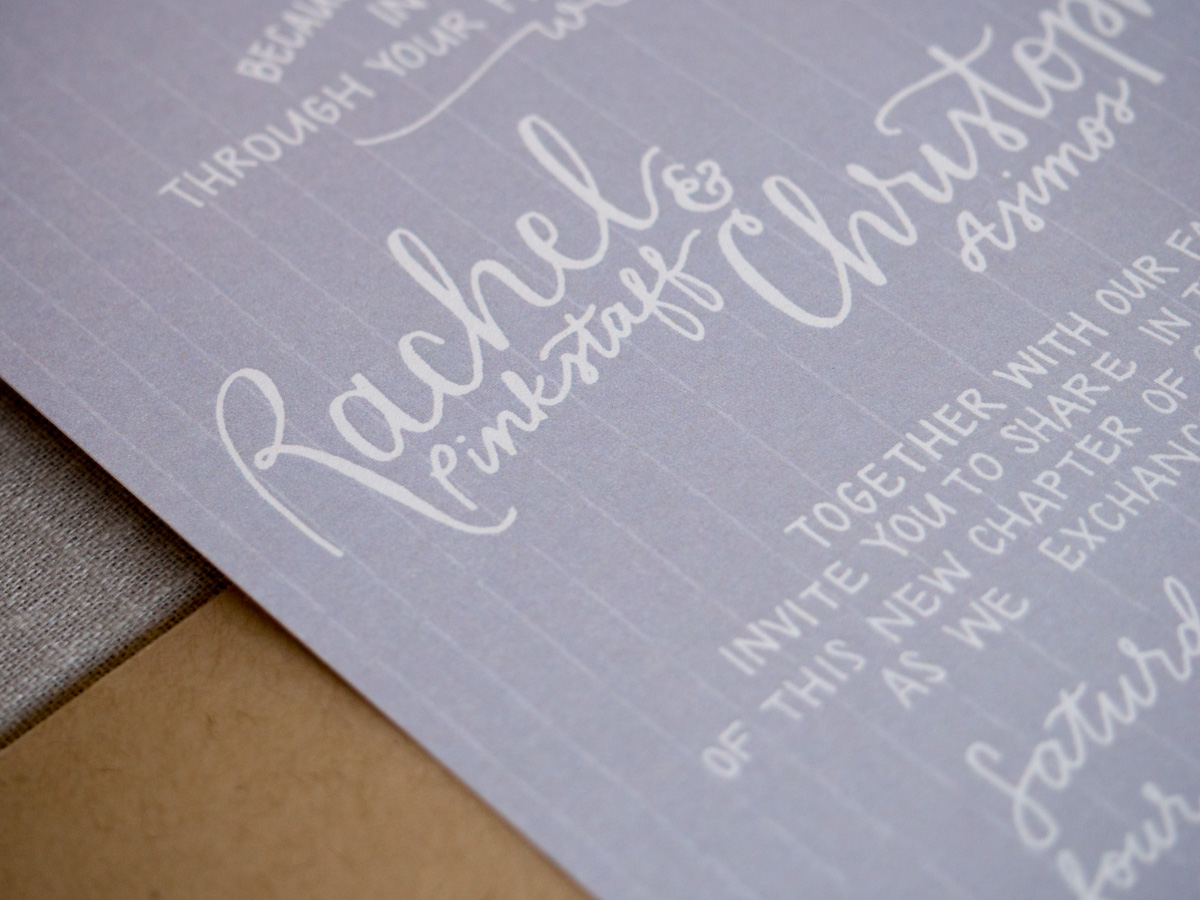
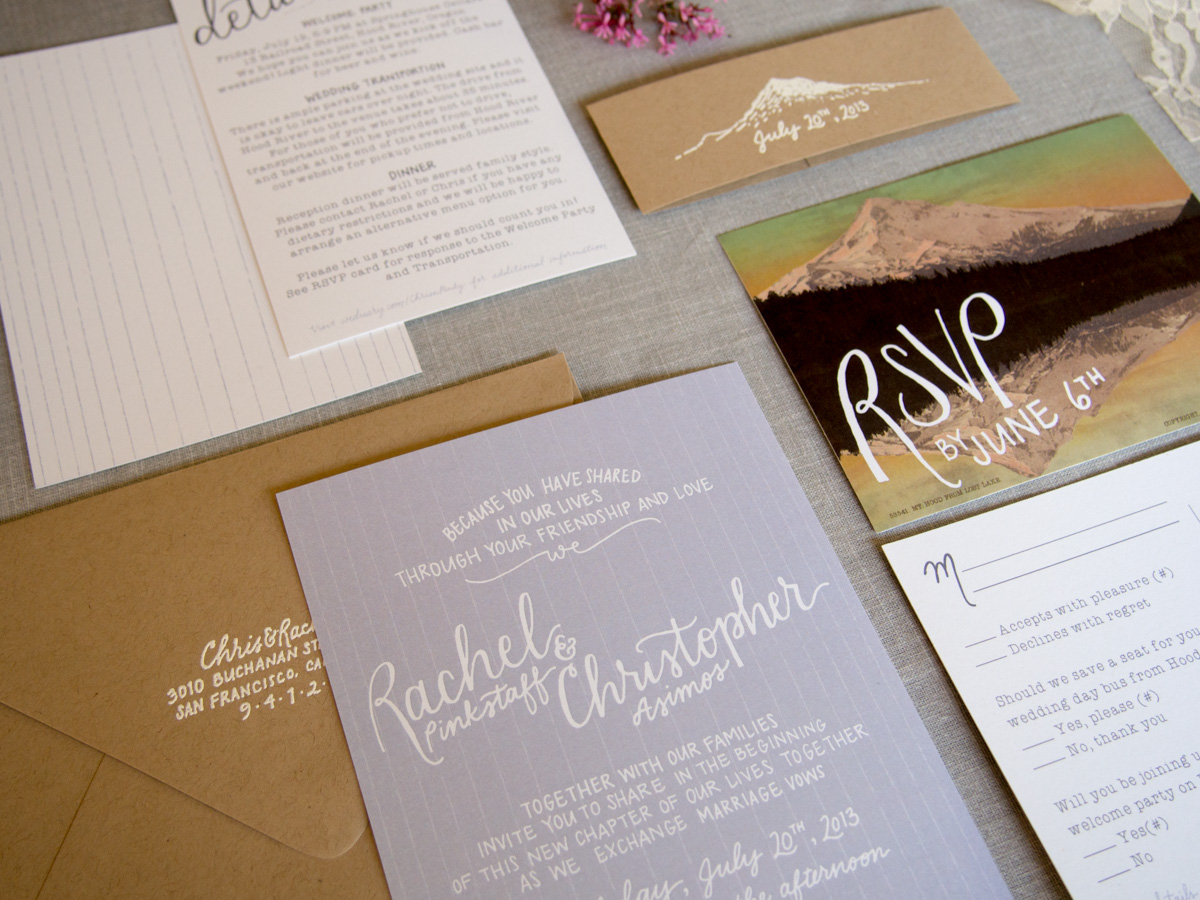
Today I get to show off my invitations! I worked with graphic designer and E&I blogger alum, Kimberly Roth, to create my invitation suite. I love how they turned out.

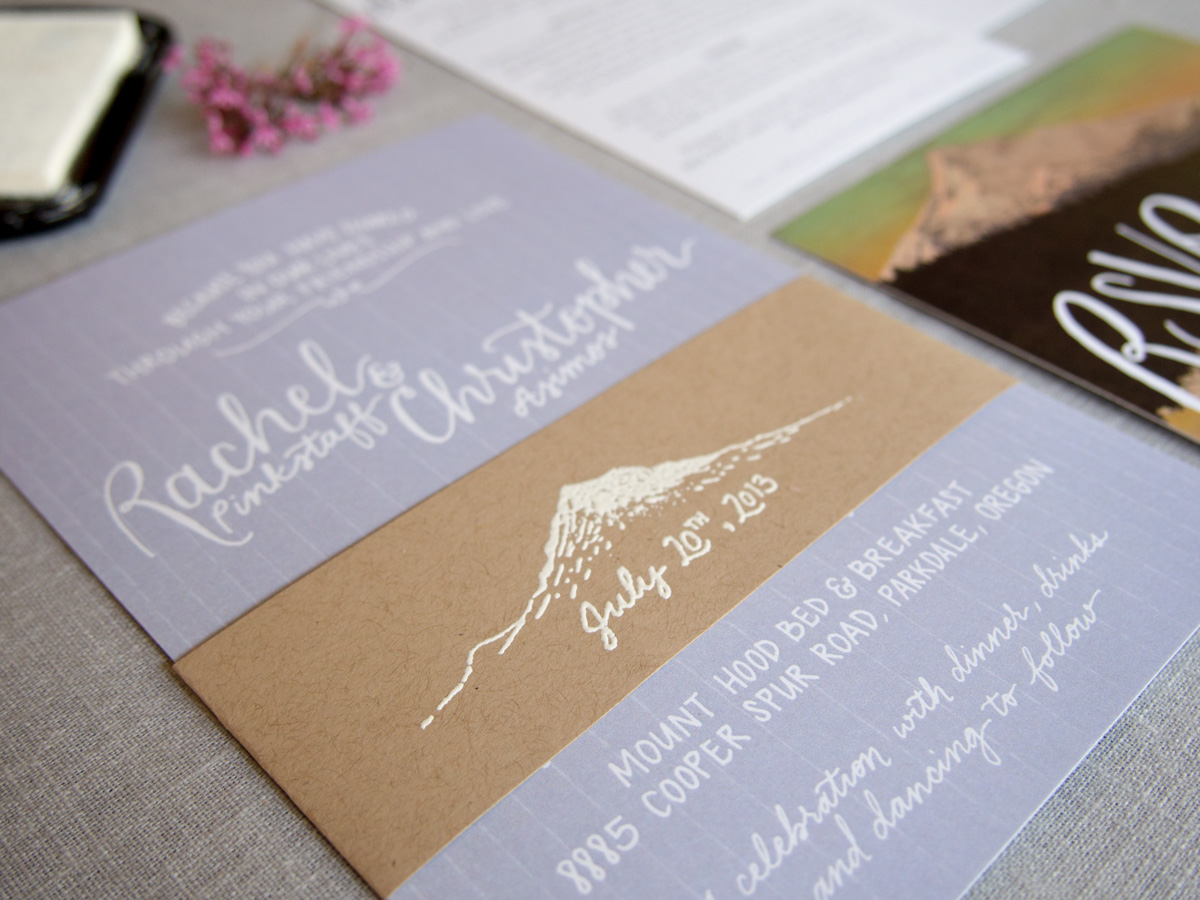
Along the way, I feel that I really solidified the vision I had for my wedding. We pulled inspiration from the location - Mount Hood, Oregon - by featuring the mountain, the muted lavender color from the lavender fields in the area, and the overall whimsical feel.

 BRSD-2   BRSD-5 BRSD-6

BRSD-3Photo credit: Kimberly Roth

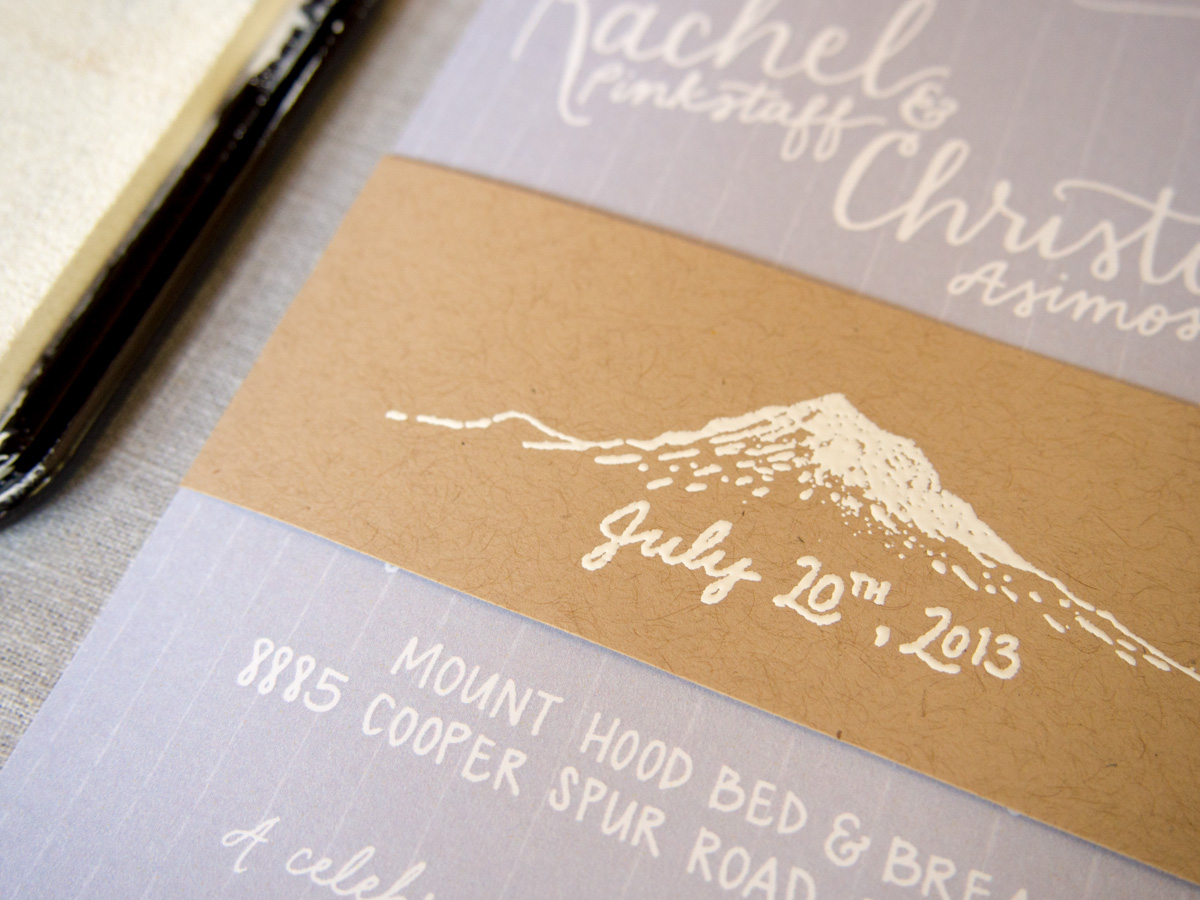
I also got a chance for some DIYing. Kimberly designed and coordinated having stamps made for our 'belly band' and return address. During a visit to Paper Source, I realized embossing with white would show up much better on the Kraft paper than just a white stamp. Embossing is really fun and easy (but time consuming when you are doing it for 100+ invitations).

Here's what I used:

- Stamp

- Stamp pad

Embossing powder

Heat tool

Once I got the hang of it, it went by pretty fast. I would stamp three at a time, apply the powder, lay them out on the table (until it filled the table) and then use the heat tool on all of those. Much faster than doing the whole process for one at a time. Two of my bridesmaids came over one night to help and that really speeded things up. Note to self: make sure cat doesn't get to them before you set the powder with the heat. :-)

After embossing, I folded each belly band around the invitation and secured it with a strip of double sided tape.

InvitationsPhoto credit: me

BRSD-4Photo credit: Kimberly Roth

Bridesmaids Surprise Balls

Bridesmaids Surprise Ball 1 copy When I decided who I was going to ask to stand up next to me on my big day, I also knew I wanted to do something fun to ask them all together. So, the first day we went out to try on gowns, I made sure they could all be available, even my best friend from when I was four who lives in Utah - we skyped her in to the bridal salon. Inspired by Megan's Surprise Ball project, I decided to put together these fun little bundles, and had them all open them together. Here’s what I did:

Bridesmaids Surprise Ball 5

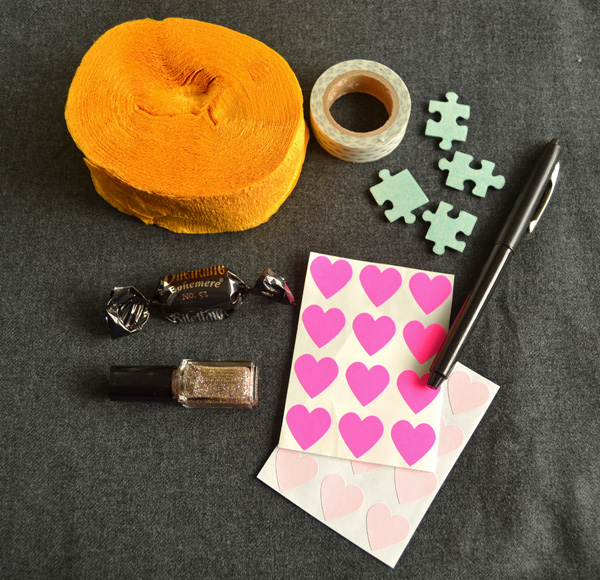
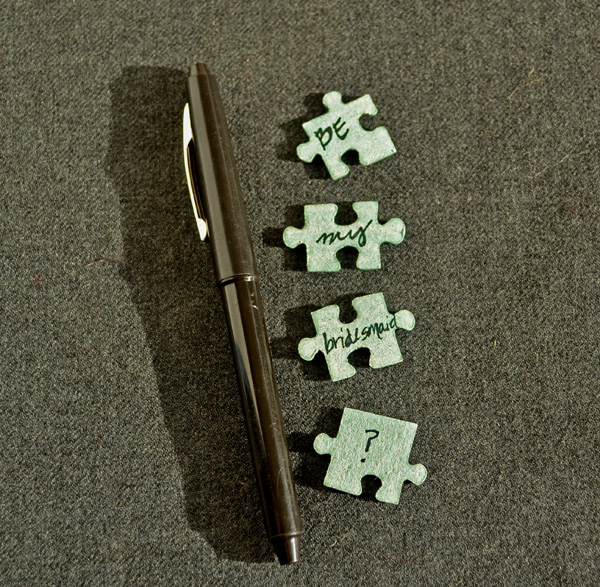
First, I picked a roll of pre-cut crepe paper streamer (different color for each girl), an assortment of small trinkets, and a couple fun things to write on (I chose puzzle pieces). Plus a pen, some washi tape, and stickers.

Bridesmaids Surprise Ball 4

I wrote the important question on a series of puzzle pieces.

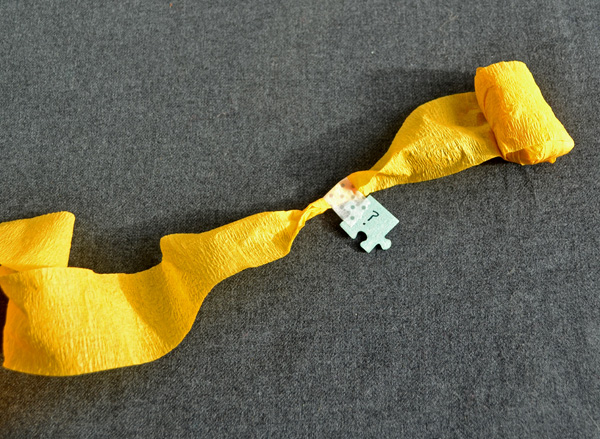
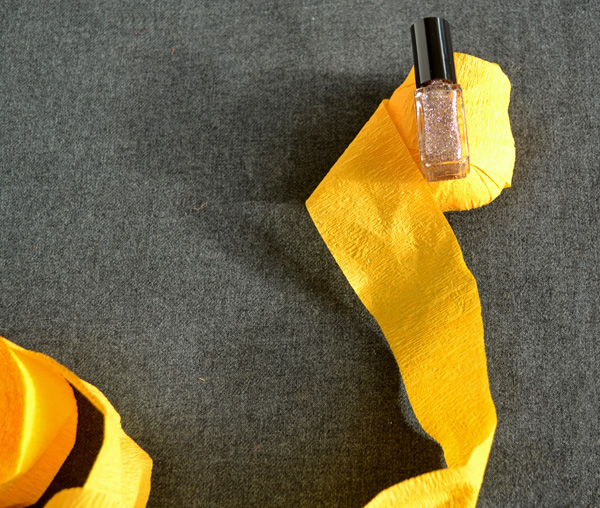
Then comes the fun part, you get to start rolling everything together. I chose to alternate the fun trinkets with the puzzle piece question marks. Wrap the crepe streamer tightly around the first object until its completely concealed. Then, use a piece of washi tape to attach your puzzle piece (or whatever else you're using). Remember that the girls will be opening in the opposite order that you wrap, so you need to insert the words in backward order.

Bridesmaids Surprise Ball 6


Keep on wrapping, adding fun things and your question as you go

Bridesmaids Surprise Ball 3


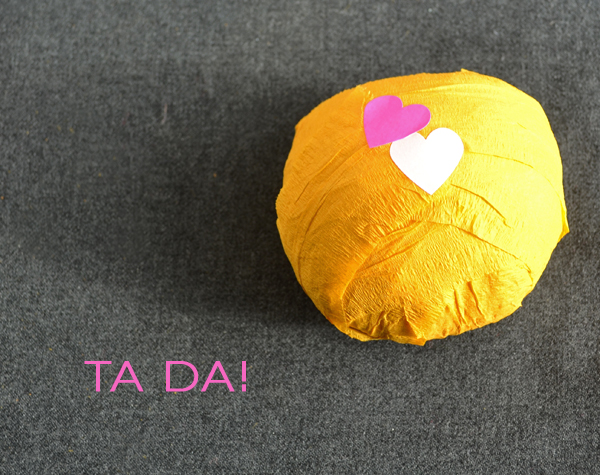
I found that one full streamer roll was perfect length for the items I showed above. Once I got to the end, I finished it off with a couple cute heart stickers from Knot + Bow.

Bridesmaids Surprise Ball 2 copy

I handed out each one of these to each girl (I had pre-mailed one to the gal out of state), and had them all open at the same time. By the time they got to the last question mark, everyone was buried in streamers and laughing, it was a riot! They all said yes (I'm a lucky gal!) and it was a fun moment to remember, certainly.

Addressing the Invitations


AddressesSource

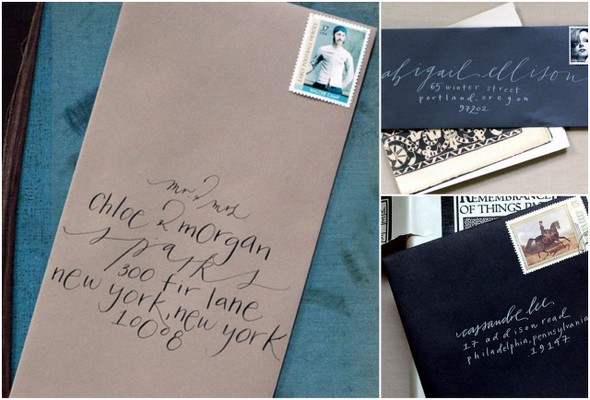
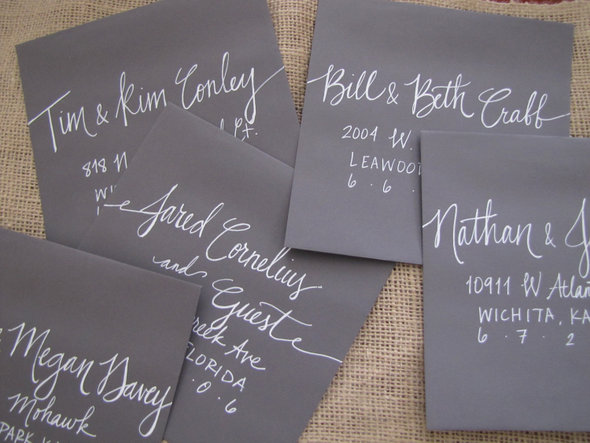
For better or worse...I will be addressing my own invitations. I decided to take on the challenge because I want the handwritten look, but it's not in our budget to hire a professional calligrapher. I also thought it would be a fun project! While our invitations are being printed this week, I've been practicing my handwriting and trying to navigate the world of address wording etiquette. It's more complicated than I thought! And while our family and friends aren't sticklers for etiquette rules, it's one of those things - I like to know the rules before I decide which ones to break. :-)

il_fullxfull.273548507Source

Here are some of the most common rules.  We are just having the single envelope (no inner one).

- Spell out Post Office Box, Street, Avenue, the word 'and,' etc. Spell out the state name, unless it won't fit on the same line as the city. Put the zip code on its own line. Use Mr. and Mrs. abbreviated, but spell out Doctor.

- Married couples: names go on the same line, unless there's a fit issue. The traditional way would be to say Mr. and Mrs. John Smith. Another option I like is from the first image, above. I don't see it in the rule books, but I like that it includes both the husband and wife's name - Mr. and Mrs. John and Jane Smith. If the woman has kept her maiden or professional name, her name goes first and the two names are on separate lines unless they fit easily on the same line. 

- Unmarried couples: The names go on two separate lines, with the name of the person you know first. If you know both, the woman's name comes first or some places say to do alphabetical order when you know them both. 

- Guests: try to find out the guest's name if you can. Many sources I'm reading say it's not good to put 'and guest,' but I think it makes sense in some cases. 

- Kids: Write the parents according the 'married couples' guidelines and then put the kids first names below in order of oldest to youngest. If you only put the couple's names and not their children, it is assumed that it will be an adults-only affair.

Source: The Wedding Book by Mindy Weiss

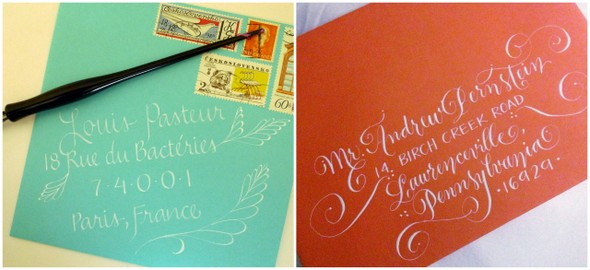
If you're like me and you want a visual of the different variations there are some great resource and other options: here, here, and here.

Addresses2Sources: left, right

Addresses1Source

In doing my research, I realized there are differing opinions about exactly how to address envelopes. I think the best thing to do is to pick your favorite style and then just be consistent.

Did you address your own envelopes? Do you have any tips for me?

Less than three months until the big day!!!

Napkin Surprises

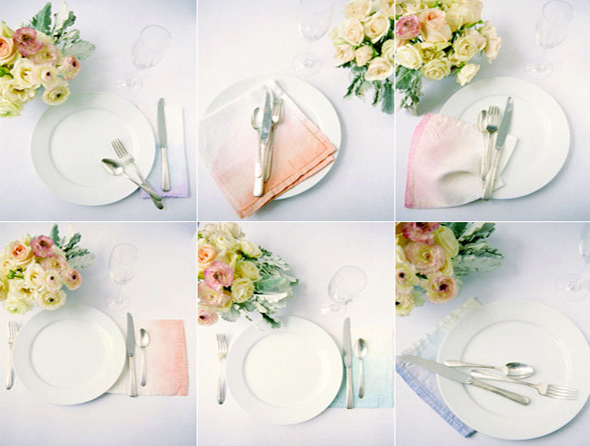
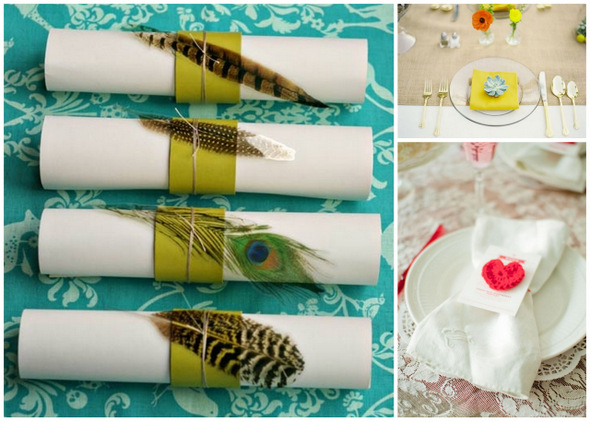
I never would have thought that I would be writing a post solely on napkins! In mentally setting the table for our wedding I am having a hard time figuring out how all of these different pieces (napkins, china, linens, flowers) will work together in harmony instead of competing with one another. I am leaning towards renting some mismatched china, so I would like to keep the napkins and linens fairly neutral. But, people are getting so gosh darn creative with their napkins these days  it is hard to rein myself in! Check out these adorable DIY ombre dyed napkins. 2011_03_21-ombre-napkins

Source

Add a touch of lavender.

napkins1

Source : 1, 2 & 3

Go for a pop of color.

napkins2

 Source: 1, 2 & 3

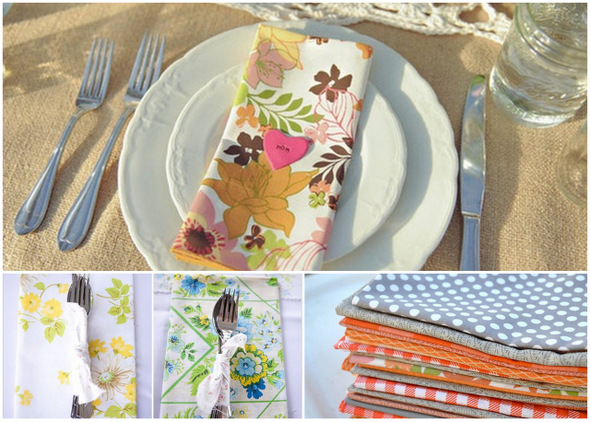
Or, add even more color with mismatched napkins. I found this esty vendor that will even make them for you in your pattern and color scheme. So cute!

napkins3

Source: 1, 2 & 3

 How did you decide? Did you agonize over this silly detail as much as I have? Did you buy or rent? Love to hear any tips on where to buy napkins!

Veiling It

VeilSource

My lovely future mother-in-law has offered to make my veil for me. She made her daughter's veil last year and it turned out great, so I trust that I'm in good hands.

Last week I went to Britex Fabrics and got some swatches so I could match them to my dress color. I can't wait to see how it turns out and get everything on!

Veil1Source: left, right

Veil2Source

Veil3-001Source

Veil4Source

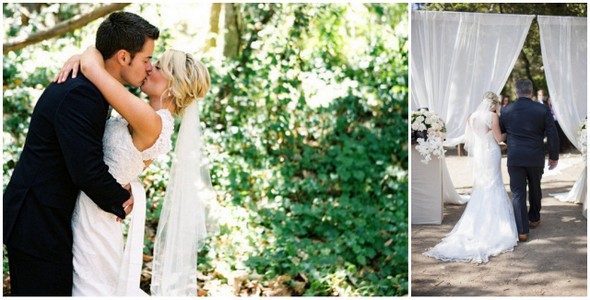
I want my veil to be simple and on the longer side. I'm getting married in a potentially-windy location and I've been told longer veils are actually better because they have more weight to them so they won't blow around as much. The one thing I'm concerned about is there being too much volume. My dress is somewhere between an A-line and a ballgown silhouette and I don't want it to be over-the-top. I think the last image, above, is a good example of a fuller skirt with a long veil that looks natural and tasteful.

Should I go Waltz, Floor-length, or Chapel?

Bachelorette Accessorizing

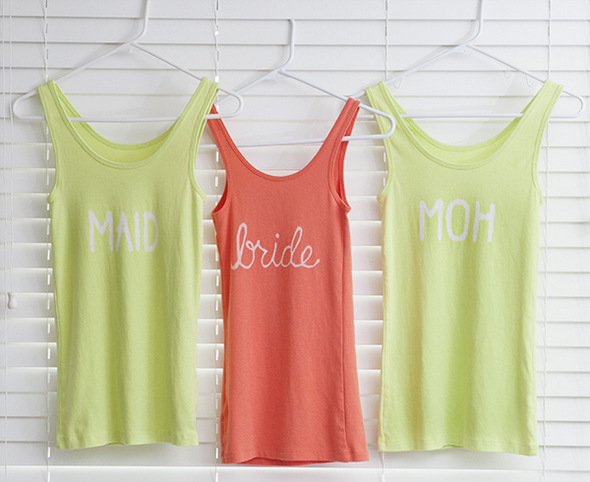
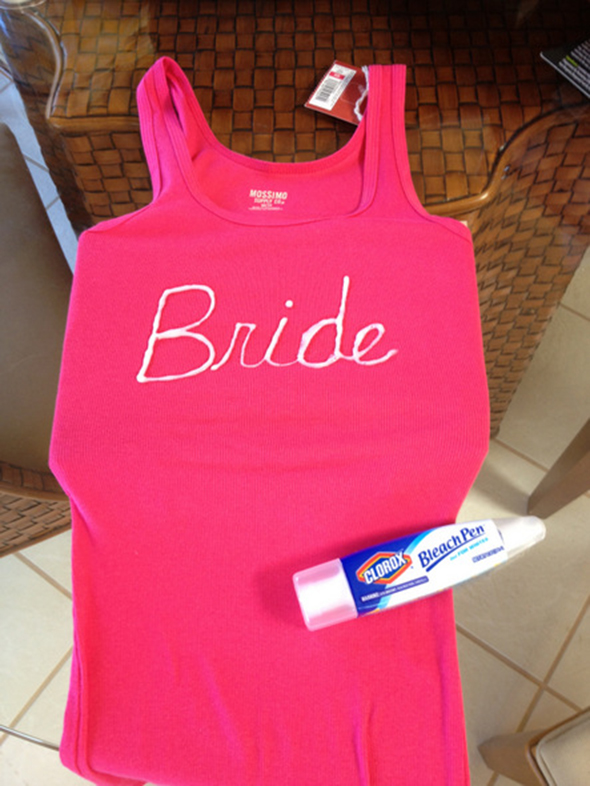
This week I have to admit I was slacking big time with my own wedding planning. This past weekend we celebrated my future in-laws Bachelor/Bachelorette party in Palm Springs. I decided to finally make one of those Pinterest DIY projects I have been contemplating. These t-shirts are super adorable and easy to make so I wanted to share my fun find with all of you!

ST_DIY_bleach_bridesmaid_tshirt_

Source: Something Turquoise

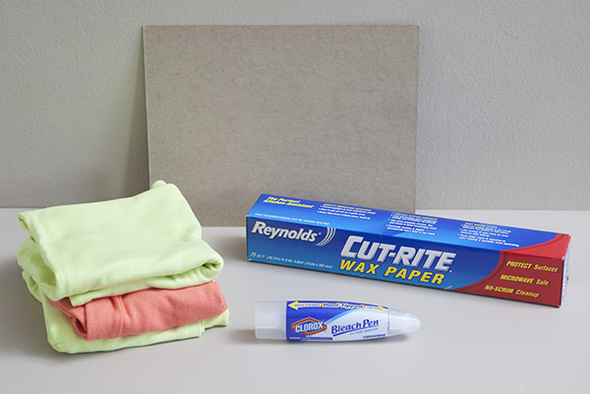
SUPPLIES NEEDED:  Clorox Bleach Pen, wax paper, piece of cardboard and your choice of t-shirt.

ST_DIY_bleach_bride_tshirt_2

Desktop2

Source: Something Turquoise

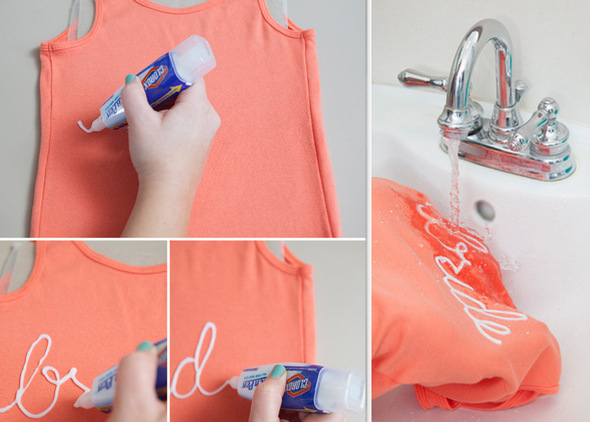
For the full directions, click here.

Mine did not turn out quite as cute as these (so I'm not showing my finished product ). I left the bleach on for over 20 minutes, but for some reason my "Bride" was still a light pink color instead of a crisp white.

photo(1)

I will definitely try making these again with thinner material! What's your favorite bachelorette DIY project?