My 'Build the Bar' Bridal Shower

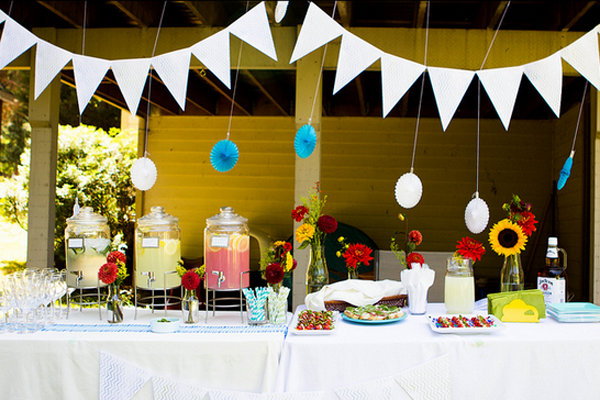
Back in July, I mentioned that my bridal shower was coming up and i was picking out dresses. It was so so wonderful and I thought I'd share with you guys some of the details that made it so special and give some ideas if you're looking to host a shower of your own. Shower 5
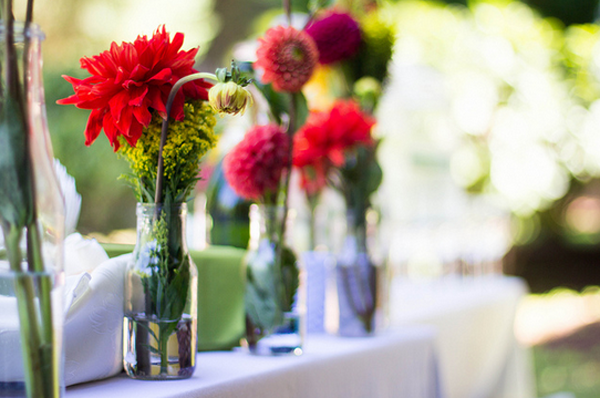
My bridesmaids asked me at the beginning of the summer if I wanted it to have a theme. I do think that its nice to have a bit of a theme to streamline the gift situation so that a smaller group of close women to you don't have to sift through your entire registry. Plus, we were still 8 months out from the wedding so Erik and I didn't really have a good handle on our registry yet. So I was talking to a friend of mine and she mentioned she had recently been to a "Build the Bar" shower and I thought that sounded like a great idea! Long ago Erik and I decided we wanted a nicely designed and well stocked bar in our future home so this was the perfect way to let our friends and family be a part of that tradition.

Shower Main

This week I wanted to just share some of the beautiful images that were captured by our talented friend Rebekah Gough that showcase the details of the day along with some links to the resources that my girls used. Next week I'm going to round up some amazing gift ideas based on what I received if you're looking for something to help someone prettify their home bar. Perfect as we approach the holidays!

Shower 10

Danielle, my Maid of Honor, blogged about the invitations that Minted so generously provided here and here which gives you a pretty good idea of the tone of the party. Perfect colors for me and just that right touch of whimsey.

Shower 7

Shower 4

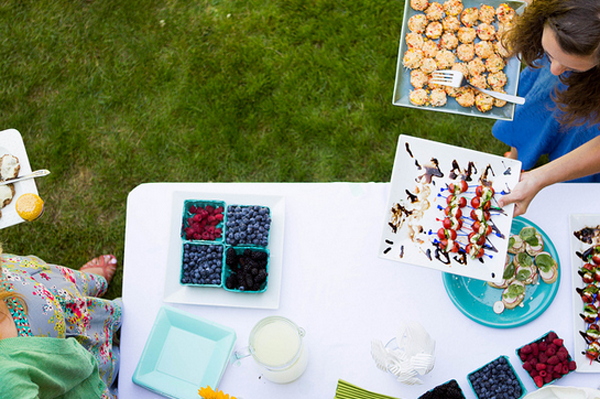
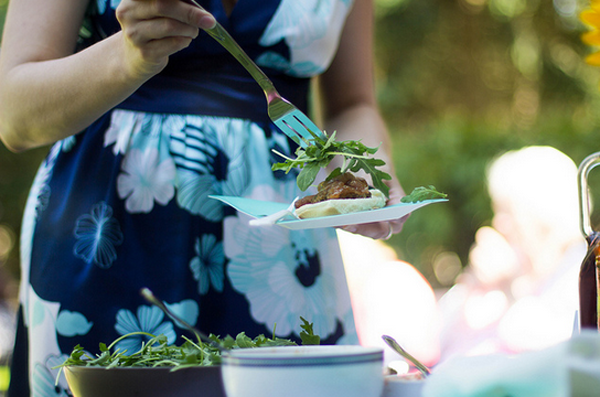
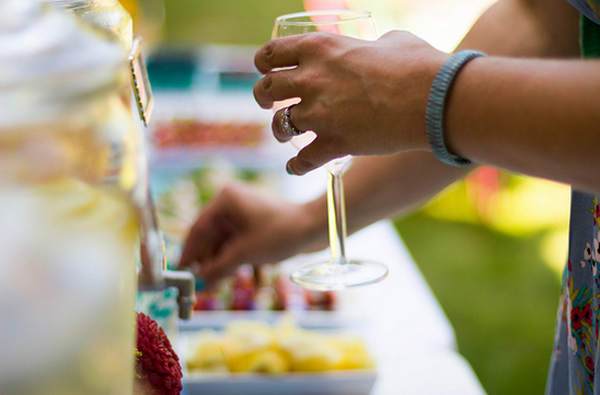
The girls decided to do small bite and cocktail pairings and they found an awesome book called Tiny Food Party that they used. They made sliders, crab cakes, and teeny tiny churros. So amazing! Danielle found milk bottles at Ikea that matched the invitations perfectly and filled them with flowers from our local farmers market.

Shower 3

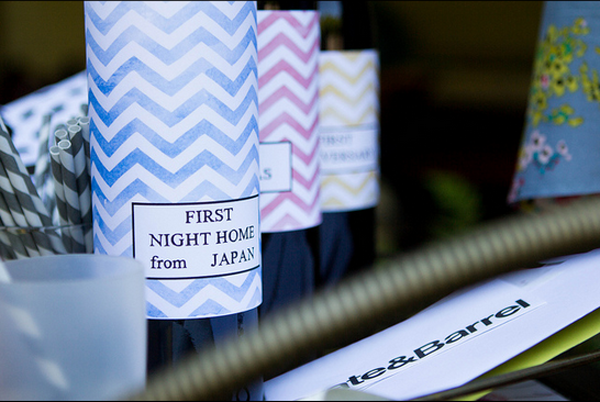
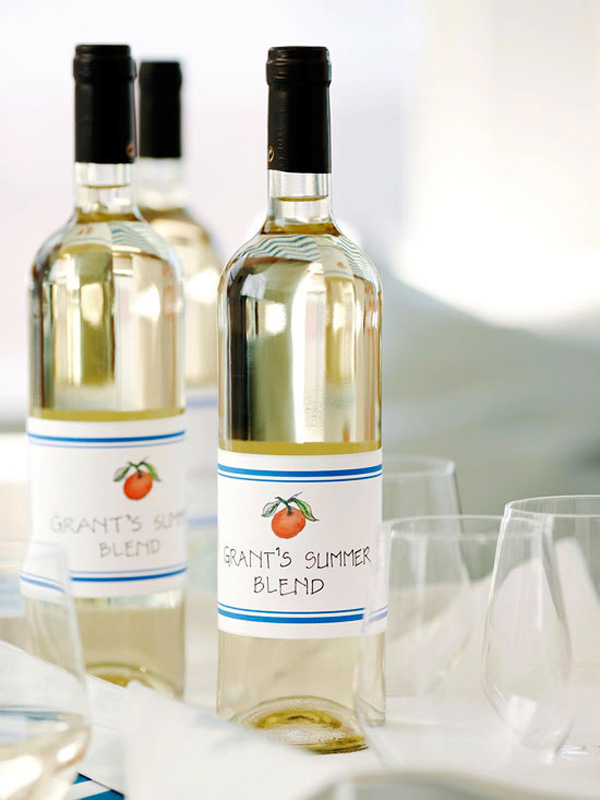
They also used this download from Jones Design Company to make labels for 3 bottles of wine: One for the night we get back from our honeymoon, one for our first christmas, and one for our first anniversary. Such a sweet idea - the gift that keeps on giving (well, for the first year, at least!)

Shower 9

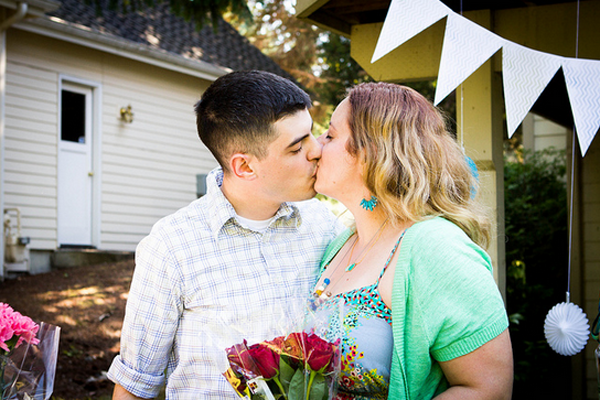
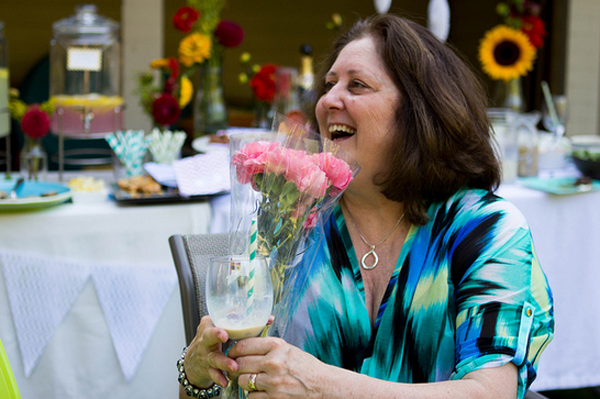
Oh, and my darling fiance stopped by the end of the party to bring flowers for the important ladies in his life (me, his mom, my mom). He's a keeper ;)

Shower 1

Shower 2

It was such a joyful day, and it really was nice to be able to capture that summer sun as part of our wedding festivities since everything else will be late winter/early spring.

Thanks to all my bridesmaids, friends, and family to helped make this day so special and to Rebekah Gough for the amazing photos.
 

Fun at the bar

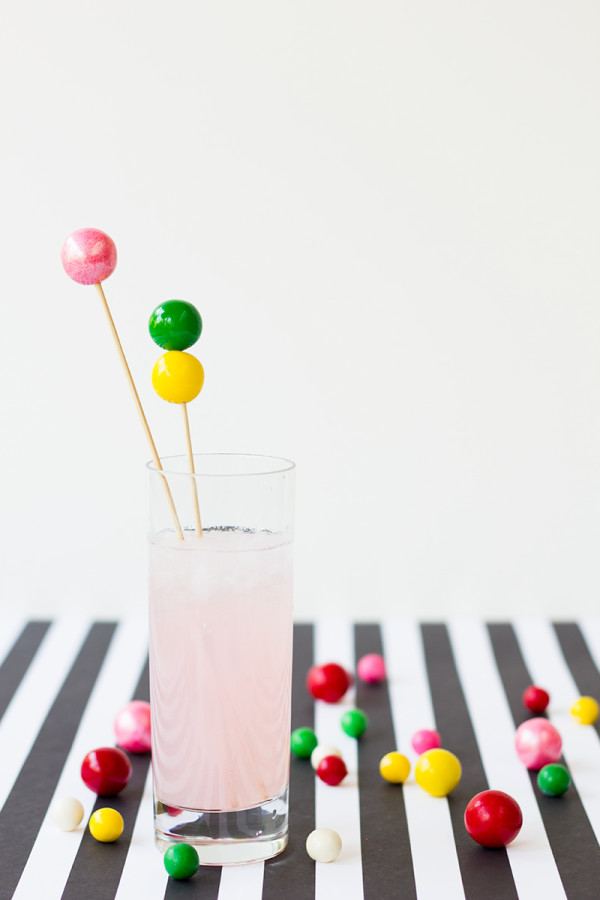
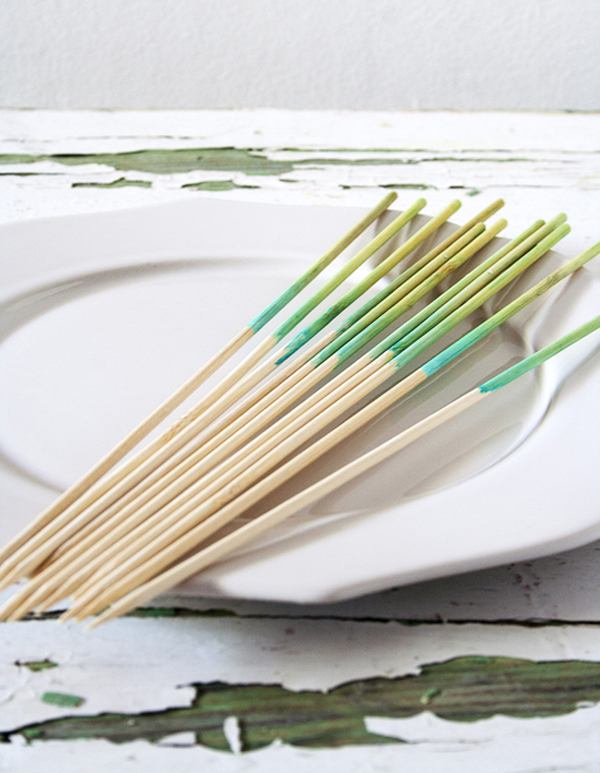
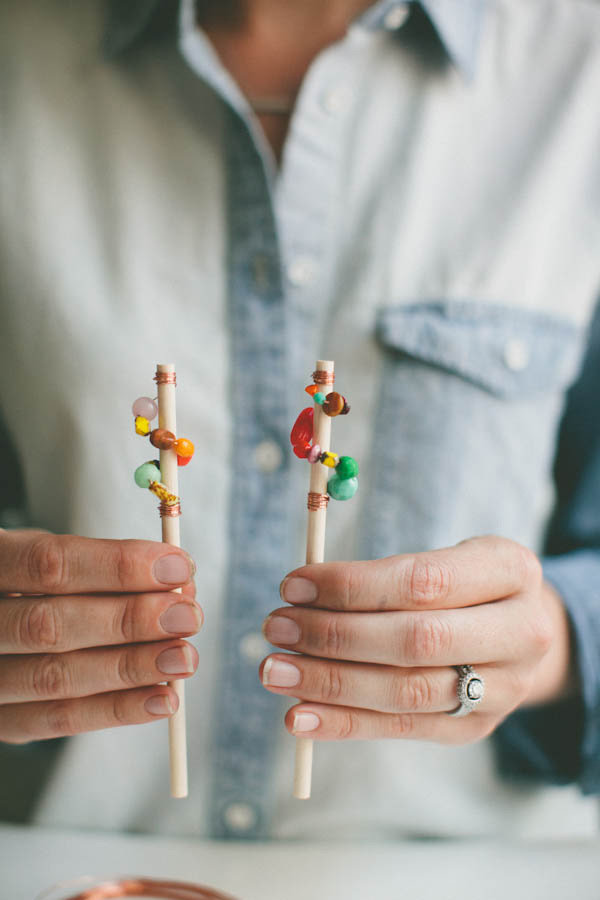
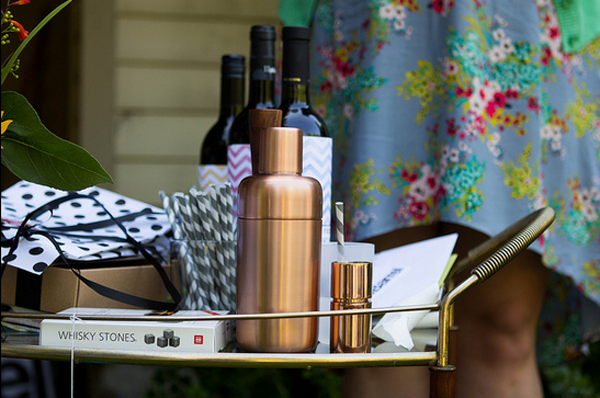
  One of the things we were looking for in a venue - although it wasn't mandatory - was the ability to stock our own bar. And luckily for us, we found a venue that would allow us to do that. Not only will we save a good amount of money by bringing in our own alcohol, but we can customize which types of beverage we want to serve, and we can showcase some local wineries, breweries, and distilleries. Because we're saving on what we're serving, I thought it would be fun to make some bar accessories to make this a really fun part of the party. The bar will be the focal point of the cocktail hour between ceremony and dinner, so I thought it would be fun to infuse people's drinks with the spirit of the event: Bright, Bold, with a little quirk. Here are some of my favorite ideas I've found so far:

DIY-Gumball-Drink-Stirrers-600x900Source: Studio DIY

ombre_skewers_final2Source: Somewhere Splendid

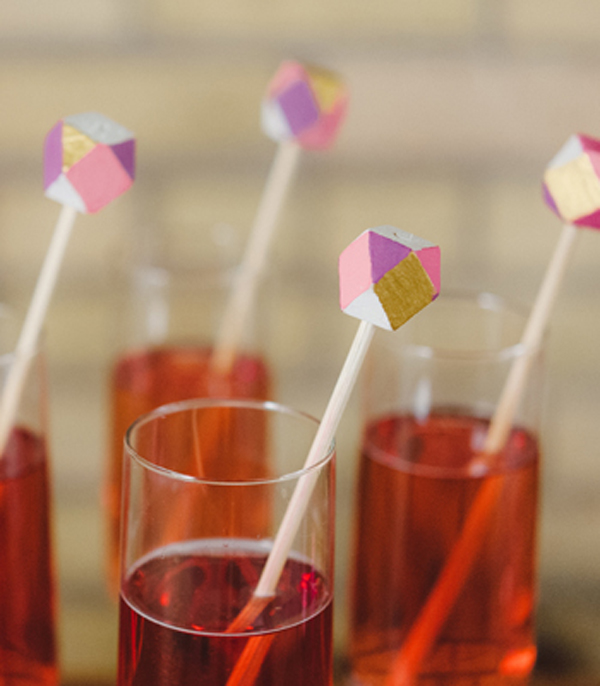
cocktail-stirrers-scout-blog-101Source: Scout Blog

These geometric stirrers definitely capture our aesthetic, and they're really cute! I think painting each facade a different color with a stirrer or two for 150 guests might be a bit much, though.

geo_stirrers2-350x400Source: Confetti Pop

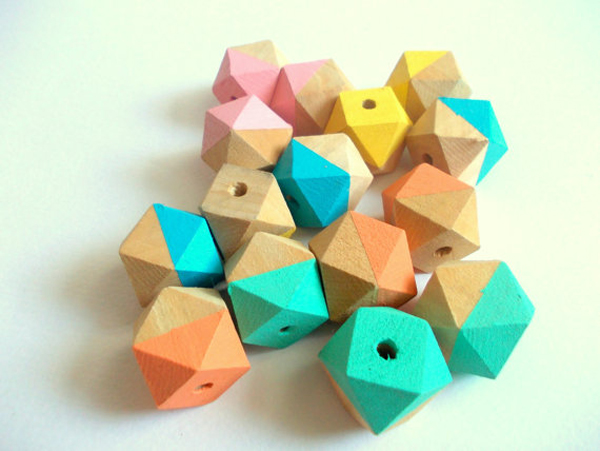
Instead, I think I'll buy plain wood faceted beads and we'll casually dip dye them in bright colors like these ones I found on etsy. After I round up the supplies I'll be sure to share how they turn out! Now that the weather is cooling down and we're coming inside from a seattle summer I've got DIYs up my sleeve left and right!

il_570xN.448705518_654t

Source: Like Beads 8

 What are your ideas for sprucing up drinks for your guests


Letterpress at home

According to most wedding ettiquette guides, the time to send save the dates is approximately 6 months before your big day. Well, last week marked 7 months to go for us, so time to get cranking on getting Save the Dates ready, stamped, and out the door! 749595683911_SVxdU3Ib_l


Source: Designspiration

I've been thinking for a little while about what I wanted to do, whether I wanted to buy something off the shelf, have something designed for us, or make it on my own. There are tons of ideas on my Big Day and Pretty Paper pinterest boards that are all across the charts. We're still toying with the idea of having our invites custom designed, so I decided I would save some money on the save the dates and DIY them.

ult_kit_wipe_web


Source: Lifestyle Crafts

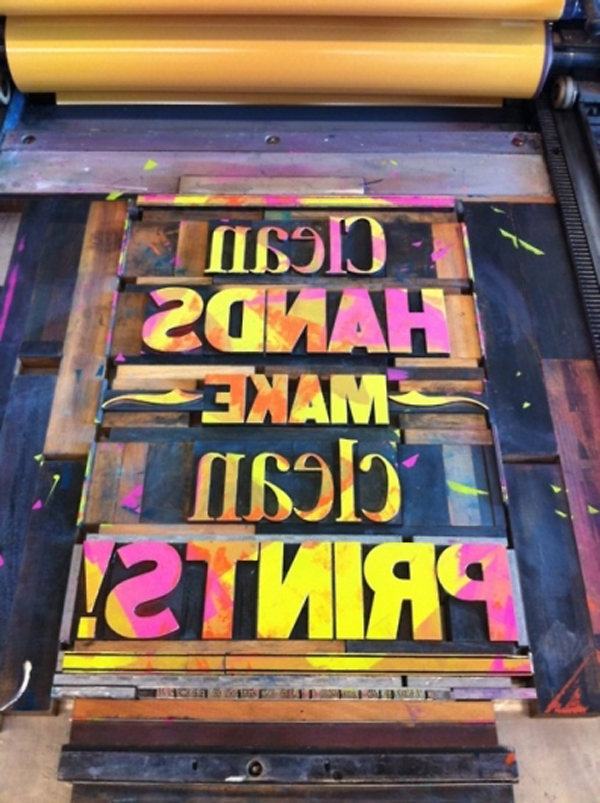
My friend Jenny has a Letterpress set up from Lifestyle Crafts (the first generation of the one seen here) that she let me play with recently, and I was surprised that it really was an easy way to get a quality letterpress look on your own. I spent some time in photoshop and then I've ordered a custom plate and am ready to get printing. It arrived about a week after I ordered it and the customer service folks at Lifestyle were great in helping me tweak a couple things to get the best quality image.

Brianne Save the Date

Source: The Ravenna Girls

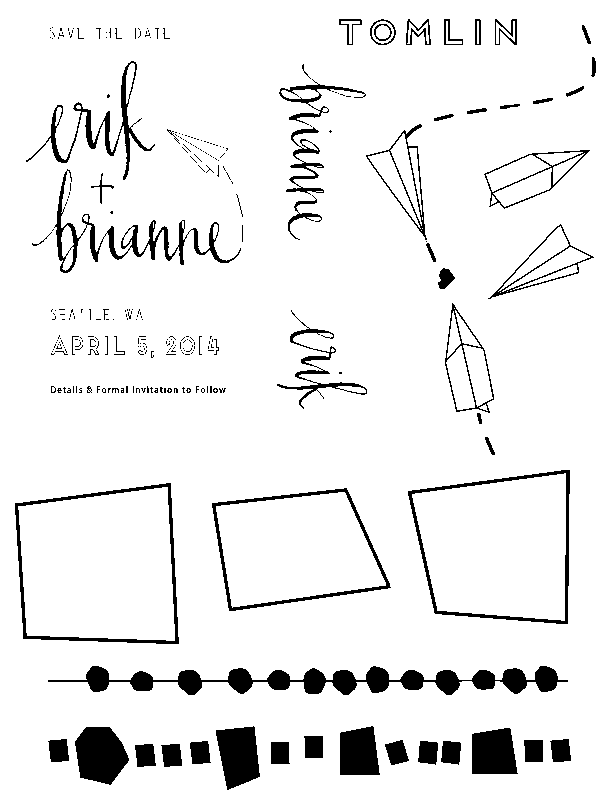
The nice thing about having plates made is that you have a 6" x 8" surface area to order, so you can get extra images to use for escort cards, coasters, or stationery with your new married name. Our Save the Date design is just the upper left portion of the image above. I deconstructed our custom pattern, and also added some components like calligraphy we had done for some address stamps last Christmas (calligraphy by A Fabulous Fete). Hopefully some of these components I will be able to use again and again.

Whimsical-DIY-Polka-Dot-Kraft-Paper-Save-the-Dates


Source: Oh So Beautiful Paper

I have the plate in hand and now I'm just waiting to choose which paper I'll use. I have some beautiful teal watercolor paper and was originally planning to do a painted treatment similar to this beautiful piece, but I'm not sure thats going to work with the letterpress ink so I'm still in brainstorming mode. Will keep you posted! I'm also sharing some sneak peeks of the process on my instagram account (I'm @ravennagirlb) if you want to follow along there!

Grand Entrance

9c06b54f320776f22d05f2516587c030Source: Utah Bride Blog

Remember a couple weeks ago when I was scheming ideas for our ceremony backdrop? Now that the wheels are turning there I'm turning my attention toward the venue entry to see if I can repurpose some of the DIY elements. While I love love the inside of our venue, the exterior is pretty quiet from the street. Its a sleek black storefront on an urban street. I don't dislike it, but I think i'd like to add some elements so that our guests will know that they're entering our event from the street.

I've pulled some ideas of elements we might like to add. Since we have an urban venue, I'd like to find a way to interpret some of these more rustic ideas into something that will make sense for the surroundings.

Manchik theater wedding

Source: The Manchiks

I like the lights in the image above to lend a vintage theatrical vibe to the entry. We don't have an overhang, but perhaps we could find an element to build upon.

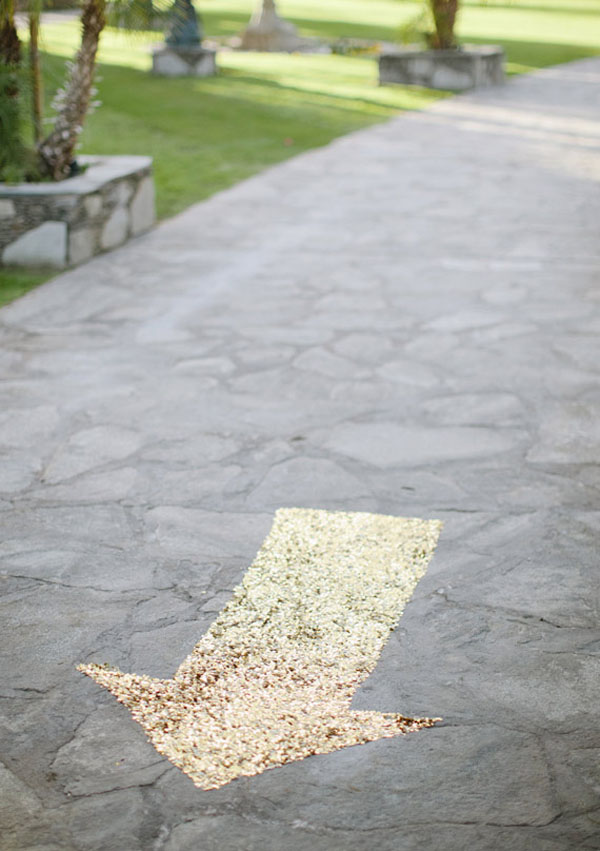
I also love love the idea of a little bling on the ground as guests arrive:

ps3

Source: 100 layer cake

I also like the idea of a beautiful sign to bring in some of the design elements we've come up with so far.

Urban-San-Francisco-wedding-Allison-and-Brandon-30Source: Meg Ruth Photo, 100 layer cake

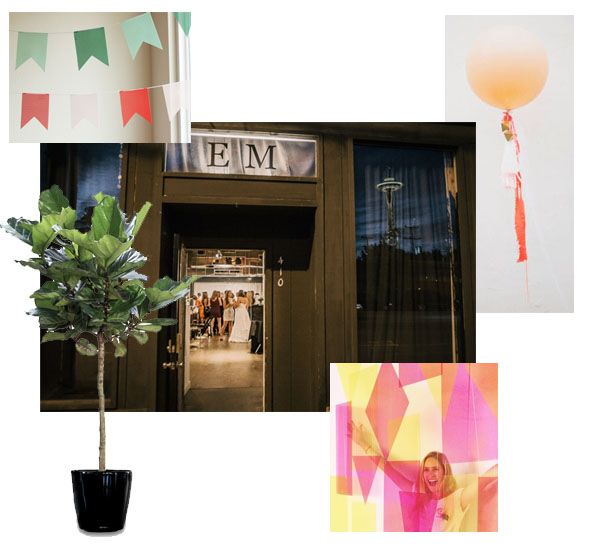
The benefits of our venue entrance are a wide clear sidewalk, a sleek painted storefront and display windows (which we can decorate). [Thats an actual shot of our entrance below] I'm thinking of adding some simple colors to the windows, and outside flanking the entry with some greenery and bold shapes. Perhaps some acrylic shapes mounted to a sleek black archway? I've wanted some large fiddle leaf houseplants, so I'm thinking of buying them for the big day then giving them a sunny home in our living room. And who can resist a giant balloon? Can't wait to see how we can make these all come together.

Entry Decor copy

Sources: Julep (bunting), Southern Botanical (Fiddle Leaf), Matt Shumate (EM Fine Art Exterior Photo) Design Love Fest (Acrylic Backdrop - by Michelle Edgemont), Green Wedding Shoes (Balloon)


April In. . .

  130401_tokyo_12

Source: Japan Guide

One of the only upsides of being in a long distance relationship is frequent flyer miles. LOTS of frequent flyer miles. After over 5 years of cross country flights and extra credit card points, I've accumulated over 150,000 miles. I've known all along (well, since we got engaged) what I wanted to do with all these miles: Go on an awesome honeymoon!

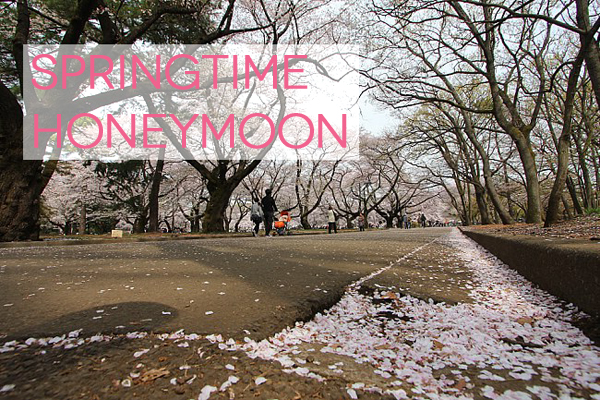
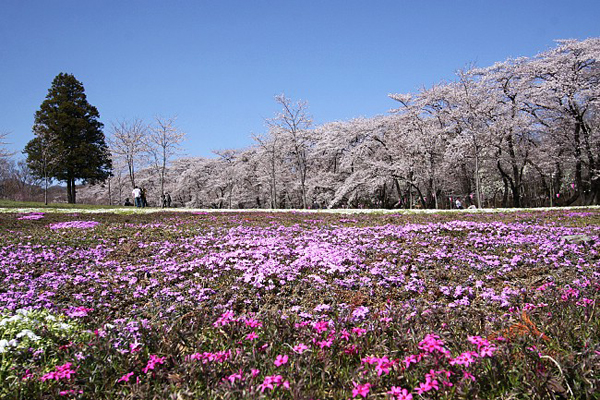
We're approaching 6 months out from the big day so we thought we ought to solidify where we wanted to go. We took into account time of year, desired activities (adventure travel vs. lounging), food, culture, and ease of travel. We considered New Zealand (yep, we had enough miles to get there for free), Thailand, Portugal,  Croatia, but ultimately decided the time of year was too perfect to neglect one of our favorite places on the planet. These are all scenes from our destination:

130404_gunma_14

Source: Japan Guide

tachibana_05

Source: Aura Tachibana

Japan-Nagano-086Source: Jennifer Chong

Kinfolk_Instant-Extraction_v8-06-04-13_01-750x500Source: Kinfolk Magazine

I'm sure its been a pretty easy guess, but we're headed to Japan!! New Zealand was the runner up, but with 11 days to travel we decided it was just too far to go. United has a direct flight Seattle to Tokyo so the great thing is we can have an exotic vacation without spending too much time actually travelling.

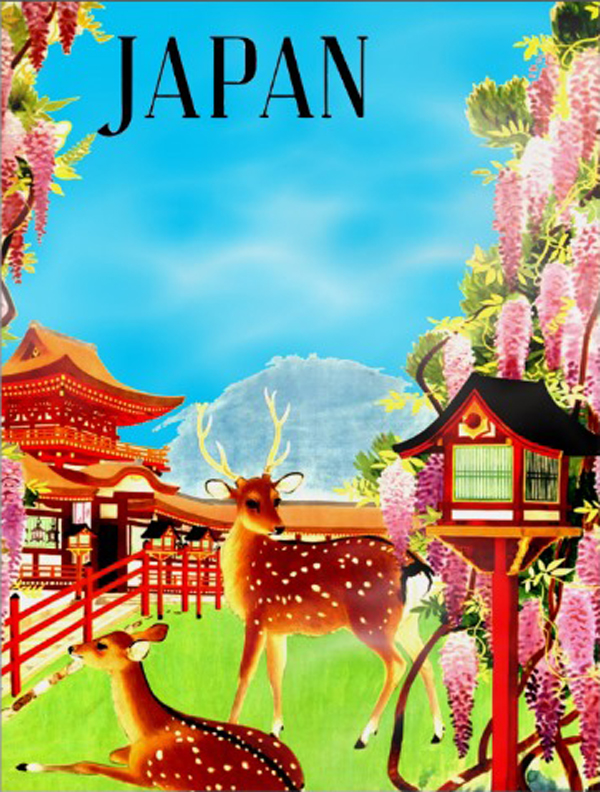
japan_vintage_japanese_travel_poster_postcards-r60840468bb774893803c08387b276c02_vgbaq_8byvr_512

Source: One Kings Lane

Even though we've both been, we feel like there is SO much more of the country we want to see and experience and we're super duper excited. Plus, it will be cherry blossom season. I already know I am going to take a bazillion photos. Our plan is to start our trip in Tokyo, then spend a few days up in the mountains near Nagano soaking in hot springs, then head to Kyoto to experience the amazing temples, and finish up in Osaka which is the foodie capitol of the country. If anyone has any Japan travel recs, send 'em my way. You can also follow my Japan Honeymoon pinterest board.
 

Another bit of bling

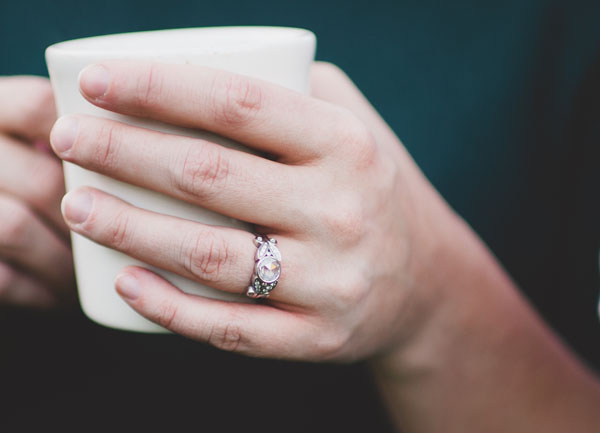
Bri RingSource: Carina Skrobecki

While Erik was home on military leave this summer, we went shopping and bought his wedding band, a simple matte tungsten band. Seeing a ring on his finger somehow made things start to feel really real, can't wait for it to be there permanently! Now that we have his, I spent some time thinking about what I really want.

My ring, in the image above, is a custom designed band with small floral accents around a rose cut center stone, creating the look of a wide band. I absolutely love it on its own, and because it was custom made for us, it doesn't come as a set with a wedding band. Because I love it so much on its own, I don't really want something that nestles in perfectly to make it even wider, I feel like it would really change the whole look of the ring.

For awhile I thought I didn't want another band at all. My mom never had a separate engagement ring and band, and I didn't want something that would make me like my ring less. But, we do travel quite a bit internationally, and I wanted something I could wear in case I was nervous travelling with an obvious diamond on my finger. We also do a lot of gardening and house renovation, so again wanted something to wear in lieu of my engagement ring for weekends spent mostly at home depot. And then there's the symbolic aspect of having a band to bless on the day of our wedding. The engagement ring has so much symbolism, but I wanted another little something to have to remind me of the actual wedding day, even if I don't wear it 100% of the time.
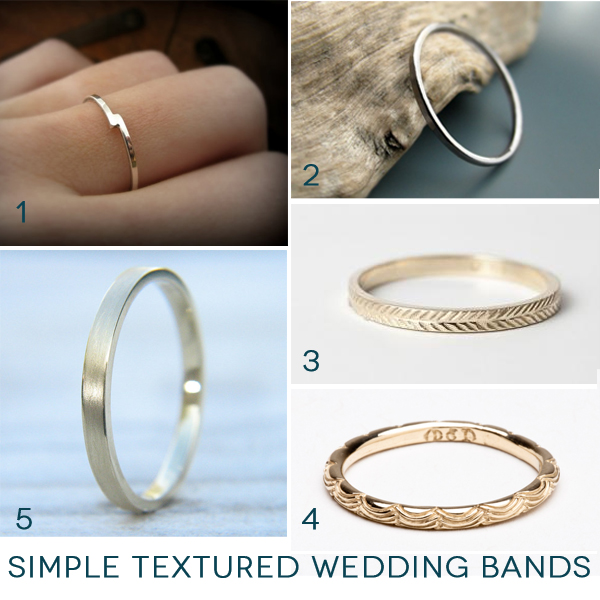
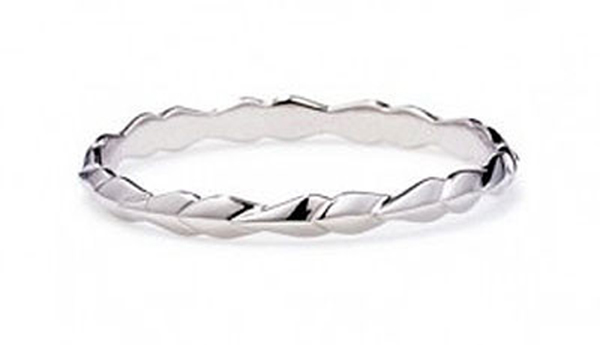
So I started researching simple bands with some organic texture that brought the feeling of my engagement ring to them. I looked for very thin bands in hope of finding something that might work with the engagement ring for the rare day I might want to wear both. For this reason I was also looking for palladium or white gold options to match my diamond ring. Here are the favorites that I found:

Wedding bands copy

Source: [one] [two] [three] [four] [five]

I really like all of these for different reasons, but one night on pinterest I stumbled across a band that has the same feeling to me as my engagement ring in a much simpler form. They won't necessarily go together, but I will feel equally beautiful wearing either depending on the day. They're both architectural yet organic:

b1402w_003_1t_1_large (1)

Source: Anna Sheffield

One thing I especially like about this choice is that there is a matching band with diamonds that we can get down the road as an anniversary band. It would be a great wedding band option if you wanted something a little blingier. I've already started dropping hints for our 5 year anniversary.


A softer birdcage

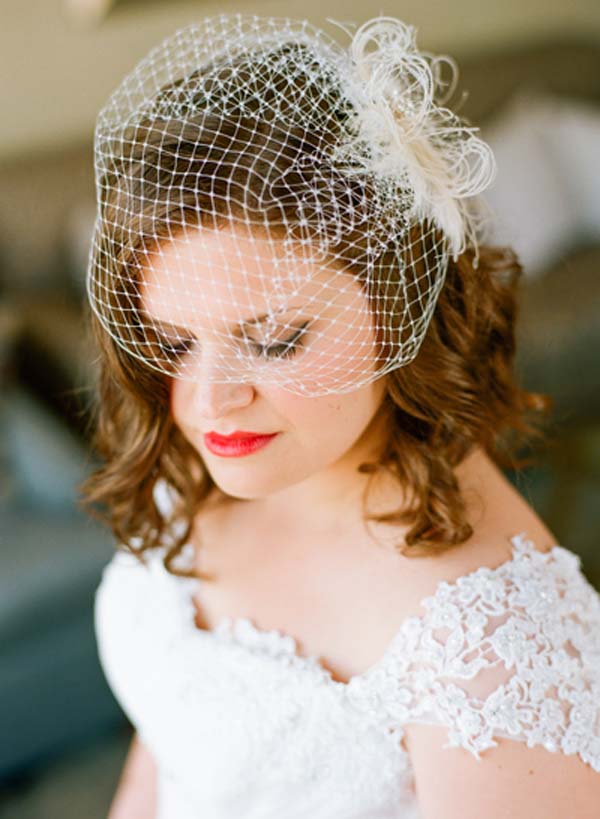
Recently I met with the seamstress who will be doing some alterations to the gown I found at a charity sample sale earlier in the spring. This makes the whole thing feel real and has spurred me into figuring out the rest of my look. One of the images inspiring me was this fresh bride with smoky eyes, bright lip, simple curls, and a retro-inspired birdcage look. 20109

Source: The Bride's Cafe

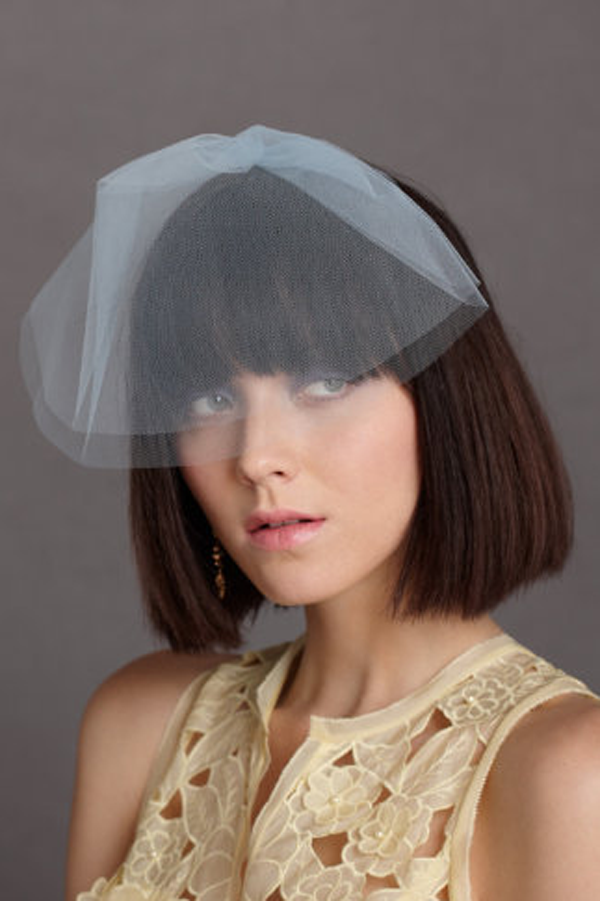
Gorgeous, right? I really love the vintage inspiration behind the netted birdcage veil, but the more I looked for options to purchase the more I wasn't sure it was QUITE right. As you can see from my dress inspiration, the silouettes that inspired by gown purchase aren't particularly retro (they're not tea length circle skirts or anything), and have some more modern elements. So I started to wonder how to channel the inspiration of the birdcage but in a more streamlined, simpler way. Here are some of the options I found and what I love about them:

Tulle blusher from Tessa Kim. I love that this has the same general shape as a birdcage, but falls a little lower and generally softer. Plus, the simple tulle has a cleaner look than the vintage netting. The Tessa Kim option comes in varying lengths (my favorite is the 18") and varying colors.


20121023-tessa2012-2145-X2

Source: Tessa Kim

 Polka Dot blusher. I mean, Polka Dots. Originally I really wanted an Ivy + Aster gown in a swiss dot (unfortunately the bust line wasn't quite right for my girls), so I thought this might be a way to channel that sense of whimsey.

il_570xN.263820511

Source: Sibo Designs

Short Tulle Birdcage. I really loved the double-layer of this for a more modern line. Doesn't get more simple than this.


Capture

Source: BHLDN (No Longer available, but similar styles available at the other links in this post)

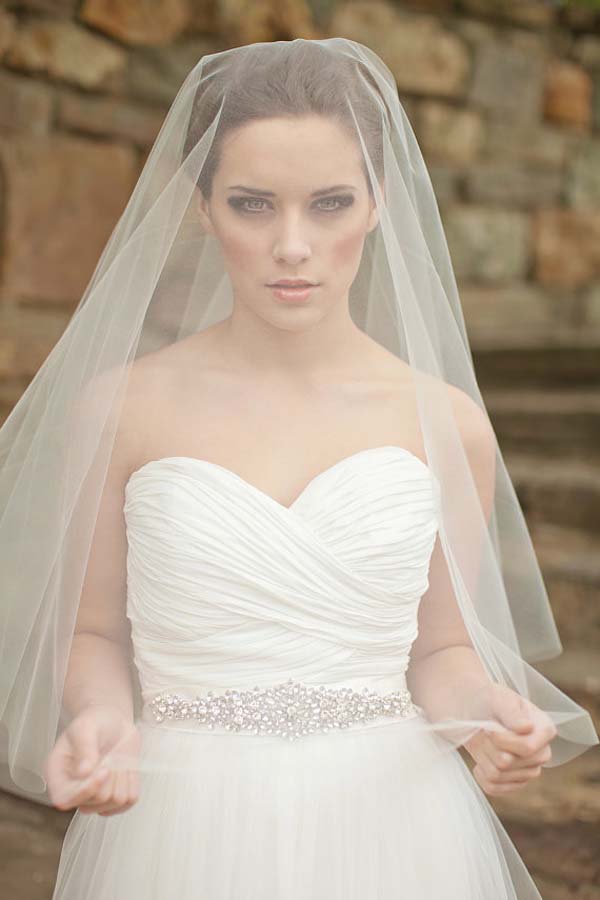
Circle Drop veil. I've been really loving the clean lines of drop veils lately since they avoid that ruched look at the comb. This veil is so simple its literally just a tulle circle cut to lay over your hair and face. Ultimately, i think the length is a little too traditional, plus I was worried about the logistics of uncovering my face during the ceremony with this one.

il_570xN.474724832_8blw

Source: Melinda Rose Design

Ultimately I ended up stumbling upon an amazing Tessa Kim pop up sale and chose hers because it fit the original birdcage blusher shape, had a soft simplicity, and I got an amazing deal. Actually, if I'm being honest, I actually bought a shorter one too that I might add some sparkle to and wear for my bachelorette and/or the rehearsal.

Now, off to finalize hair and find a hairpiece for the reception (I might DIY that, we'll see!). For more ideas on what I'm considering for my bridal look, visit my Bridal Attire pinterest board.

Ceremony Backdrop

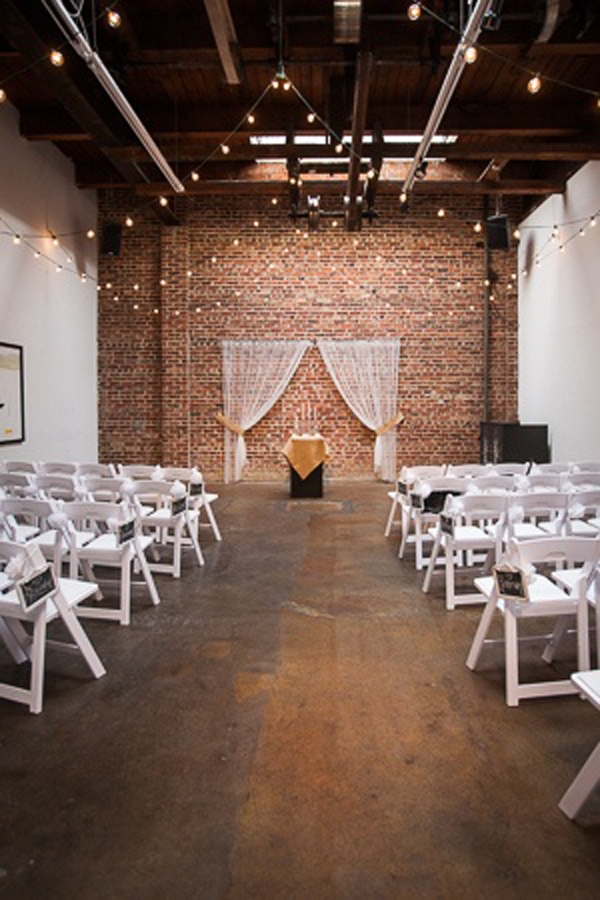
So we've nailed down the venue, I've got a dress, and I'm dreaming about cake. Almost all our vendors are in place (just a couple smaller ones left), so I've left myself start dreaming about the decor. With pinterest inspiration in my face every day, I was wanting to jump into decorations the very first thing. I made myself a deal that I would wait until I had all the big components nailed down so that I wouldn't get my heart set on a decor idea that wasn't feasible for the venue or would clash with some of the larger items. Since almost all those are in place: full steam ahead! The first thing I'm scheming is our ceremony backdrop. The venue already comes with an amazing brick wall backdrop and some lights hanging overhead, but I want some other color and pattern as our main focal point. Something a little more dynamic than the white curtain that has been used in the space in the past:

1a1a1ee4a6ec7d6d51492e6fa252ca2c

Source: Photo Elan

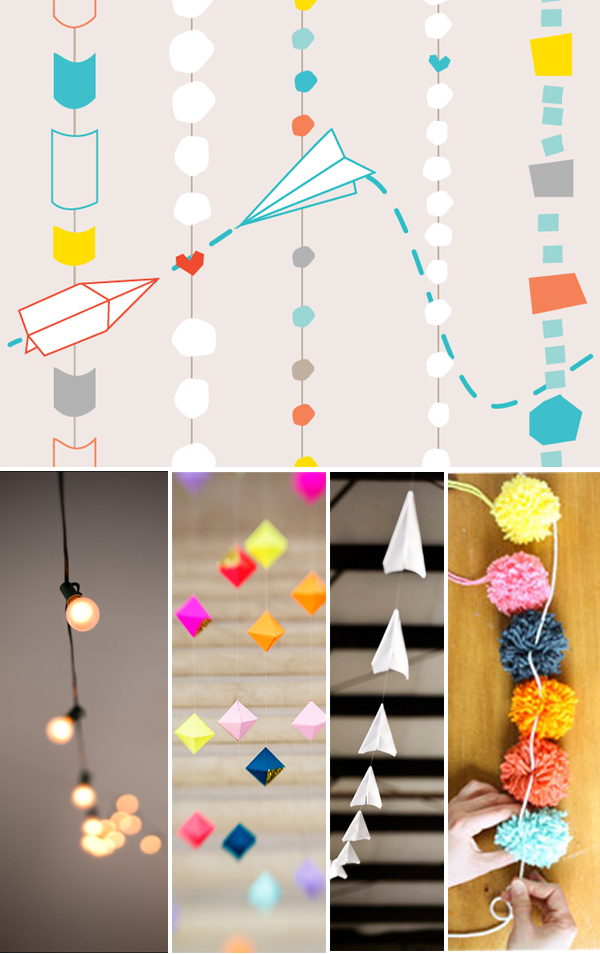
I went back to our pattern and decided that maybe I would just do the simplest thing and re-create it in a larger format, with several types of hanging garlands. Globe lights  (which the pattern was designed around), pom pom yarn balls for the colorful circles, a bold geometric garland, and maybe even the paper airplanes that are a nod to our long distance relationship. I think a few of these garlands hanging side-by-side or overhead would be just the focal point I'm looking for.

Brianne wedding pattern ceremony backdrop

Sources (Top then left to right): The Ravenna GirlsCramer PhotoRuffled BlogGather and Build Lulu the Baker

What do you think? Is it too much, or just enough??


Simple Colorful Cake

Southern-wedding-fall-wedding-cake

 Source: Southern Weddings

Cake! Lets talk about cake for a minute, shall we? My fiance was home on military leave this past week, so we took the opportunity to cross many things off our wedding to-do list. One of those things was cake tasting - something we couldn't easily do over skype.

tallpastel

Source: Sweetapolita

cake 1

Source: Manchik Photography

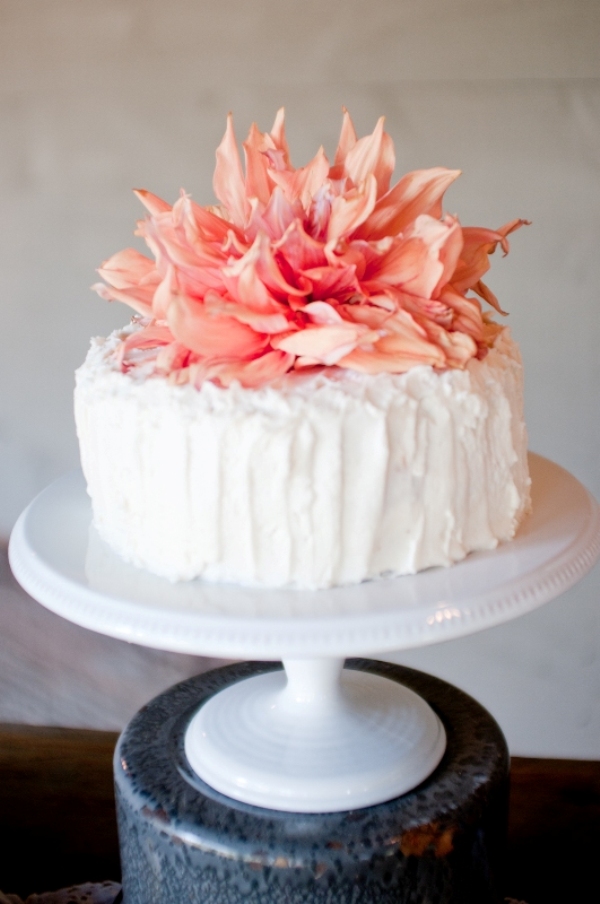
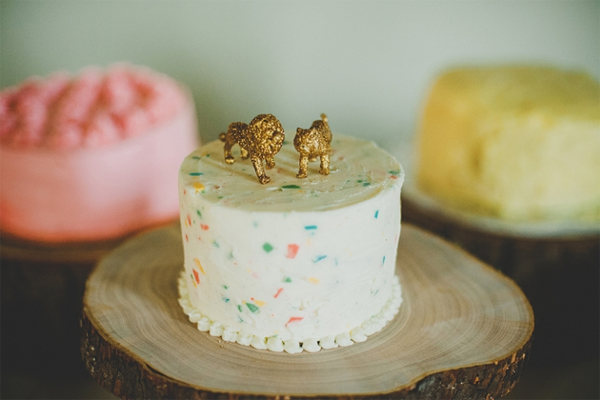
We met with 3 bakers in our area with the focus on choosing the most delicious cake and frosting. We've decided to do simple single-tier cakes with fun textures, colors, and toppers on vintage cake stands to give a whole spread of eye catching smaller cakes. This way we can play with a bunch of fun flavors (chocolate, vanilla, lemon, tiramisu, you name it!) and also keep things modern and budget-friendly.

ruffleslice

Source: Sweetapolita

finorangeslice (1)

Source: Sweetapolita

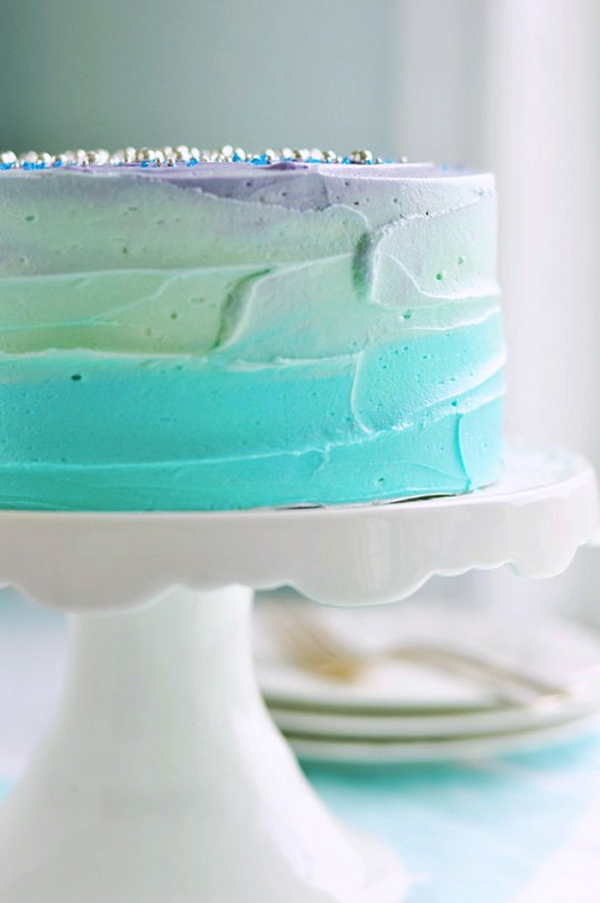
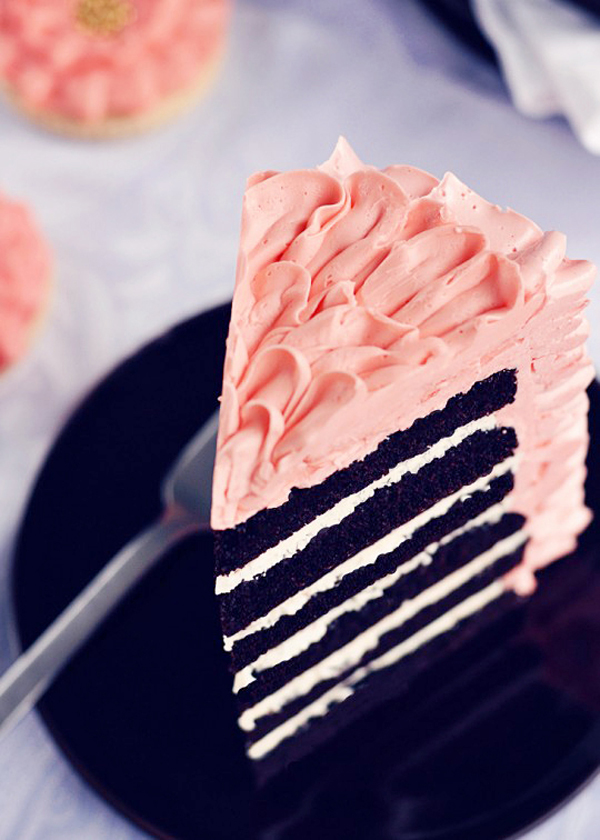
These are some ideas I've saved for textured buttercream and ombre colors. See more on my Cakes! Pinterest Board.

Wedding Wine Tasting

101897215.jpg.rendition.largest

 Source for all images: Better Homes & Gardens

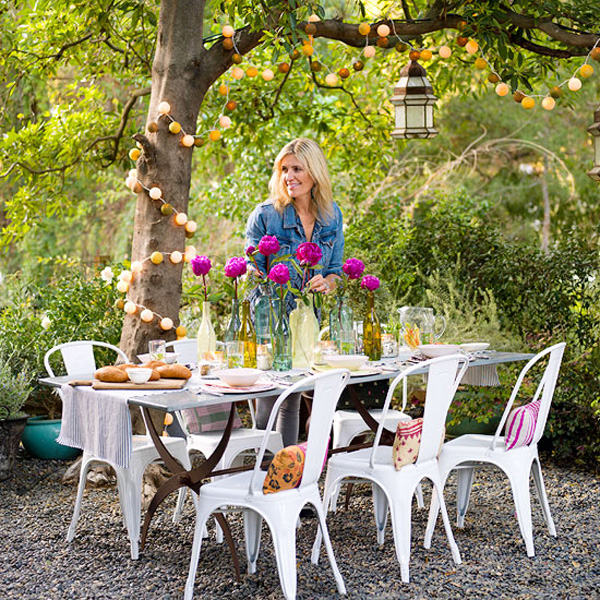
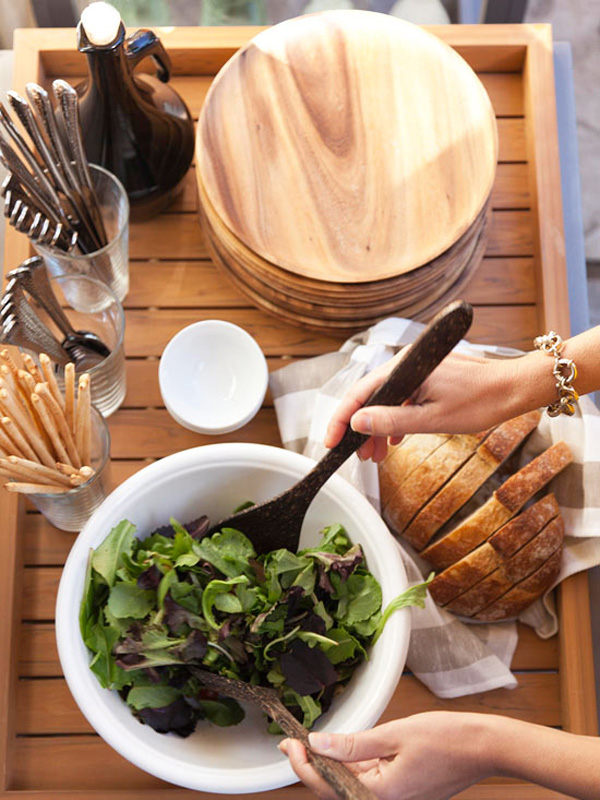
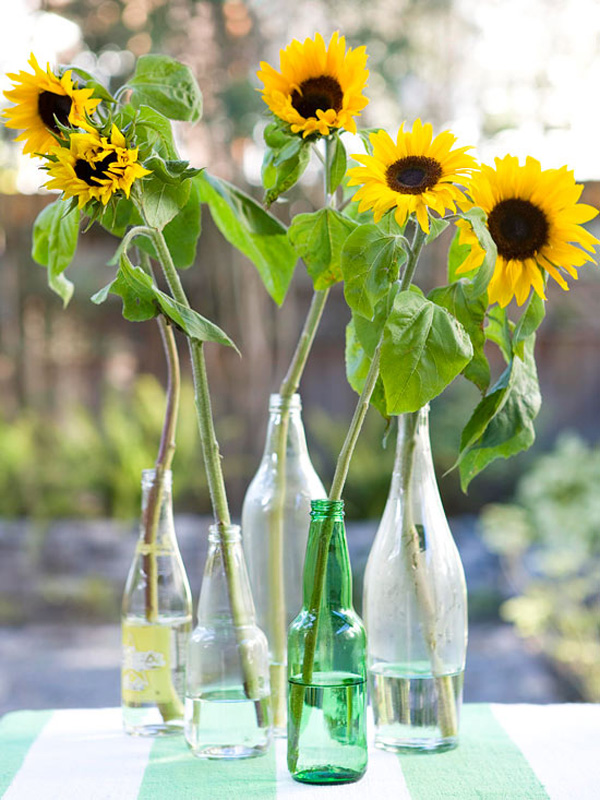
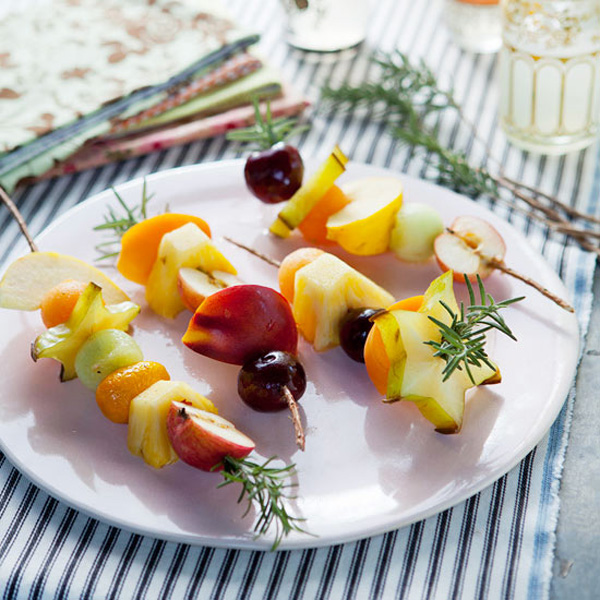
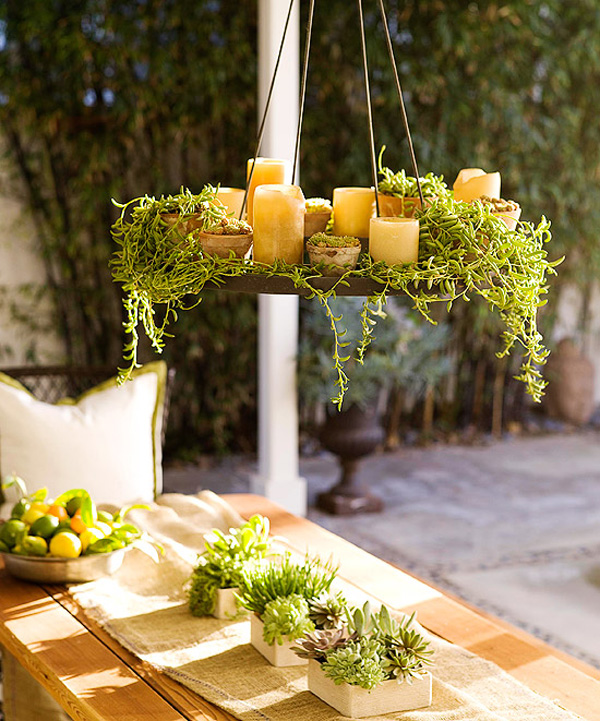
 Last week I mentioned that we wanted to take advantage of summer weather in Seattle to have my bridal shower, even though we still have months until the wedding. It was completely amazing and I can't wait to share details! Since the sun shines on, we've also talked about another summer party: a BBQ hosted with the purpose to pick our wedding wines.

Alfresco Dining 1

We're going to send invites with a per bottle price maximum and do a blind test with our friends and bridal party to try and choose the bottles that we'll buy for the big day (our venue lets us bring our own alcohol). We felt like this would be a fun way to get the families together, enjoy the sunshine, and give some involvement into the planning process.

101699130.jpg.rendition.largest

101180540.jpg.rendition.largest

Alfresco Dining 2

101378654.jpg.rendition.largest

In anticipation, I've been pinning ideas for decor and food for this little outdoor soiree. Can't wait to share which bottles we chose!