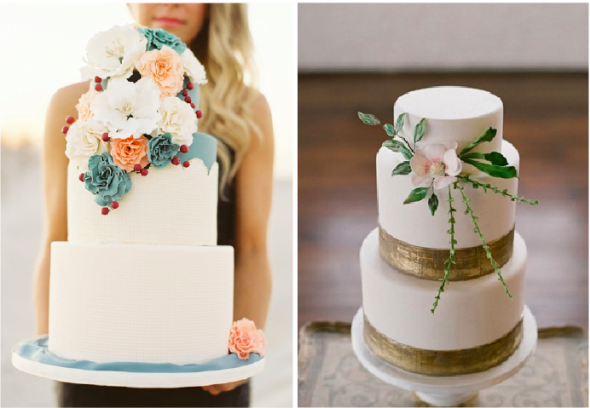
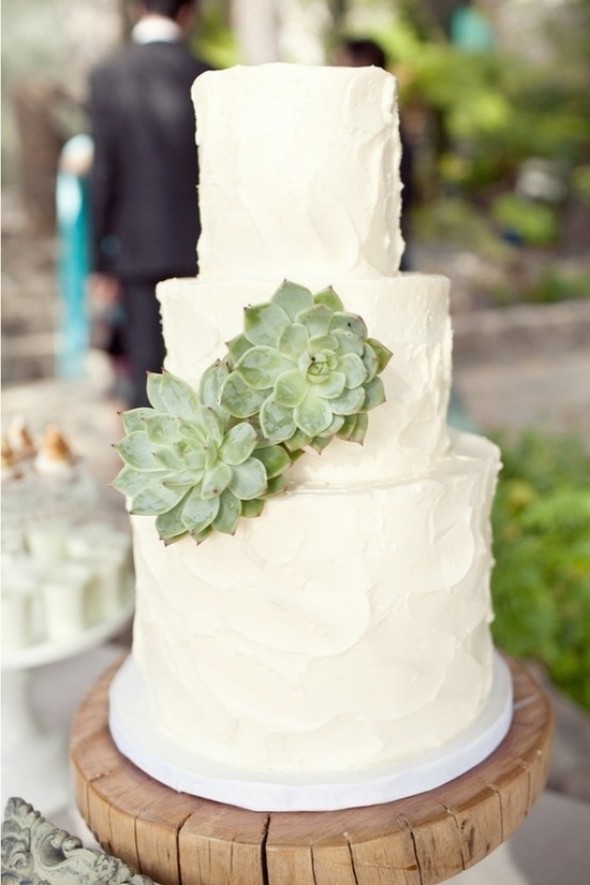
Simple Colorful Cake

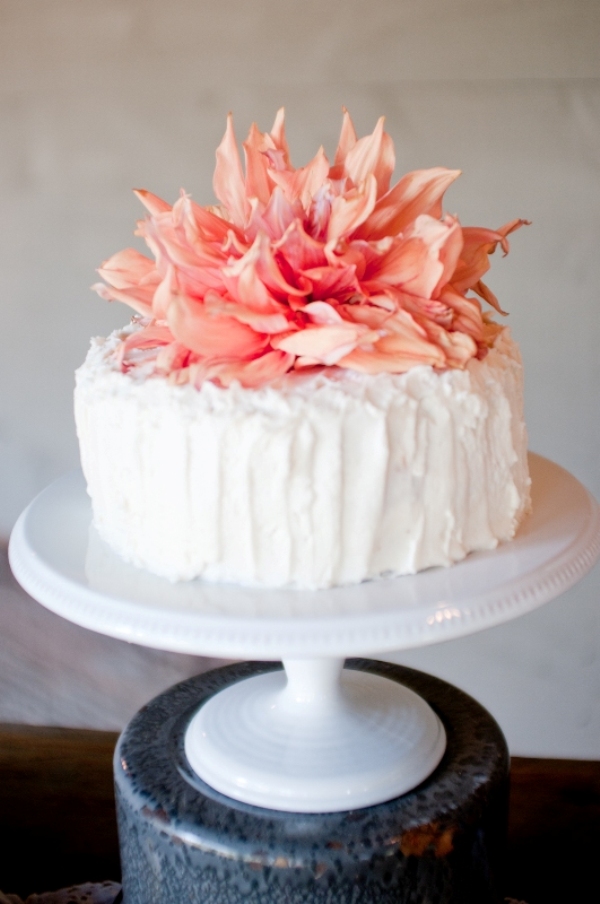
Southern-wedding-fall-wedding-cake

 Source: Southern Weddings

Cake! Lets talk about cake for a minute, shall we? My fiance was home on military leave this past week, so we took the opportunity to cross many things off our wedding to-do list. One of those things was cake tasting - something we couldn't easily do over skype.

tallpastel

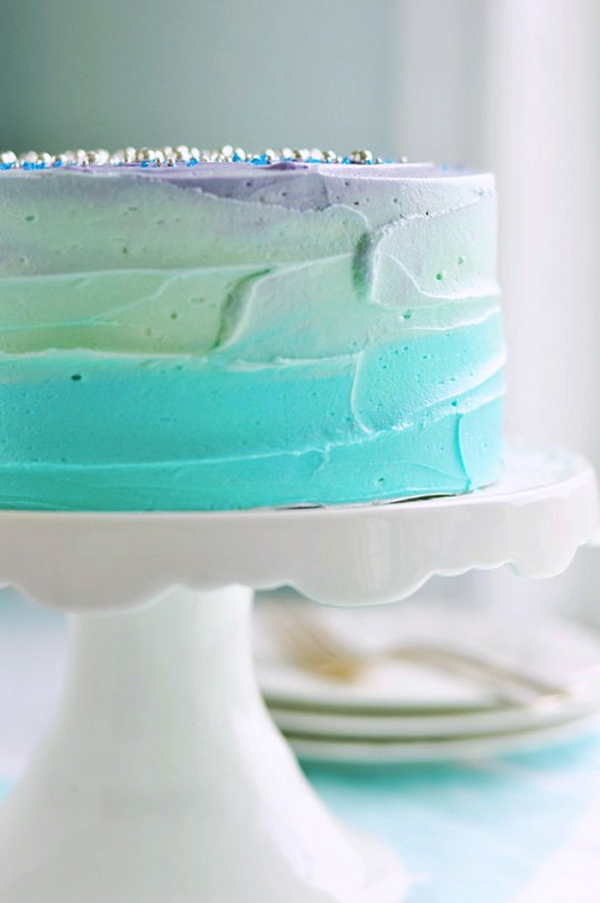
Source: Sweetapolita

cake 1

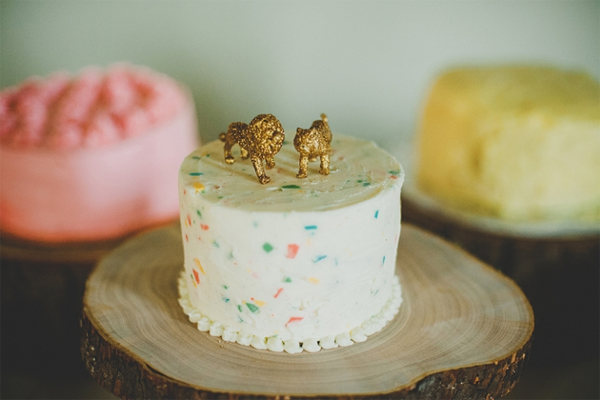
Source: Manchik Photography

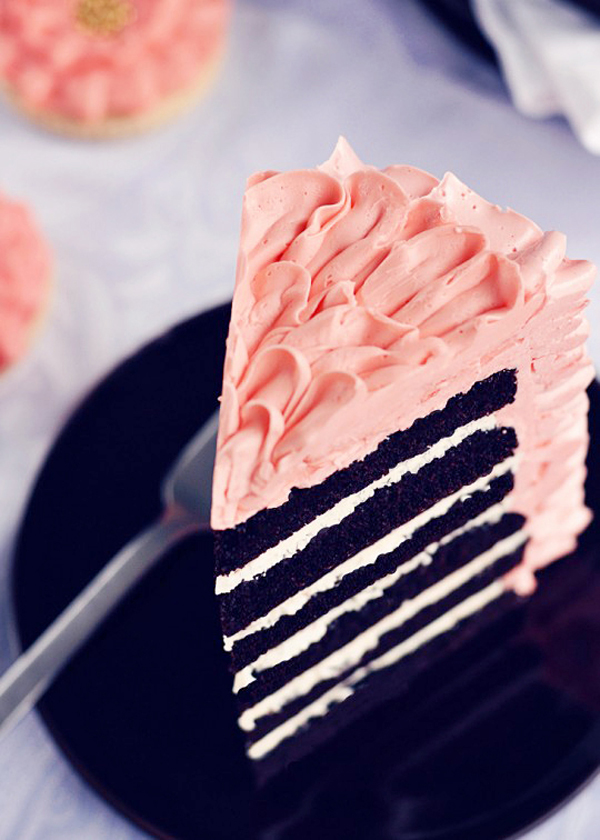
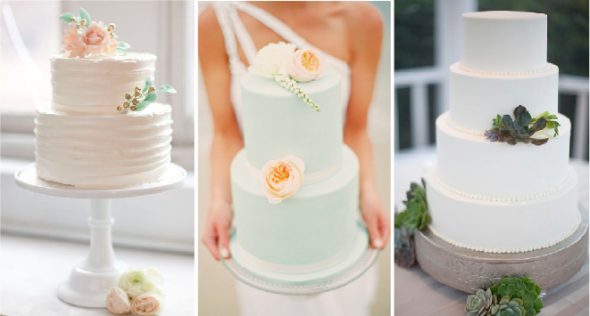
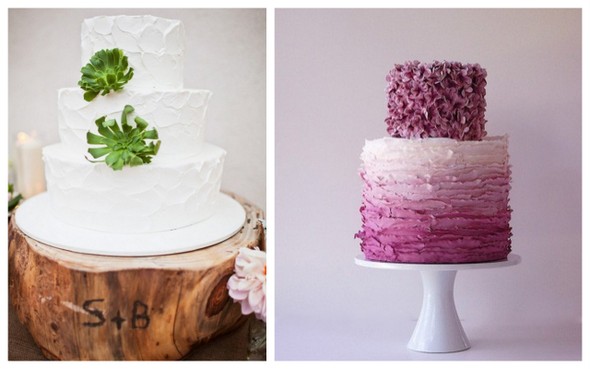
We met with 3 bakers in our area with the focus on choosing the most delicious cake and frosting. We've decided to do simple single-tier cakes with fun textures, colors, and toppers on vintage cake stands to give a whole spread of eye catching smaller cakes. This way we can play with a bunch of fun flavors (chocolate, vanilla, lemon, tiramisu, you name it!) and also keep things modern and budget-friendly.

ruffleslice

Source: Sweetapolita

finorangeslice (1)

Source: Sweetapolita

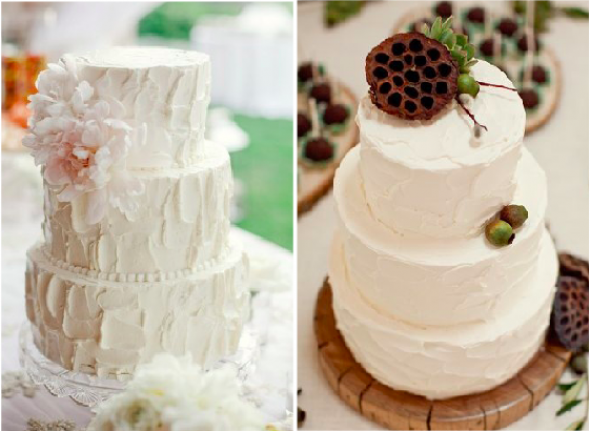
These are some ideas I've saved for textured buttercream and ombre colors. See more on my Cakes! Pinterest Board.

Show Stopping Wedding Cakes

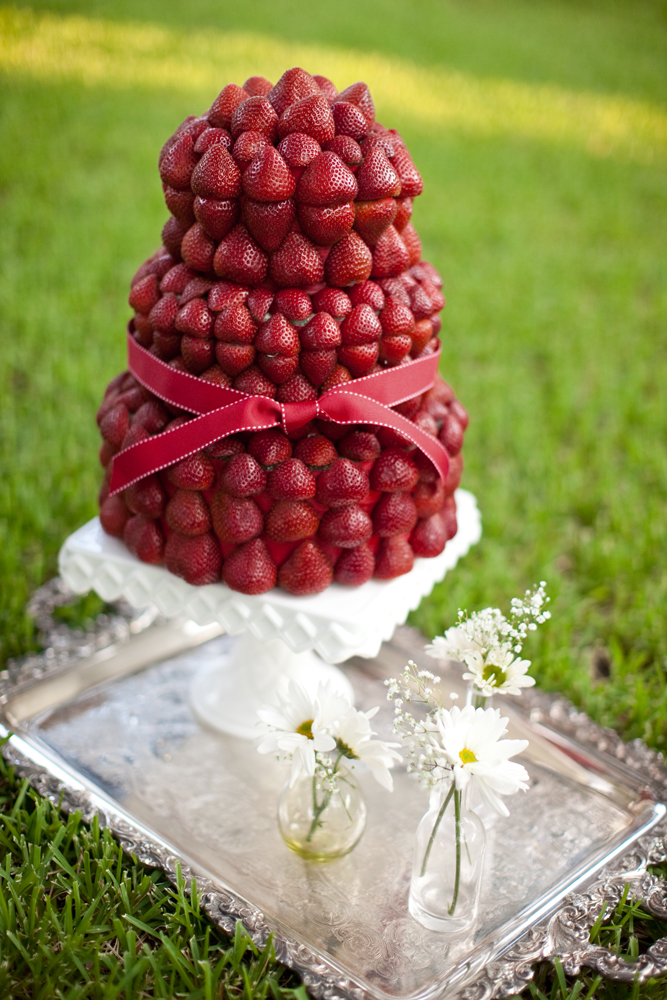
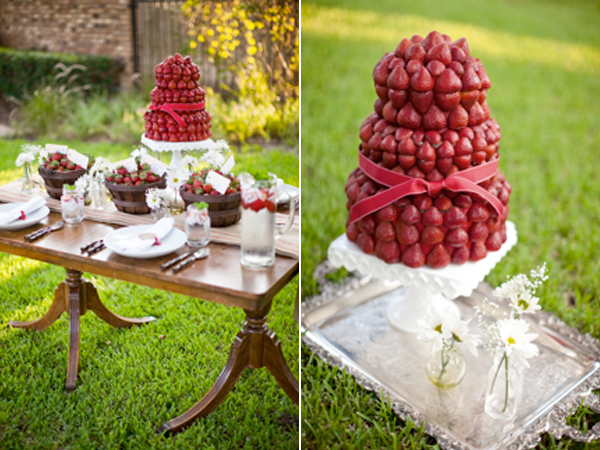
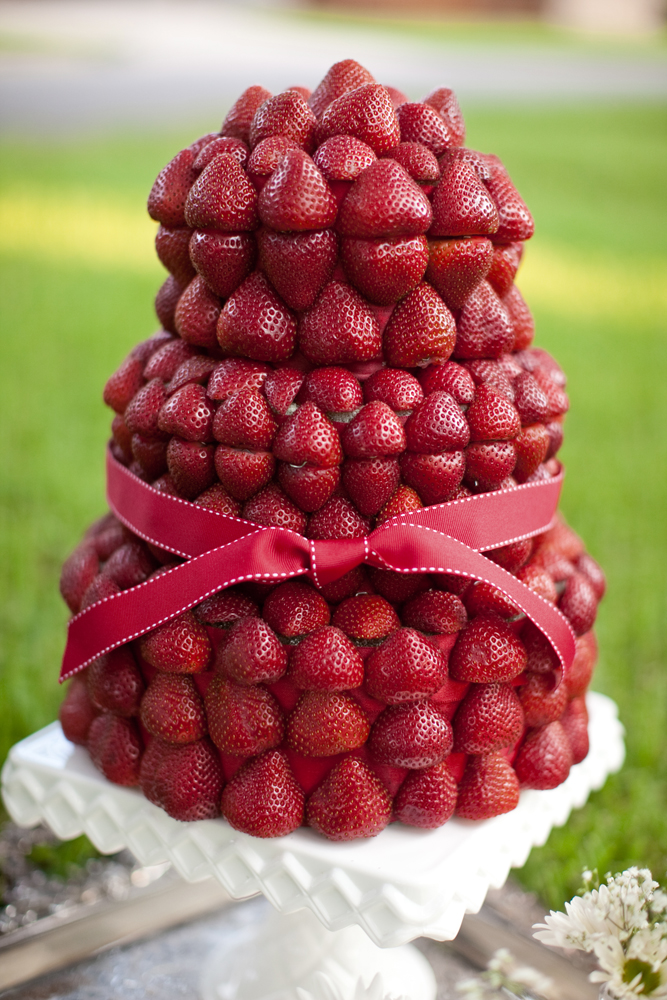
Want a piece of art instead of just a wedding cake? These two alternatives will offer some amazing inspiration on how to achieve something a little different. This stunning cake from Driscoll's is delicious, adds a fresh pop of color can be used simply as decor or a fun way to add a burst of fresh berry goodness to your dessert table. I just love what they did with this cake, not to mention the endless opportunities you have in terms of decorating this little beauty.

Original File Name: strawberry-39.jpg Original File Name: strawberry-64.jpgstrawberry-wedding-aceke Original File Name: strawberry-65.jpg

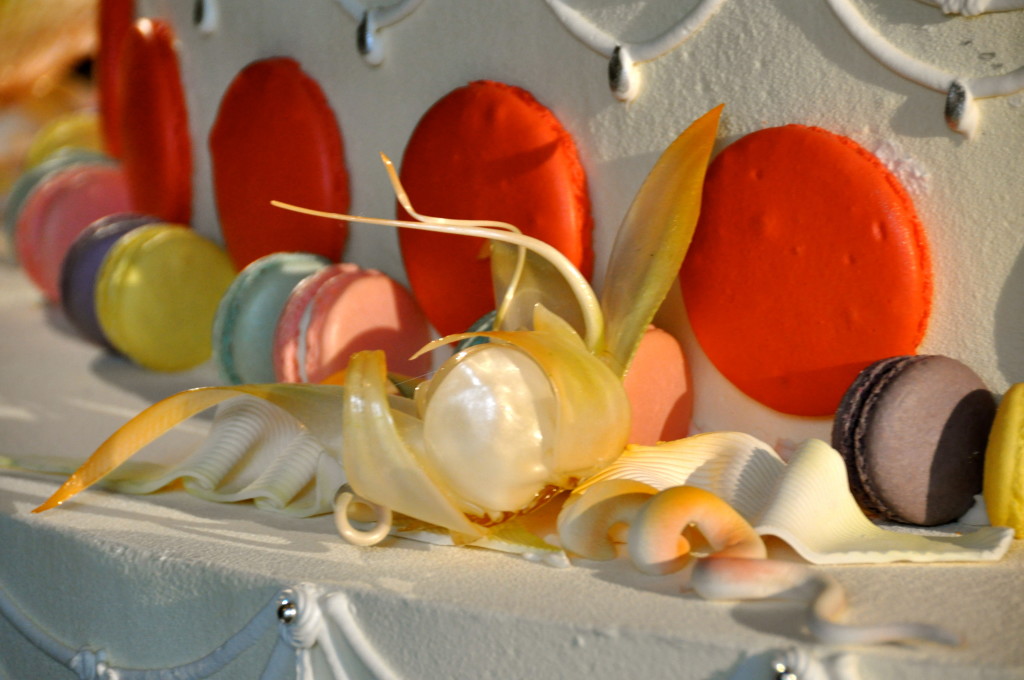
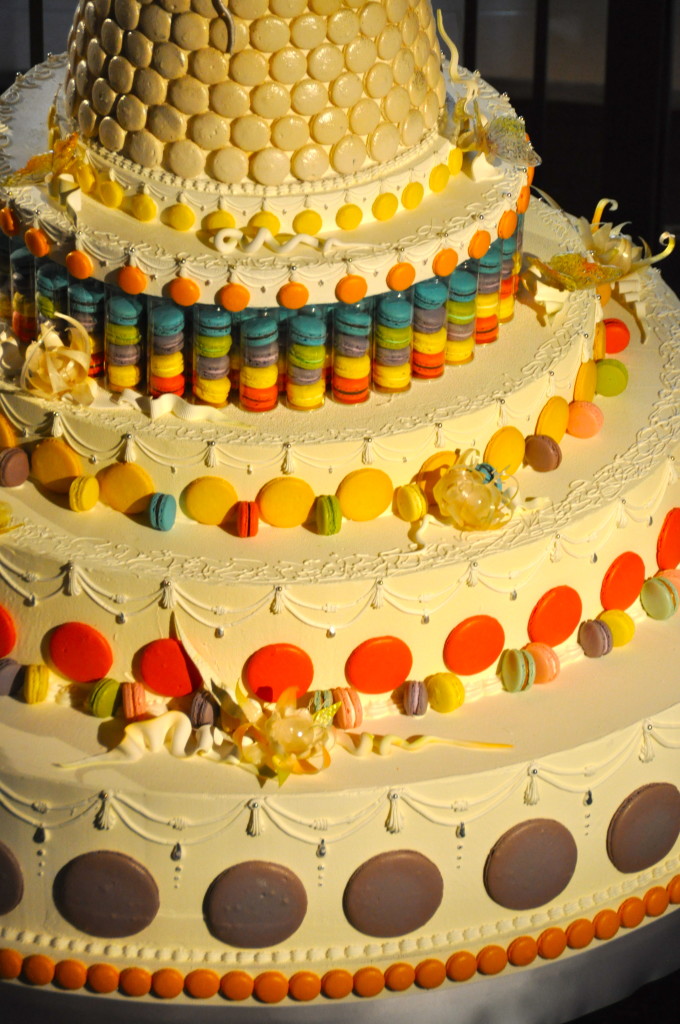
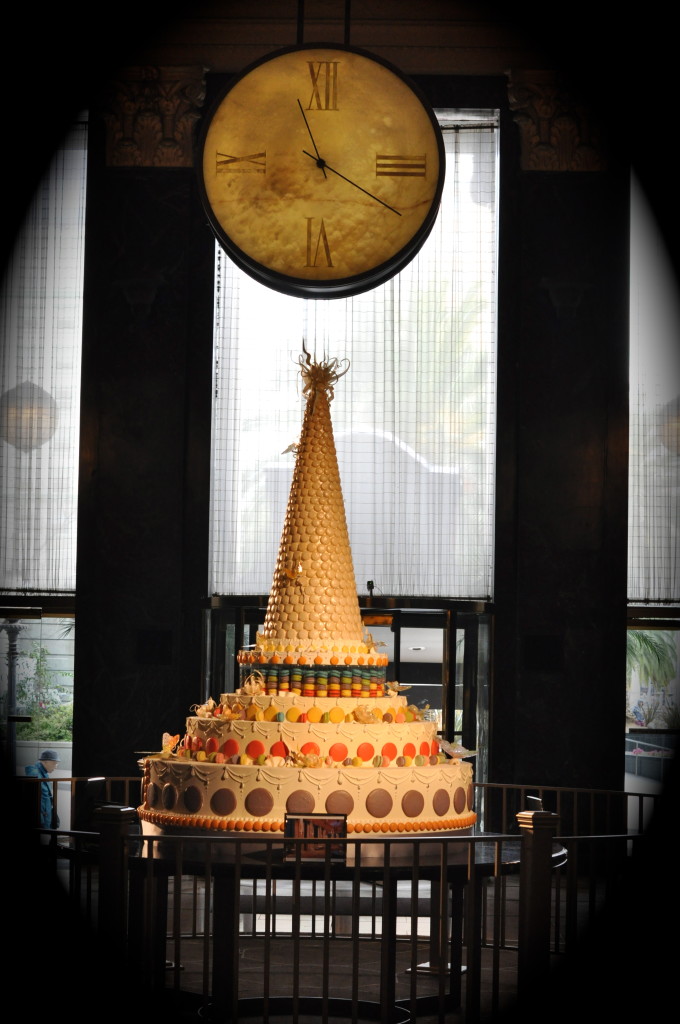
In celebration of the spring and summer wedding seasons, The Westin St. Francis Executive Pastry Chef Jean-François Houdré has created one of the largest Parisian macaron wedding cakes in the country! Currently on display for the public in the Landmark Lobby of The Westin St. Francis in San Francisco, this masterpiece of brightly colored meringue-like cookies is a towering six and a half feet tall.

DSC_0028WSF Macaron Closeup3WSF Macaron Cake_Lobby

This cake was one month in the making and estimated cost is $8,900. Chef Houdré and his team have put in over 75 hours creating this delicate work of art. More than 1,000 handmade Parisian macarons in various sizes and irresistible flavors decorate three large circular layers and a cone-shaped tower. A sampling of the unique flavors includes lavender, rose water, chocolate blueberry, pistachio, yuzu and almond. Beautiful sugar butterflies embellish the sides, and the top is adorned with a large sugar flower. And if you are as intrigued as I, check out this incredible video of the cake being made.

Would you consider such an ornate creation for your wedding day or are you leaning more toward the effortlessness of the strawberry cake?

Adventures in Cake Tasting

Happy Valentine's Day! What better thing to blog about on Valentine's Day than cake. Yumm give me a slice of cake and a glass of champagne any day and I am one happy girl. Anyways, this past weekend we had a marathon of cake tasting. Our caterer strictly handles food so we needed to find another baker to make our cake. Of course, practicing my due diligence, I scheduled tastings with three different bakers in the same day. Blame being out-of-town bride for this kind of madness. (Way too much sweetness for one day).

After choosing the flavors and fillings, the next question bakers want answered is what the cake will look like. Luckily I brought my handy ipad mini to show them some of my favorite cakes out there:

Great Aftertaste

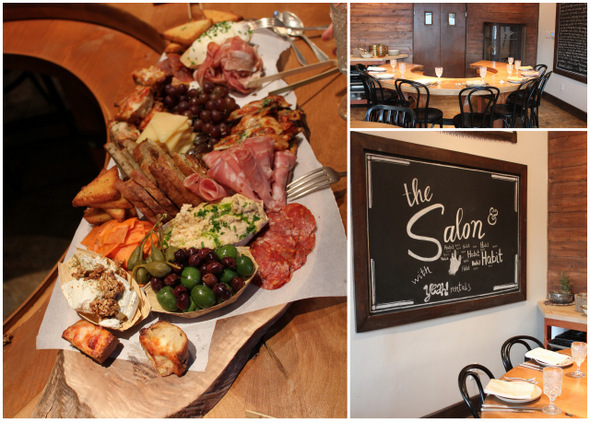
As I mentioned  in last week's post, we had our catering tasting this past week at Heirloom LA. It was wonderful!

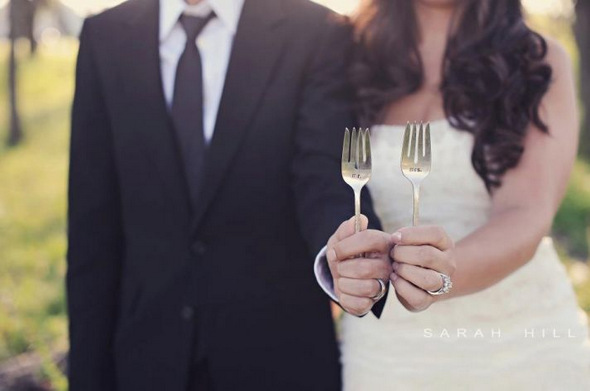
Source (You can buy these cute forks off Etsy!)

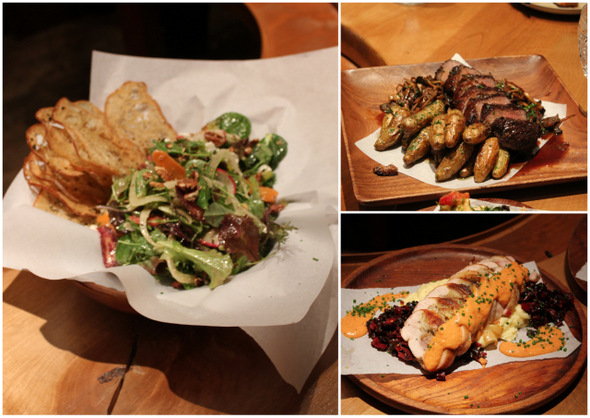
With this being our first tasting, I had no idea what to expect and was pleasantly surprised. We got to try a smaller version of our crostini station (pictured above), five amazing tray-passsed appetizers (so appetizing that they disappeared before I could remember to photograph them), four different entrée options and two scrumptious desserts.

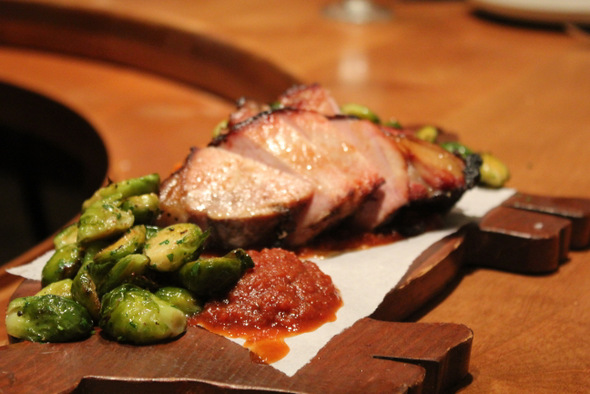
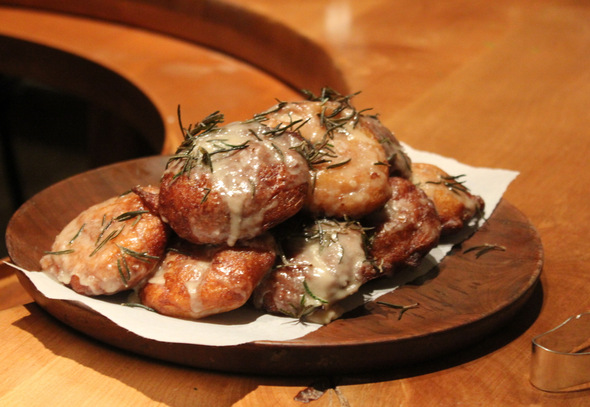
Our favorites of the night were Smoked Pork Chop with Yam Puree and Roasted Brussel Sprouts (pictured above) and Maple Rosemary Donuts (pictured below)

Now comes the hard part of narrowing down our options. Since we are doing a family-style dinner we want to make sure that what we pick will appeal to all of our guests. How did you decide on your wedding menu? With so many special dietary restrictions theses days (vegetarian, vegan, gluten-free, ect.) how did you select for the masses without giving up what you wanted?


DIY Cake Topper Cutouts

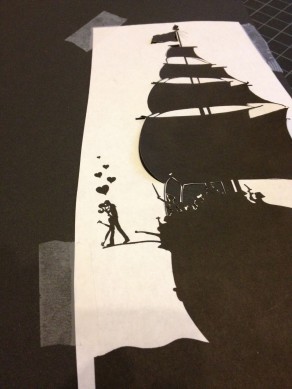
I've seen so many cute silhouette cake toppers on Pinterest lately, that I thought I'd have a stab at my own. And while I'm at it, why not personalize it? If you recall, our Save the Dates had a little pirate theme that we screen printed. I wanted to replicate that design for our cake toppers. So, here we go... here's how to make customized cake topper cutouts!

Materials needed:

- Paper (I used cardstock black and glitter red from Paper Source)

- Wooden Skewers

- X-Acto Knife

- Mat for cutting

- Glue (I used Elmer's)

- Printouts of what you want your silhouettes to be

- Heavy books

- Scotch tape

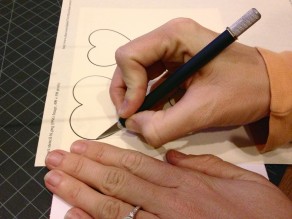
For a double sided cake topper, like the hearts I made, fold your paper in half and tape it closed on the sides. Then tape your stencil to the paper, so it doesn't slide around when you're cutting.

Trace the stencil lines, pushing as hard as you can! You have 3 layers of paper to get through, but don't worry if you can't cut all of the way through. If you're like me and don't have the willpower to cut through all 3 layers of paper, take your stencil off, and trace back over the lines you cut with your X-Acto knife, pushing all of the way through the paper.


Success!!

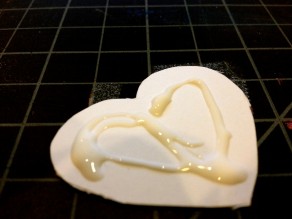
Match up the hearts (or whatever shape you're doing) that are the same size, and put glue on the backs of just one of each of the pairs. Then stick the wooden skewer on the middle of the heart with glue, with the pointy side inside of the heart (leaving the blunt end of the skewer at the other end - basically the opposite of what I'm showing below). Roll the stick around a bit to spread the glue.


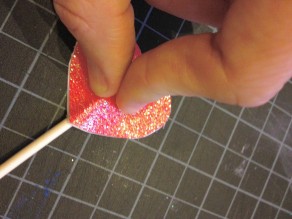
Press the matching hearts together, pushing them together around the skewer. Wipe off any glue that squeezes out of the sides. Then cover each half of the heart with a heavy book. Basically, push two books up next to each other so they both meet at the skewer. Leave it alone for a day as it dries!


When the hearts are dry, take your X-Acto knife and cut around the edges so there are no white spots sticking out. You may also want to color in the white edges with a red pen (or whatever colors you're using), so you don't see any white. And now you have some cute glittery heart cake toppers!

As for a more complicated stencil, where you probably only want to cut out one silhouette (because cutting out matching ones would be impossible!), it's all basically the same. You just have to be much more careful when you're cutting.


Once you think you have the entire stencil cut out, remove the stencil from your paper. Finish cutting all of the lines and corners very carefully directly on the paper, so it pops out clean and easy. Then glue or tape your cutout to a skewer.

Then stick it on a cake, take a picture, and eat the cake. You've earned it!

I rather enjoyed this delicious vegan chocolate cake from Café Indigo after all of this :)

Sweet Tooth Central

This past weekend Derek and I hit up a local french cafe and pastry shop Petite Reve Cafe we had been meaning to try and were pleasantly surprised with some wedding cake inspiration. What could be better than hundreds of layers of crepes to impress your guests? While waiting for our coffees Derek spotted some photos of some stunning crepe wedding cakes.  He spoke with the owner and learned that she is one of the only people on the West Coast who makes theses special cakes and that they can be customized with any flavor filling and to match our wedding flowers.

Sources: Lavendar & Twine (1, 3 & 4), N Barrett Photography (2)

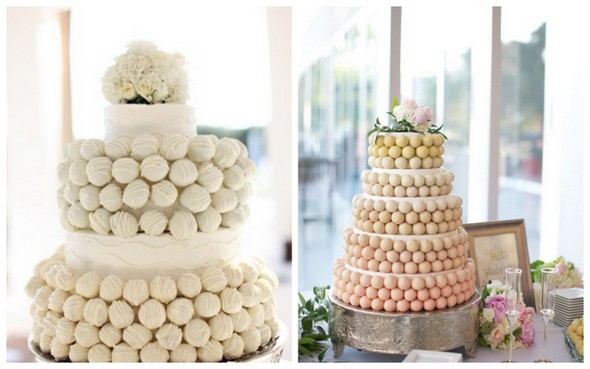
With dessert being one of our favorite things in the world (no meal is complete without amazing dessert!), we have some pretty big sweet teeth to satisfy for our wedding day. With so many wedding cake options these days we would like to do something a little less traditional and on the smaller side for ours, especially since it seems like most guests do not even end up eating the wedding cake and we plan to have several other dessert options.

Sources: 1, 2 & 3

For me, the simpler the cake, the better.

Sources: 1 & 2

And, of course we have a special sweet spot for cake pops too.


Sources: 1 & 2

More to come in the next few weeks on our other non-cake dessert ideas.

How did you decide on your wedding cake? Did you go for a less traditional option? I certainly can't wait to start tasting!


Finishing Touches {Signage & Printing Galore!}

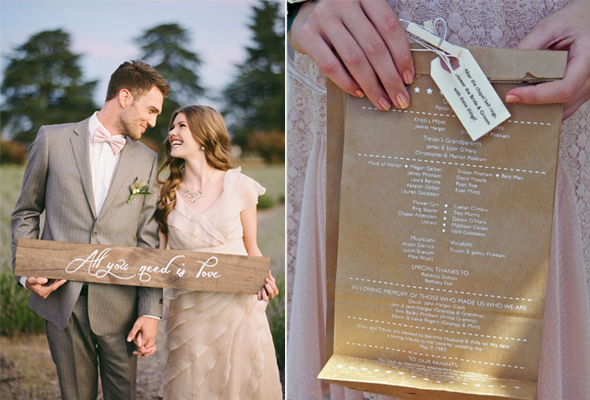
Hi Guys! Holy cow do I feel behind on just about everything in life right now. It feels like the last couple of weeks have flown by and between a full time job that takes me out of town and finishing all the wedding details, this girl is on over load. I find myself sitting back and going where did the last year go?  We are two and a half weeks out and the pressure is on to finish those last little details.

Source

Source

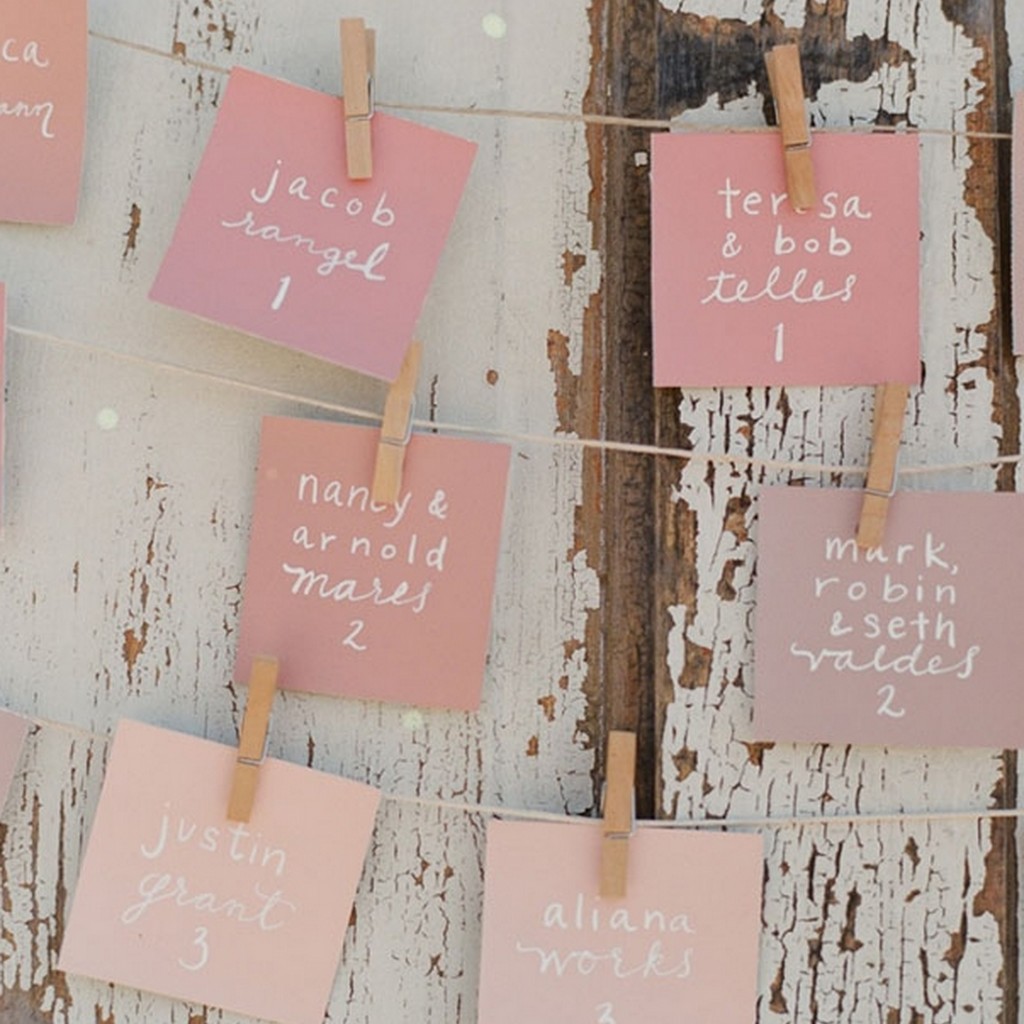
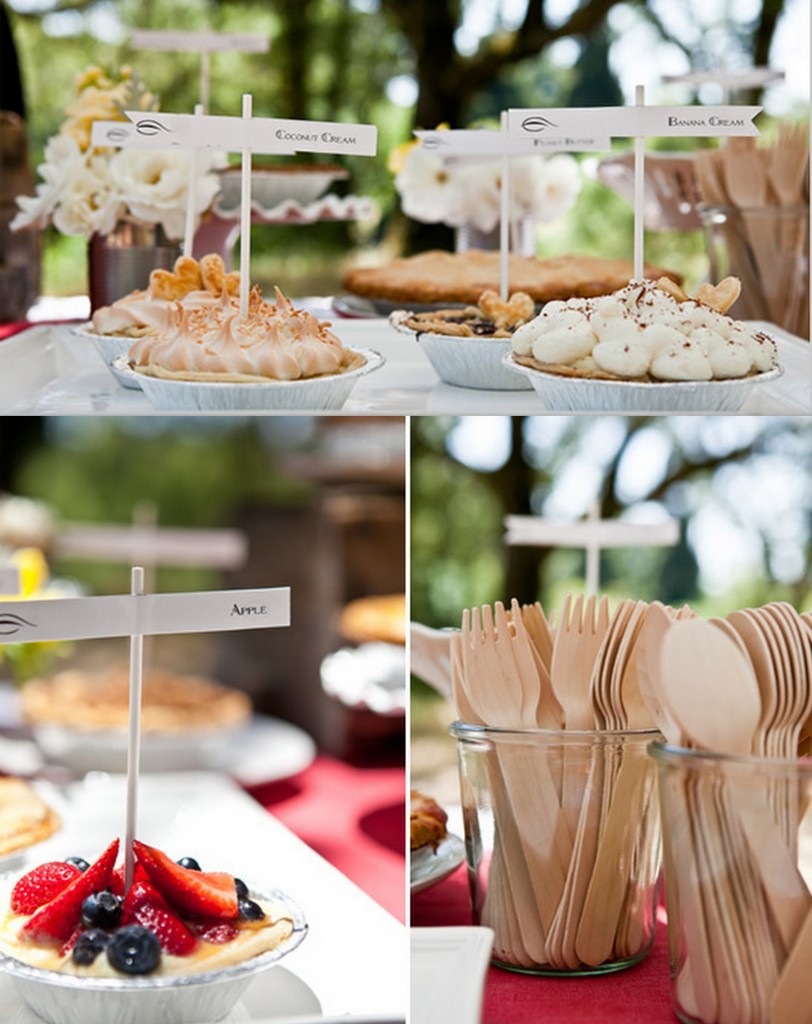
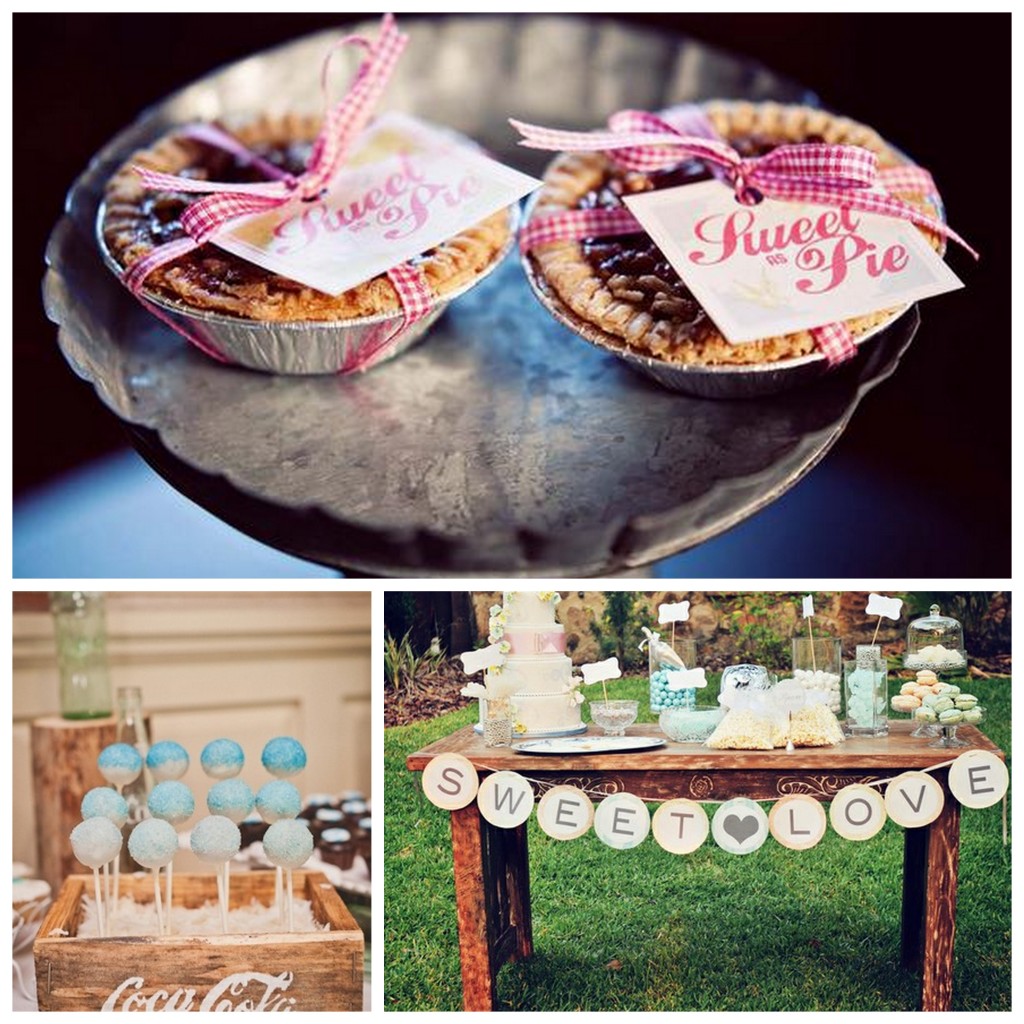
I am busy designing and printing all the little details like programs, escort cards and signage. I am also working on a banner for above our dessert table that hopefully I will have a little tutorial for  you guys on next weeks post. I am so excited about the dessert table. I am currently making fun little flags to go with each type of pie and signage that shows guests his and her favorites when it comes to the deserts. Here's some of my inspitation that  I am channeling when designing ours..

 Source 1 Source 2

Tomorrow I am off to beautiful San Diego for my Bachelorette weekend with my girls. Let the festivities begin!

Heather

DIY Rustic Cupcake Stand

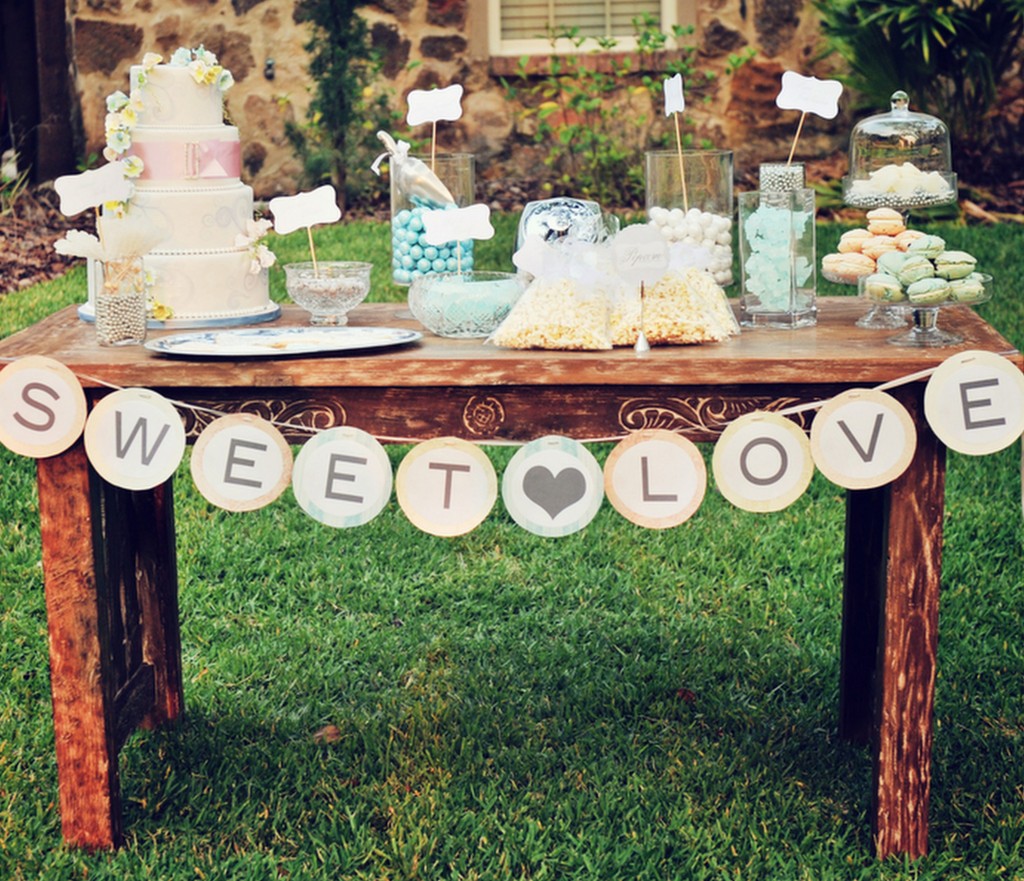
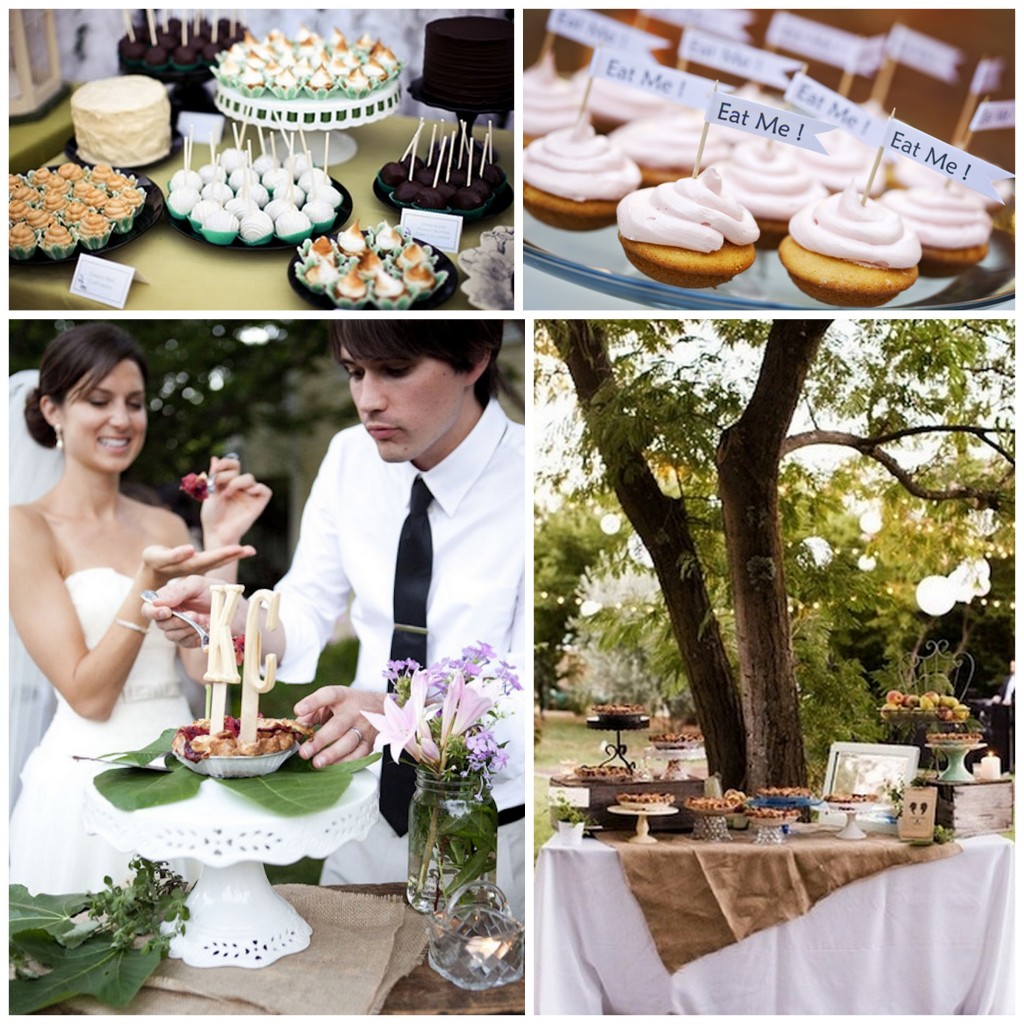
My Mr. and I decided that instead of spending $100-$150 dollars on a cupcake stand for our wedding that we he was going to build one. We are going to have a totally awesome dessert buffet for our wedding including cupcakes and mini pies so this stand will be the perfect accessory to our table. Here are the details.

Project Difficulty: Medium

Estimated Time: 4 hours (including paint)

Estimated Cost: $60

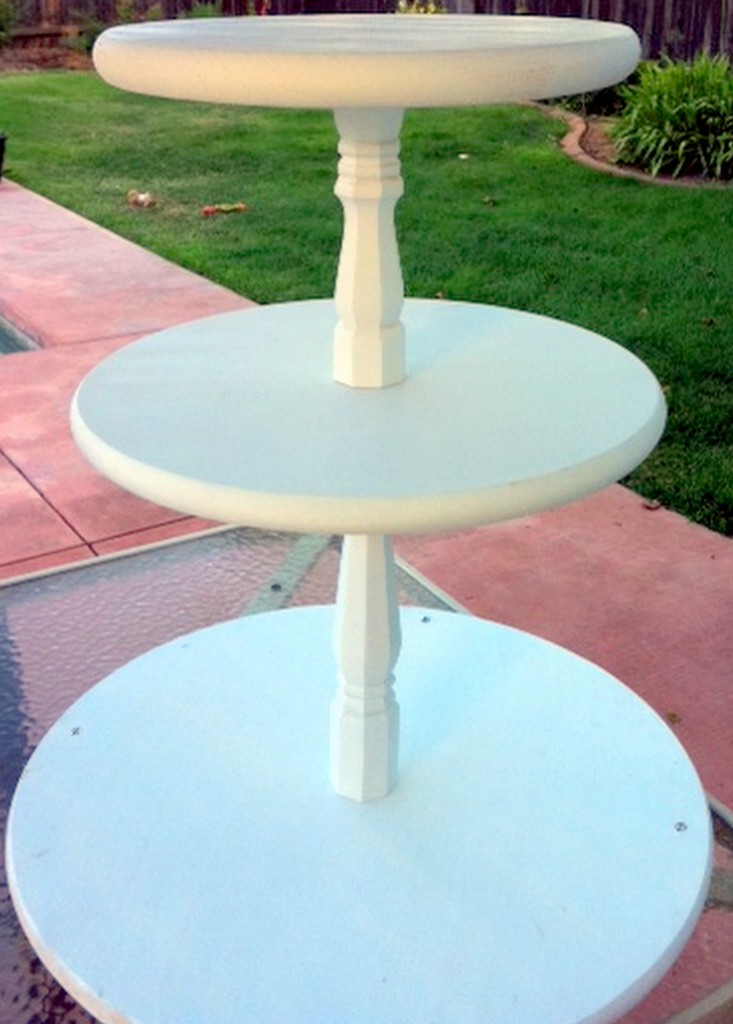
The first step in this DIY project is to pick a design and stand height that you like. A good place to start is Etsy, where (depending on size), you can easily spend upwards of $200. I decided to go with a 3-tier design which I can add small rustic boxes or mason jars to give the cupcakes varying height. My first stop was the local hardware store for materials. For each tier I chose precut 24", 16" and 8" wood round table tops. The hardware store also carries stair baulsters that are milled in precut lengths and styles.

 The shopping list included: (1) 24" table top (1) 17" table top (1) 14" table top (1) 9" stair baulster (1) 14" stair baulster (1) can of white primer (1) can of satin white paint (1) container of gorilla wood glue

 The next step was to get home and have the Mr. work with me on putting my plan together! The tools you will need are:

(1) Drill; drill bits (1) Square (or anything with a straight 90 degree corner) (1) Pencil

Each baulster comes with one end with a "bolt" coming out of the bottom for a screw-in installation. The other end is flat and needs to be glued to the bottom side of the tabletop. However, before we can drill the tabletop for the baulster, we need to locate the exact center of the circle. I don't know about some of you, but I don't remember my geometry homework! Luckily, the Mr. knew and explains it like this:
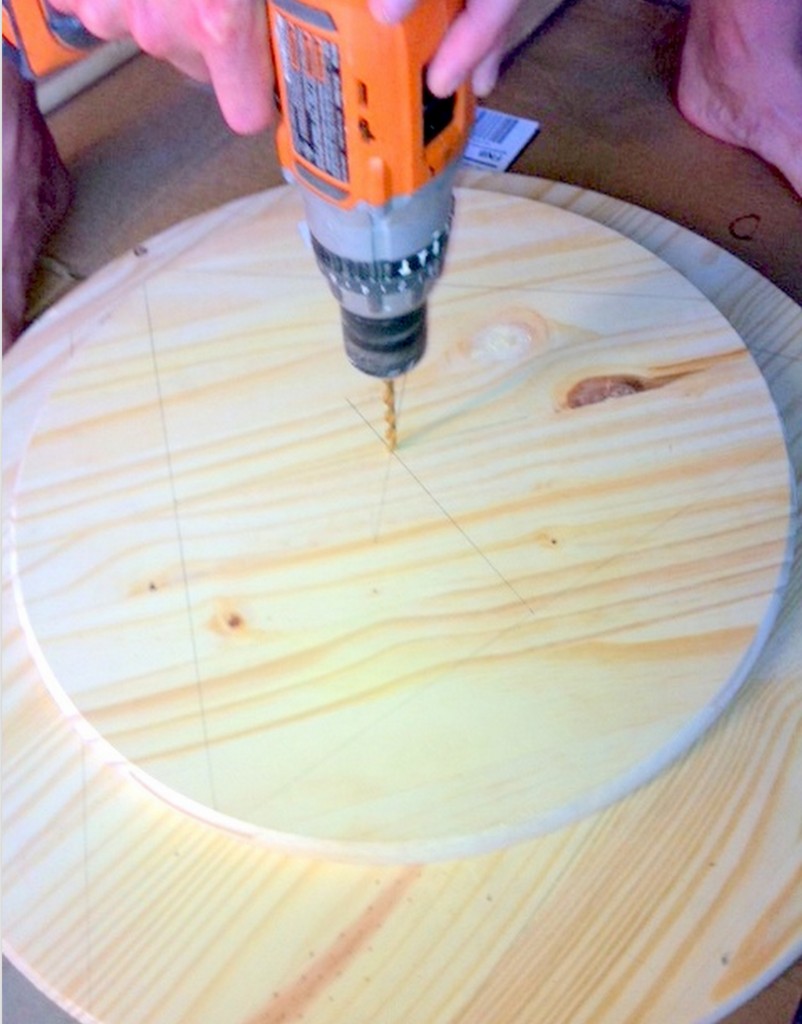
To find the center, you first need to draw 3 "chords" on the outside of the circle the same length (pick an easy number, like 12 inches). Once you draw all 3 lines, divide them in half and mark the center of the chord. From the center, use your square or 90 degree angle and draw a line across the tier. Do this for each chord and the exact center is the intersection of all three lines. He is so smart!

 When you have the centers laid out, its to drill a hole slightly smaller than the "bolt" coming out of the bottom of the baulster. Drill this hole only HALFWAY into to the tabletop, and make sure it is drilled straight. Once this hole is drilled, drill a much smaller hole through the larger hole to mark the center of the citcle on the other side.
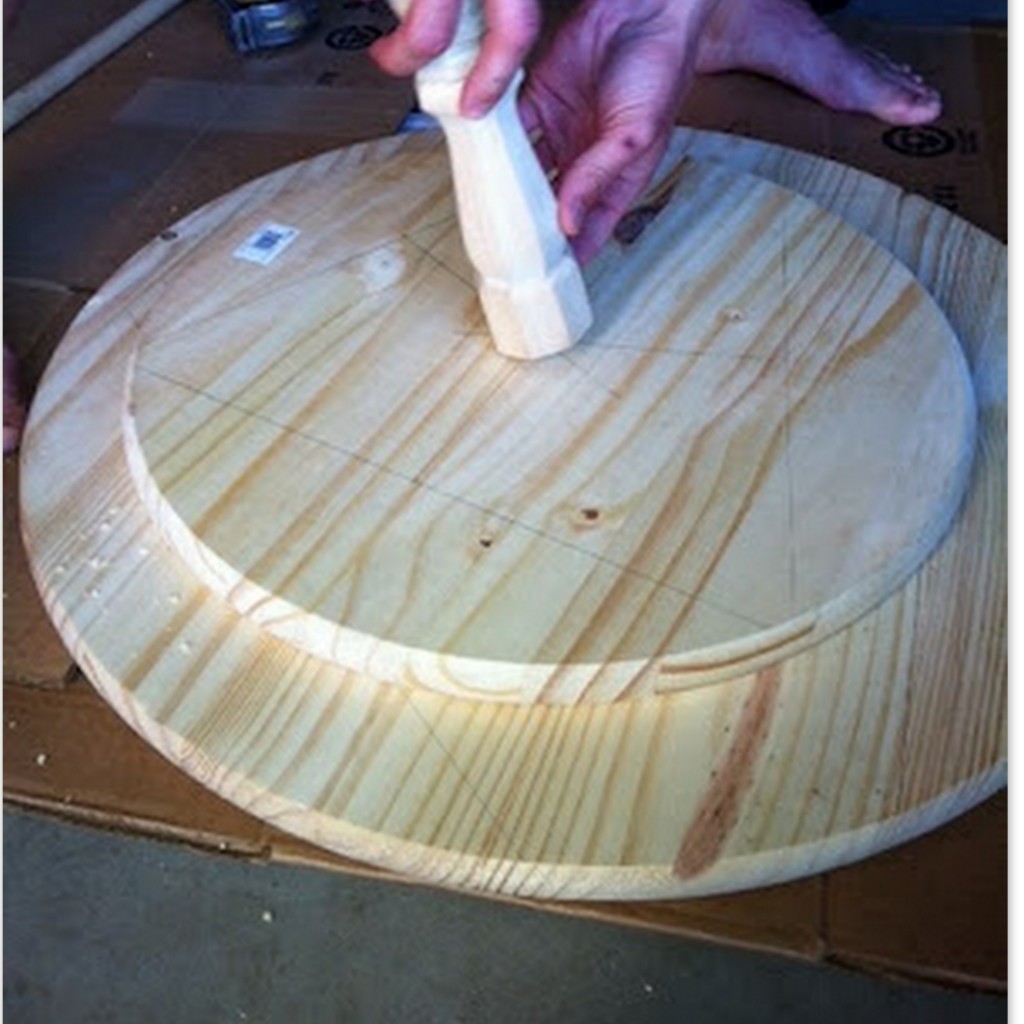
 

 Now that the holes are drilled, we now want to glue the baulster to the bottom side of the table top. To be exact, find the center (process above) of each baulster and measure the distance from the center to the edge of the baulster. Measure this distance on the tabletop and mark the edges of the baulster. This is an important step, or else the tiers will look staggered from each other. Now, apply the gorilla glue to the baulster, press firmy agianst the table top, and hold together for about a minute. Repeat this process for the other baulster, and let dry overnight.
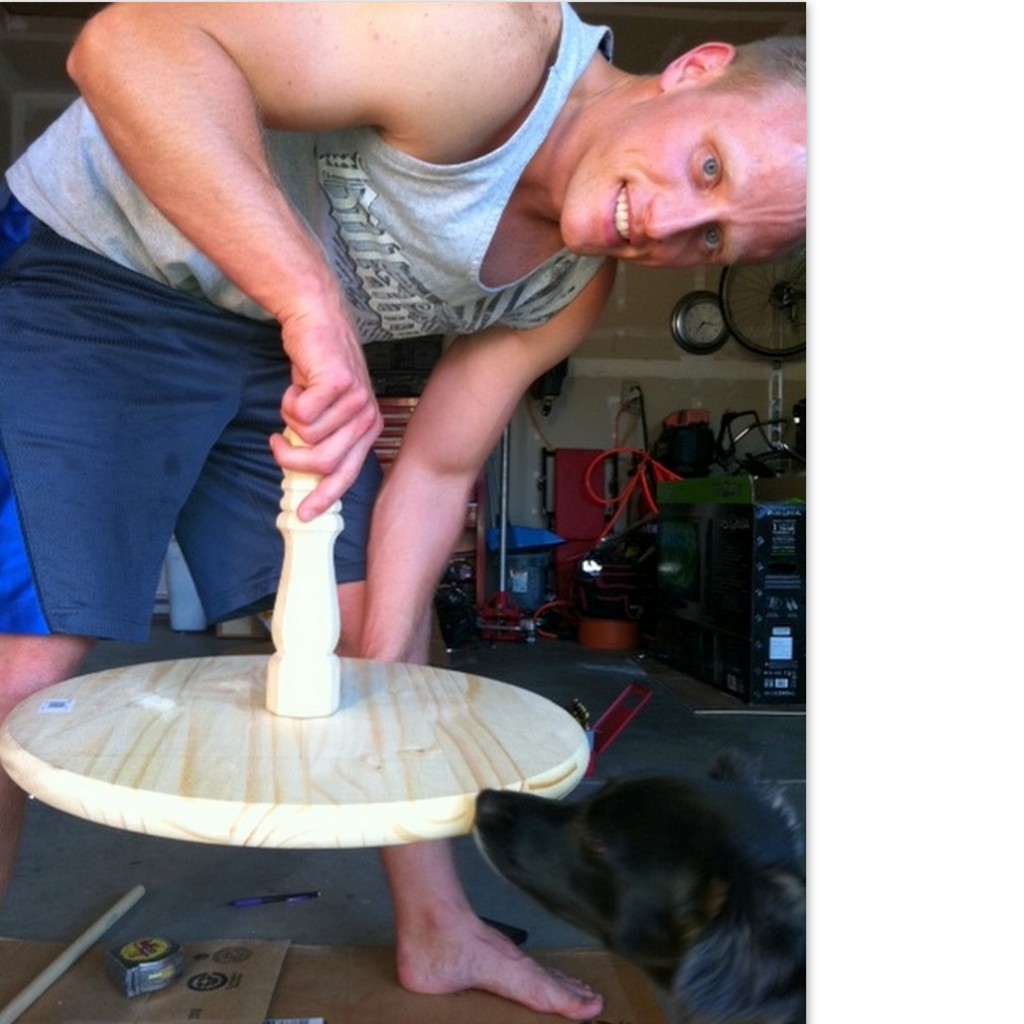
 

The next day is paint day!

At this point, you should have three pieces that have been glued together and resemble this (largest round not shown):
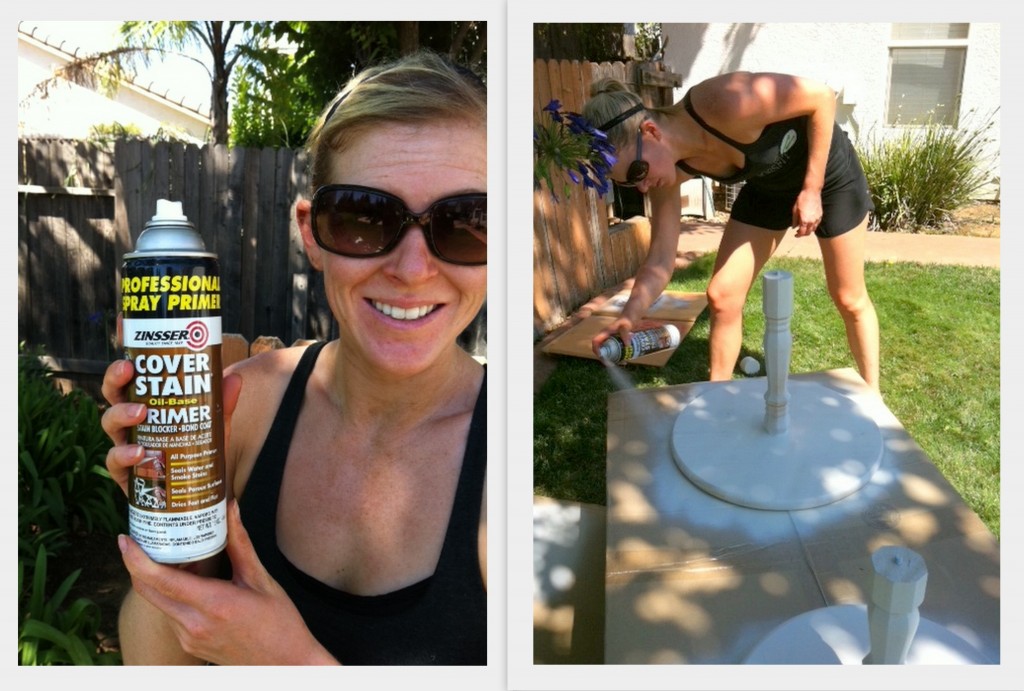
 

Apply your primer first, and be sure to cover all parts of the bare wood. Once the primer has dried, paint two coats of white paint to really cover it well and hide any paint streaks. Once your paint is complete, you should be able to take the three pieces and assemble them by screwing them together (since you have already drilled your hole). Voila, your finished product should resemble something like this! 
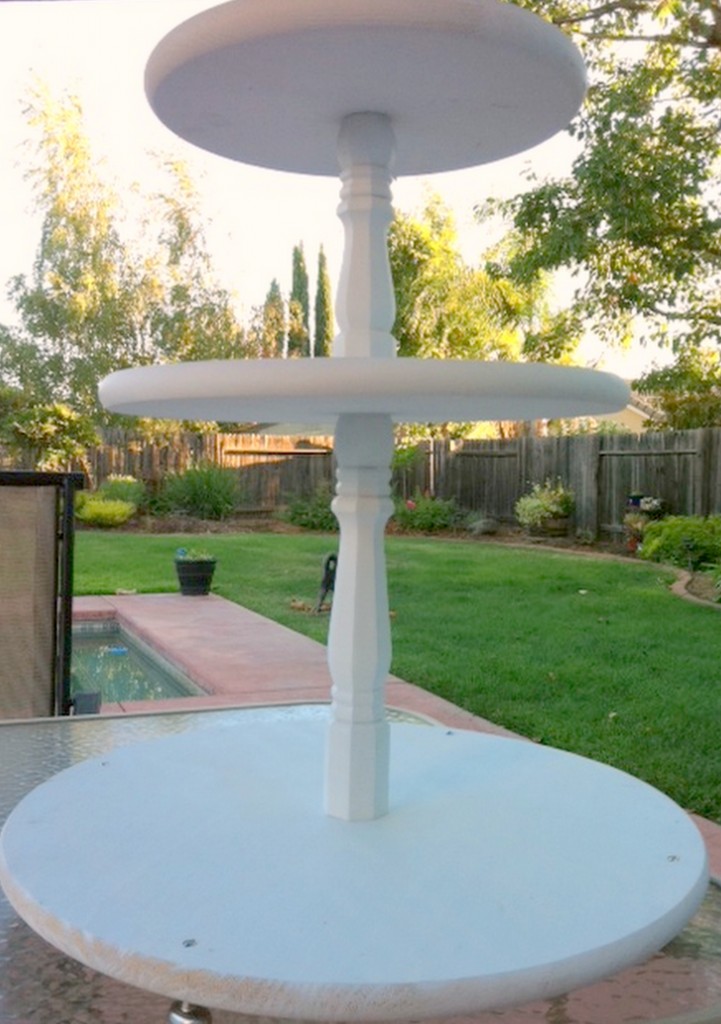
 

We used cabinet hardware to make feet for the bottom of our cupcake stand. We just chose something with a flat surface that would sit level on a table. The best part about rustic decor is that perfection is not necessary. I think I might sand the sides down a little to give it a little more of a rustic look.

So what do you think??

Find more about what I am up to here.

Heather
Our Tasting Appointment

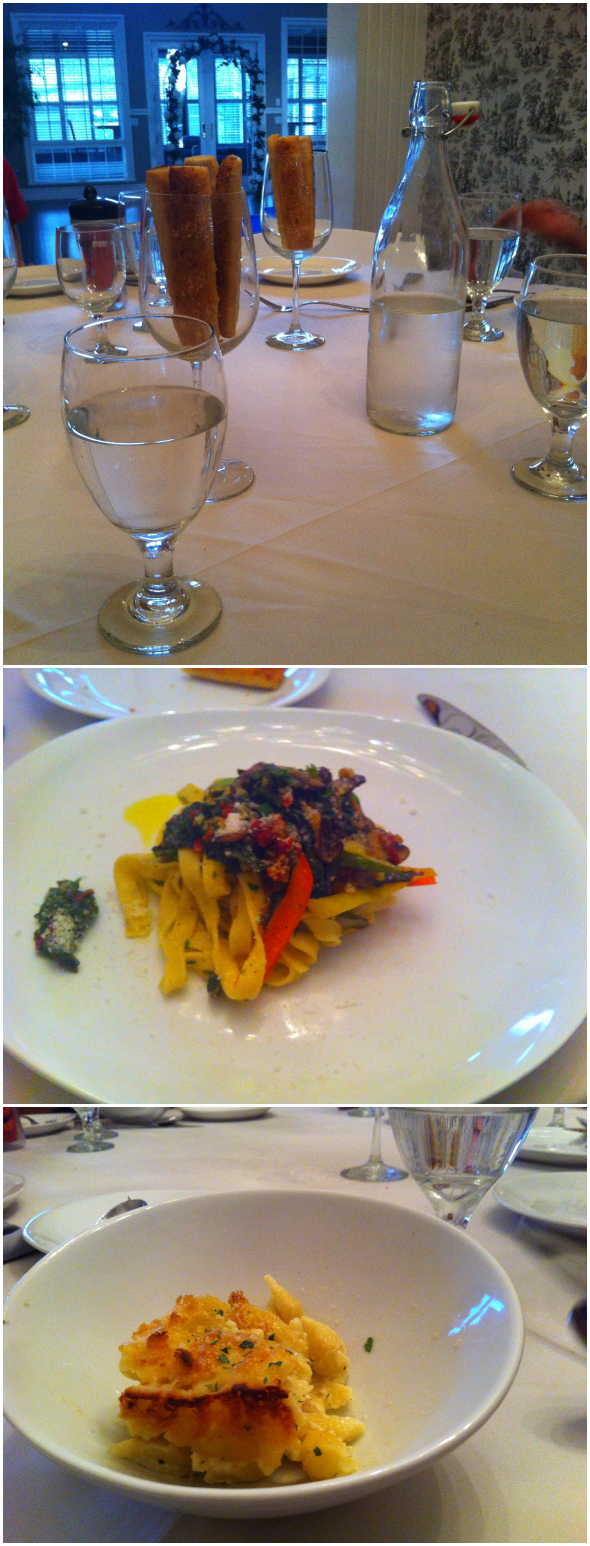
My posts here began with one thing on my mind, dessert. So, you can imagine how excited I was for our food / cake tasting appointment! Great tasting food is very important to us, especially on our wedding day! We are a having buffet style dinner of yummy Italian food. Not only is our chef very talented, but he uses some of the best local ingredients. One amazing thing about living in the agricultural center of California is that we are  provided with lots of amazing vegetables for each of our dishes. We had the pleasure of tasting all three of the dishes we'll be serving and some amazing bread sticks.

The bread sticks were ridiculously good, lots of flavor and flaky but also soft.  (I know you're thinking, bread sticks? Big whoop, Ash. But I implore you, these rival those of Olive Garden and I could feast on those for years.) The first dish was an angel hair pasta with fresh roasted tomato, capers and goat cheese (not pictured, I ate this much too quickly). The second dish was fettuccine with roasted vegetables, and thirdly fancy mac n' cheese. Honestly, the mac n ' cheese was my favorite with provolone and smoked white cheddar it was delicious comfort food done right.

Source: Frosted Cakery

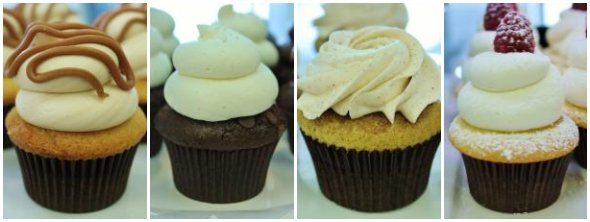
We were able to also try several different cupcakes, though we already know we love the cupcakes from our baker, Frosted Cakery. From left to right, salted caramel, chocolate chip cream cheese, snicker doodle, and vanilla bean raspberry. We ultimately decided on the last three and possibly the salted caramel for the cake for the Mister and I to cut at our reception.

Source: Frosted Cakery

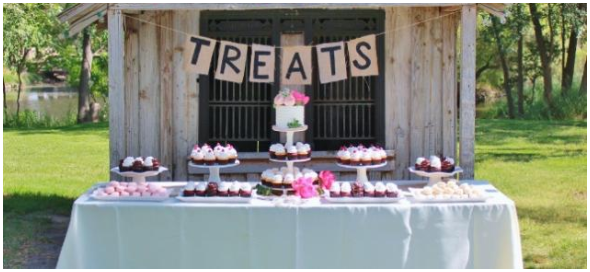
Though we did taste our cupcakes at the same meeting as our food, we had a separate meeting to figure out what we actually wanted our cake to look like and the details of our desserts. Above is a loose vision of what we'll be going for. I wanted everything to be spread out and also keep with our overall theme.

What do you think about the layout? How important is/was food to you for your wedding?

Connect with me elsewhere! Twitter | Pinterest | Blog

Have Your Cake & Eat Something Else Too

For our wedding I knew that I wanted to break the tradition of a big wedding cake as the only dessert available for our guests. Cakes have never been my first choice for dessert and choosing a desserts that my Mr and I really enjoy was important to us.


Source: Call Me Cupcake

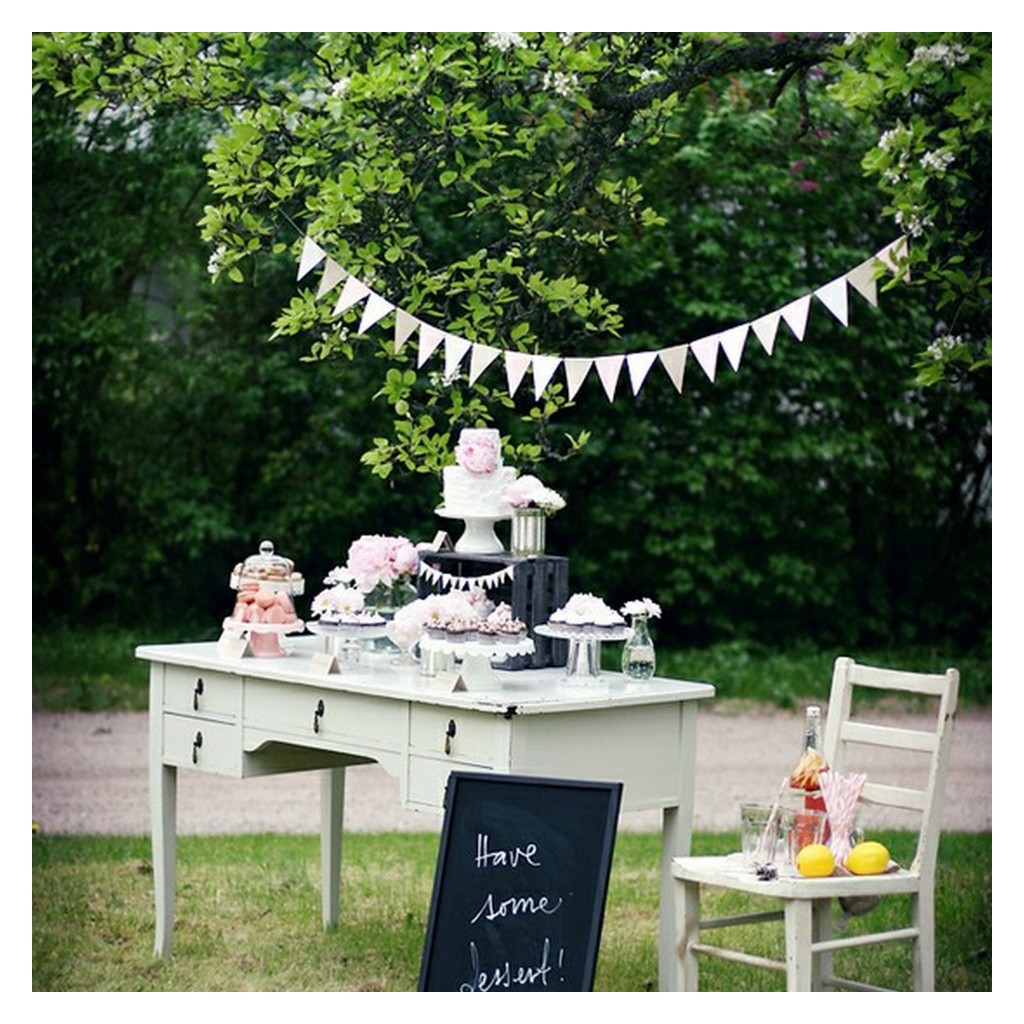
Source: Top: The Brides Cafe Bottom Left: Bridal Musings Right: Every Last Detail

We got so lucky in finding Sugar and Spice Specialty Desserts from a yelp review, and based on their customer reviews that looked be a great fit for what we wanted.  Clarissa, the owner, took note of ourdesire to not have a traditional wedding cake and emailed me a list with a ton of other dessert options she could do along with photos of some of her past work. When we arrived for our tasting we were amazed at how many fun items she had for us to sample. From truffles, to chocolate carmel bites, cake pops, pop tarts (yes, as in the flaky pastry kind), and multiple flavors of cupcakes we were in dessert heaven. After the full sugar coma set in we talked dessert bar. Clarissa and I came up with some great options for setting up the dessert buffet, how it was going to be styled and finally what dessert items we wanted.

Source: Top Left: Wedding Chicks Top Right: Polka Dot Bride Bottom: Bridal Musings

I cannot wait to see all these yummy desserts on display for our guests to enjoy. And yes, we did decide to have a very small cake made in order for us to have the traditional cake. We had to keep some traditions.

So, cake or no cake? Dessert table? What fun ideas are you coming up with for your dessert.

Heather

For more bridal insperations and happenings check me out over on my blog.