Letterpress at home

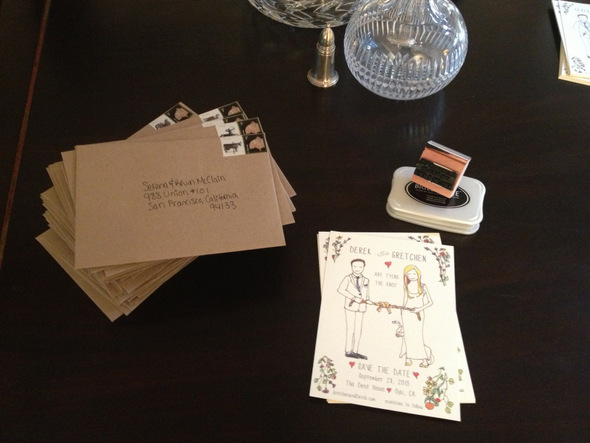
According to most wedding ettiquette guides, the time to send save the dates is approximately 6 months before your big day. Well, last week marked 7 months to go for us, so time to get cranking on getting Save the Dates ready, stamped, and out the door! 749595683911_SVxdU3Ib_l


Source: Designspiration

I've been thinking for a little while about what I wanted to do, whether I wanted to buy something off the shelf, have something designed for us, or make it on my own. There are tons of ideas on my Big Day and Pretty Paper pinterest boards that are all across the charts. We're still toying with the idea of having our invites custom designed, so I decided I would save some money on the save the dates and DIY them.

ult_kit_wipe_web


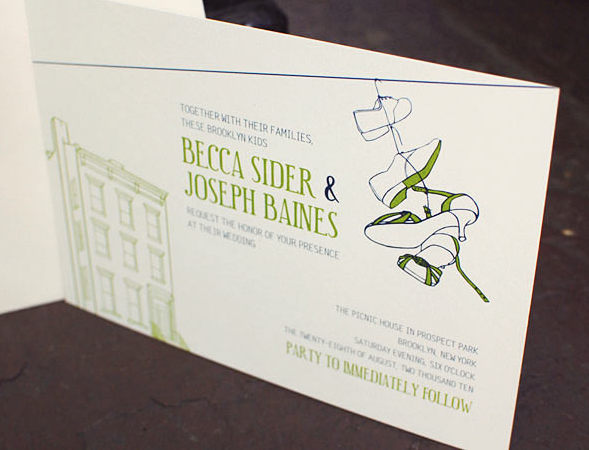
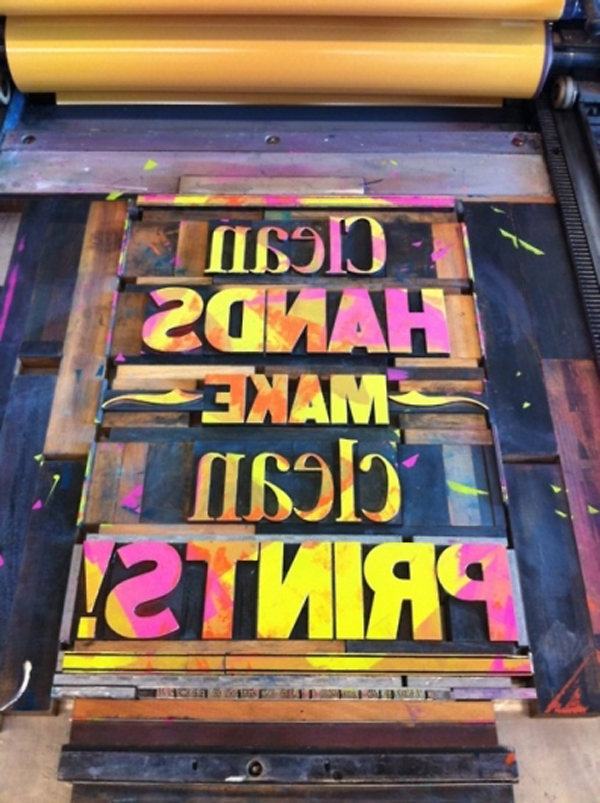
Source: Lifestyle Crafts

My friend Jenny has a Letterpress set up from Lifestyle Crafts (the first generation of the one seen here) that she let me play with recently, and I was surprised that it really was an easy way to get a quality letterpress look on your own. I spent some time in photoshop and then I've ordered a custom plate and am ready to get printing. It arrived about a week after I ordered it and the customer service folks at Lifestyle were great in helping me tweak a couple things to get the best quality image.

Brianne Save the Date

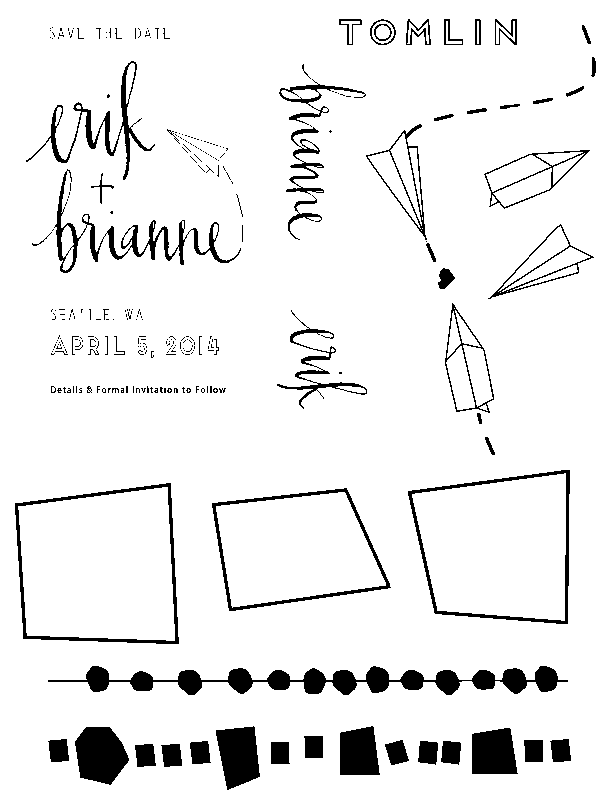
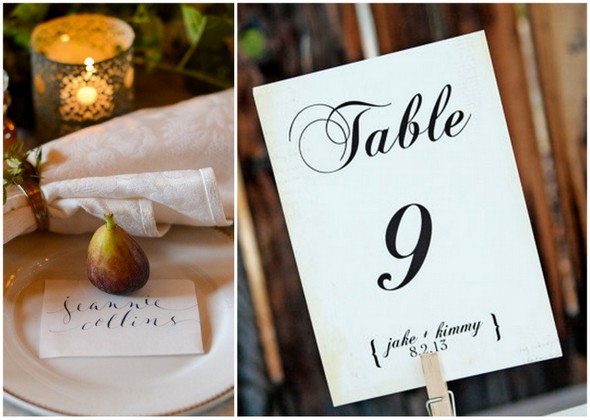
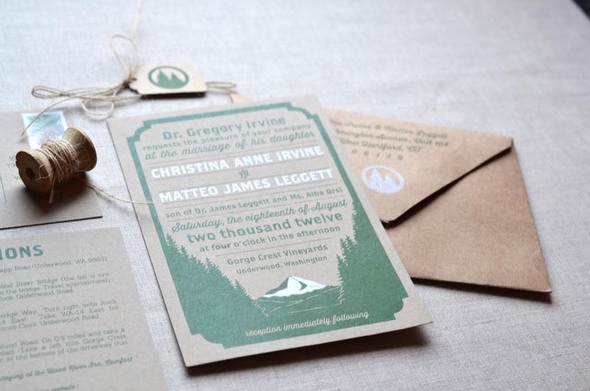
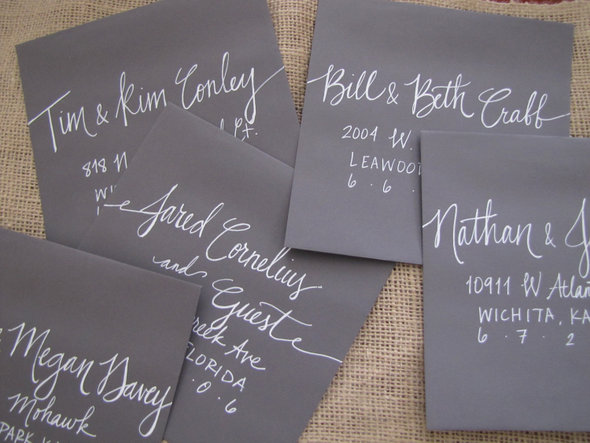
Source: The Ravenna Girls

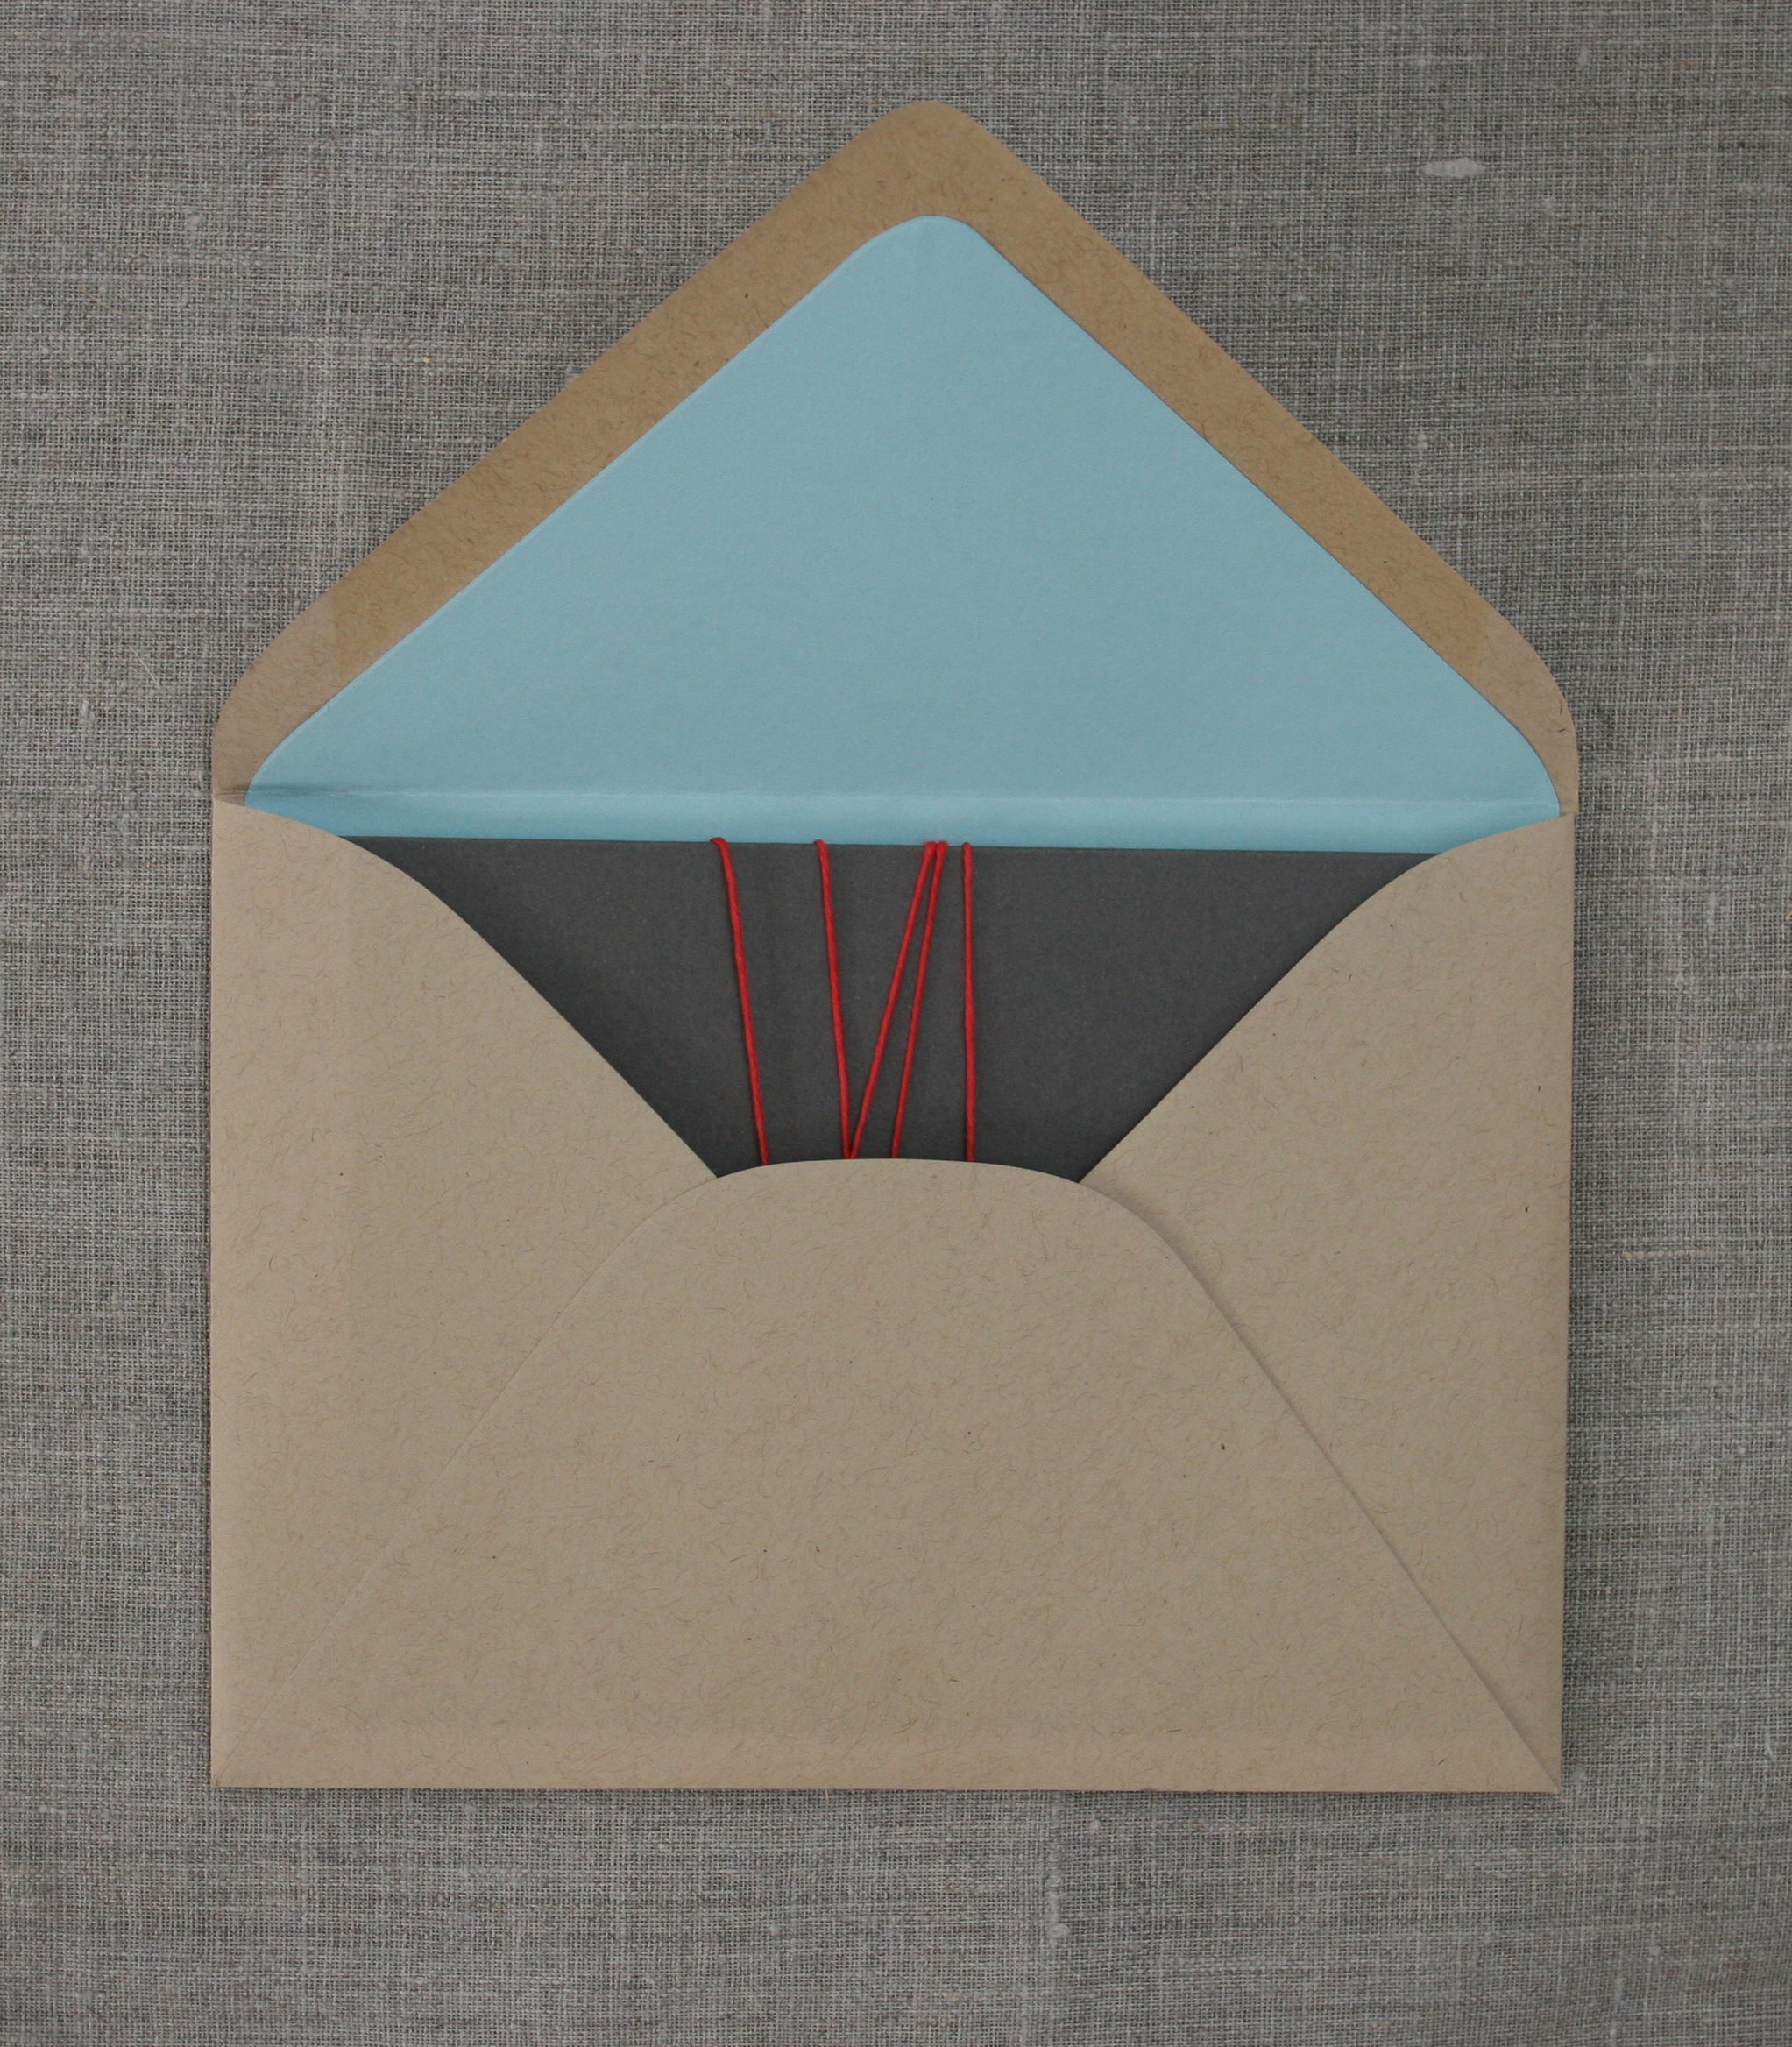
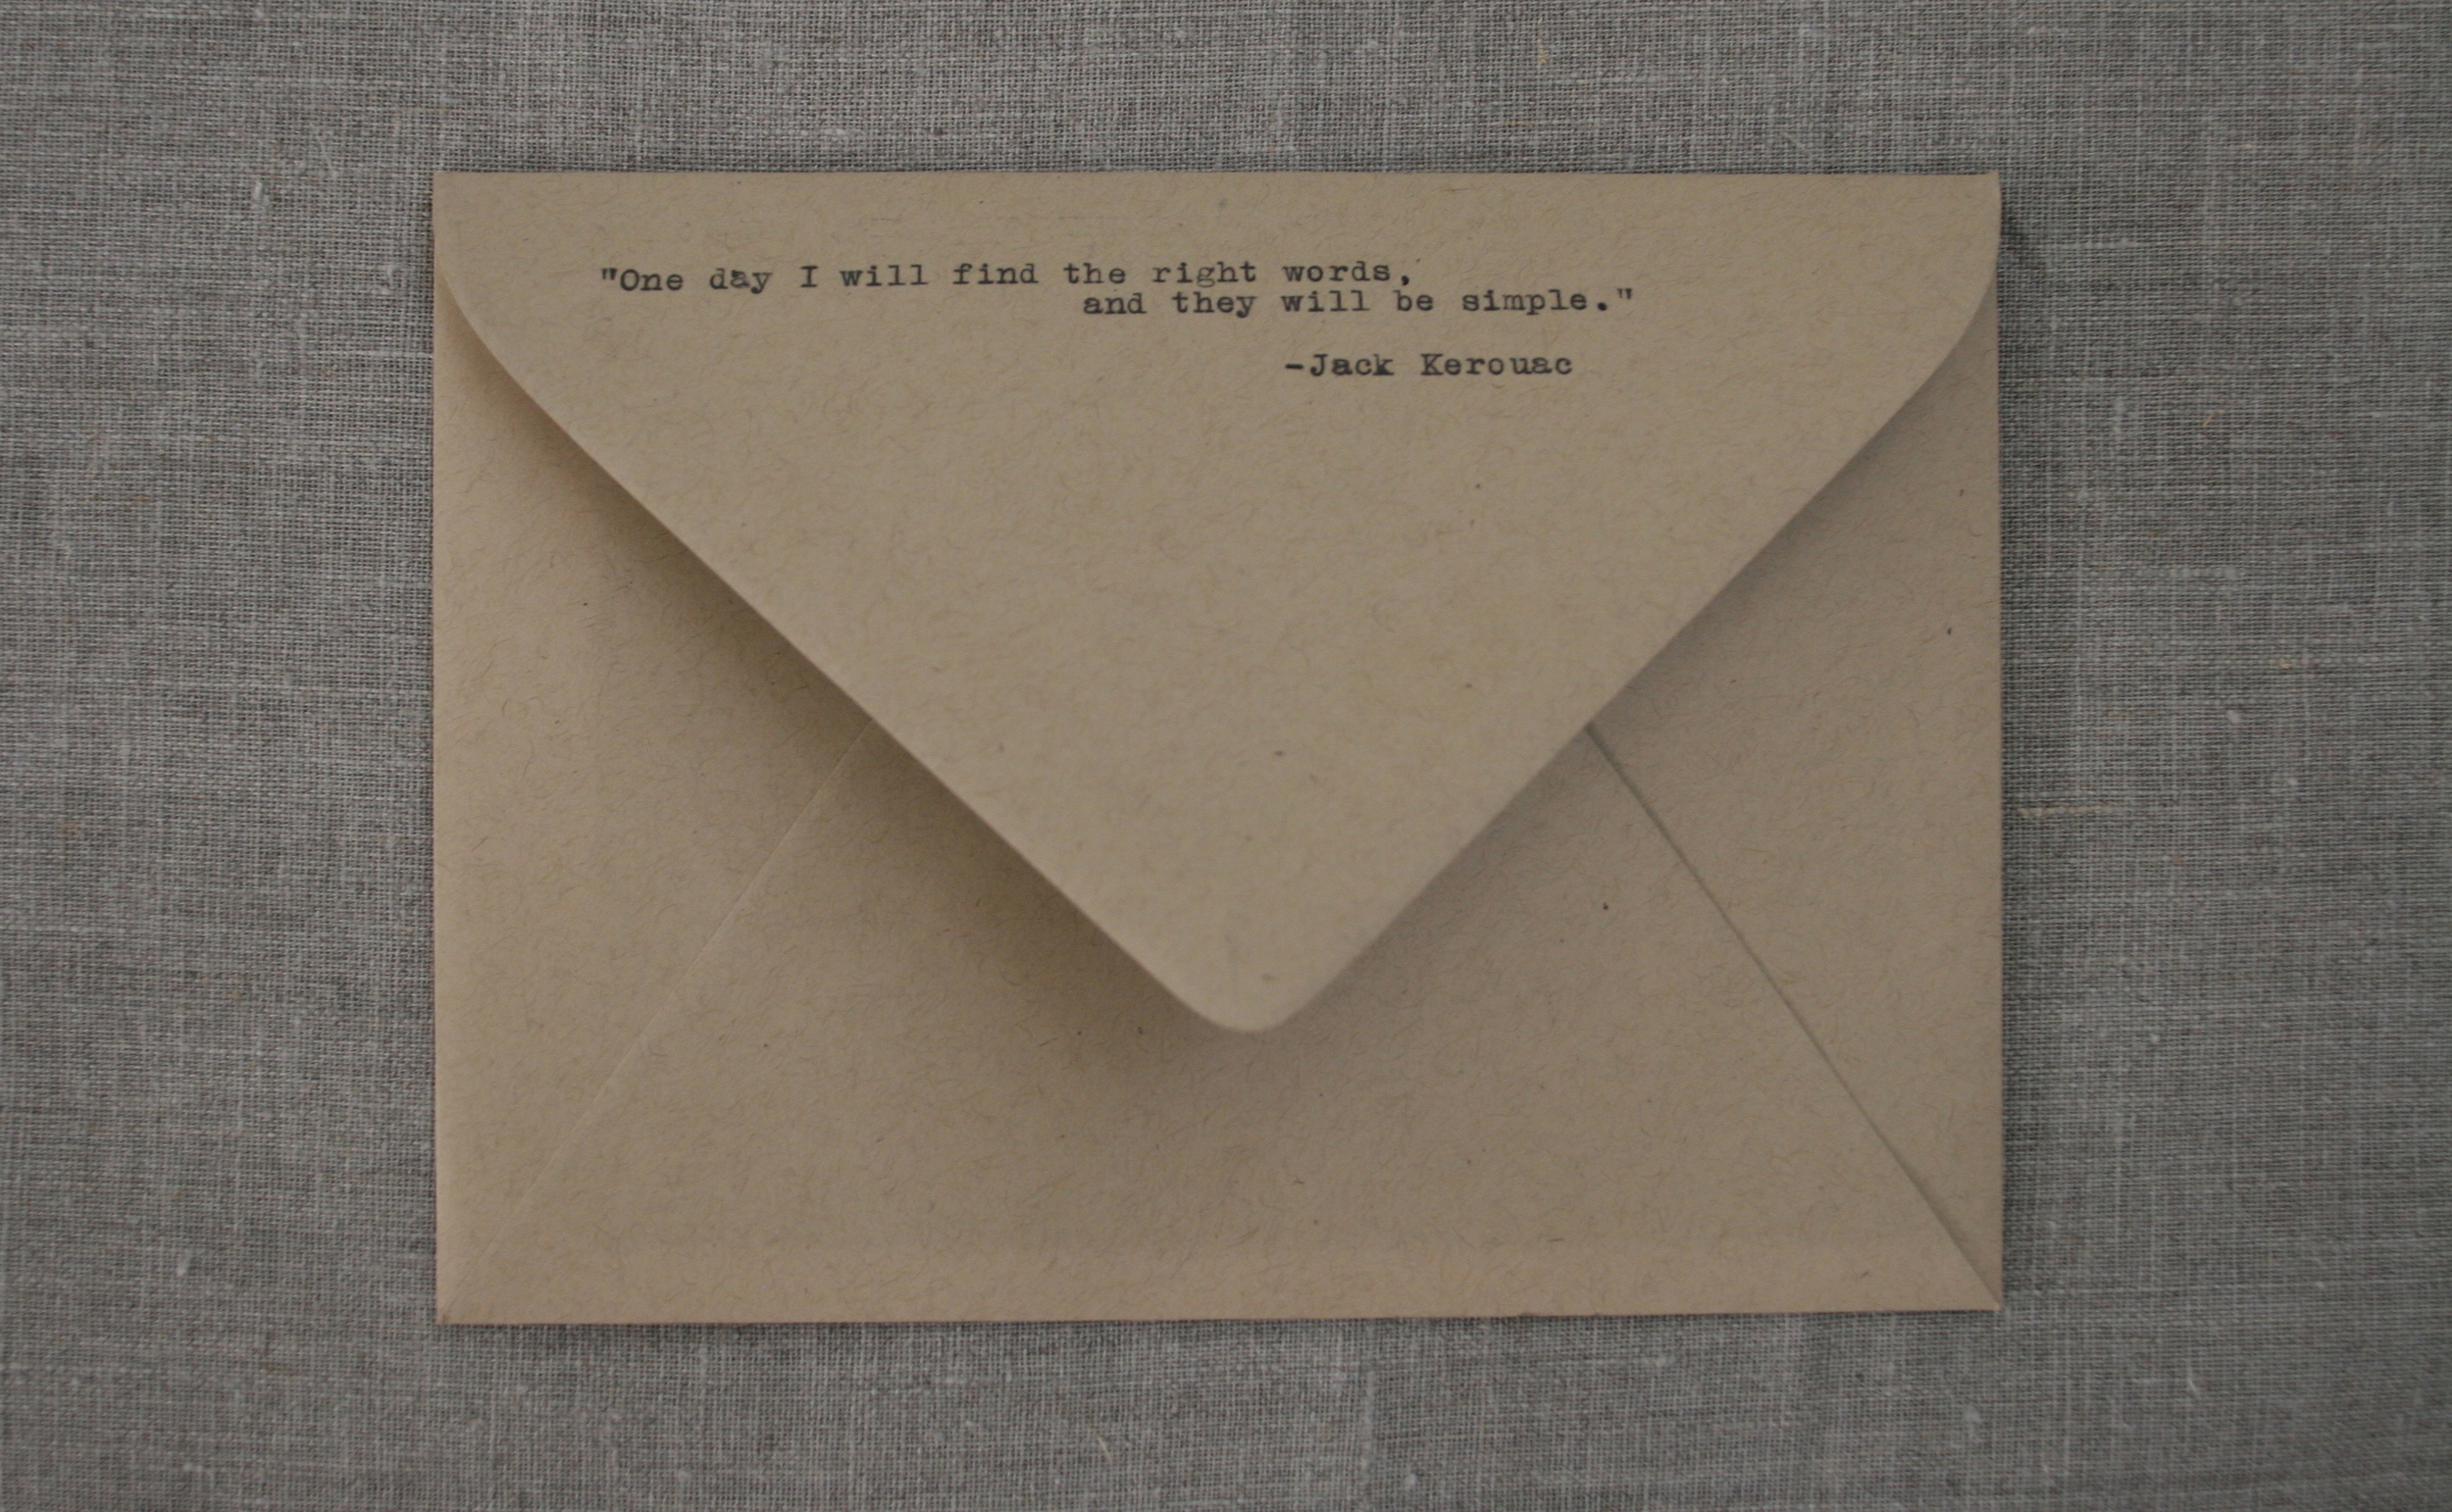
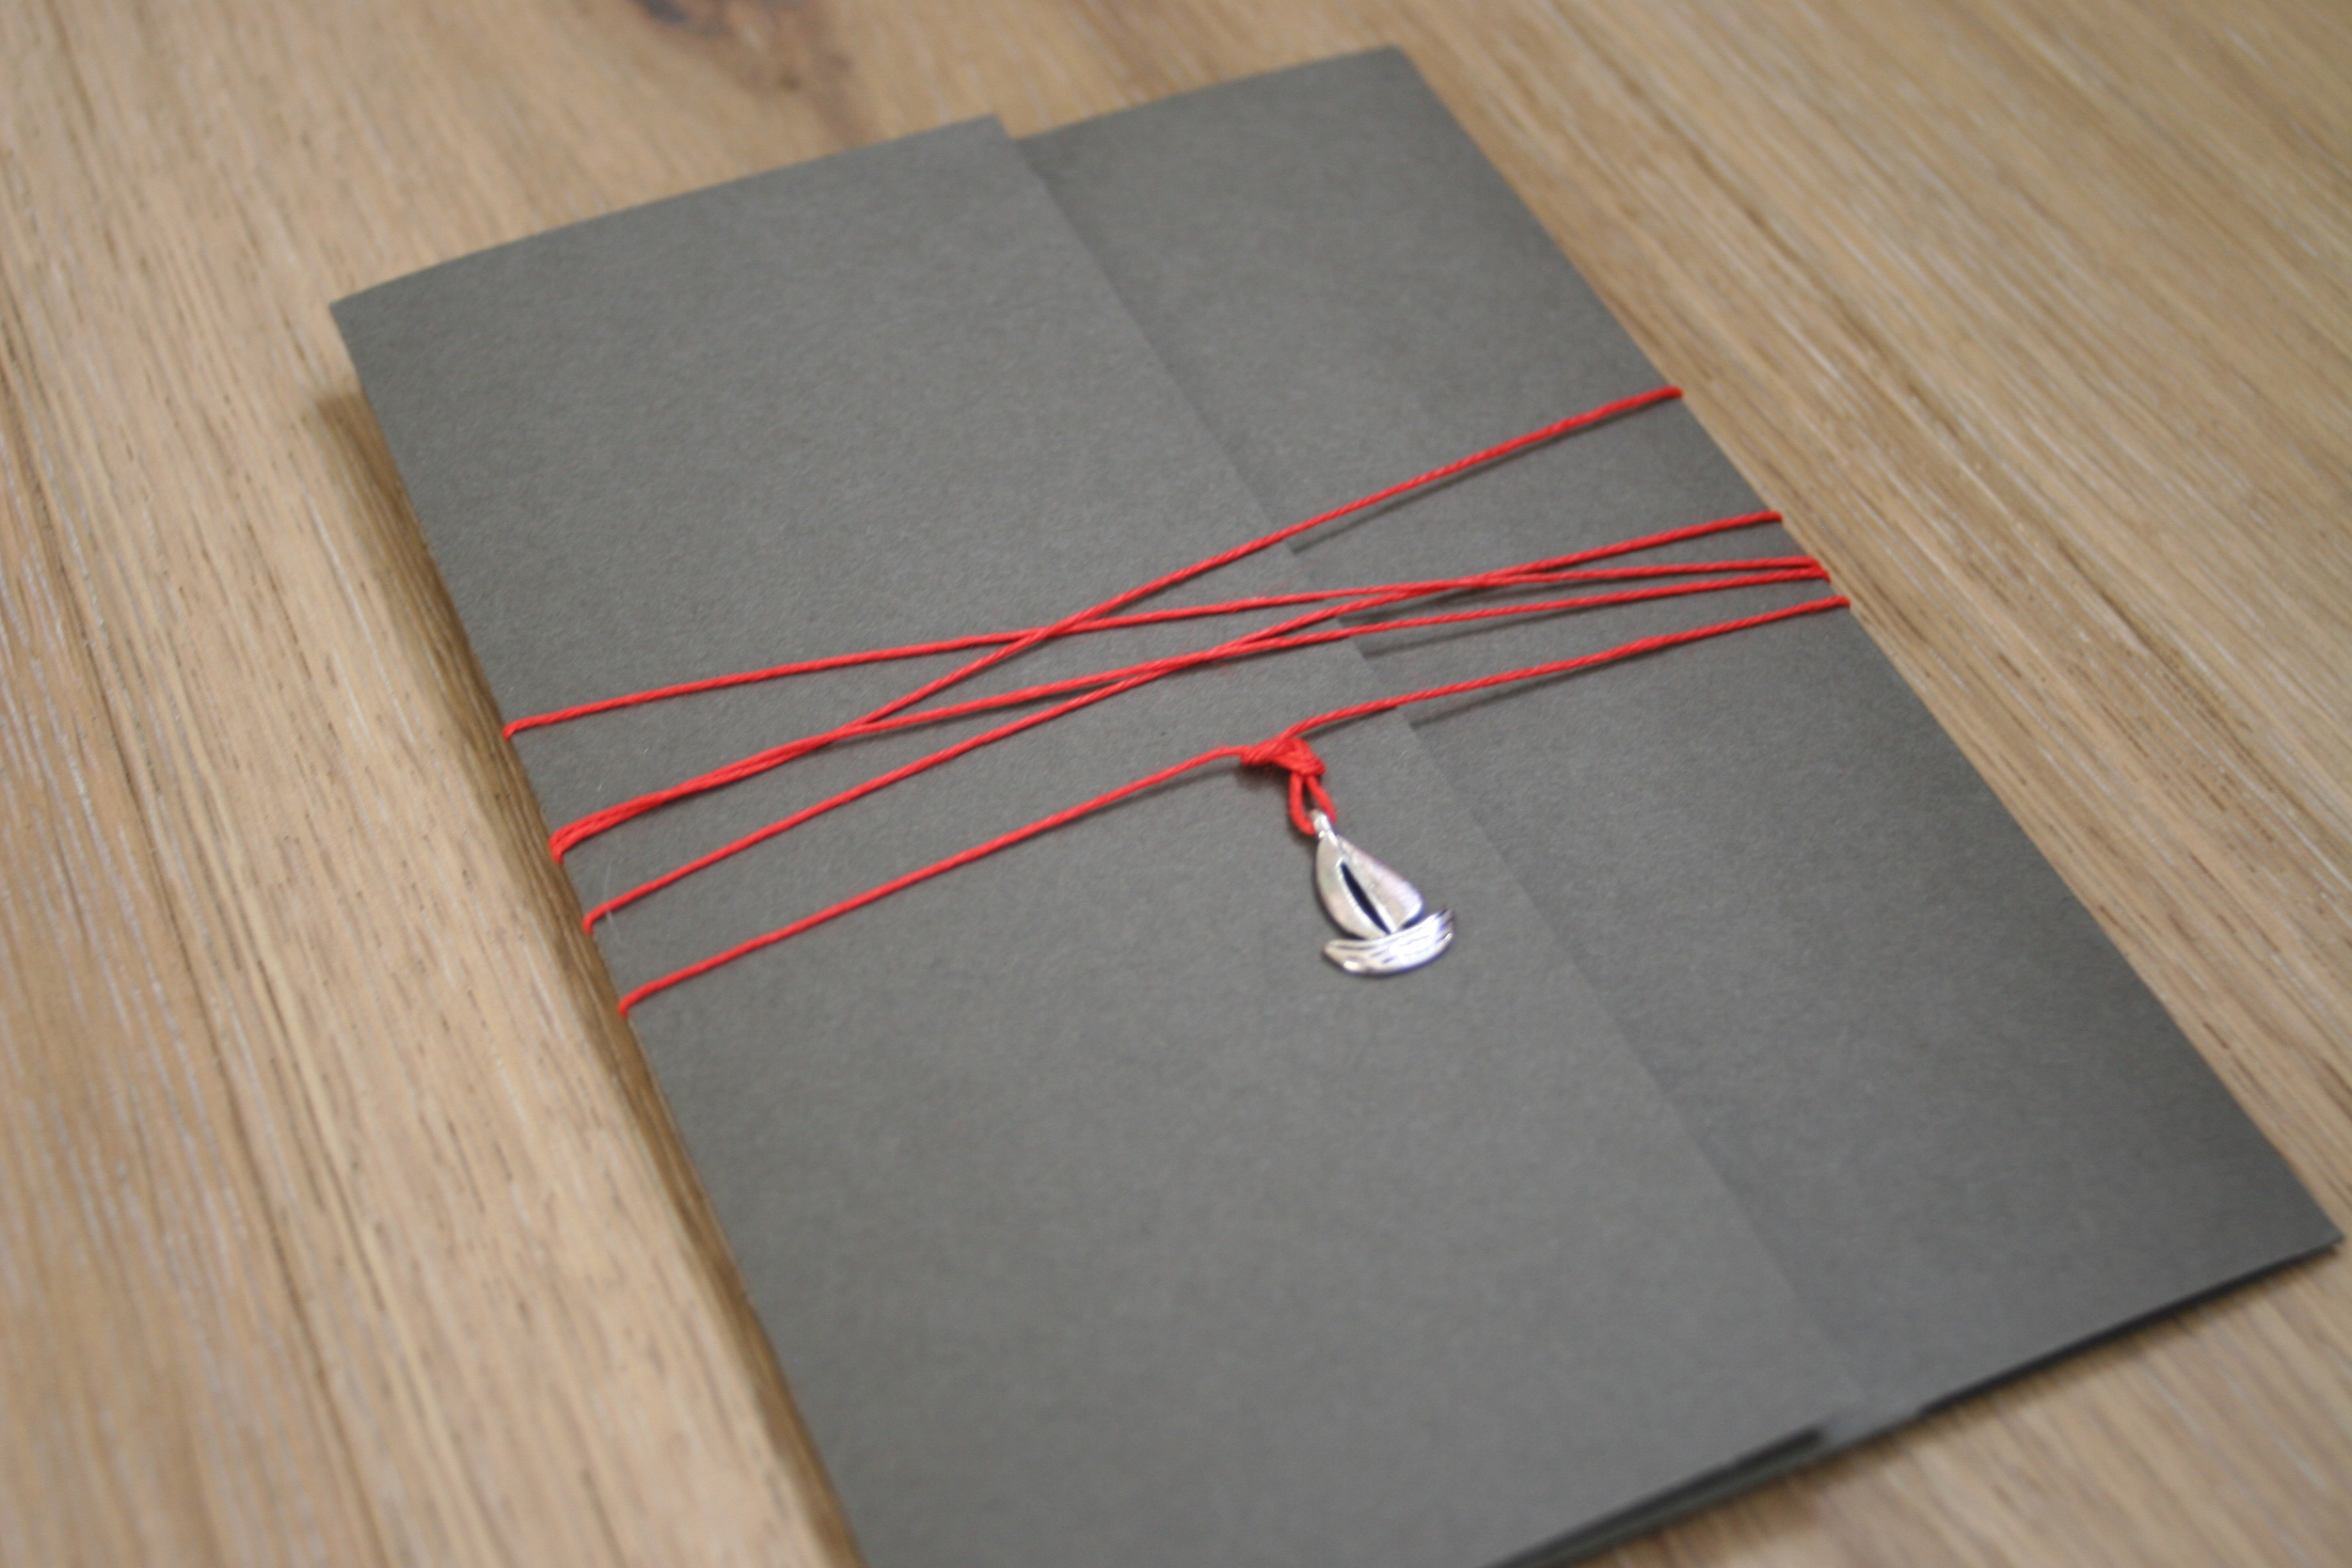
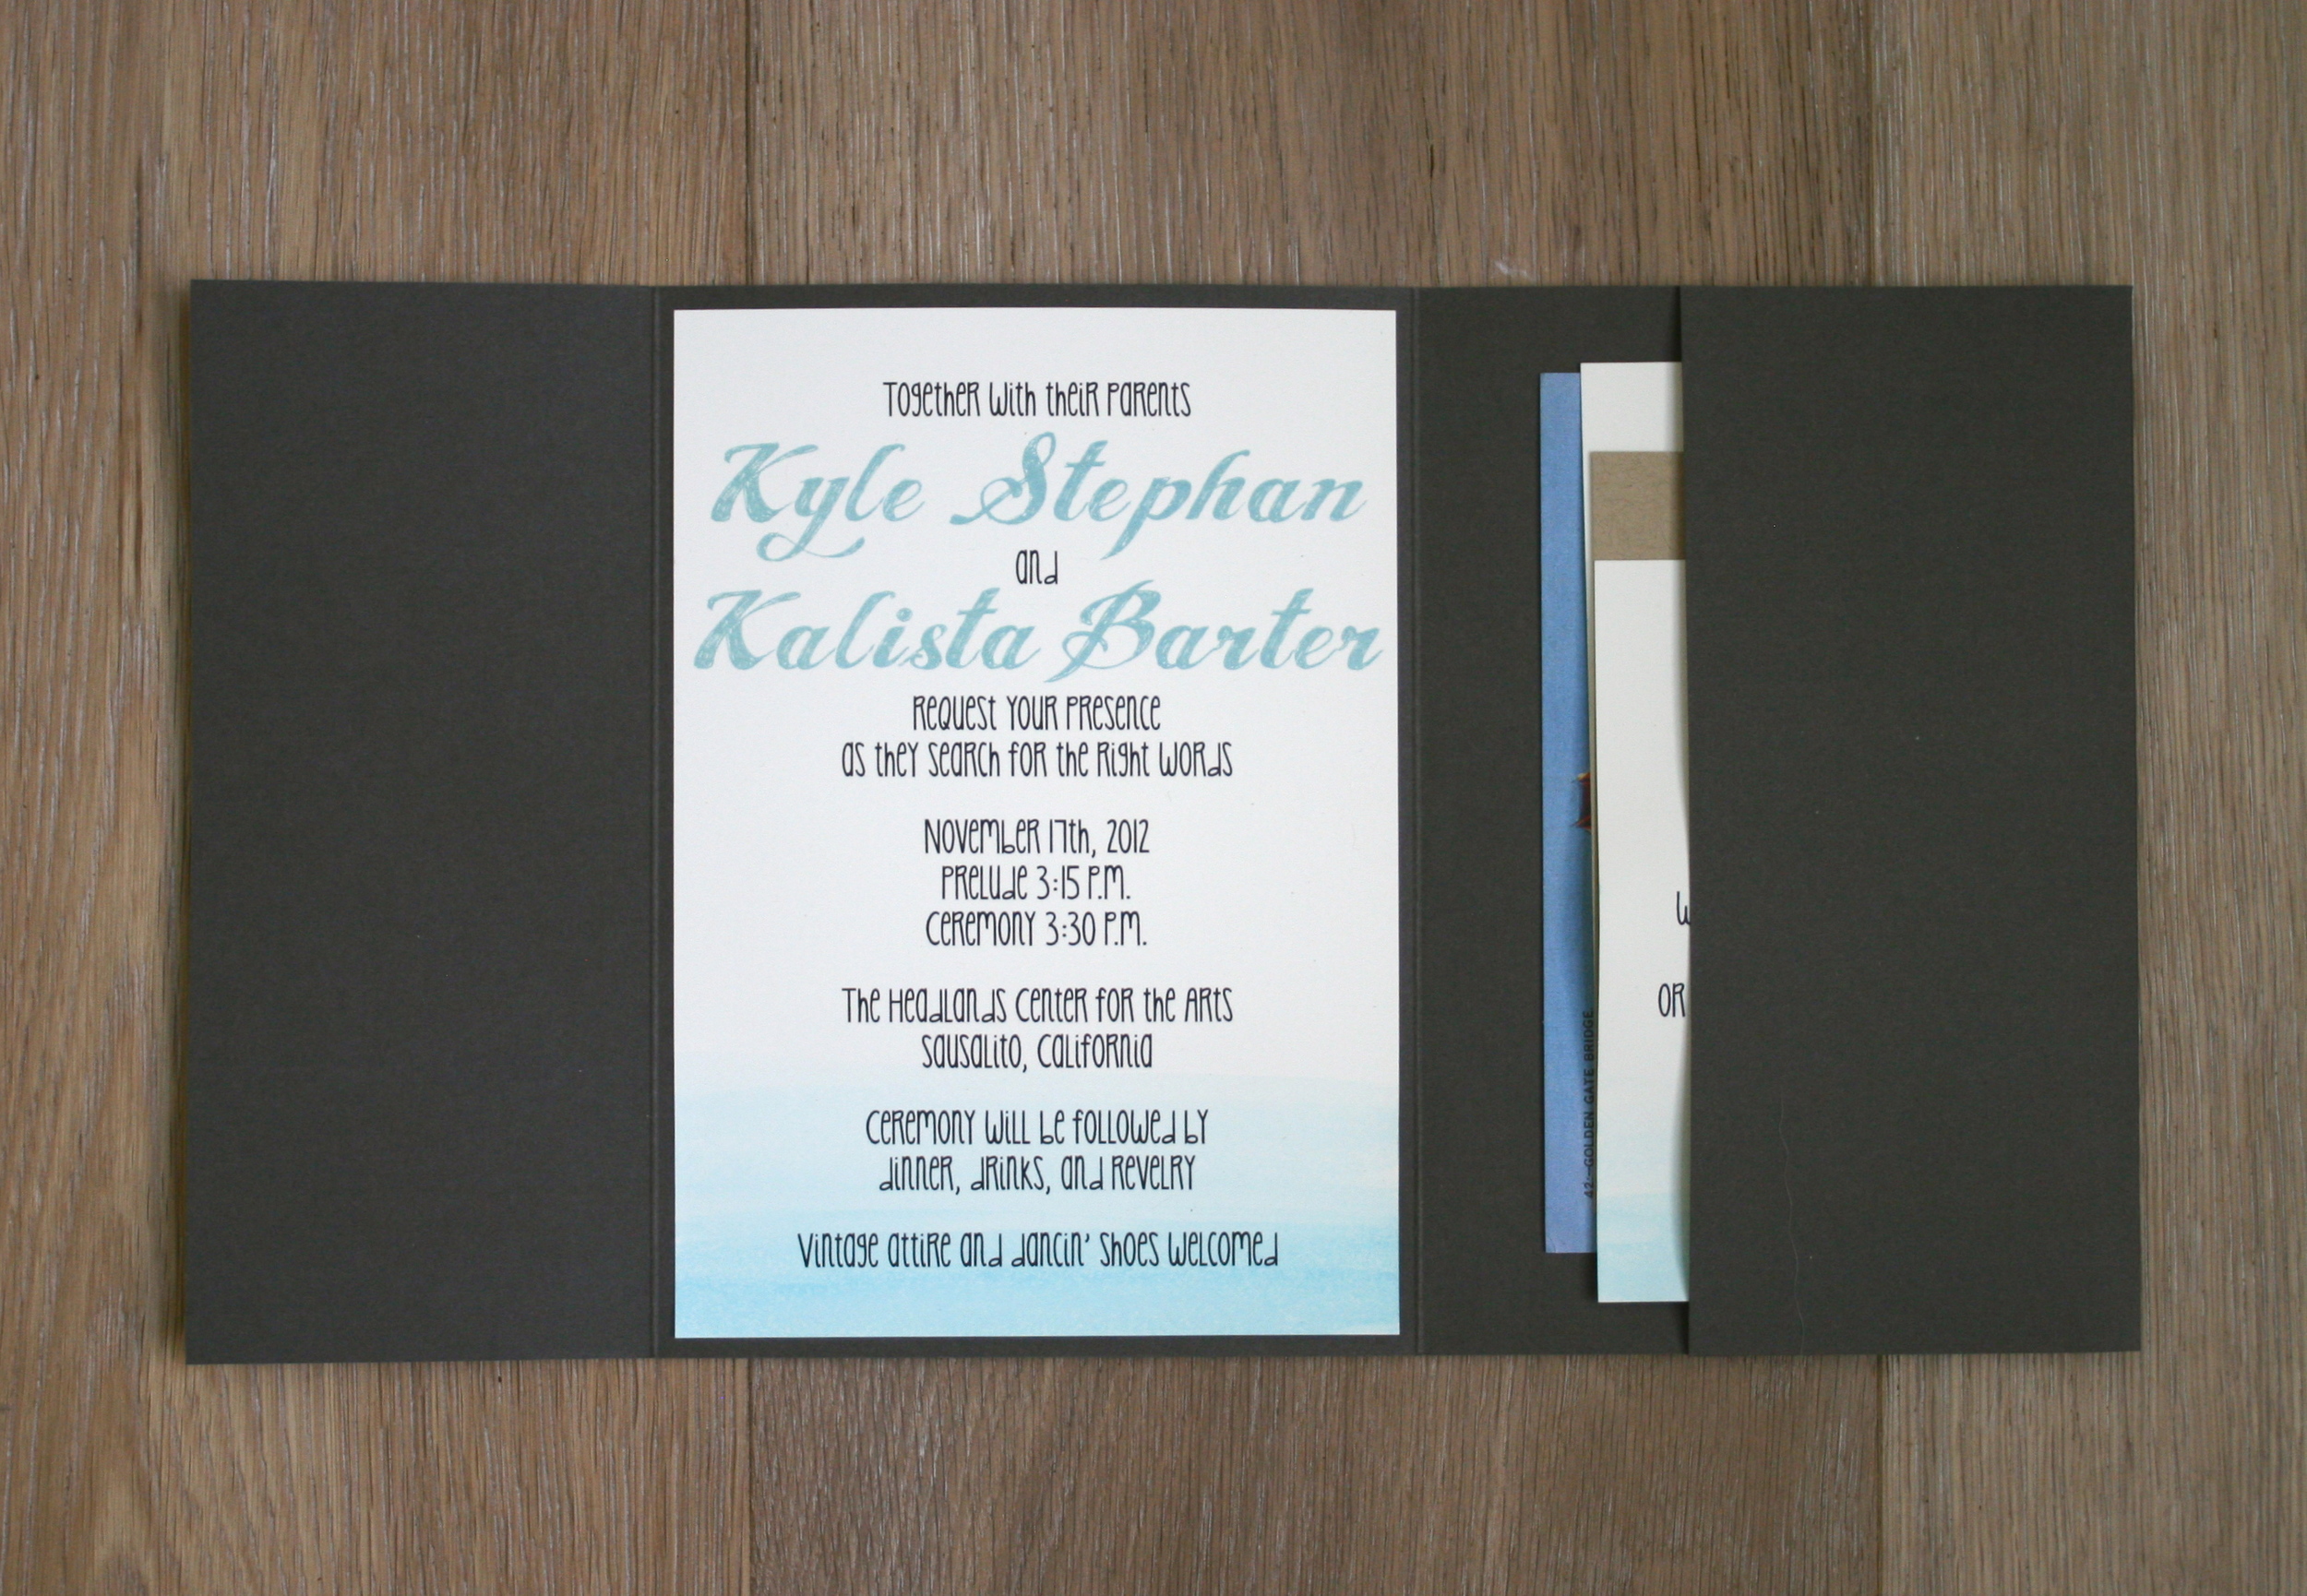
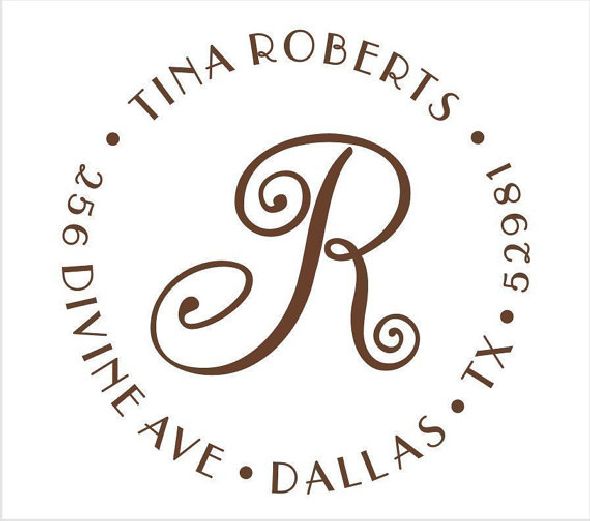
The nice thing about having plates made is that you have a 6" x 8" surface area to order, so you can get extra images to use for escort cards, coasters, or stationery with your new married name. Our Save the Date design is just the upper left portion of the image above. I deconstructed our custom pattern, and also added some components like calligraphy we had done for some address stamps last Christmas (calligraphy by A Fabulous Fete). Hopefully some of these components I will be able to use again and again.

Whimsical-DIY-Polka-Dot-Kraft-Paper-Save-the-Dates


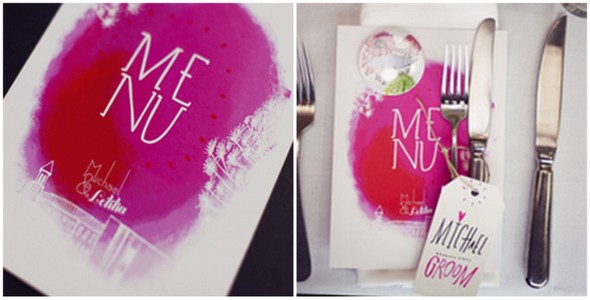
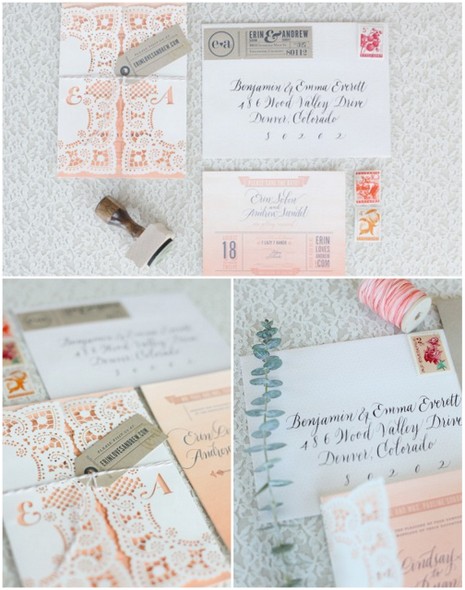
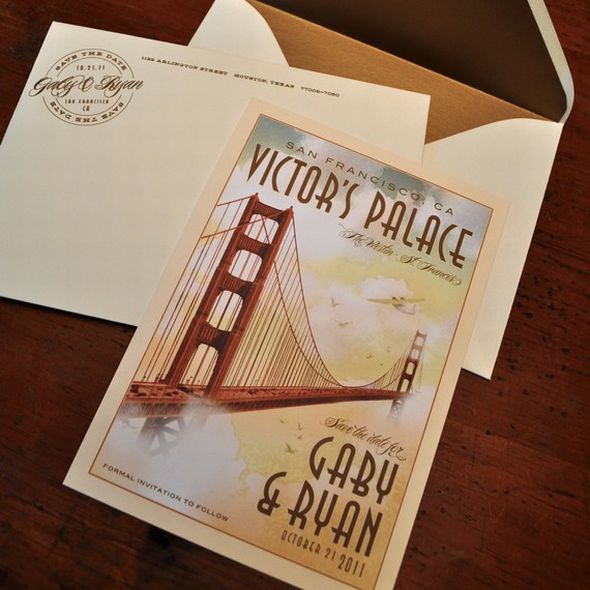
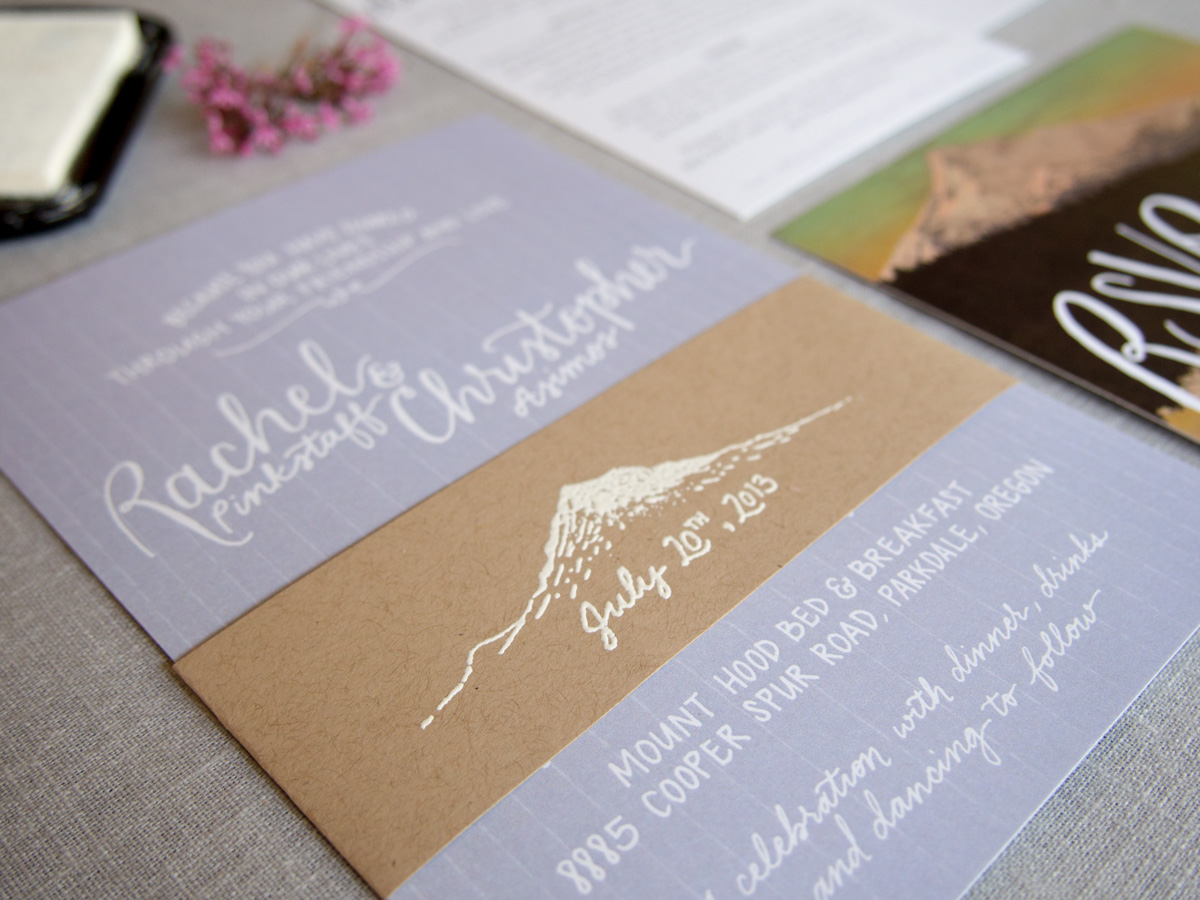
Source: Oh So Beautiful Paper

I have the plate in hand and now I'm just waiting to choose which paper I'll use. I have some beautiful teal watercolor paper and was originally planning to do a painted treatment similar to this beautiful piece, but I'm not sure thats going to work with the letterpress ink so I'm still in brainstorming mode. Will keep you posted! I'm also sharing some sneak peeks of the process on my instagram account (I'm @ravennagirlb) if you want to follow along there!
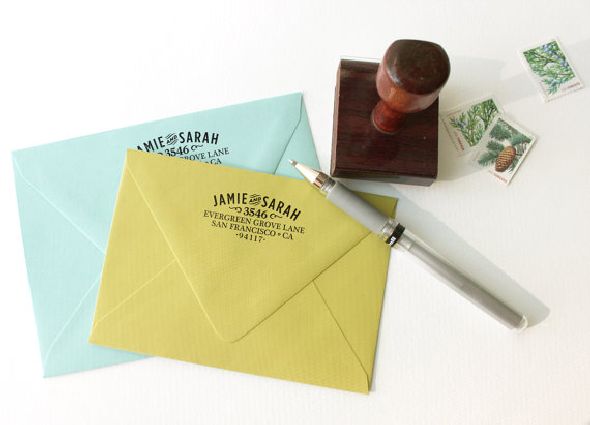
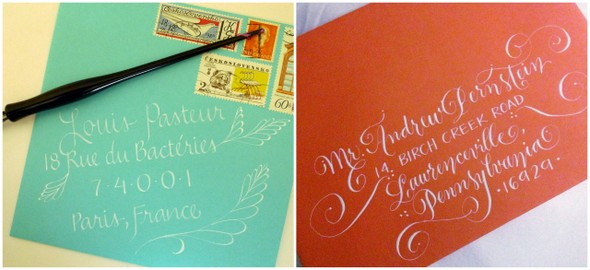
Invitation Design

BRSD-1_rev

Today I get to show off my invitations! I worked with graphic designer and E&I blogger alum, Kimberly Roth, to create my invitation suite. I love how they turned out.

Along the way, I feel that I really solidified the vision I had for my wedding. We pulled inspiration from the location - Mount Hood, Oregon - by featuring the mountain, the muted lavender color from the lavender fields in the area, and the overall whimsical feel.

 BRSD-2   BRSD-5 BRSD-6

BRSD-3Photo credit: Kimberly Roth

I also got a chance for some DIYing. Kimberly designed and coordinated having stamps made for our 'belly band' and return address. During a visit to Paper Source, I realized embossing with white would show up much better on the Kraft paper than just a white stamp. Embossing is really fun and easy (but time consuming when you are doing it for 100+ invitations).

Here's what I used:

- Stamp

- Stamp pad

Embossing powder

Heat tool

Once I got the hang of it, it went by pretty fast. I would stamp three at a time, apply the powder, lay them out on the table (until it filled the table) and then use the heat tool on all of those. Much faster than doing the whole process for one at a time. Two of my bridesmaids came over one night to help and that really speeded things up. Note to self: make sure cat doesn't get to them before you set the powder with the heat. :-)

After embossing, I folded each belly band around the invitation and secured it with a strip of double sided tape.

InvitationsPhoto credit: me

BRSD-4Photo credit: Kimberly Roth

Addressing the Invitations


AddressesSource

For better or worse...I will be addressing my own invitations. I decided to take on the challenge because I want the handwritten look, but it's not in our budget to hire a professional calligrapher. I also thought it would be a fun project! While our invitations are being printed this week, I've been practicing my handwriting and trying to navigate the world of address wording etiquette. It's more complicated than I thought! And while our family and friends aren't sticklers for etiquette rules, it's one of those things - I like to know the rules before I decide which ones to break. :-)

il_fullxfull.273548507Source

Here are some of the most common rules.  We are just having the single envelope (no inner one).

- Spell out Post Office Box, Street, Avenue, the word 'and,' etc. Spell out the state name, unless it won't fit on the same line as the city. Put the zip code on its own line. Use Mr. and Mrs. abbreviated, but spell out Doctor.

- Married couples: names go on the same line, unless there's a fit issue. The traditional way would be to say Mr. and Mrs. John Smith. Another option I like is from the first image, above. I don't see it in the rule books, but I like that it includes both the husband and wife's name - Mr. and Mrs. John and Jane Smith. If the woman has kept her maiden or professional name, her name goes first and the two names are on separate lines unless they fit easily on the same line. 

- Unmarried couples: The names go on two separate lines, with the name of the person you know first. If you know both, the woman's name comes first or some places say to do alphabetical order when you know them both. 

- Guests: try to find out the guest's name if you can. Many sources I'm reading say it's not good to put 'and guest,' but I think it makes sense in some cases. 

- Kids: Write the parents according the 'married couples' guidelines and then put the kids first names below in order of oldest to youngest. If you only put the couple's names and not their children, it is assumed that it will be an adults-only affair.

Source: The Wedding Book by Mindy Weiss

If you're like me and you want a visual of the different variations there are some great resource and other options: here, here, and here.

Addresses2Sources: left, right

Addresses1Source

In doing my research, I realized there are differing opinions about exactly how to address envelopes. I think the best thing to do is to pick your favorite style and then just be consistent.

Did you address your own envelopes? Do you have any tips for me?

Less than three months until the big day!!!

Wedding STD's

This week I am happy to report that we can cross our Save the Dates (or STD's as we like to call them) off our list!  What I thought would be a simple project somehow turned into a 2 + month project.  When we mailed these out on Valentine's day, I finally started to feel like we are making some progress.

We wanted to do something original so we asked a family friend to draw an illustration for us. We couldn't be happier with the way they turned out!

Now onto the other half of my dress!

Did you design your own Save the Date? How did they turn out?

Paper Extras {tying everything together}

I am a sucker for paper - stationary, thank you cards, menus...you name it. So when it comes to my wedding, I get giddy over not just the invitations, but all the 'extras.' Here are some images inspiring me...

Source

Source

Source

Source

Source: Left, top right, bottom right

I came to the realization recently (after getting a quote from a designer) that these things do not come cheap, so there may be some DIY in my future! I won't be able to do everything so I'll also have to get creative with different vendors. Knowing that it's going to take more than just hiring a designer and approving the design, I realize this all will require some extra work. But I know that the savings and getting to have more of a hand in everything will make it worth it.

I was really inspired by fellow E&I blogger who recently posted about her DIY invitations - check them out! I also love Kim's, here.

Did you DIY all or part of your wedding invitations and/or the extra paper goods? How did it go for you?

DIY Invitations Revealed

After spending a year oohing and ahhing over all of the gorgeous invitation suites I saw on Pinterest, we reached a point where we finally had to come up with our own. And as with everything else, to my fiancé's dismay, I needed it to be DIY. Let me briefly digress by saying that every line on my exhaustive (and exhausting) budget is a chance for a little competition. Hence the overkill on DIY projects.

Oh, hello budget. You think my invitations are going to cost $800? Well, think again!

Anyways, after several trips to Paper Source and FedEx Kinko's, and after a couple of crying fits in front of Photoshop, we finally finished our eco-friendly DIY invitations. Et voilà!

And here is the whole thing constructed and deconstructed...


"One day I will find the right words, and they will be simple." - Jack Kerouac

Remember the Kerouac quote on the envelope? It's one of our favorites, so we tied it into the invitation wording :)

And Kyle even drew custom maps for us!


I have to admit that even though I never wanted to look at another invitation in my entire life by the time we got these in the mail, I was quite eager to hear what people thought. I mean, I watercolored 199 pieces of paper and Kyle typed 106 custom RSVP cards and envelopes after all!

Here is what we did in summary: I designed the invitations on Photoshop using some cool free fonts, Kyle drew the maps by hand and we scanned them in, we bought all of the paper products from Paper Source (all at least 30% recycled!) including the vintage San Francisco postcards, bought eco-friendly hemp string and antique sailboat charms from etsy, found some great 1950s sports car stamps for the postcards on ebay, bought the rest of the stamps from the regular old Post Office, had everything printed and cut at FedEx Kinko's, glued the envelope liners into the envelopes, watercolored a bunch of things, tied figure 8 knots on all of the strings to attach the sailboat charms, typed the RSVP cards and envelopes on our 1920 Underwood typewriter, drank a bunch of wine, and finally put all 53 invites together. Phew!

ALL of this, all of the postage, paper, supplies, sticky tape, paint brushes, printing, etc cost $360. Well under my $800 budget. Take that budget!!

So, what do you think? I'm dying to hear!

Personalized Wedding Invitations

This past week my fiance and I have been working on our guest list...one of the toughest tasks thus far in wedding planning. On the positive side, it has made me start thinking about the invitations. I'm really excited to pick how ours will look and figure out ways to make them personalized to us and our wedding location. I love paper goods so the invites are important to me. They are also one of the first impressions your guests will have of the wedding and include some very important details for making sure everyone makes it to your big day (or weekend)! I don't really know what I want to have them look like beyond going with our venue (outside, bed and breakfast near Mount Hood in Oregon) and fitting with our personalities and wedding color palette. So, I did some searching for inspiration. I like a wide variety of styles, from casual and quirky to more formal and traditional, colorful to black and white, and so on.

Here are some of the invitations that are inspiring me...

Source

At first glance these seem more traditional, but when you look a little closer, there are some great details and unique aspects like the accordion-folded invite.

Source

I love when maps are included!

Source

Liking the calligraphy and lace on these.

Source

These are super fun and personal - they used their dog! And took inspiration from chalkboard writing since the couple met in grade school.

Source

Incorporating the mountain that will be the backdrop to our vows. ?

Source

How did you pick your wedding invitations?

Stamp of Approval

My current wedding project is invitations. After the amount of research, work and stress that has gone into them, I will NEVER look at a wedding invitation the same way again! I promise to reveal more about the invites in a future post, but thought I would share one thing I did to keep the costs of our invitations down. Our invitation vendor offers envelope printing for both guest addresses and return addresses, but they can only do the return address in letterpress and it’s not cheap! So to keep the cost down a bit, I ordered a stamp with our name and address and plan to hand stamp all of our envelopes with our return address. For about $30 (much cheaper than the cost of letterpressing the return address), I was able to get two different size stamps from TheStampMaker.com. And the best part is that I will be able to use them even after our wedding (I only used our first names, so when I change my last name, I can still use it!).

If you would rather not make your own stamp (maybe rely on the talents of those a little more creative!), Etsy is your friend! There are so many great stamp options to choose from. Here are a few I had my eye on.

Did you hand stamp your invites? What did you do to keep the cost of your invitations down?

Credits: 1, 2, 3, 4, 5, 6, 7

STDs – no not that kind

We are just about nine months out from our wedding and slowly but surely knocking things off of our to-do list. We booked our photographer last weekend (more on her later, but I am in love!) and the next thing I would like to tackle is our Save the Dates (aka STDs!). I know not everyone sends out STDs, but as my fiancé’s family lives in the Midwest and my family is on the East Coast, they are an absolute must for us. We want to give our guests plenty of time to plan for a trip out to San Francisco, especially since this will be the first trip out to CA for many of them. Now here’s the tough part – choosing an STD. Man, it is hard! There are just too many beautiful options out there. I do love STDs that feature the couple (and of course the engagement pictures that you likely paid a pretty penny for).

But, I would really like to get ours mailed out sooner rather than later and I am not sure how quickly we can turn a photo shoot around along with creating the actual STD.

So currently I am leaning toward STDs that highlight San Francisco. As I mentioned, we are inviting a LOT of out-of-towners to our wedding. And we want the city of San Francisco to shine right alongside us on our big day. We hope that all of our guests fall in love with this city as much as we have and utilize our wedding as an excuse to visit one of the best places in the world (can you tell I like this city?).

I especially love ones that have a more vintage feel.

And how cute is this STD that highlights the BART System (that's Bay Area Rapid Transit for you non-locals).

Oh and I am leaning toward postcards. I like that they emphasize the travel theme (and who’s kidding who, let’s save a dollar where we can!).

I would love to know your thoughts on the above. Did you send out a Save the Date?

Credits: 1, 2, 3, 4, 5, 6, 7

For the Love of Twine

Baker's Twine has been a lovely addition to the wedding world (and just about everywhere else!) for some time. I am totally in love with the way it looks and all the different uses for it! Really, they seem to be endless. I am planning on using these for my invitations, place cards as well as for the wedding favors. But I may sneak it in a few more places here and there too.

Source: White box, Kraft Box, Tags, White Box, Tags

So many great ideas huh?? In my search for twine, I realized how expensive everyone was selling it for. So, I ended buying a huge bulk of it with all the different colors (cause I didn't know which color I wanted) and ended up with SO much twine. I decided to start up a little Etsy shop and sell it for SUPER cheap. I want other brides to be able to get the quantity they want without spending $8 or $10 on it. So, I have started to list a few ( but I have a long way to go with my photography and creating the store front) for anyone that is in need of some super cheap twine. $1.5 for every 25 yards and $4 for 100 yards. Oh and I also have about 200 of those white boxes above in case your wedding favors are along the lines of something wrapped in a cute box!

Source: Invite, Tags, Place Cards, Invites

Love all of these ideas so much! I'm excited to wrap up tons of stuff in cute twine! Below are the four colors I have available. You can buy it on Etsy (though not all the listings are up yet) or jut e-mail me allison@engagedandinspired.com with what color and how much!

Clockwise: Green/White, Navy blue/white, Baby blue/white, red/white.

Shipping is $2.00 anywhere in the US!

Happy Twining!