Finishing Touches {Signage & Printing Galore!}

Hi Guys! Holy cow do I feel behind on just about everything in life right now. It feels like the last couple of weeks have flown by and between a full time job that takes me out of town and finishing all the wedding details, this girl is on over load. I find myself sitting back and going where did the last year go?  We are two and a half weeks out and the pressure is on to finish those last little details.

Source

Source

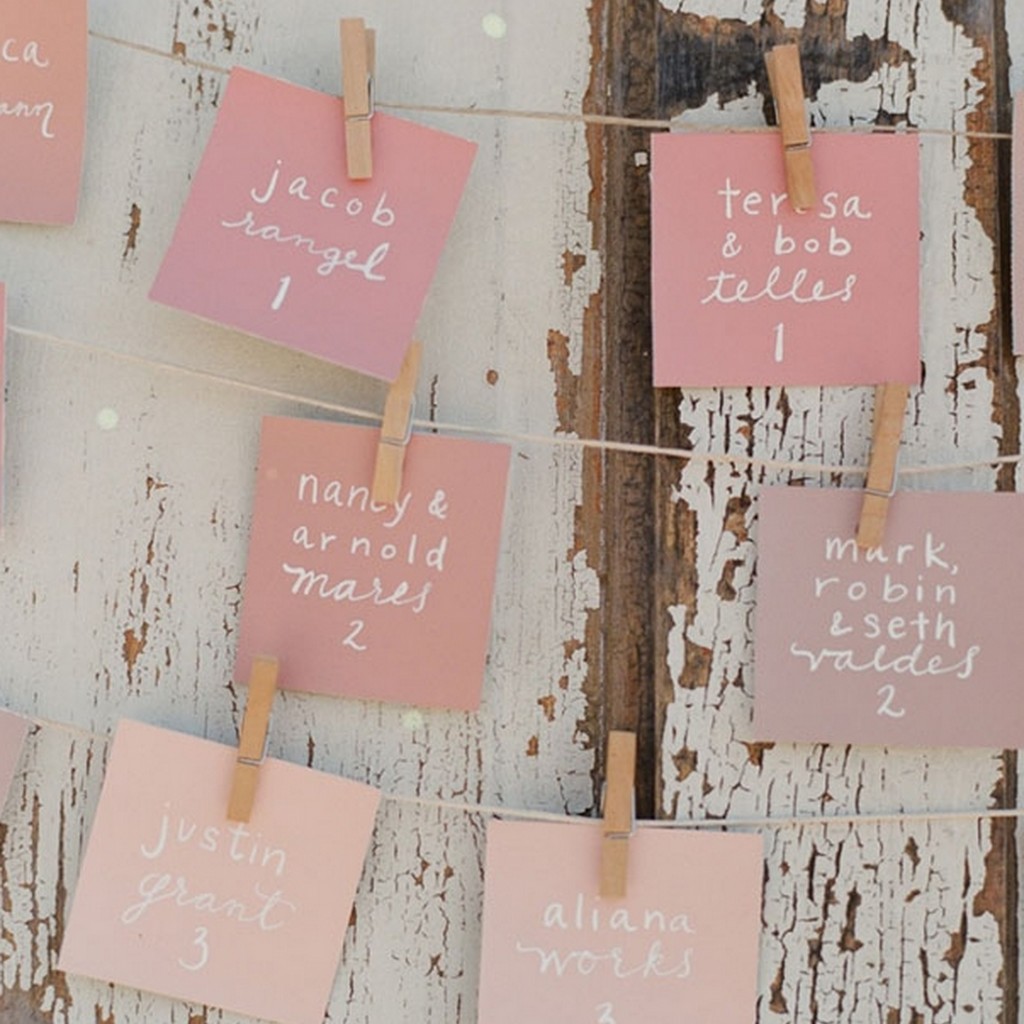
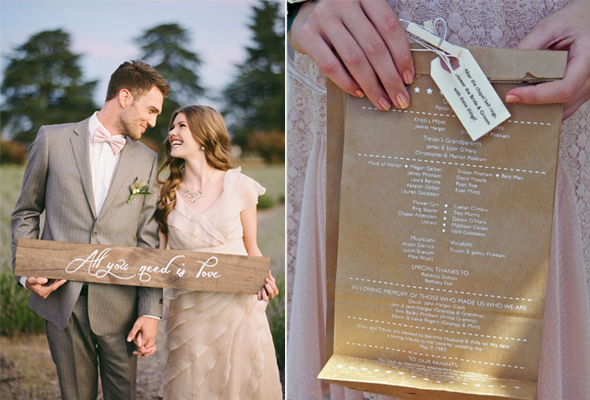
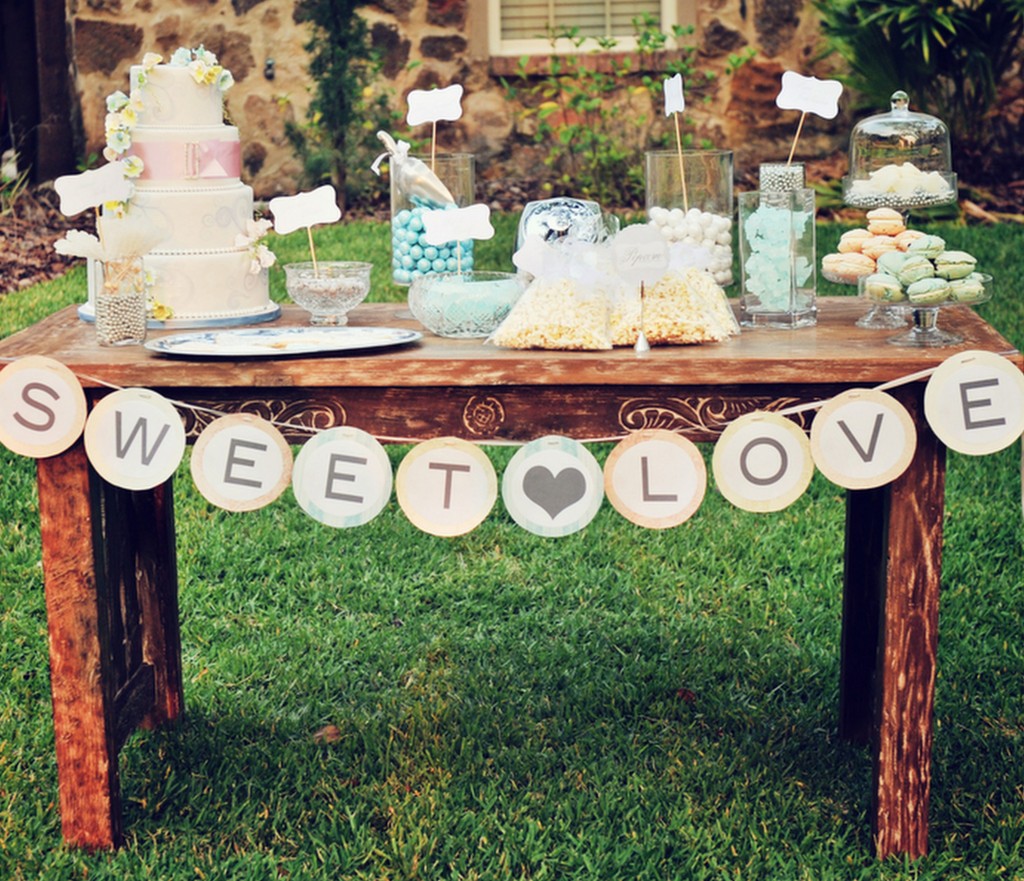
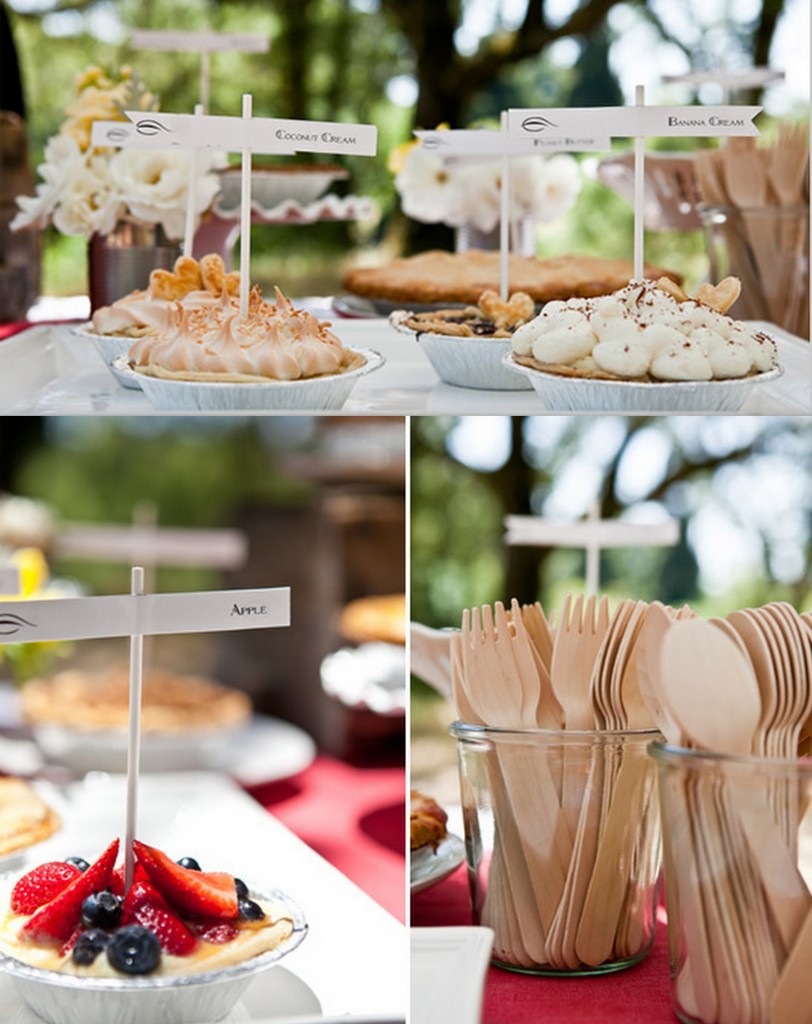
I am busy designing and printing all the little details like programs, escort cards and signage. I am also working on a banner for above our dessert table that hopefully I will have a little tutorial for  you guys on next weeks post. I am so excited about the dessert table. I am currently making fun little flags to go with each type of pie and signage that shows guests his and her favorites when it comes to the deserts. Here's some of my inspitation that  I am channeling when designing ours..

 Source 1 Source 2

Tomorrow I am off to beautiful San Diego for my Bachelorette weekend with my girls. Let the festivities begin!

Heather

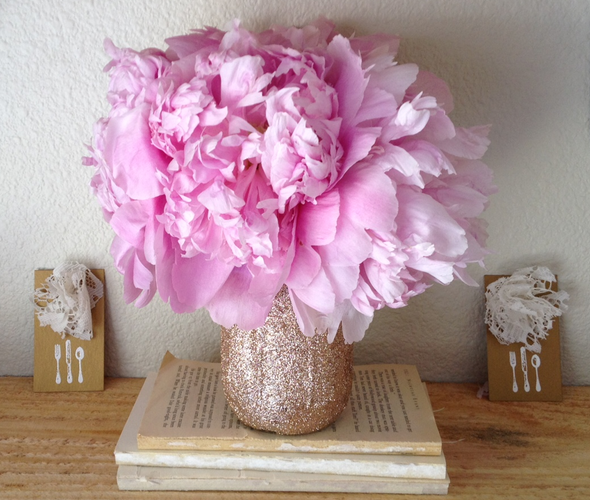
Gold Glitter Mason Jar DIY

I'm sure you have seen the gold spray painted mason jar by now, right? Well, I wanted to take it one step further and glitter-ify one. Beware, this one can get a little messy (if you consider having glitter everywhere "messy". I prefer to think of it as fabulous.

Supplies Needed:

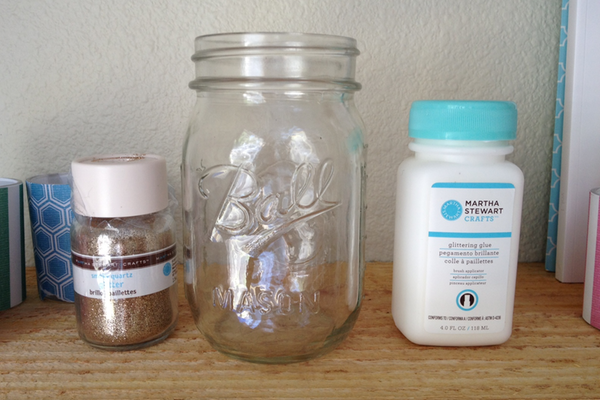
  • Glitter (Any color, any kind. I used Martha Stewart "Smoky Quartz" found at Michaels.)
  • Glue (I used Martha Stewart Glitter Glue. Regular glue works but it doesn't hold on the glitter as well over time.)
  • Mason Jar ( Or any jar for that matter!)

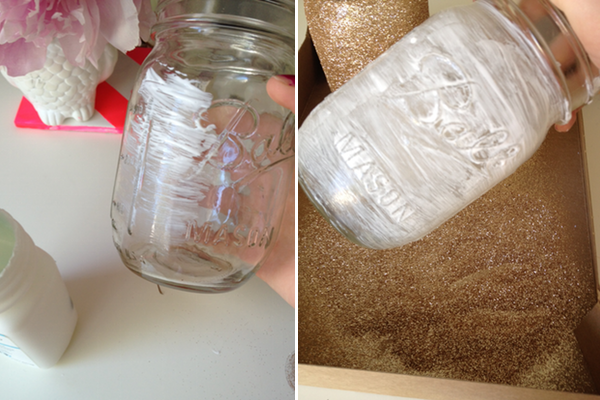
Start by painting the entire area with glue. Glitter Glue has a built in brush making it easy to slap a coat of glue quickly and easily over the whole area.

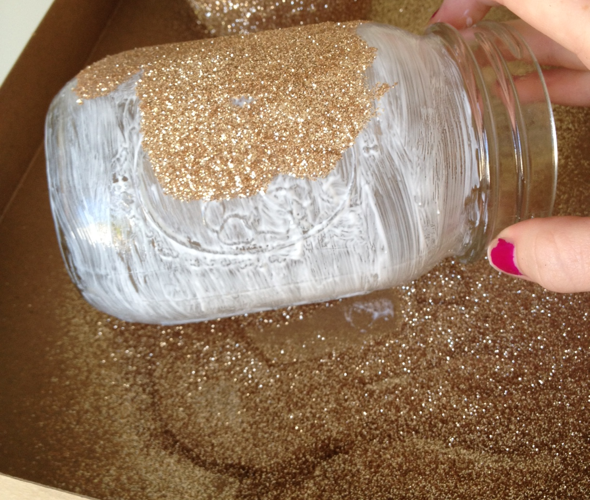
Pour glitter over the mason jar and roll it around in a pile of glitter. I confined my glitter in a box as you tend to pour much more than is needed. With your fingers fill in any missing spots so the entire thing is glittery awesomeness.

And there you have it! Easy as pie :) A finished glittery mason jar to make those flowers even prettier than they were before! Check it out:

Anyone up for trying a fun DIY? Woud love to see what you do with a little glitter and glue! Instagram a photo and tag it with @engagedinspired so I can see it!

DIY wedding favors

Now that I'm just 54 days away from saying "I DO" it's time to talk about favors! I have often thought to myself, "do I really need to do favors?" After-all, I can think of numerous weddings I've been to where I either didn't take the favor, or never used it. The thought of putting a ton of effort into making favors and being left with a majority of them bothers me. So.... what's a bride to do? Well, I did a little research by googling "wedding favors that people actually want." (Believe it or not, Google actually finished that sentence for me, so at least I know I'm not alone on this subject.) Here are some of the creative favor ideas I came across:

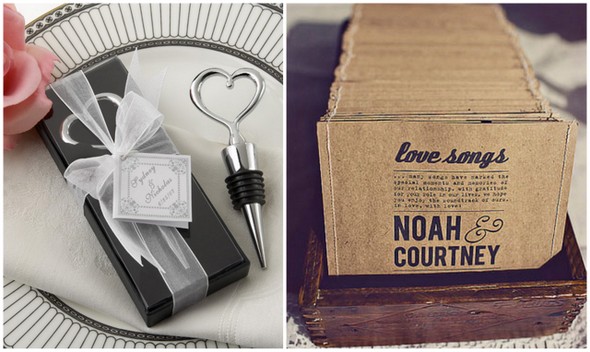
A wine stopper & a CD of the bride and groom's favorite love songs

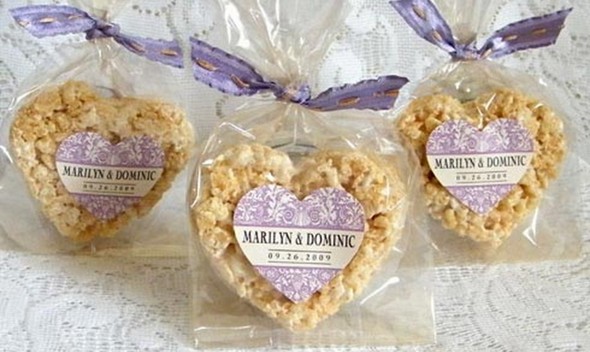
DIY Rice Crispy Treat Favors! yummmmmm! Click the photo for the step-by-step TUTORIAL!

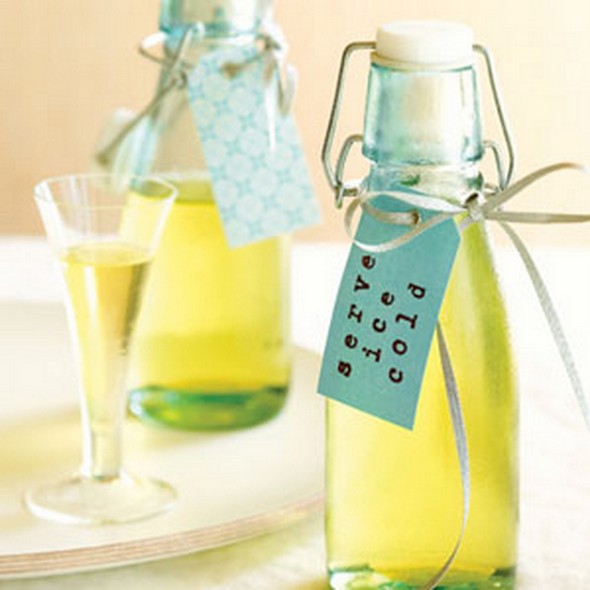
Homemade Limoncello!

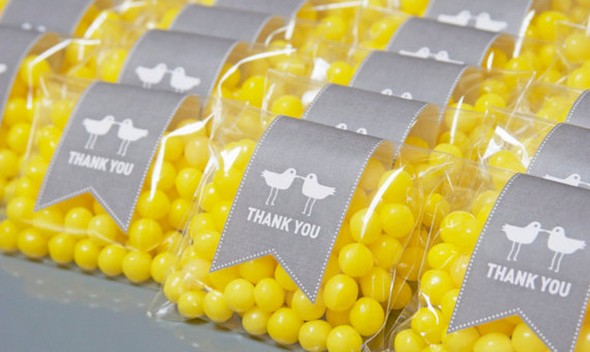
candies in the color of your wedding. simple, but cute

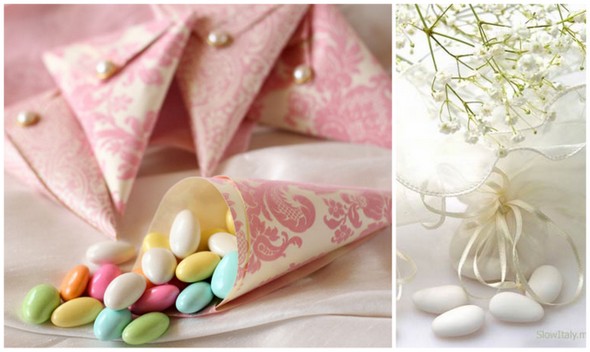
Italian Wedding Bombonieres.... pretty sure Greeks do these too ;-)

 Photo credit: left & right

Are you a bride that plans on doing favors? If so, what ideas can you offer for those of us debating whether or not we should do them? Looking forward to reading your comments! :)

The Last Two Weeks & the Next Two Weeks

Sorry for missing my post last week! It has been a crazy few weeks and a couple more crazy ones to come! We have a little less than two weeks until the big day. TWO. WEEKS. We've been planning this wedding for nearly two years, so it is really hard to believe how close we are.

So, what have I been up to, you ask?

Last weekend was my bachelorette. My friends kept everything a total surprise, gave me a packing list and picked me up on Friday afternoon for my unknown adventure. We ended up in Oceano (right on the beach outside of San Luis Obispo and Pismo Beach) for a weekend of lounging on the beach, girly craziness and a lot of surprises--including, but not limited to, a pole dancing class! It was an amazing weekend of girl bonding, so needless to say I was a bit on the tired side when I got back.

Since then, I've been swimming in a sea kraft paper, washi tape, bakers twine, vintage wood, stamps and more. I'm crafting like a mad woman, with the hope to be done by the weekend. Here's a quick snapshot of my last two weeks.

Personal Photos

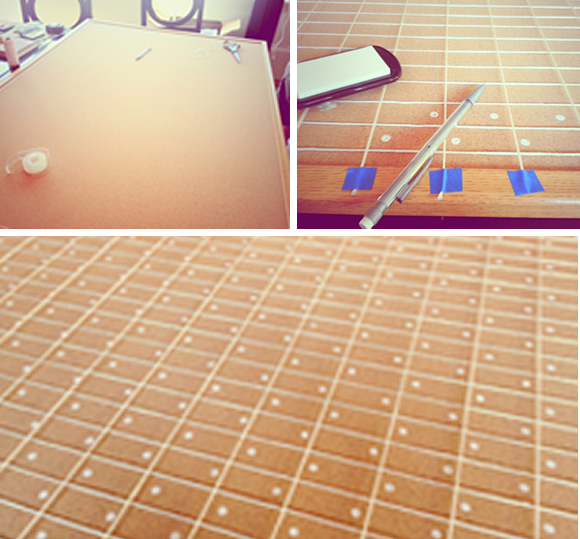
I think my favorite craft project so far has been our hand-stamped cork board. It is covered in polka dots (my favorite!) and will be used to display our escort cards. My fiance and I made a giant grid using string to align all the dots, then I dotted the whole board using a white ink pad and the back of an eraser. I actually can't wait to put it up in our office after the wedding :) (Sorry I don't have pics of the final product. Guess you'll just have to wait for the wedding photos!)

Personal Photos

In these next two weeks, I need to finish programs, welcome bags, table numbers and escort cards. I have some honeymoon shopping to do, plus a much anticipated spa day a few days before the wedding.

I'm a little stressed, a little overwhelmed, but a lot excited! How did you feel the last few weeks before your wedding? Any to-do's I might have forgotten about?

Kraft Paper Notebook DIY

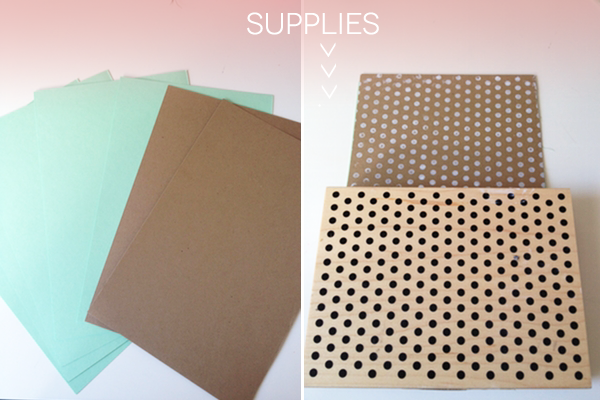
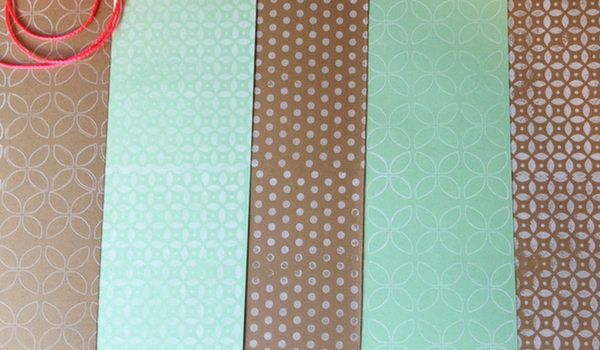
I love crafting and I love giving my brides something awesome that facilitate planning their wedding! So I made a batch of really fun kraft paper note books for my brides to take notes during meetings, write down inspiration, tidbits and so much more! These books are so simple to make and you can get so darn creative with patterns, colors,etc. First up, the supplies:

  • Cardstock paper
  • Any stamp pattern (I bought these at Michaels)
  • String (I found this awesome Neon string from Home Depot!)

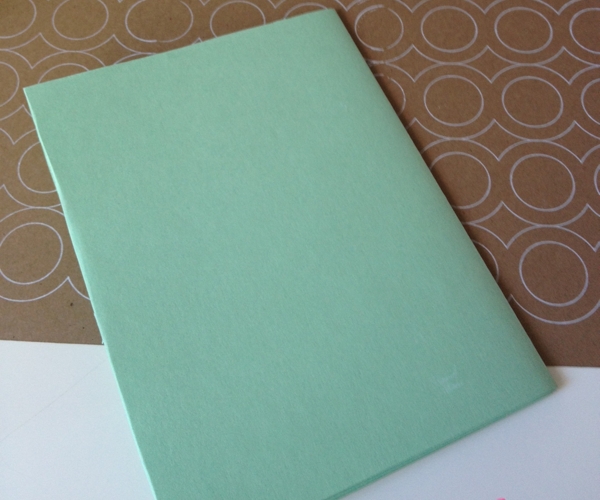
Start by cutting 8.5x11 paper in half creating 4x5.5 pieces of paper.  Stamp the cover with whatever stamp pattern you choose.

I tried out a few different stamps creating a lot of really fun covers.

Next up fold the insert paper in half followed by the cover on top.

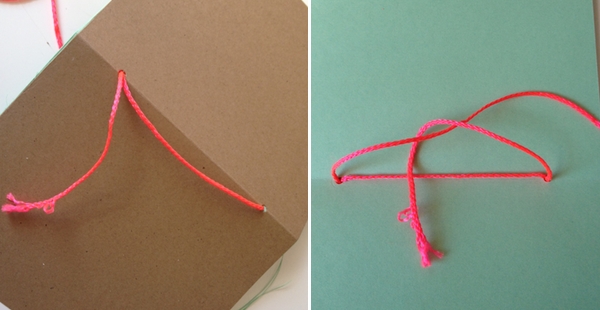
Next up, create two small holes down the center and thread string through the holes twice and tie a little tie in the center inside of the book.

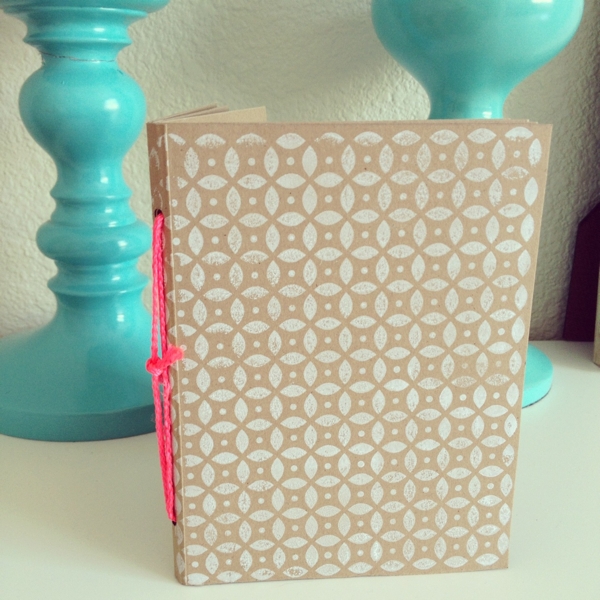
And there we go! An awesome little notebook for you to carry around and jot down your thoughts! What a perfect thing to have while planning a wedding, huh?

What do you think? Awesome right? What would you jot down in your handy dandy notebook??

Save-the-Dates {and the 10-Month Countdown}

Right now, I'm looking at the 8 to 10-month check lists (our wedding is July 20, 2013)...and if you've planned a wedding, you will know they are serious lists! They may look small as far as number of check boxes, but, in reality, they are some of the BIGGEST decisions of all! The wedding dress, the officiant, DJ/band, caterer, photographer, the registry and so on. Two months ago the date was July 5th. I had my ceremony and reception venue and day-of planner booked, our wedding parties all figured out, our guest list lined up - I was feeling good. Fast forward two months and I now have a new job that is keeping me crazy-busy, and nothing else booked for our wedding. Don't get me wrong, we have been looking into things and thinking about things, but you can't have a wedding by thinking about it ;-). Needless to say, it's time to get back in the wedding planning zone. The 10-month countdown begins.


So, that brings me to what we need to figure out this week. A couple, seemingly-unrelated, things that all tie together. The hotels/lodging, the wedding website and save-the-dates. Because we are getting married in a small town along the Columbia River Gorge that also happens to be a destination spot for many outdoor activities, from windsurfing to hiking to wine tasting (I consider wine tasting an outdoor activity), the lodging is in high demand. In a perfect world, we would love for our guests (or even just us and our wedding party with their family's) to group together and rent a couple houses in town. There are so many within walking distance of each other and downtown and we think it would be a great way to spend time together. Whether we can figure the house thing out or not, we will still need to find a hotel for people to stay at, which leads me to the two other things on our list needing to be done ASAP - the wedding website and the save-the-dates (if we do them). I wrote this post a while back about websites and save-the-dates (just realized you shouldn't abbreviate that, yikes!). Bottom line is we need to get the word out about our lodging recommendations to our guests so that they can book soon. Our wedding still 10 months out, but time is flying and we don't want to have last picks on the places to stay.

This brings me to the last thing on our list for this week - Save-the-dates. We are trying to figure out whether or not to do them. I think they are so fun and you can do so many creative things with them, but I'm trying to figure out if I can justify the time and cost for something I ultimately just want to lead people to our website where they can find the details on lodging and the weekend activities. Thoughts?!

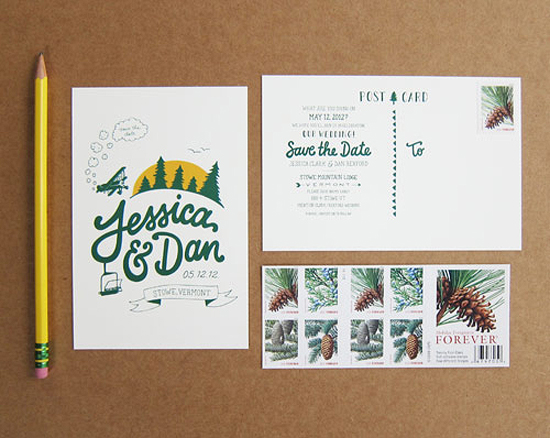
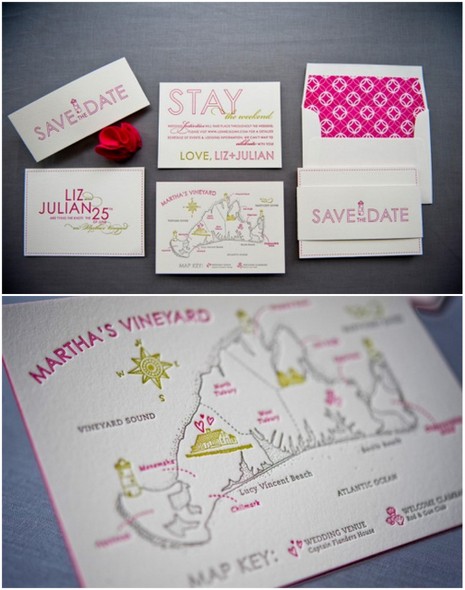
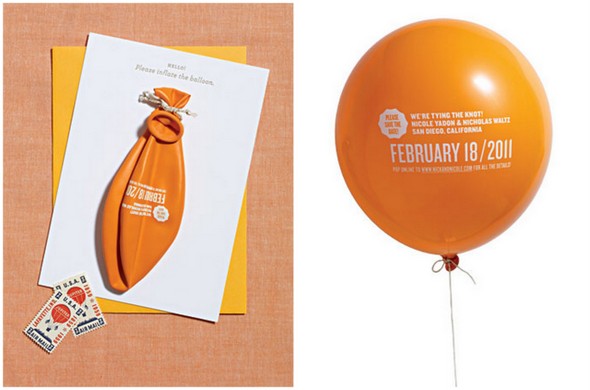
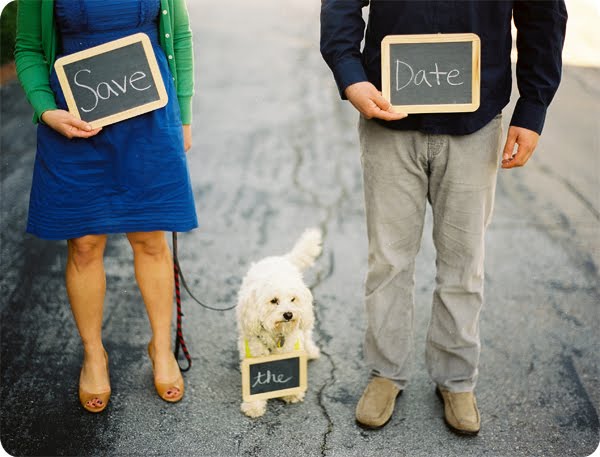
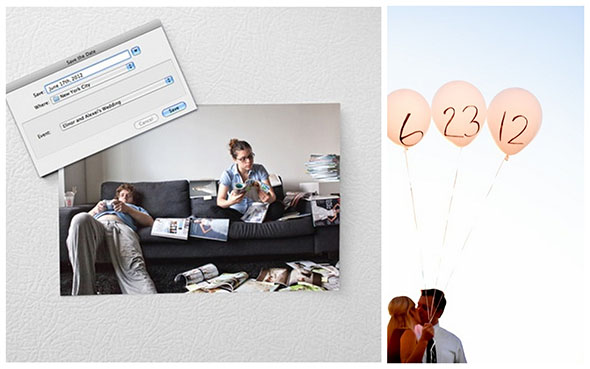
Here are some I like:

Source

Source

Source

If only we could get our cat to sit still for a minute...

Source

Did you or didn't you use Save-the-Dates? Are you using a wedding website that also offers 'virtual' Save-the-Dates? What do you think about renting a house/houses for the bride, groom and wedding party to stay at over the weekend?

DIY Rustic Cupcake Stand

My Mr. and I decided that instead of spending $100-$150 dollars on a cupcake stand for our wedding that we he was going to build one. We are going to have a totally awesome dessert buffet for our wedding including cupcakes and mini pies so this stand will be the perfect accessory to our table. Here are the details.

Project Difficulty: Medium

Estimated Time: 4 hours (including paint)

Estimated Cost: $60

The first step in this DIY project is to pick a design and stand height that you like. A good place to start is Etsy, where (depending on size), you can easily spend upwards of $200. I decided to go with a 3-tier design which I can add small rustic boxes or mason jars to give the cupcakes varying height. My first stop was the local hardware store for materials. For each tier I chose precut 24", 16" and 8" wood round table tops. The hardware store also carries stair baulsters that are milled in precut lengths and styles.

 The shopping list included: (1) 24" table top (1) 17" table top (1) 14" table top (1) 9" stair baulster (1) 14" stair baulster (1) can of white primer (1) can of satin white paint (1) container of gorilla wood glue

 The next step was to get home and have the Mr. work with me on putting my plan together! The tools you will need are:

(1) Drill; drill bits (1) Square (or anything with a straight 90 degree corner) (1) Pencil

Each baulster comes with one end with a "bolt" coming out of the bottom for a screw-in installation. The other end is flat and needs to be glued to the bottom side of the tabletop. However, before we can drill the tabletop for the baulster, we need to locate the exact center of the circle. I don't know about some of you, but I don't remember my geometry homework! Luckily, the Mr. knew and explains it like this:
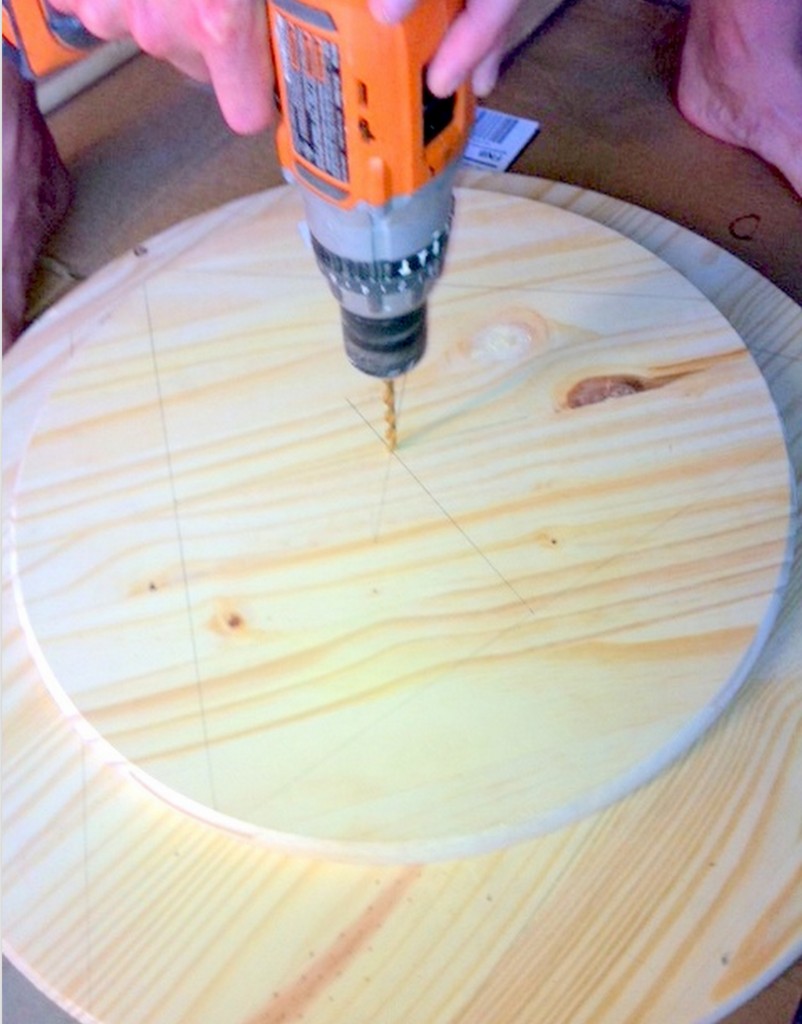
To find the center, you first need to draw 3 "chords" on the outside of the circle the same length (pick an easy number, like 12 inches). Once you draw all 3 lines, divide them in half and mark the center of the chord. From the center, use your square or 90 degree angle and draw a line across the tier. Do this for each chord and the exact center is the intersection of all three lines. He is so smart!

 When you have the centers laid out, its to drill a hole slightly smaller than the "bolt" coming out of the bottom of the baulster. Drill this hole only HALFWAY into to the tabletop, and make sure it is drilled straight. Once this hole is drilled, drill a much smaller hole through the larger hole to mark the center of the citcle on the other side.
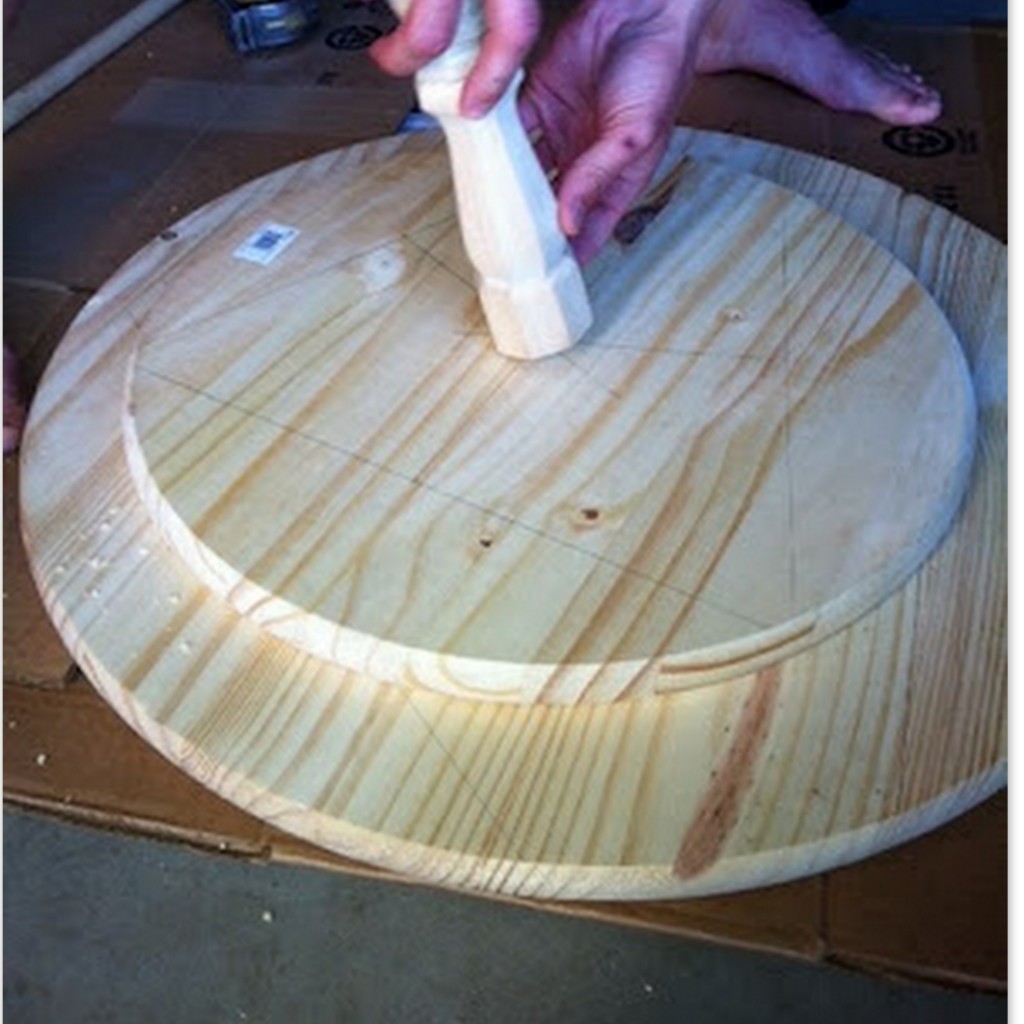
 

 Now that the holes are drilled, we now want to glue the baulster to the bottom side of the table top. To be exact, find the center (process above) of each baulster and measure the distance from the center to the edge of the baulster. Measure this distance on the tabletop and mark the edges of the baulster. This is an important step, or else the tiers will look staggered from each other. Now, apply the gorilla glue to the baulster, press firmy agianst the table top, and hold together for about a minute. Repeat this process for the other baulster, and let dry overnight.
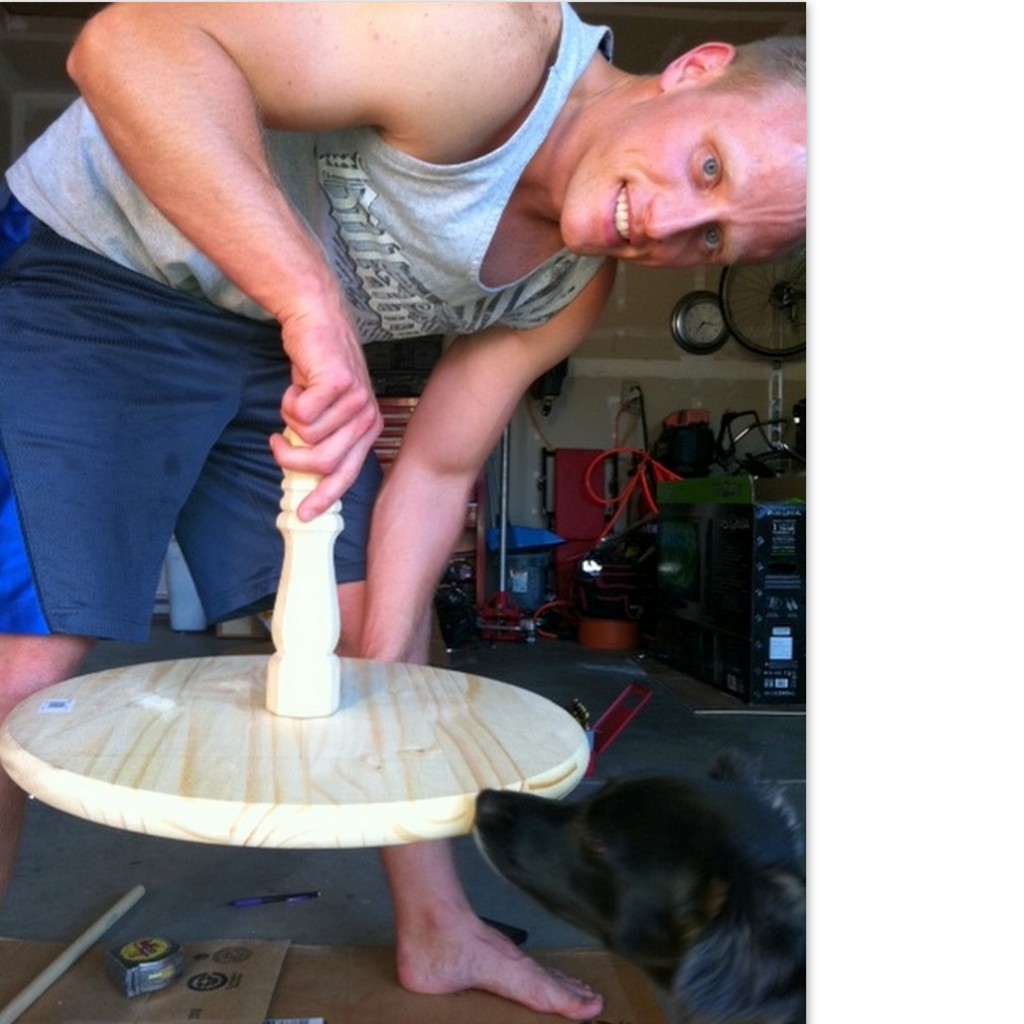
 

The next day is paint day!

At this point, you should have three pieces that have been glued together and resemble this (largest round not shown):
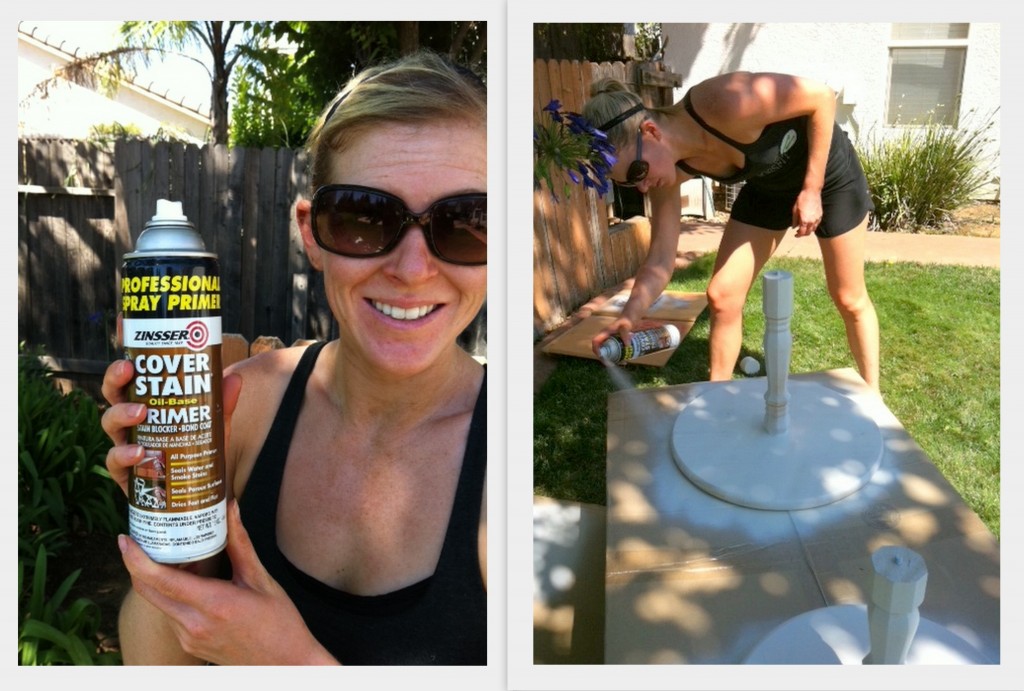
 

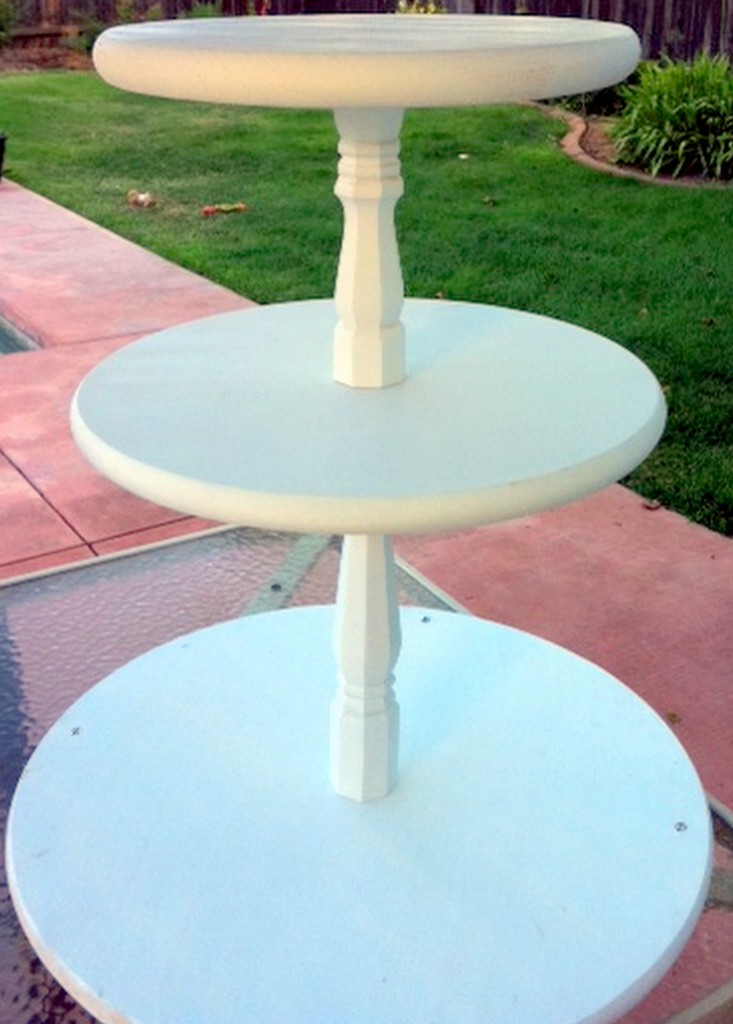
Apply your primer first, and be sure to cover all parts of the bare wood. Once the primer has dried, paint two coats of white paint to really cover it well and hide any paint streaks. Once your paint is complete, you should be able to take the three pieces and assemble them by screwing them together (since you have already drilled your hole). Voila, your finished product should resemble something like this! 
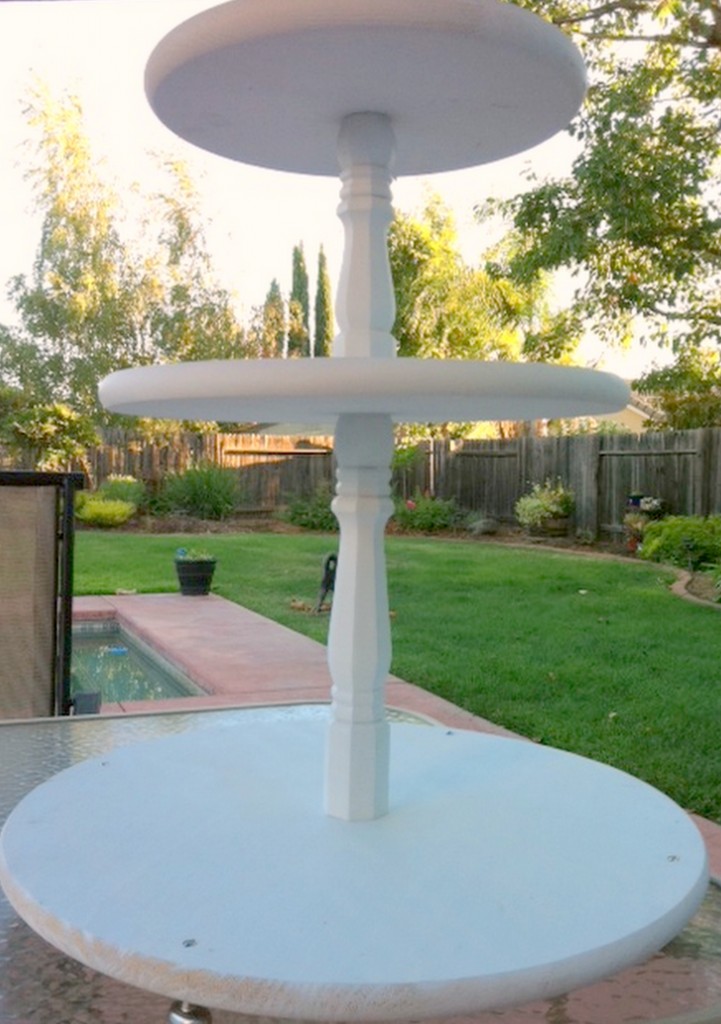
 

We used cabinet hardware to make feet for the bottom of our cupcake stand. We just chose something with a flat surface that would sit level on a table. The best part about rustic decor is that perfection is not necessary. I think I might sand the sides down a little to give it a little more of a rustic look.

So what do you think??

Find more about what I am up to here.

Heather
Lock-in the Date!

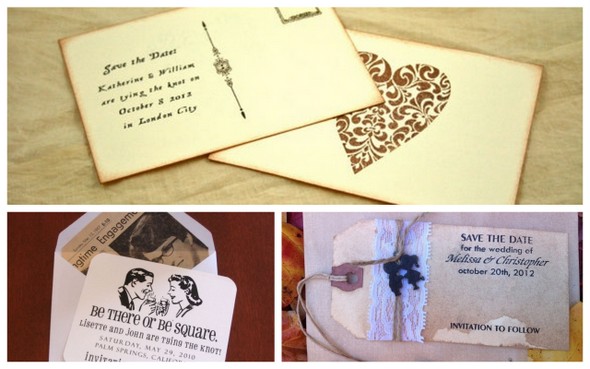
This next year is shaping up to be a pretty action-packed year for us.  Not only is my fiancé’s brother getting married about three months before us, but a couple of my good friends are also tying the knot next summer.  Not wanting to miss out on any of these weddings and pre-wedding festivities, getting our Save the Dates out is at the top of my wedding to-do list. Of course, selecting a Save the Date design may not be as easy as I had thought. With so may clever and fun Save the Date ideas out there, the pressure is certainly on to come up with something unique and creative.
Source: 1, 2

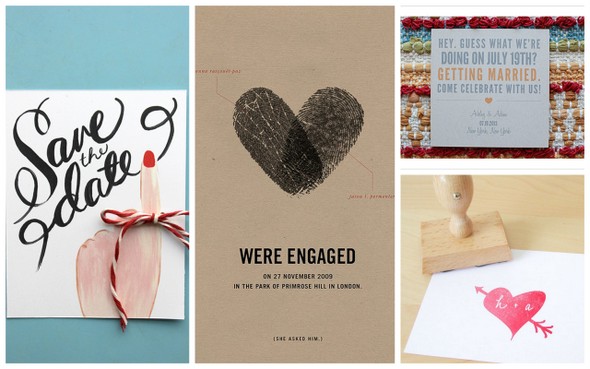
Below are a selection of DIY ideas I found, ranging from stamps, fingerprints to just hitting print and tying a bow (might be more my style).

Source: 1, 2, 3, 4

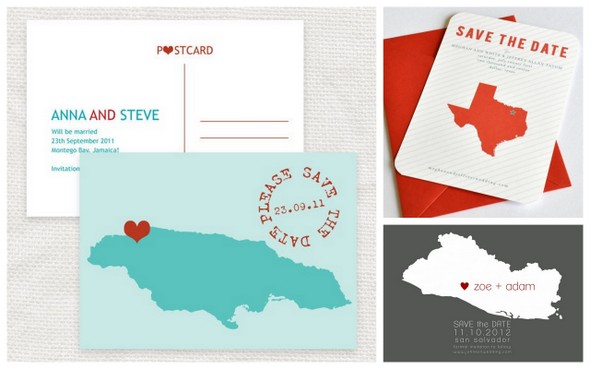
Since the majority of our guests will be traveling from out of town, I also like the idea of incorporating our state/wedding location into the cards.

Source: 1, 2, 3

My engagement ring is a gorgeous vintage ring, so I have also been playing around with more of a vintage feel.

Source: 1, 2, 3

And, since we did meet on Match.com (more than 4 years ago...wow how time flies), I have also thought about incorporating matchbooks into our Save the Dates. Maybe a little too cheesy, even for me though.

Source: 1, 2, 3

So, there you have it, so many ideas to choose from! How did you decide on your Save the Date concept?

Over a Year Till I Do & Halfway Dressed

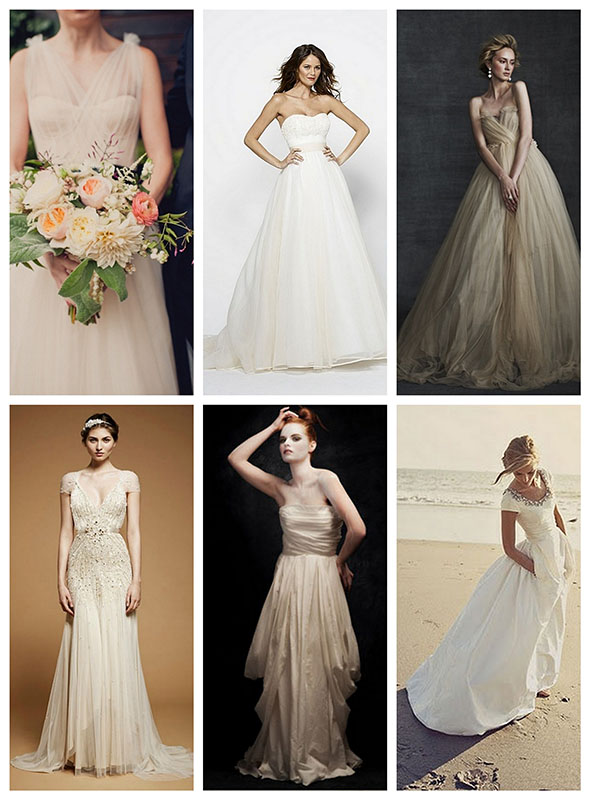
Okay, so, I’m going to admit it:  I have never been one of those girls who has dreamed about her wedding day since she was a little girl. When I got engaged last November, the questions started piling up fast. “Where will you get married?”, “What do you want your dress to look like?”, “What is your vision for your wedding?”.  Almost 9 months later (yes, I realize 9 months is an entire engagement period for some couples), I still can’t completely answer any of these questions, but I certainly have a better idea of what I want and how to best make it happen. I never thought that I would care as much as I do about my wedding dress.  I started my search by aimlessly and casually browsing through Bridal magazines mentally tearing apart everything I saw.  Searching for wedding dresses on Pinterest only confused me further, because the styles and silhouettes I was gravitating towards were all so different.

Source: Dove Sparrow Photography, Watters Brides, Samuelle Couture, Jenny Packham, Lindee Daniel, Melissa Blackburn

After looking at three bridal shops (Panche Bridal in Santa Barbara, Lovely Bride in Los Angeles (my favorite shop!), and Camarillo Bridal in Camarillo), I discovered that I have expensive taste. At each shop, the dresses that I liked most were on the higher-end of my dress budget, and I was not completely in love with any of them.

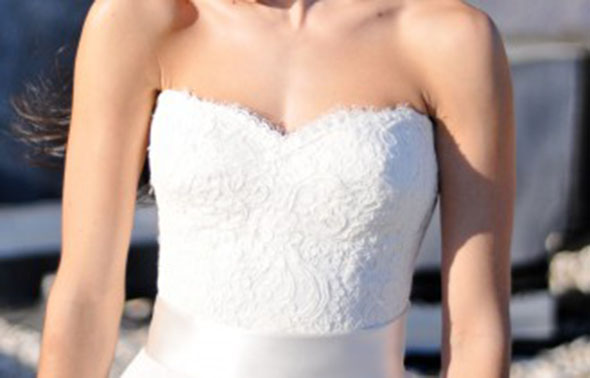
The search continued while I was visiting some friends in San Francisco a month ago and decided to try my luck at Glamour Closet, a discount bridal shop that sells sample wedding dresses at up to 75% off retail. I was in luck! I walked away with a Monique Lhuillier lace corset (very similar to the photo below) at a price too good to pass up and a new vision for my "wedding dress."

I had never thought about looking at two-piece dresses. I had wrongly mentally labeled them as 90's prom dresses gone wrong. But, once I started trying on two-piece dresses, I began to see how this concept would give me more flexibility, more creative control, and maybe even keep me within my dress budget.

Source

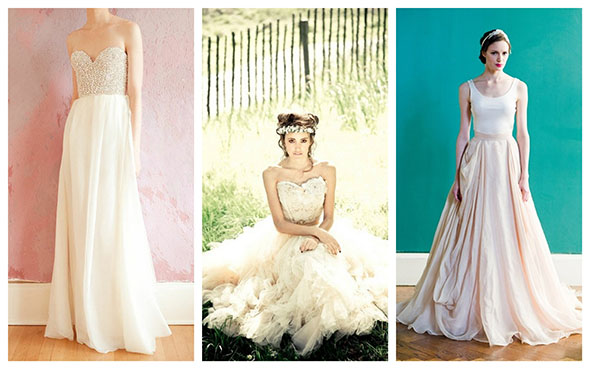
And so, my search for a perfect bottom continues. I am leaning towards designing my own (maybe even two: a long skirt for the ceremony and short skirt for the reception) with the help of a local tailor. The following are my inspirations so far.

Source: Sarah Seven, Bonzie on Etsy, Carol Hannah

Have you thought about or gone the two-piece dress route?  Do you have pointers for designing your own dress? Am I crazy??

Milkfed Press Stationary Giveaway

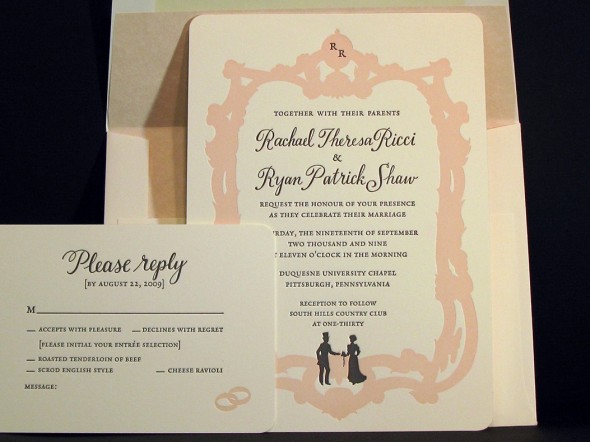
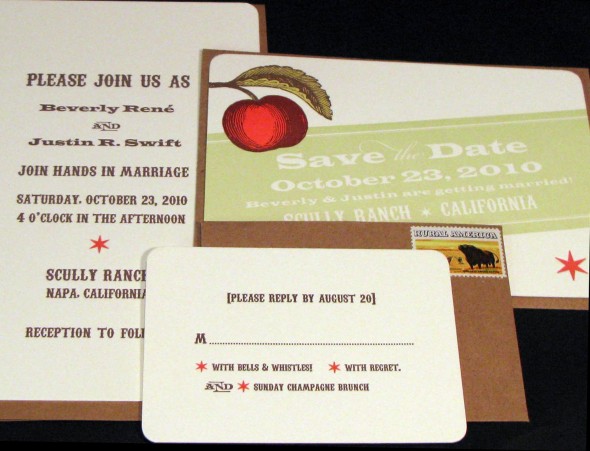
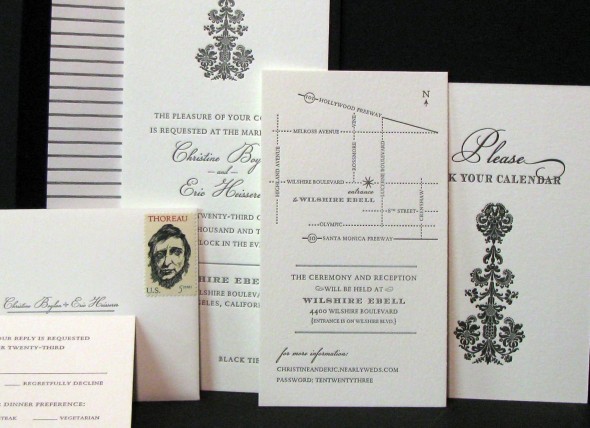
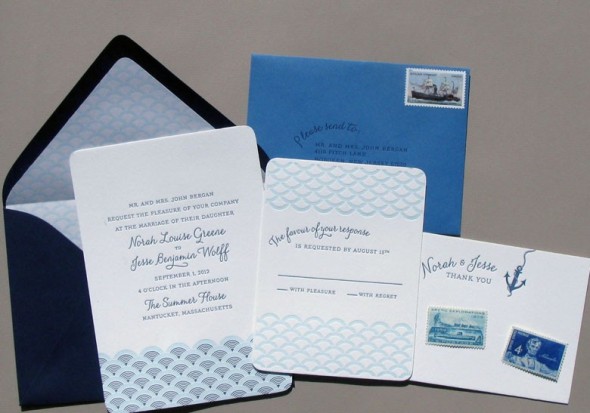
Victoria, the design genius and creator behind Milkfed Press is one of the most raved about stationary and invitation work in Northern California. All her work is custom designed that is catered to her client's needs and combines every bit of craftsmanship possible: binding, typography, design, and letter press printing- with a very antique touch! Look at some of her work:

We love her! And we want to share some of her work with you with another giveaway! Here's what you have to do:

Like the Milkfed Press Facebook page & our Engaged&Inspired Facebook page,

Email me your name and address to EngagedandInspiredNatalie@gmail.com-

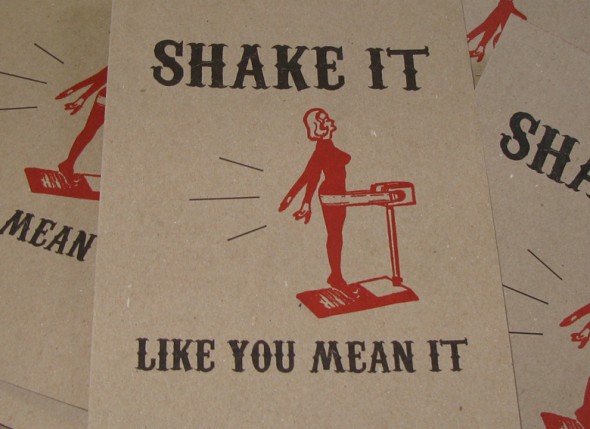
and the first to do this will have 7 Shake It! 8 1/2 x 11 Letterpress Prints mailed to them!

Good Luck!

and congratulations to Dalena Nguyen for winning last week's Milk&Honey Shoe Competition!

Here is her shoe design here!