{DIY Tutorial} Kinda-Calligraphy

I've been talking a lot lately about calligraphy, invitations and wedding papers, so today I'm sharing a little DIY tutorial for what I like to call "kinda-calligraphy." This is basically a way to get the look of calligraphy without being a professional and even without all the fancy calligraphy tools. While this certainly does not replace what a real artist can do, it could be a great budget-conscious option. It's also a good way to do hand-lettered signs because you could do this on just about anything, from a rustic piece of wood to a vintage window or mirror! This little trick took a little practice for me to make it look just right, but it is super easy to do. It's not a science by any means so just have a little fun with it and see what you like!

What you need: *Pen (I recommend something with a thin tip but that is a bit inky--I really like the Sharpie ball point pens, but whatever you have will work great as long as it isn't too thick) *Paper *Someone with nice cursive handwriting :)

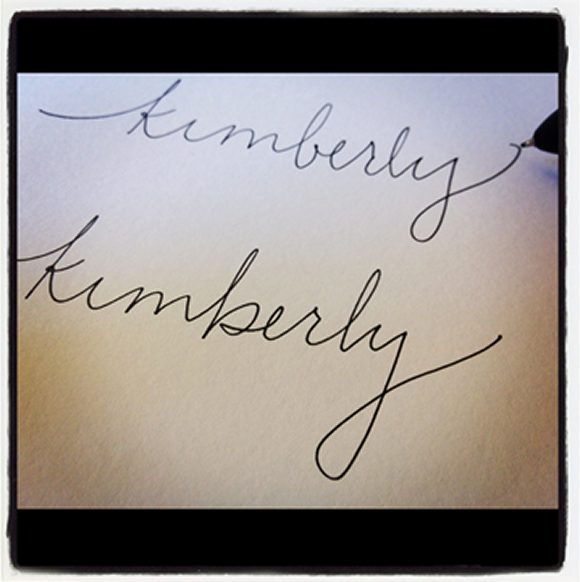
First, write in cursive whatever you want to have in the faux calligraphy (I picked my name because I played around with this quite a bit when I was designing the invitations.) Write it a few times. Try a few different styles. Get creative. Add some flourishes. You want to have some options for which to turn in to calligraphy.

TIP: Don't hesitate to look at photos of calligraphy online. For example, I really didn't like the way my lower case 'b' looked so I found some photos and borrowed their style. You can get good ideas for shapes, swooshes, etc. from just a Pinterest or Google Image search (or my post from a few weeks ago with some fun calligraphy inspiration).

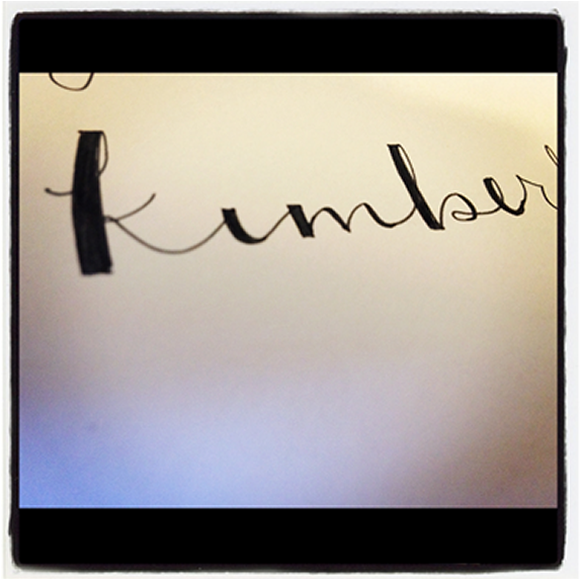
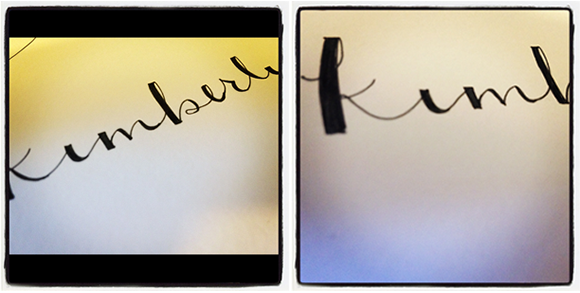
From your writing, pick your favorite--one where you like the shape and the spacing of the letters as well as any ornaments you've added. Now, you will essentially be building out the lines where you pen drew downward. This is how you mimic the look of using an actual calligraphy pen, which often has a wide tip and is drawn by angling the pen. I've just outlined them here you so you kind of see what I'm talking about.

Again, if you are ever unsure what to fill in, check out some photos online. Play around with it and see what looks right to your eye. This definitely does not have to be perfect, but it gives a nice feeling of calligraphy. I found that the flat top on the thick line gave a nice look as well.

Once you've filled in all the letters, you have your kinda-calligraphy word complete! At this point, you're all done if you're using it for a hand-lettered sign or address.

If you want to use your new masterpiece on something that will be printed such as an invitation or program, you should now scan the image so you have a file of it on your computer. From here, I brought the image in to Adobe Illustrator and basically traced the word so I had a digital vector file (or have a graphic design savvy friend help). To be honest, I'm no Adobe pro so there's probably a much better way to do this. Please share if you have any tips!

Full disclosure: I am not a calligraphy expert by any means, and just making this up as I go! Has anyone tried something like this before? Feel free to share any tips, tricks or other ways to use this!
Lifting the Veil

As I haven’t found a dress yet (but did go shopping again – more on that to come), I am still a long way from choosing my veil. But on my recent dress shopping excursion, I noticed that every bridal shop employee, in what I assume is an attempt to seal the deal, puts a veil on your head as soon as you express even the slightest interest in a dress. Maybe seeing the entire package makes a bride-to-be more likely to commit? Hasn’t worked on me yet, but it did get me thinking about veils and what I like and don’t like. Out of the gate, my favorite veil is the mantilla. Technically, a mantilla is a lace veil worn over the head and shoulders, often over a high comb, popular with women in Spain. It's also often associated with devotional practices among Catholic women. However, in the bridal world, mantilla veils are circular-shaped and rest on top of the head. The outside edges of the veil are covered with lace that frames the face.

I think my 12 years of Catholic schooling might have influenced my preference here. I just think this is such a beautiful look! But it could be hard to wear this type of veil with certain dresses, specifically dresses with a competing lace pattern or a more modern dress.

Credits: 1, 2, 3, 4, 5

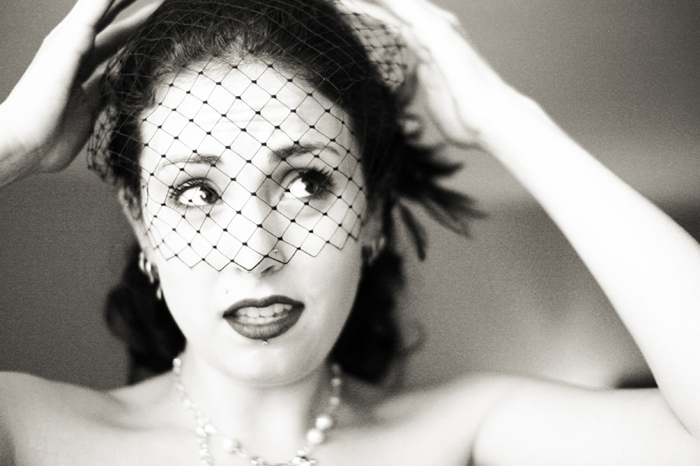
I also love birdcage veils, mostly because they just seem incredibly less fussy than a traditional veil. But I also like that they immediately give off a vintage, sexy vibe – a bride with some spunk!

And if you want to go even more non-traditional…

Credits: 1, 2, 3, 4, 5

If I don’t go with one of the above options, I'll likely pick a more traditional elbow or finger-tip length veil. I think the chapel and cathedral veils are stunning, but maybe a little too elaborate for me.

Credits: 1, 2, 3, 4

And of course there is the option of no veil at all. I’ve been to several outdoor ceremonies where the veil blows off and the bride ends up putting it aside, and she still looks just as beautiful and radiant. Plus they are not the cheapest accessory. Veils can run north of $300 at bridal boutiques. I’ll be scouring Etsy or even DIY options before making a purchase for sure.

Will you be wearing a veil on your wedding? Tell me about it!

Inspiration Evolution: The Invitations

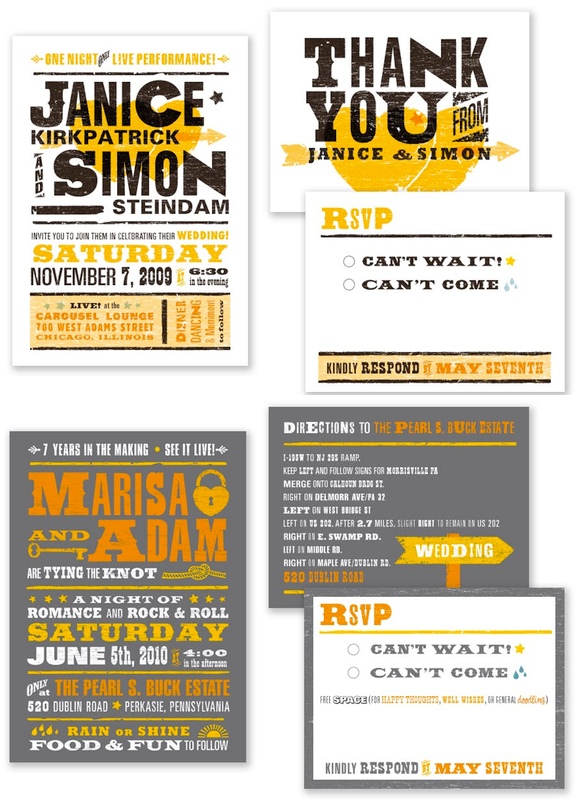
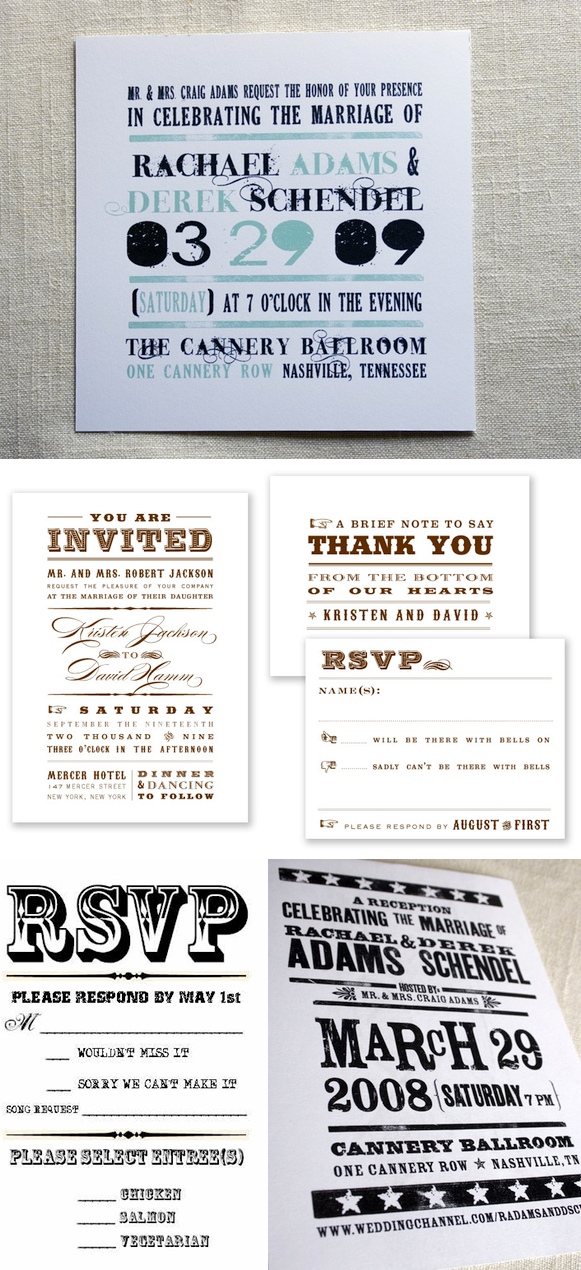
We all share of a love paper goods and paper designs. Having a little tag, the right font, a cute logo, etc are the elements that go into the final product of the paper products. Overall, these elements make or break a wedding if you ask me!

So check out Liz's magic when it came to her invitions! She did every single part herself after countless hours, researching her style, refining the placement, and creating an extremely cohesive element that went with every other aspect of the wedding.
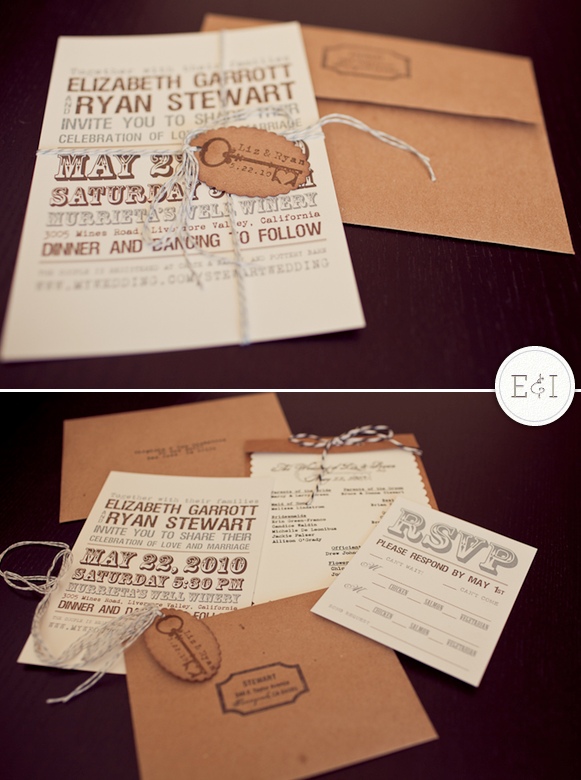
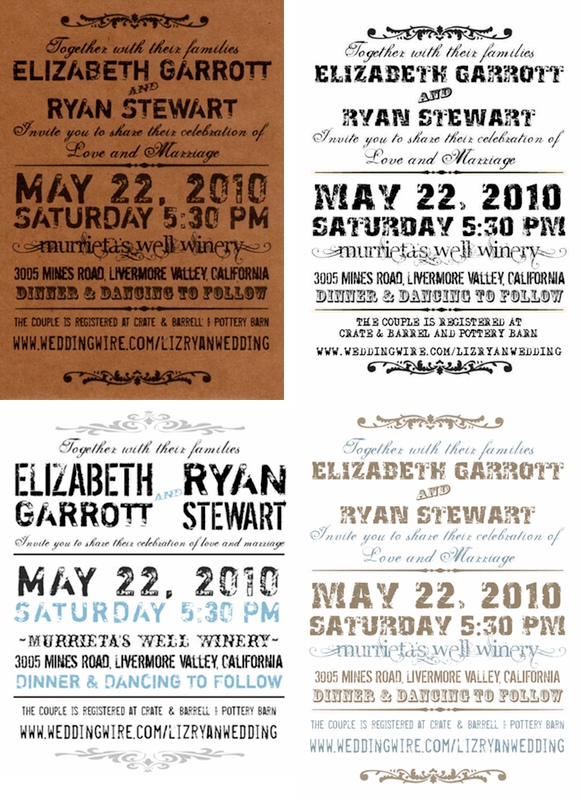
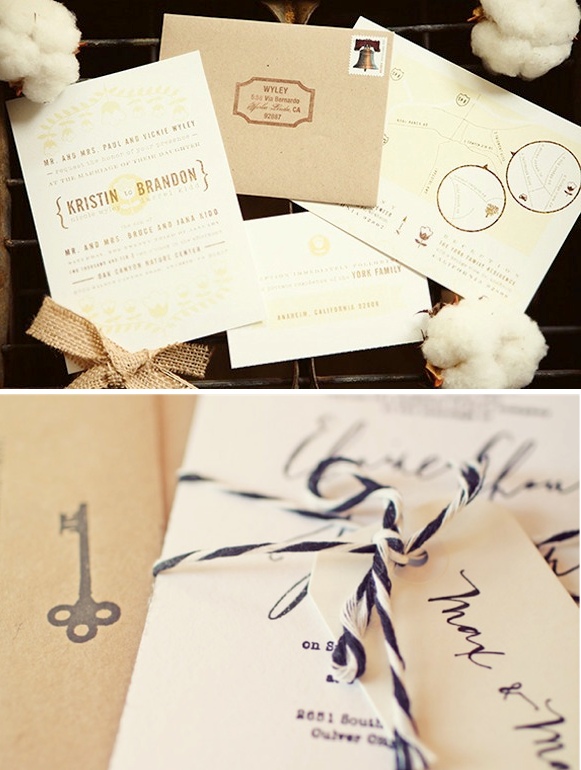
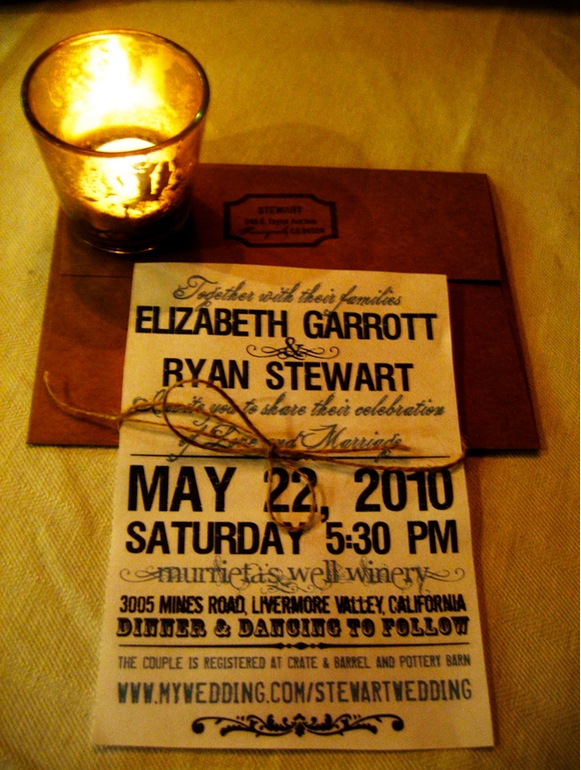
I love creating invitations and paper goods so it only seemed fitting that I do it myself for my wedding. I spent countless hours getting the invitation just right. I loved the style of bold unique fonts that just speak for themselves. I had a return address stamps and logo stamp made for the wedding which I incorporated into the invitations as well to add an even more personal touch. The invitations ended up coming out beautifully. Of course we decided to use kraft envelopes since we love natural colors.

So how did these DIY invitations come about??

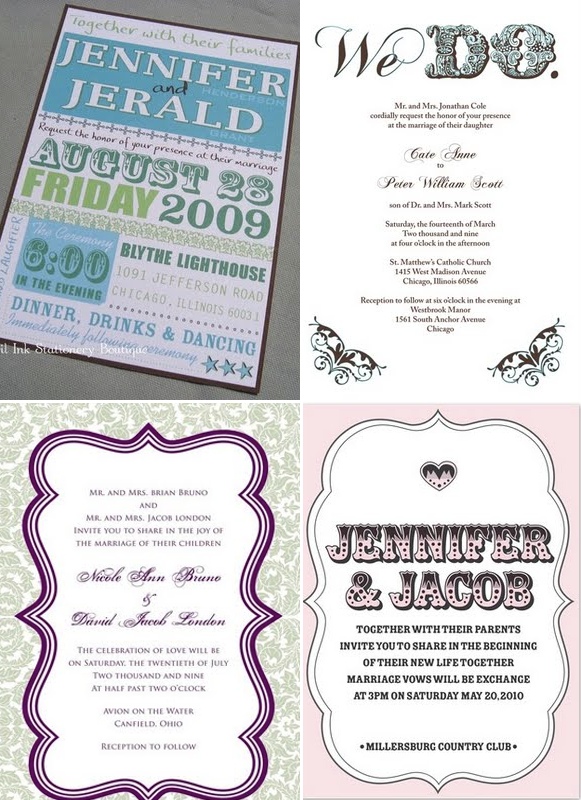
It started with some basic inspiration....

Deciding on the style and the colors.....

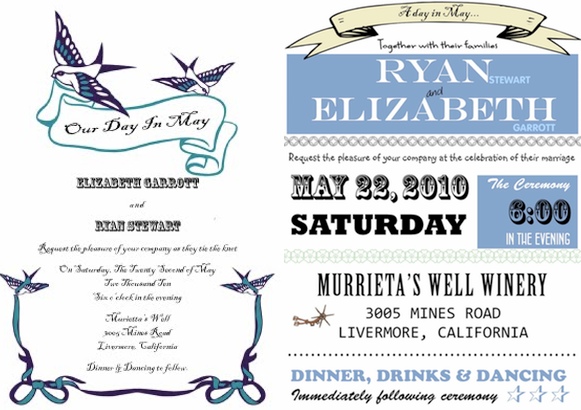
Figuring out what fonts and layouts looked best....

Trying some of her own and really honing in on the style of the whole wedding.

Picking the perfect additions to work with the invitations...

Making a few final products...then changing them around again!
Again, here is the finished invitation which I think came out perfect! In the end, it matched the style of the event, incorporated the same details, and turned out to be the perfect glimpse into what was to be expected of her wedding :)

Any DIY invitation makers have some helpful hints???

Photo Credit: All from Liz's blog, Final invite pics by Jason + Anna Photography

Part 2: Vintage Wedding in my Potential Venue!

Ok here is part two of the amazing wedding. Again, this is the venue I am planning to use so it is great to see that someone has actually done a fantastic wedding here! Just so that everyone doesn't think I am crazy for being majorly indecisive on this space :), here is the update. I am taking the moms to see the place on Sunday. At this point, unless they point out any insanely major issues, I am going to book it. I do have a few cons keeping me from instant love, the first being the homemade food. I actually have no doubt in my mind that it will turn out to be 100% incredible, but it is the stress of getting to that point that is really killing me. It is obviously just a lot of work.

The other major concern is that the space is just not a wedding set-up. In a way I actually really like that because I hate a lot of cookie cutter wedding venues, but at the same time it takes lots more creativity and pulling in different elements to ensure the space is how it is supposed to be. I am definitely very excited to work with the non-traditional aspect, but in times of wedding inspiration-block, I am nervous that I won't know where to put anything! Oh my. That probably won't be the case, but I guess it is worth freaking out about.

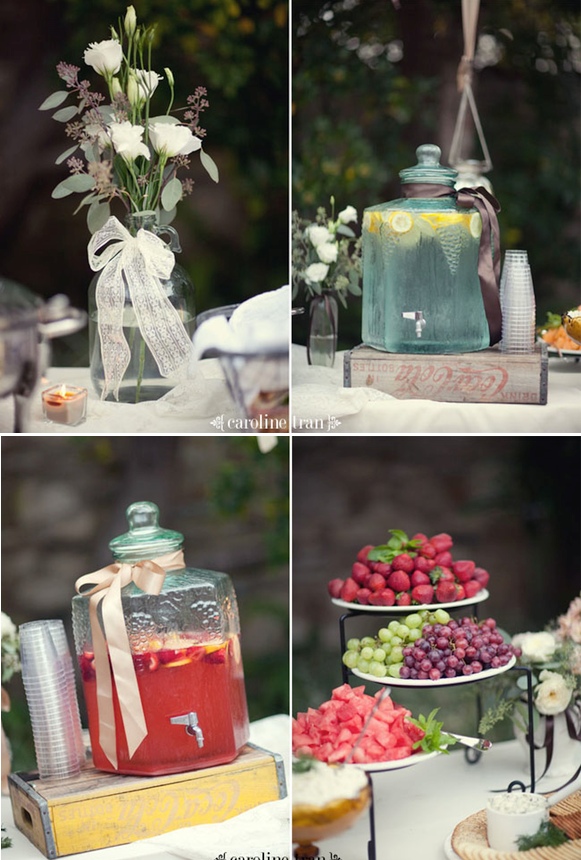
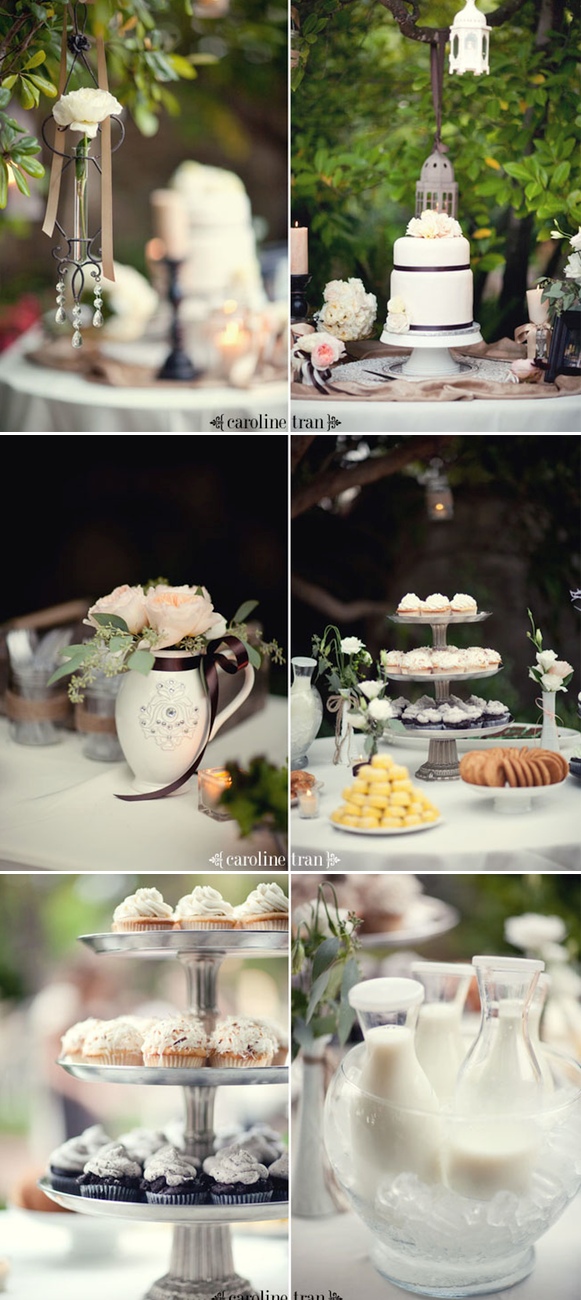
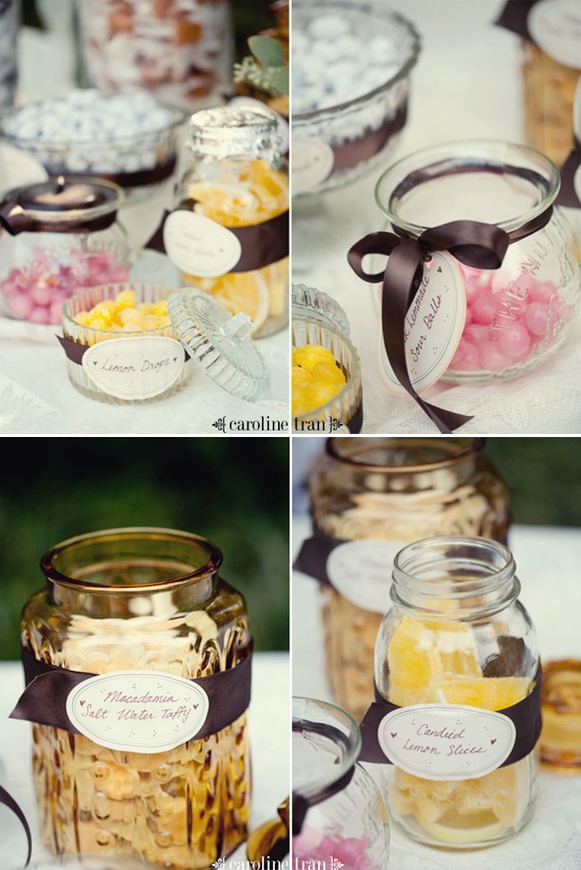
SOOO CUTE on the food right! Love the way they did this.

OMG! I am sooo doing milk like this..I am in love :)

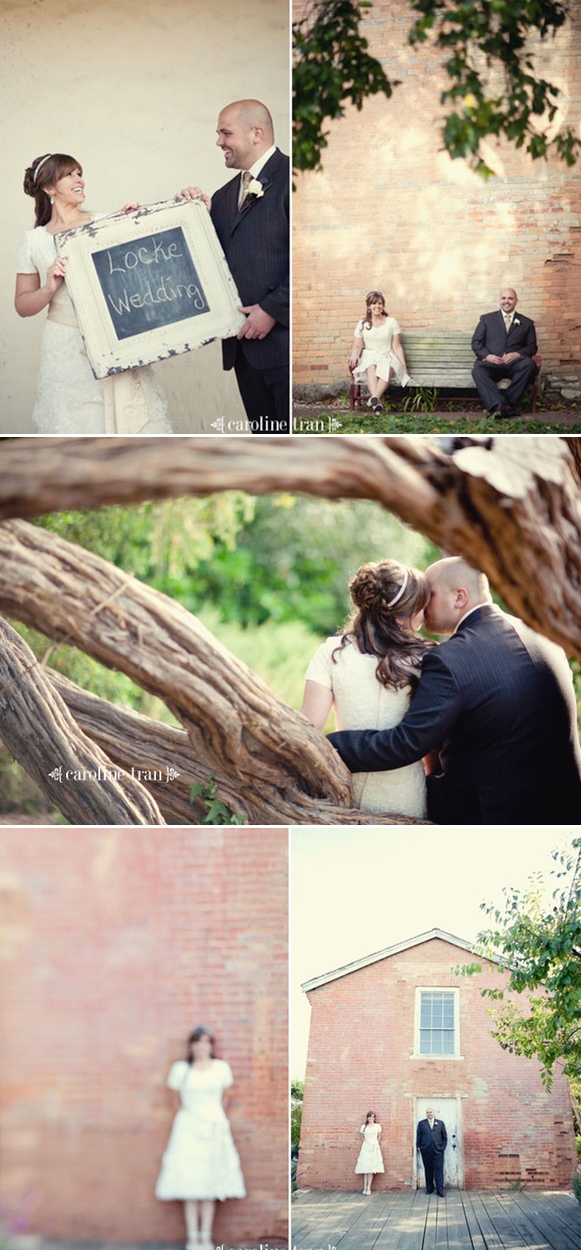
One thing I love about this space is the very versatile photography spots! There are so many different places which are all totally different styles. I think that will make for some great diversity!

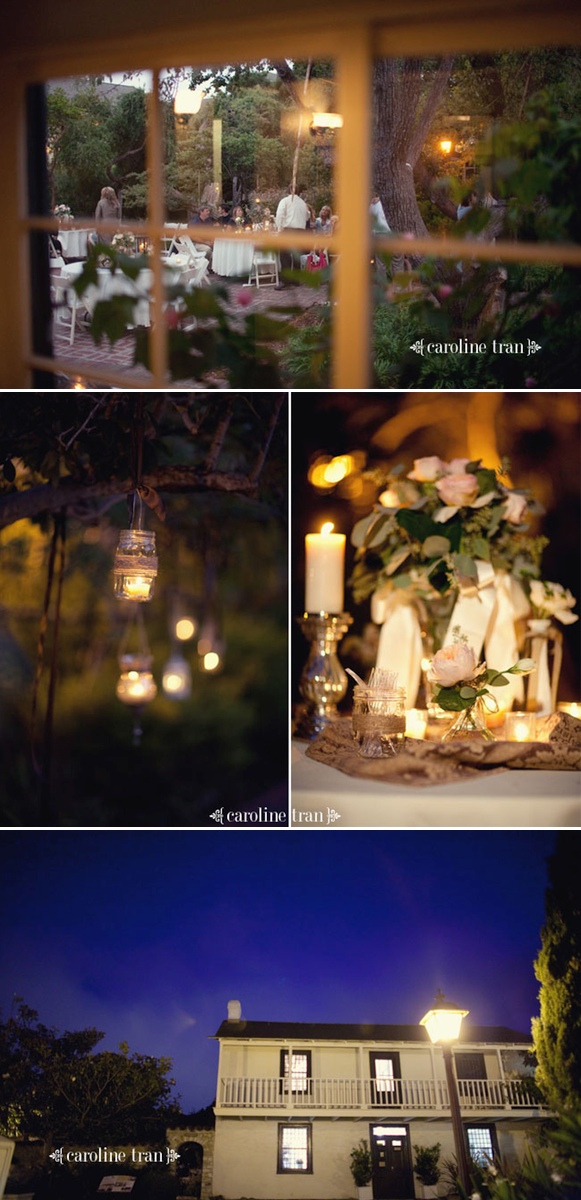
This is the outside of the building. Not something we would be seeing from the seating in the reception.

OK all, I could REALLY use the help and feedback! What are your thoughts? Cute, not cute, keep looking, do something in particular?? I can't believe I might actually have a full venue booked in the next week. YAY

Vintage and Detailed Wedding (In my potential venue!)

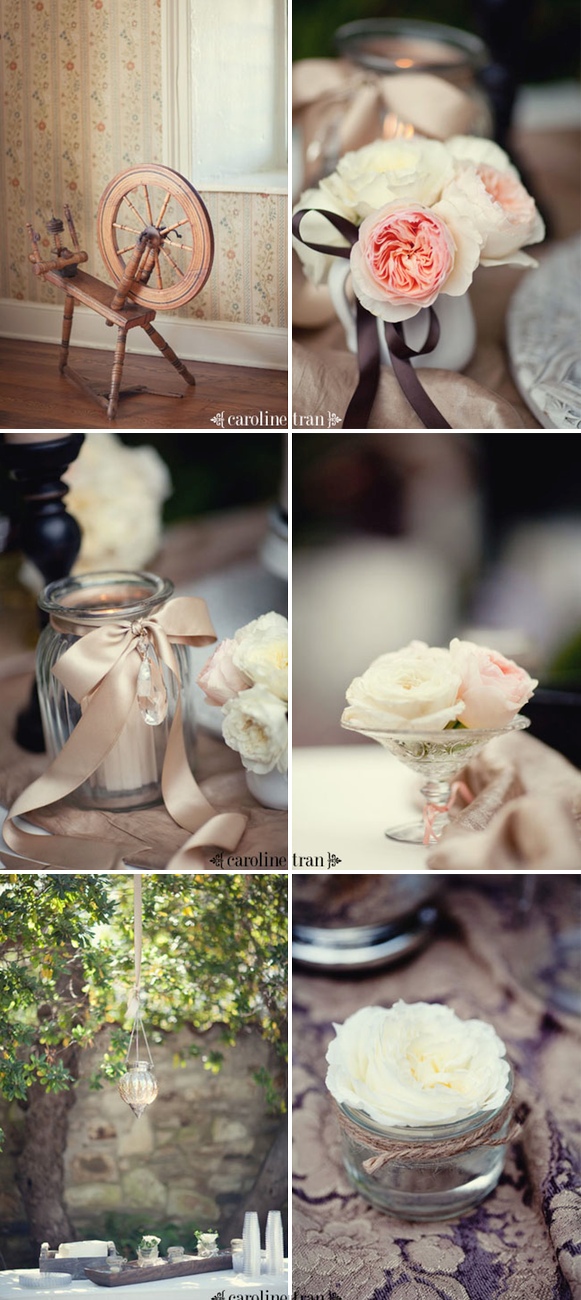
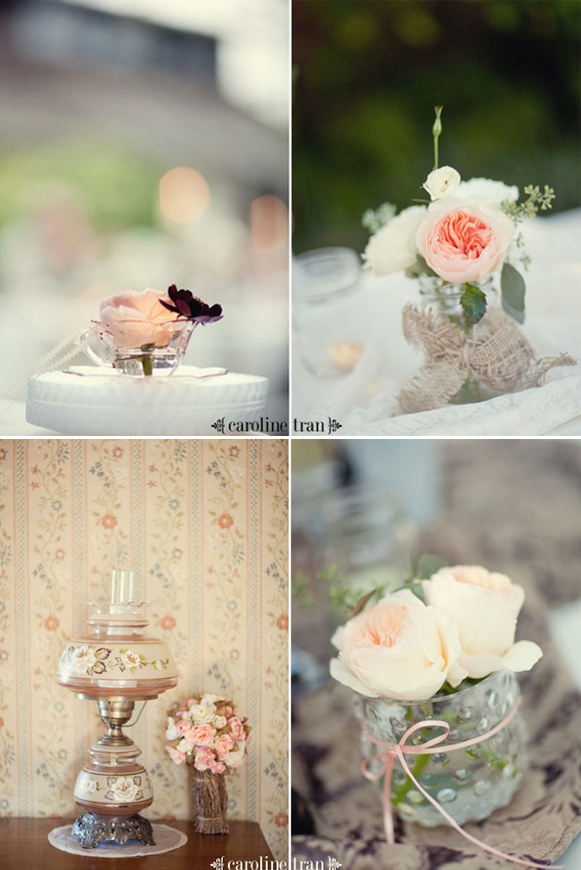
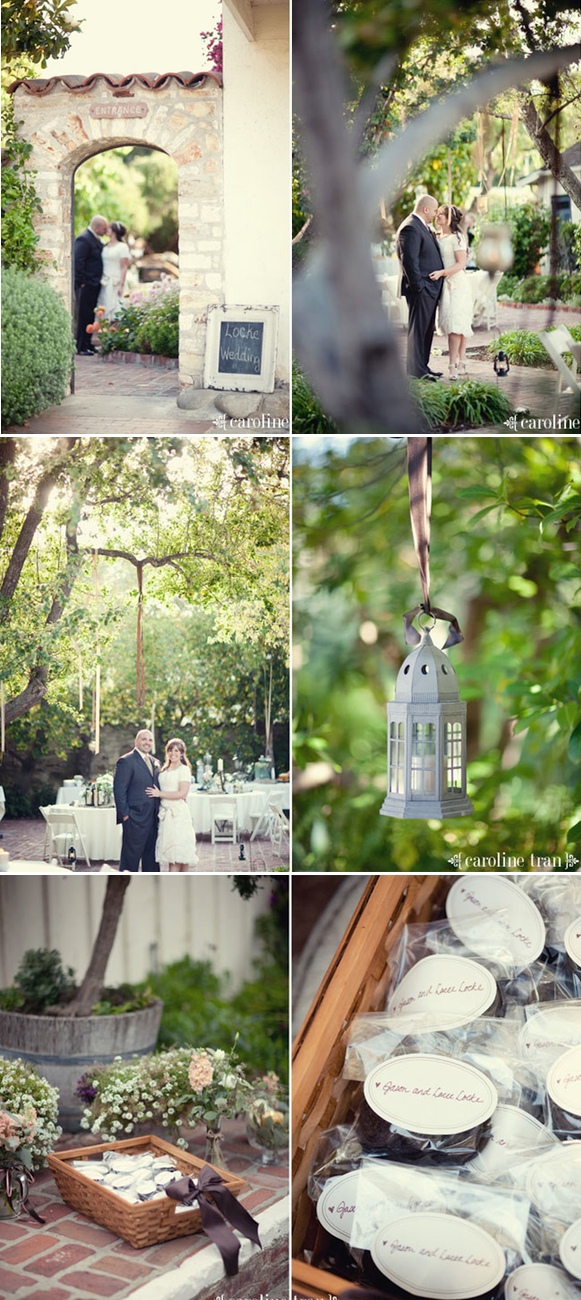
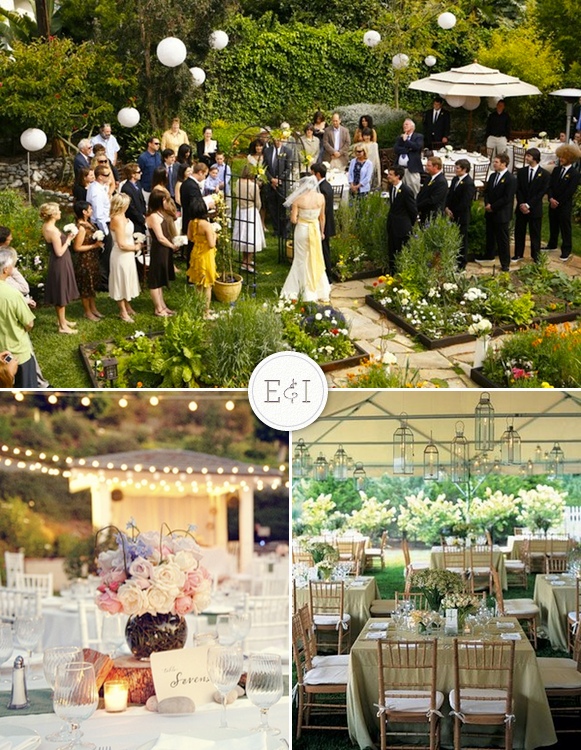
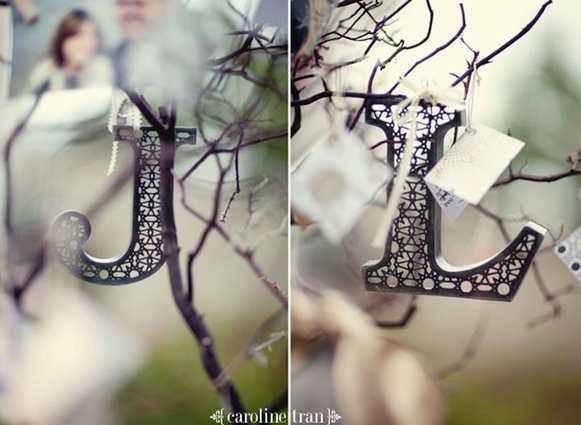
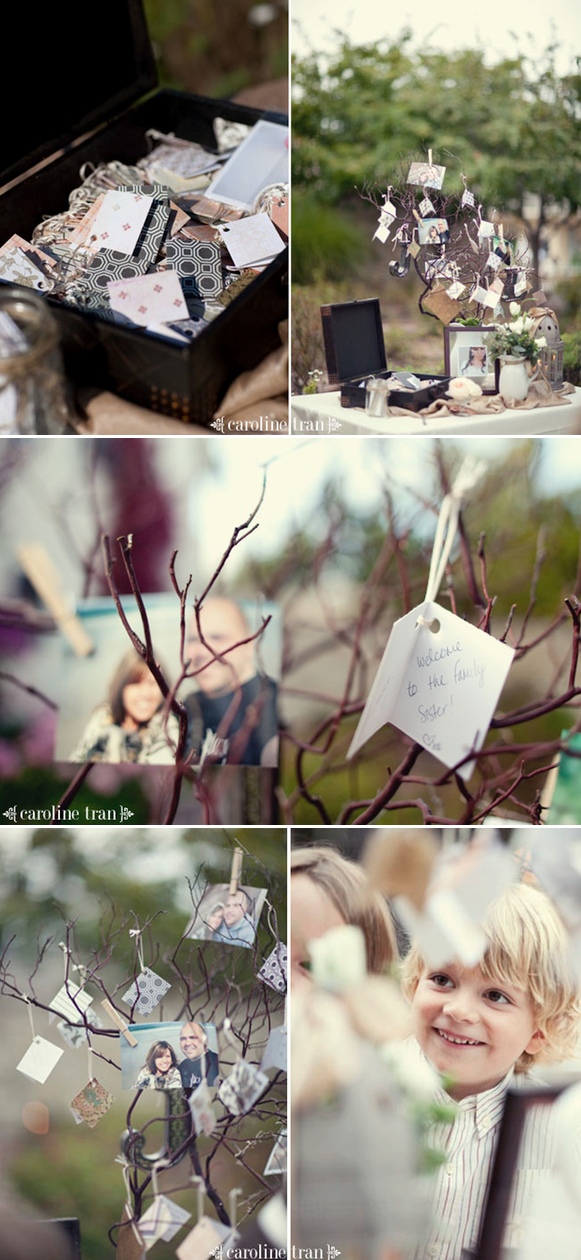
I wanted to show off this wedding because it is at the venue I plan on doing mine in! :) I basically googled the venue and searched for images so I could see what other people did, how the space was set up, etc. This completely helped me decide because I could really visualize how it could actually work! They really wanted a backyard feel to their wedding which they definitely accomplished from the DIY food, to the DIY decor. Everything was made by them from start to finish! This is pretty much what I want to do, so it's great to see that someone else has accomplished that and gotten published! (This wedding was featured on Ruffled.)

You can't see too many pictures of the space itself, but what do you think about it?? I would definitely love to hear thoughts, ideas of what I can do with it, etc!

Source: Caroline Tran

Love the entrance way! I also wanted to hang lanterns which this place is literally perfect for.

Ok, that is just part 1! You can sort of see the space a little in terms of the colors, the nature, the brick etc. It's all very pretty, and it makes it even better that this wedding is beyond gorgeous!

Backyard Weddings -Pros and Cons

I have been talking a bit about having a backyard wedding, so I wanted to bring my pro's and con's over to the blog to get some feedback!

Pros: There would be no site fee! The other place we were looking at doing the wedding would be $2650 in site fees. Instead, we could spend some of that money decking out my mom's backyard by planting flowers, repairing pool tiles, and generally making improvements to my mom's house. I know that sounds incredibly boring, but I would love nothing more than eliminating site fees and letting my parents make home improvements.

Con: The space is not set up for a wedding. Some things included in the site fee would still have to be purchased - chairs, tables, dance floor, etc. All these things will have to be brought in, which will cost some money, but not $2650. Since the space is not set up for weddings, the placement of things can become awkward. It will definitely be more challenging for me to plan.

Pro: More flexibility with everything! We could bring our own wine, find our own caterer, etc etc. This cuts costs quite a bit. Also, there are no time constraints or guest minimum and maximums. The money that I save getting a cheaper caterer can go toward inviting more guests, which I would love to do.

Con: We are much more on our own. No site personnel would be there to offer suggestions and help with planning. It is entirely up to us! This basically means a lot more work for all of us which can add much more stress.

Pro: my parent's bathroom is pretty awesome. We could get some extremely amazing pictures if us getting ready in that bathroom, I would even get one of those velvet Victorian chairs.

Con: I wanted our wedding to be a 3 day trip for some of the wedding guests, and this is just not that. I did however find gorgeous villas not too far away that we could all stay at which would still create a 3 day trip experience. There is also a nice hotel right by the house for out-of-town guests. I want to do a day-after brunch, but going to an area we are semi-familiar with just doesn't sound like that much fun! It's all about exploring :)

As you can tell- I have been thinking about this a lot! I am beyond stressed about finding a venue as I have wasted so much time already :( I will post pictures of all these places soon, but rest assured they are all gorgeous so the main issue is with the logstics, not with what I could do with these spaces.

So, Do I put tons of time and effort and planning into my parent's backyard to create a gorgeous DIY amazing wedding that is incredibly personalized???

Or do I go with some structure and build my wedding around what they already have, which would still be just as DIY and personalized but would be a little bit more "normal wedding"???

Or do I just forget about it and elope?? (believe me-I've thought about it once or twice!)

DIY Treat

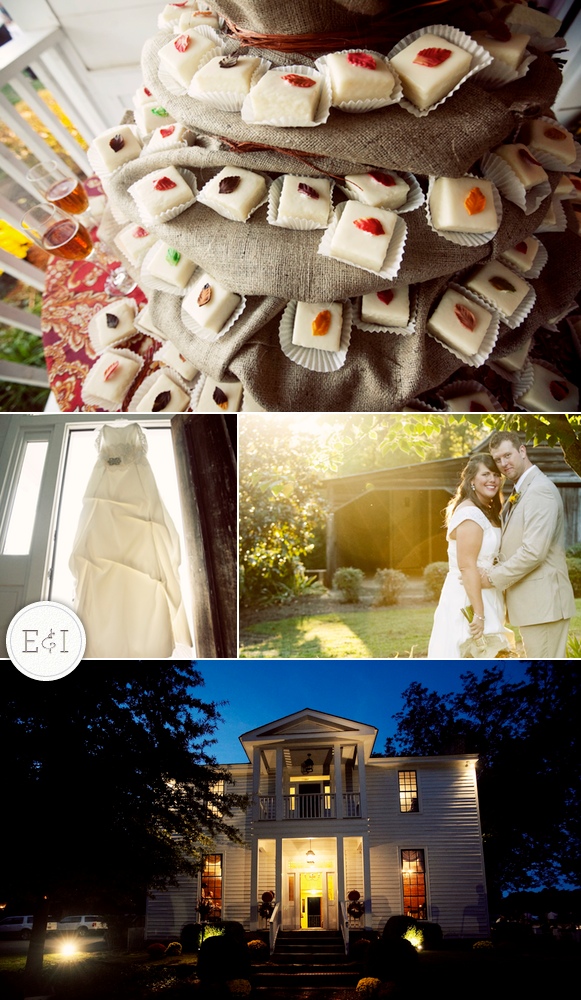
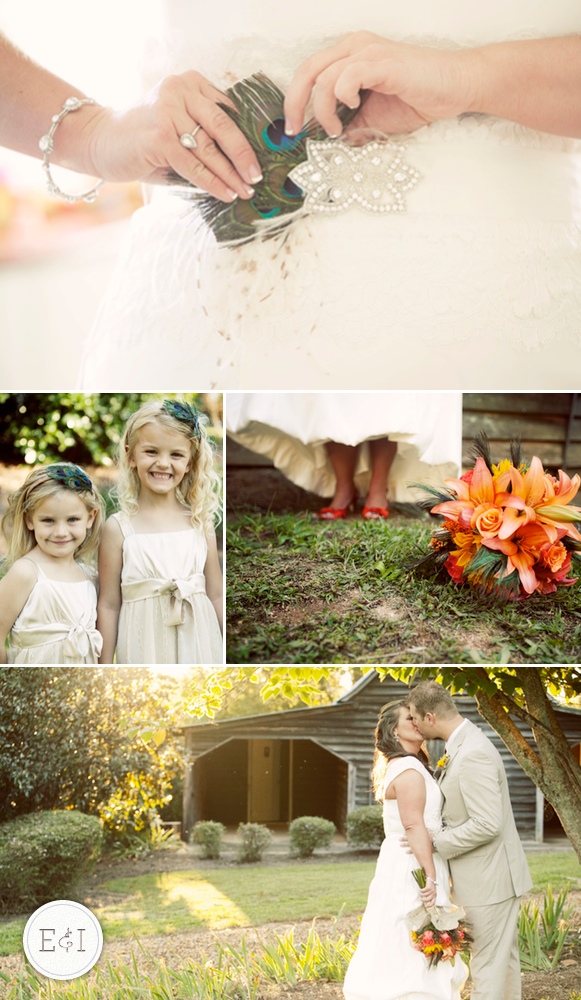
Once Like A Spark photographed this cute DIY wedding. DIY and unique incorporations are one of my all time favorite things! Randa (the Bride) worked hard to create a gorgeous autumn ambiance by adding in all autumn textures, colors, and details from peacock feathers to burlap sacks! She worked hard, and probably had many DIY projects going at once, to create an overall look that she created completely herself.

In lieu of a cake, the couple had fall-themed petit fours displayed on a burlap-wrapped tiered cake stand. This alternative cake idea is so creative and so cute! It still adds the full effect of being a cake, yet is such a great alternative. The couple's wedding shot was gorgeous, not to mention to the venue they picked!

These creative shots give you something spectacular to look back at to remember each detail of your wedding in an artisic way! Thanks to Once Like A Spark for sharing this DIY treat!