Feeling Font-sy {choosing a wedding font}

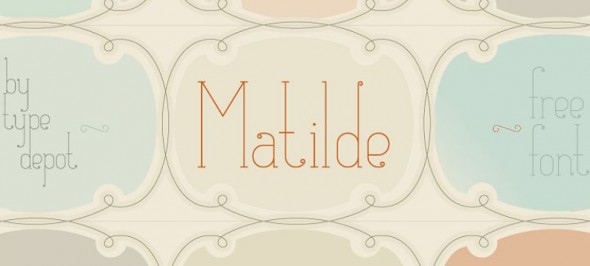
As of last week, we are at the 6 month mark! Seriously crazy how fast the time flies. We're thisclose to choosing a save-the-date (we don't have many people traveling to our wedding, and already notified those who are traveling about accomodations), and we'll finalize invitations and paper goods by the end of February/early March. I've found choosing an invitation suite pretty daunting, if only for the fact that some brides use one font on everything--think wedding websites, save-the-dates, programs, escort cards, favors, seriously everything. I'd like to think I'm not that crazy, but with six months left, who really knows, right? That being said, there are a few general directions that I am leaning towards. As I've mentioned, our overarching wedding inspiration is Art Nouveau. Our font inspiration comes from an amazing restaurant in San Francisco, Boulevard:

Sources: 1, 2, 3, 4, 5, 6, 7, 8

Here are some others that I'm loving right now:


The Details: Signage

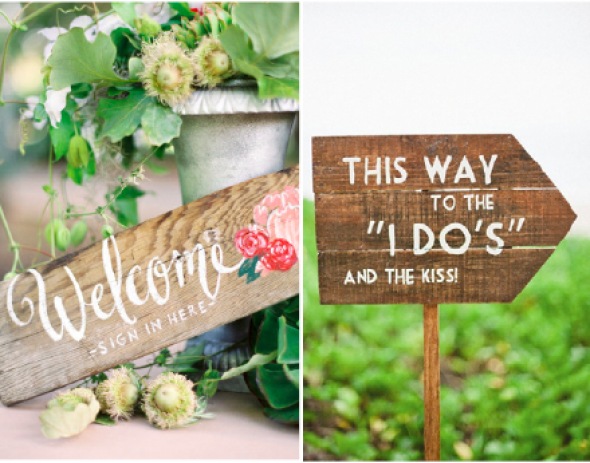
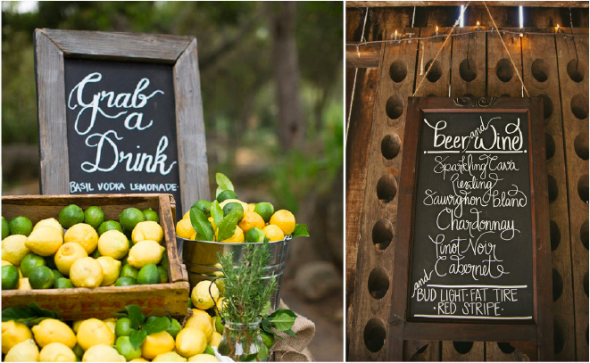
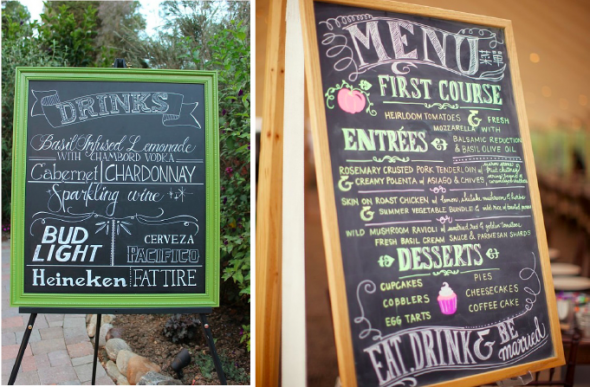
It seems more now than ever before brides are using signs as part of their wedding decor. Of course, I could be wrong and this might be a long time practice but since I only went to my first wedding six years ago the trend really seems to have sprung in the last year or so. And I couldn't be happier this trend is "in" when I'm planning my wedding. I love signs. All signs, not just wedding signs. It's a known thing that I love signage and I'm really ok with that. Anyways....amazingly enough a friend from high school opened up a custom sign side business. Her work is absolutely fantastic and I cannot wait to incorporate it into my wedding details.

Some of the sign ideas I am loving.

Credits: Brides, Etsy, Lynnslens, Style Me Pretty, The Bridal Detective

What do you think of signs - too trendy or just right? Will you be using signs as part of your decor? Share in the comments, I'd love to hear!

Searching for The Skirt

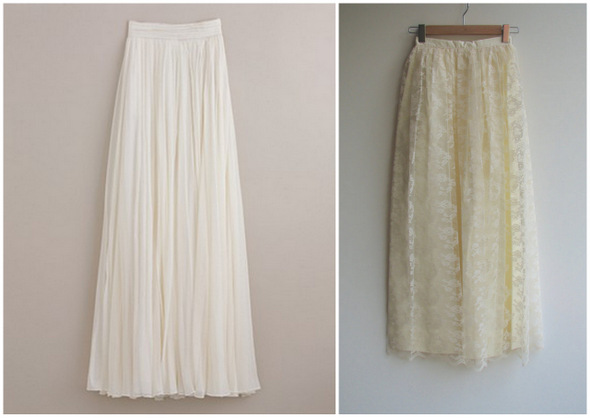
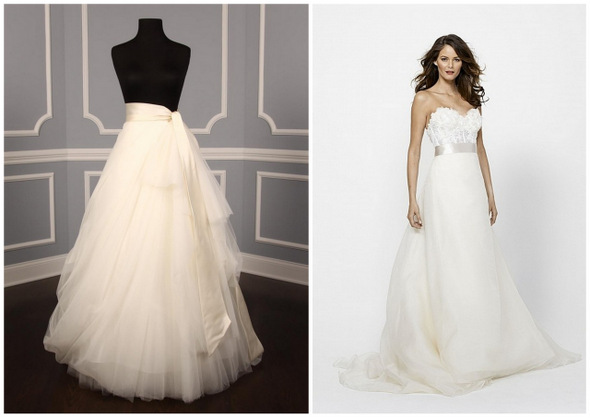
Last July I semi-impulsively bought half of my wedding dress. After months of trying on wedding dresses and not falling in love with any of them, I purchased a gorgeous Monique Lhullier corset top and decided to design my own skirt. Six months have flown by, so it's time to start to seriously thinking about my other half. I love these simple silhouettes below but want something with a little more poof for the big day.

Source: 1 & 2

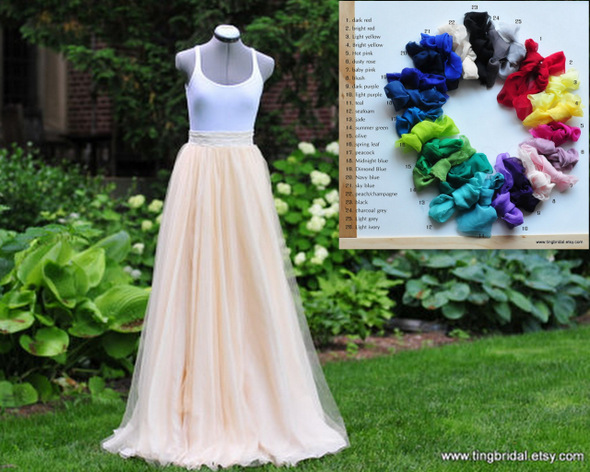
So cool that the skirt below comes in 26 colors as I have been playing around with the idea of having a non-white (peach or gray colored) skirt.

Source

Sources: 1 & 2

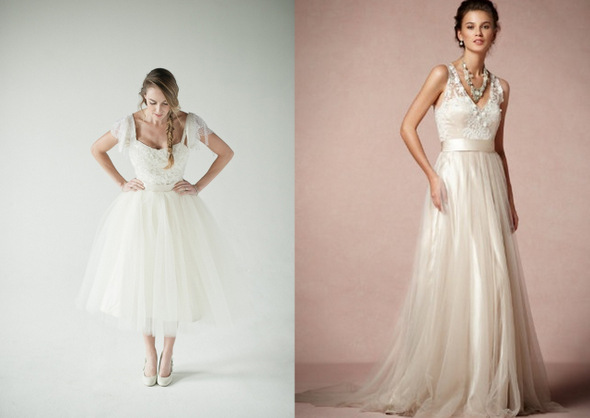
I'm  leaning towards a skirt design that marries the two silhouettes below.

Sources: 1 & 2

How did you decide? Did you dare to try designing your own?

Newlywed Holiday Cards

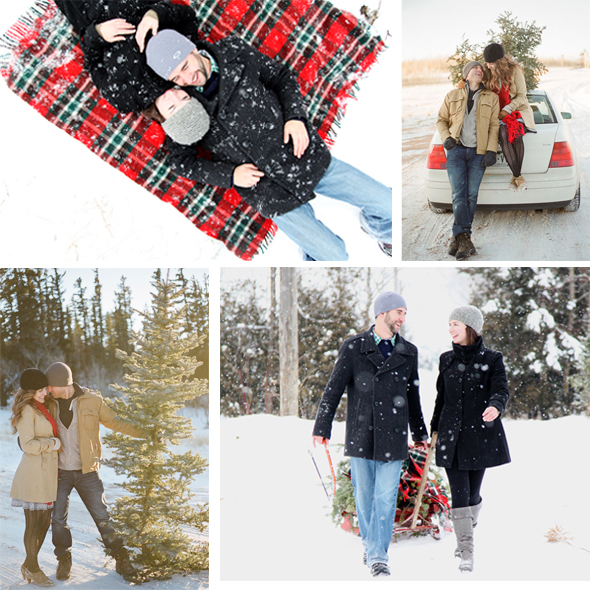
I absolutely love receiving all of the holiday cards in the mail this time of year.  There's something special about the bright & cheery smiles of my friends & their families, something I only feel when I receive snailmail.  I have to admit however, I am a bit sad that my fiance & I decided to hold off on sending out holiday cards until once we're married.  I guess that gives me plenty of time to look at all the designs & start planning next year's well in advance, right?!  {ha!} We'll likely use a picture taken at our August wedding for our card next year, but that doesn't mean I can't dream about the fantastic winter designs.  Some of my favorites include snow, which of course doesn't frequent the city of San Francisco.  Who knows, maybe come late November/early December 2013 we'll decide to forgo the obvious wedding picture & head up to Tahoe to take some snow-covered pictures of me & my Mr.


Sources (from top left) 1, 2, 3, 4


Mismatched Vases

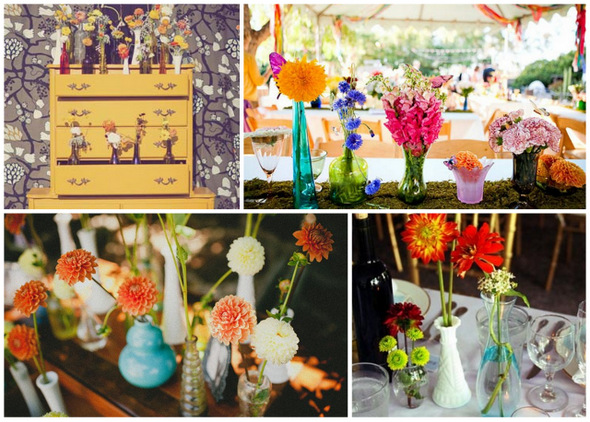
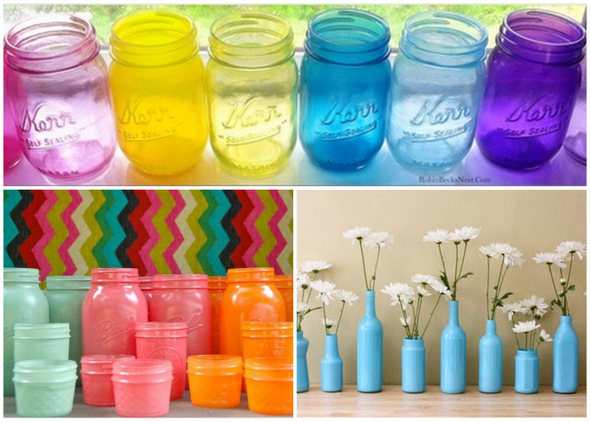
When it comes to wedding decor, I plan to keep it simple, mixing vintage and recycled items. I really love the look of mismatched vases.

Sources:  1, 2 & 3

Sources: 1, 2, 3 & 4

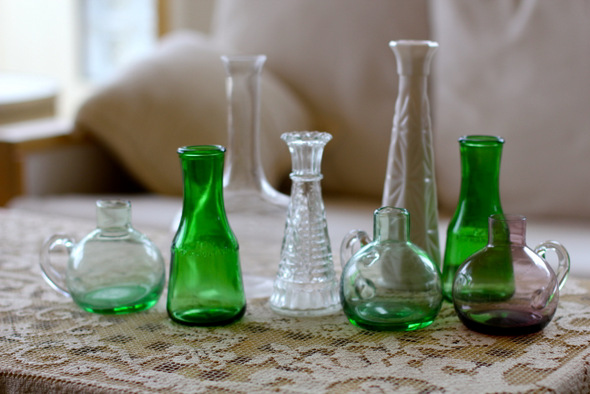
Over the last year, I have been collecting potential wedding decor from thrift stores, flea market and estate sales. I am gradually building my collection of vases.

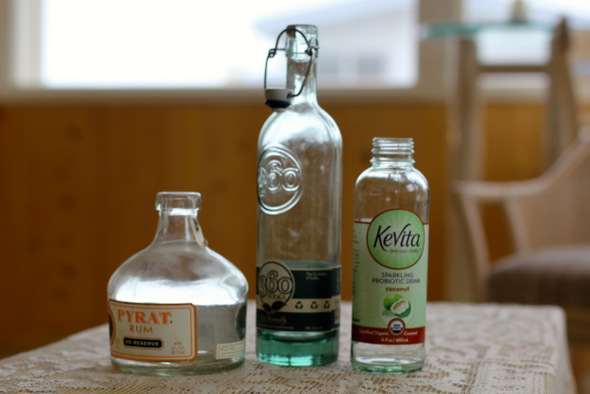
I have also been saving interesting bottles which I may dye or paint.

I came across the following how-to articles if you are interested in a DIY bottle coloring project:

Tinting Spray painting Painting 

I plan to try these out and will report back on what worked the best for me.

Sources: 1, 2 & 3

Did you mix match vases or bottles for you wedding? Know any great pointers on dying or painting bottles?

the {bridesmaid} proposal

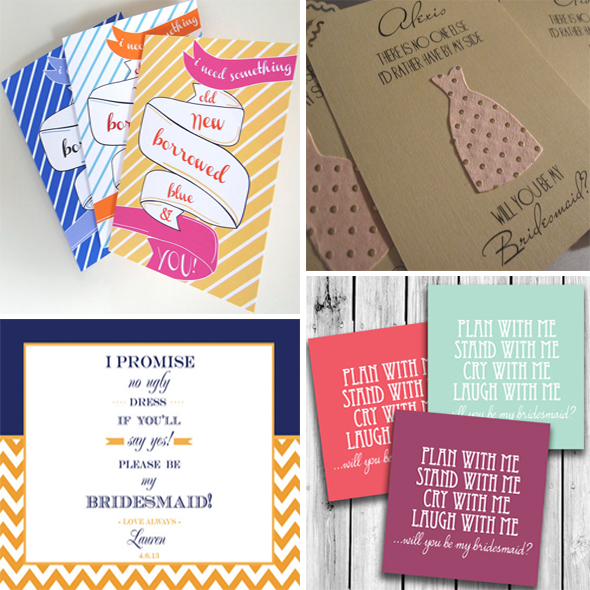
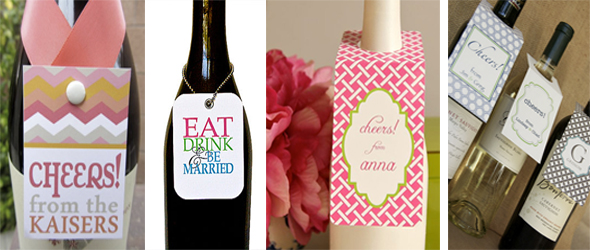
I wanted to ask my bridesmaids to be a part of our wedding in a very special way.  That was something I thought of for a very long time.  I didn't want to just ask them verbally or give them a simple card, I wanted something more, something special that they would remember.  Of course I scoured Etsy for different ideas, but nothing seemed just right.  I found a variety of ideas on how to word the question.  But how to ask?

Source (from top left):Trimmings Shop, The Inspired Note, PaperEtiquette,Caffeine Colour

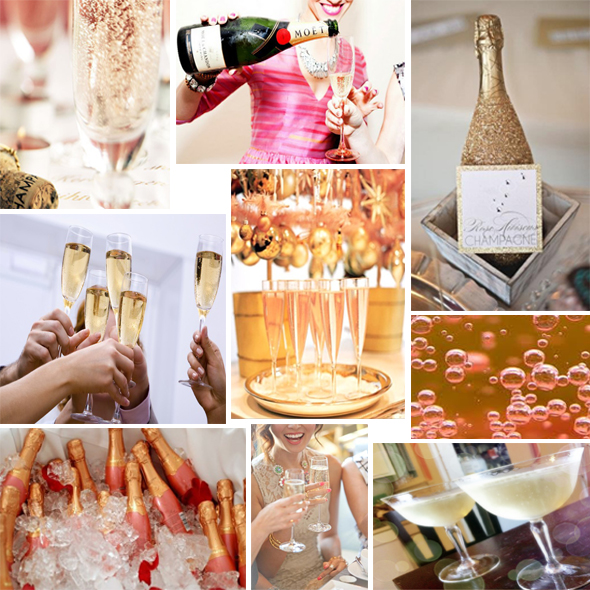
Bubbly, to me, always signifies celebration and is exactly what I like to drink with my girls.

Source (from top left): Daily Cup of Couture, Classy & Style, Zoie loves, Classy in the City, Everything Fab, Global Good Group, The Glitter Guide, Riches for Rags    

So, I decided to make the bubbly the way to ask them to be a part of the wedding!  I found different ideas of how to include champagne or wine in an invitation.

Source (from left): maddiegdesignsSouthern Fried Paper, Letter Love Designs, Pepper Lindsey & Co.

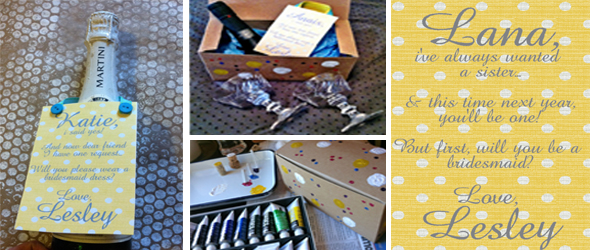
As a do-it-yourself girl {and bride}, I wanted to design the tags myself rather than outsourcing the project.  I'm new to photoshop & illustrator, but it was fun learning when you have a thoughtful gift in mind.  I had to go with my go-to pattern {polka dots} and my main wedding color {yellow}.

Source: me!

They turned out great & I couldn't have been happier!  Best of all, it really screamed me!  cheers.

Designed By Me

Source: Malia Cano Photography

Make your wedding scream you!  I've read this time and time again in every wedding magazine, website and blog.  But, how does one do this in a day and age where there's pinterest, loverly, etsy, and a million wedding blogs all showcasing the perfect, and incredibly creative wedding?  I have always been a planner, and though I haven't thrown a million parties, when I do I go all out & enjoy the act of decorating and making each aspect really my own-this I'm sure my friends would attest to.  When it comes to planning my wedding, I want everything to be perfect.  I'm sure we all do.  But I really do.  I want it to be so perfectly us, with adorable details that have our personal signature.  There's just one issue.  So many of the wedding ideas have been done, so how do I make it different?  How do I make it unique?  These are the questions I've been asking myself at every step since we got engaged.

I'm still at the beginning of the wedding planning process.  Sure, we have a lot of the big decisions done, but not the design aspects.  I am in the "hunt & gather" stages, trying to determine what I love and what is doable.  After trying to put myself into one of the more obvious design categories, whether it be modern, rustic, vintage, classic {the list goes on}, I realized I could emulate my design style I've already developed into my home: eclectic!  So, I'm no longer trying to decide if an idea "goes" with the "theme" because it all does!  Now, the only issue is how to cull the ideas down & not try to do everything and the kitchen sink!  I hope you enjoy following me on this path.

Source (from Left): Lori Barbely Photography, the decorista, sweet designs.

Source (from left): Southern Weddings, source.

Source (from left): Food ChannelLove Me Do Photography, Languid Lovely, Belle the Magazine, The Sweetest Occasion

DIY Cake Topper Cutouts

I've seen so many cute silhouette cake toppers on Pinterest lately, that I thought I'd have a stab at my own. And while I'm at it, why not personalize it? If you recall, our Save the Dates had a little pirate theme that we screen printed. I wanted to replicate that design for our cake toppers. So, here we go... here's how to make customized cake topper cutouts!

Materials needed:

- Paper (I used cardstock black and glitter red from Paper Source)

- Wooden Skewers

- X-Acto Knife

- Mat for cutting

- Glue (I used Elmer's)

- Printouts of what you want your silhouettes to be

- Heavy books

- Scotch tape

For a double sided cake topper, like the hearts I made, fold your paper in half and tape it closed on the sides. Then tape your stencil to the paper, so it doesn't slide around when you're cutting.

Trace the stencil lines, pushing as hard as you can! You have 3 layers of paper to get through, but don't worry if you can't cut all of the way through. If you're like me and don't have the willpower to cut through all 3 layers of paper, take your stencil off, and trace back over the lines you cut with your X-Acto knife, pushing all of the way through the paper.
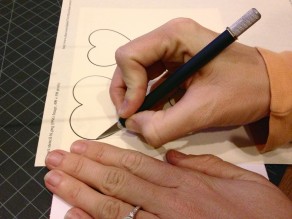
 

Success!!

Match up the hearts (or whatever shape you're doing) that are the same size, and put glue on the backs of just one of each of the pairs. Then stick the wooden skewer on the middle of the heart with glue, with the pointy side inside of the heart (leaving the blunt end of the skewer at the other end - basically the opposite of what I'm showing below). Roll the stick around a bit to spread the glue.
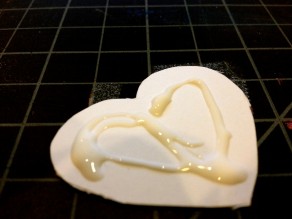
 

Press the matching hearts together, pushing them together around the skewer. Wipe off any glue that squeezes out of the sides. Then cover each half of the heart with a heavy book. Basically, push two books up next to each other so they both meet at the skewer. Leave it alone for a day as it dries!
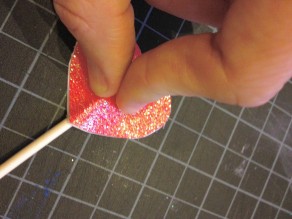
 

When the hearts are dry, take your X-Acto knife and cut around the edges so there are no white spots sticking out. You may also want to color in the white edges with a red pen (or whatever colors you're using), so you don't see any white. And now you have some cute glittery heart cake toppers!

As for a more complicated stencil, where you probably only want to cut out one silhouette (because cutting out matching ones would be impossible!), it's all basically the same. You just have to be much more careful when you're cutting.
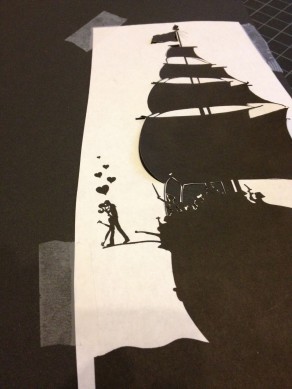
 

Once you think you have the entire stencil cut out, remove the stencil from your paper. Finish cutting all of the lines and corners very carefully directly on the paper, so it pops out clean and easy. Then glue or tape your cutout to a skewer.

Then stick it on a cake, take a picture, and eat the cake. You've earned it!

I rather enjoyed this delicious vegan chocolate cake from Café Indigo after all of this :)

DIY Invitations Revealed

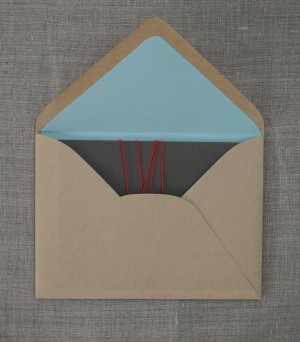
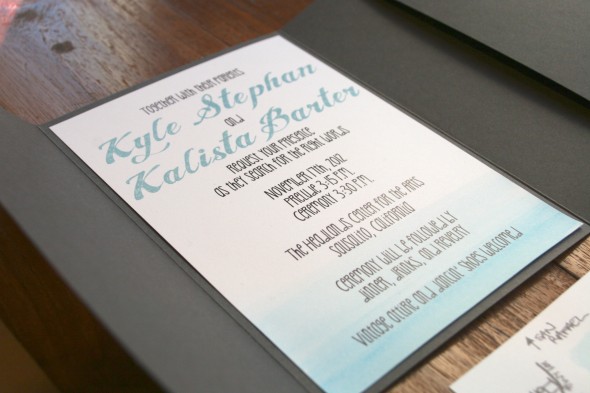
After spending a year oohing and ahhing over all of the gorgeous invitation suites I saw on Pinterest, we reached a point where we finally had to come up with our own. And as with everything else, to my fiancé's dismay, I needed it to be DIY. Let me briefly digress by saying that every line on my exhaustive (and exhausting) budget is a chance for a little competition. Hence the overkill on DIY projects.

Oh, hello budget. You think my invitations are going to cost $800? Well, think again!

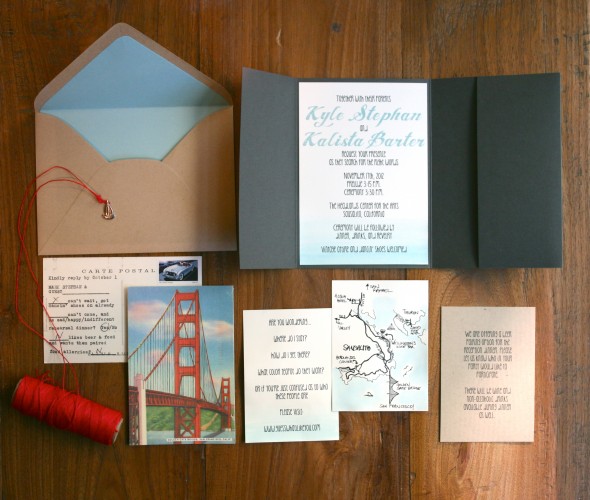
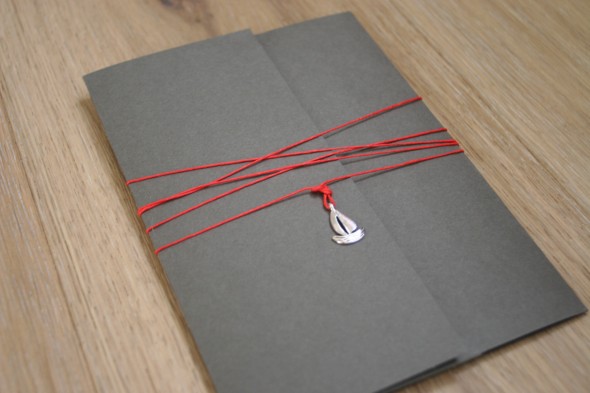
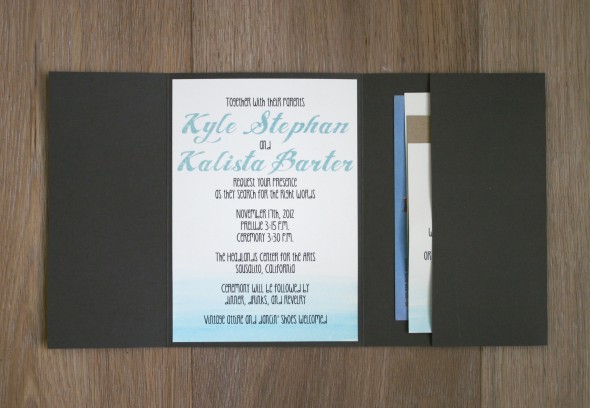
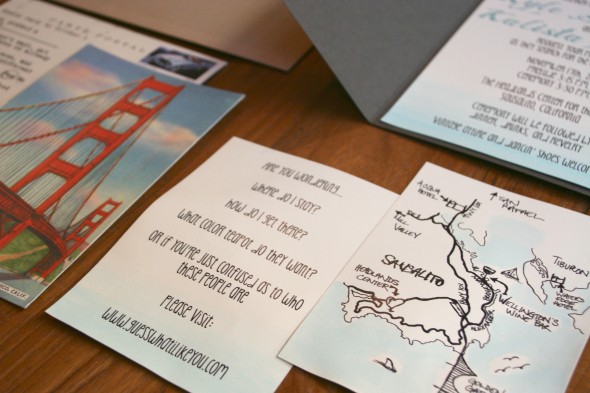
Anyways, after several trips to Paper Source and FedEx Kinko's, and after a couple of crying fits in front of Photoshop, we finally finished our eco-friendly DIY invitations. Et voilà!

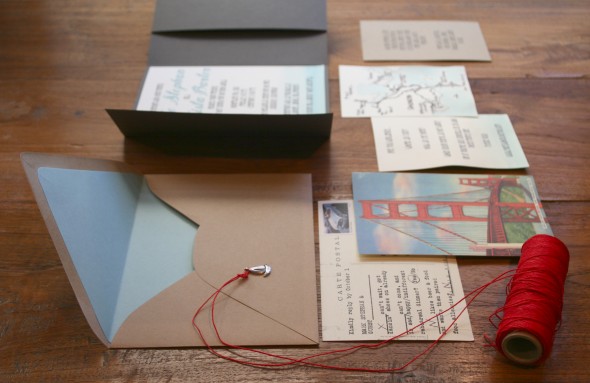
And here is the whole thing constructed and deconstructed...


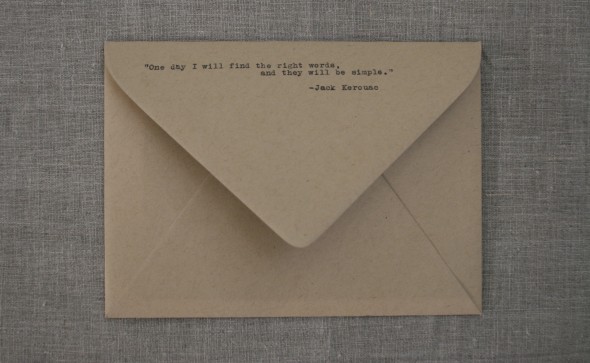
"One day I will find the right words, and they will be simple." - Jack Kerouac

Remember the Kerouac quote on the envelope? It's one of our favorites, so we tied it into the invitation wording :)

And Kyle even drew custom maps for us!


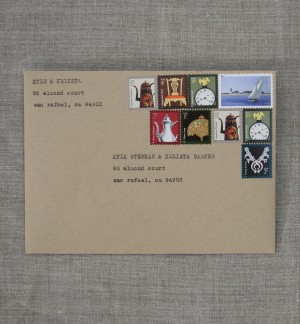
I have to admit that even though I never wanted to look at another invitation in my entire life by the time we got these in the mail, I was quite eager to hear what people thought. I mean, I watercolored 199 pieces of paper and Kyle typed 106 custom RSVP cards and envelopes after all!

Here is what we did in summary: I designed the invitations on Photoshop using some cool free fonts, Kyle drew the maps by hand and we scanned them in, we bought all of the paper products from Paper Source (all at least 30% recycled!) including the vintage San Francisco postcards, bought eco-friendly hemp string and antique sailboat charms from etsy, found some great 1950s sports car stamps for the postcards on ebay, bought the rest of the stamps from the regular old Post Office, had everything printed and cut at FedEx Kinko's, glued the envelope liners into the envelopes, watercolored a bunch of things, tied figure 8 knots on all of the strings to attach the sailboat charms, typed the RSVP cards and envelopes on our 1920 Underwood typewriter, drank a bunch of wine, and finally put all 53 invites together. Phew!

ALL of this, all of the postage, paper, supplies, sticky tape, paint brushes, printing, etc cost $360. Well under my $800 budget. Take that budget!!

So, what do you think? I'm dying to hear!

Engagement Party Inspiration

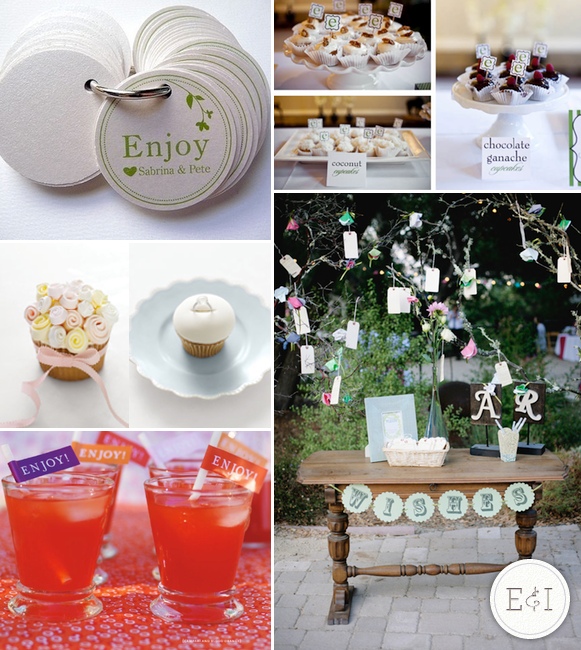
My engagement party is set for March 27th! I have so many ideas, and not very much time to excute. Here is the board I created to gather my ideas, but my main problem is finding pictures that resemble my thoughts. It is really hard to find the things that I know I want! I can feel a lot of DIY projects coming up!

Source: Enjoy Tag, Food Tags, Cupcakes, Tree, Drinks

Here is a little bit of my planning:

  • Dessert table full of adorable mini cupcakes, cookies, cheesecakes, etc. I think it would be great to have a chocolate fountain with some yummy fruits.
  • I want to have a tree with blank tags for people to write cute things. Then they can hang them on the tree! Maybe a "wishing tree" or an "advice tree" or a "memory tree".
  • I picked most of the menu as well. We are doing heavy hors d'oeuvres and a few signature drinks!
  • We are doing it at my mom's house which has a pool, so I plan to get tons of floating candles to put in the pool. There is also a full wet bar so I have great plans to decorate that and make that the "bar" area which will be fun for guests too.

Then I have to find a dress!