{doable} Do It Yourself

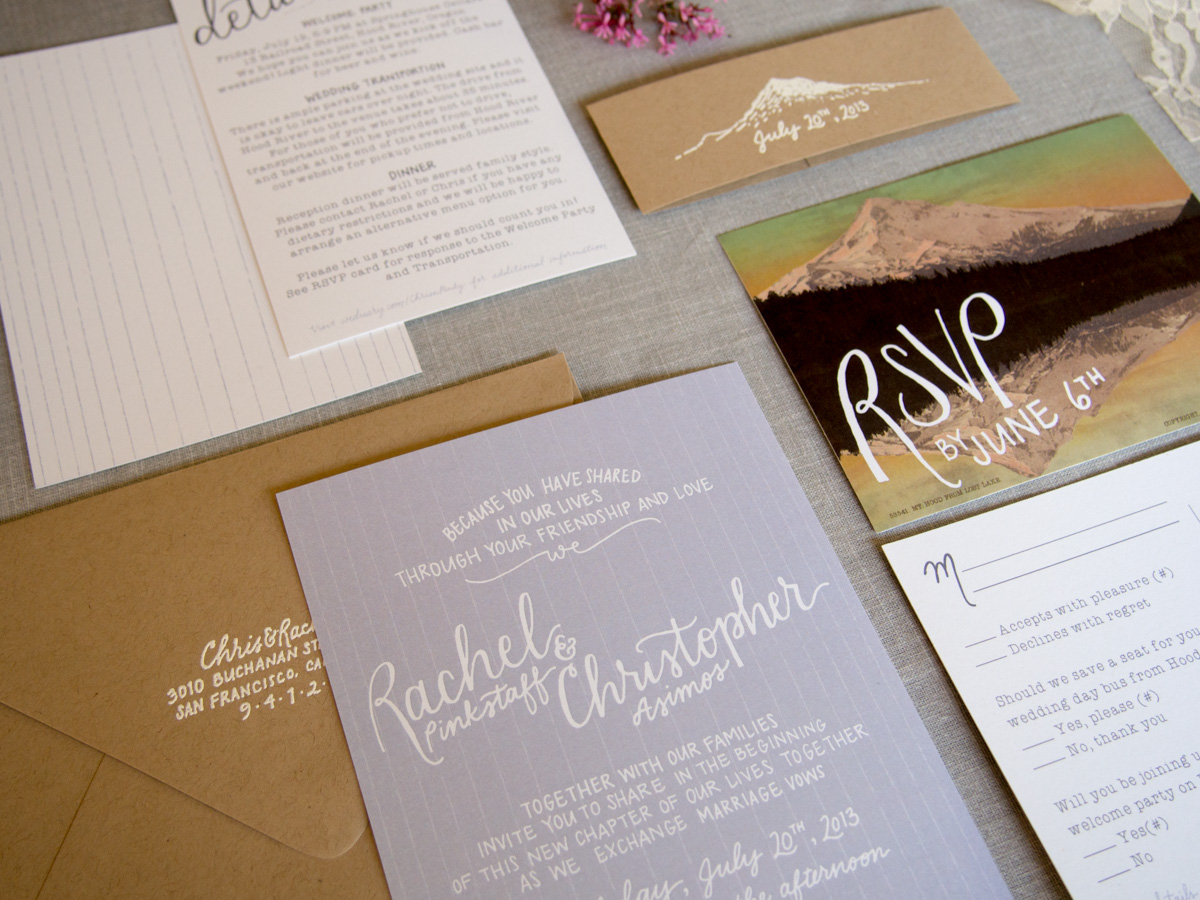
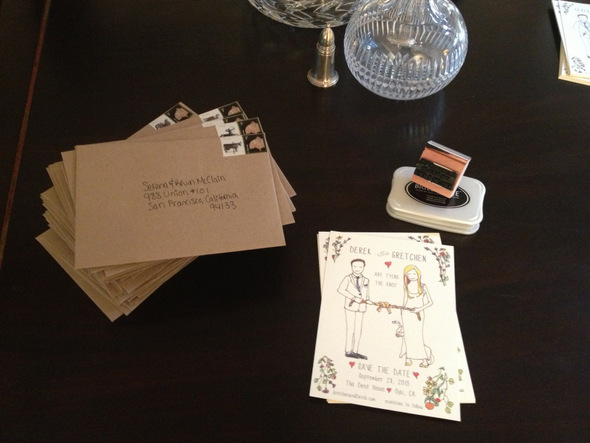
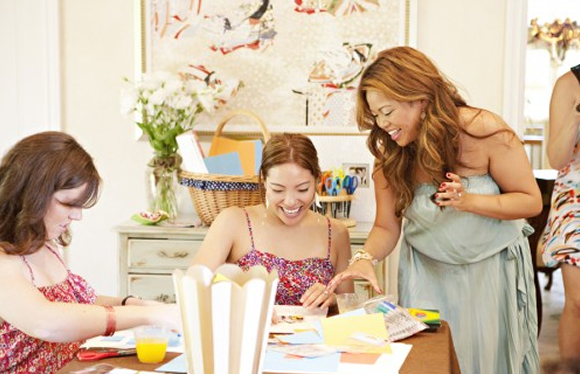
This week has been full of crafting for me. Over the past few months I've realized I should outsource some of the projects (thank you etsy!) and other projects were simple enough to do myself. Here are some of the images that have inspired me to get my DIY on, followed by my personal tips to get the jobs done.

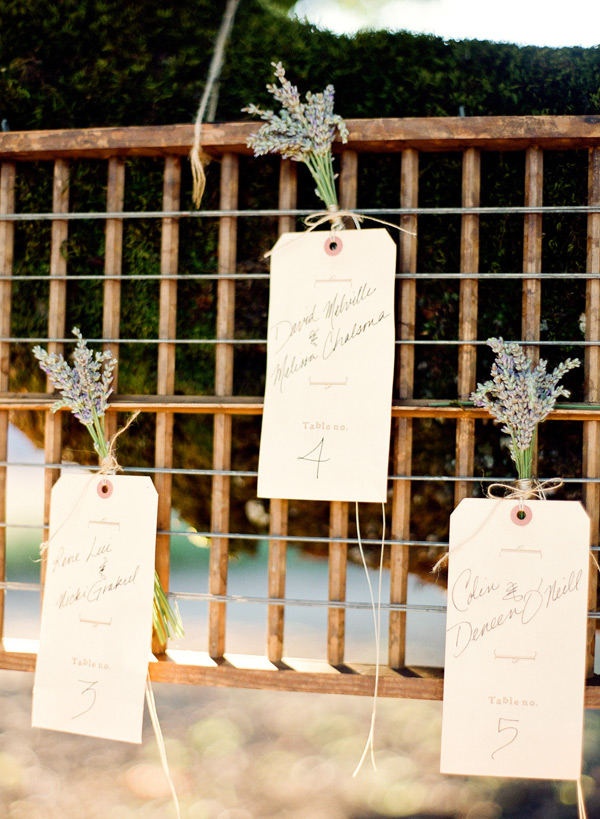
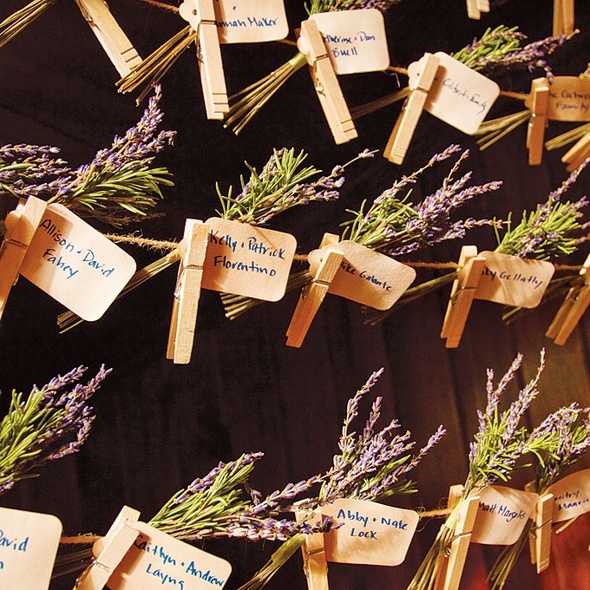
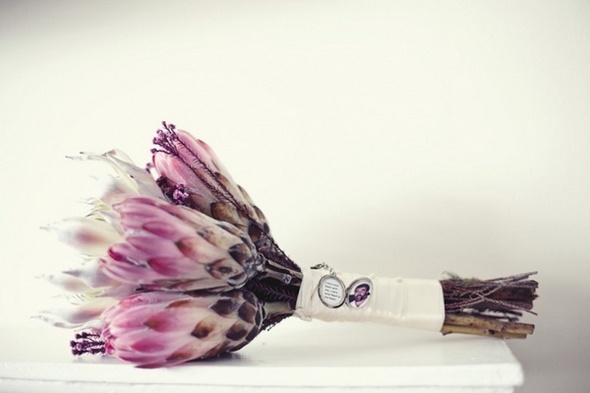
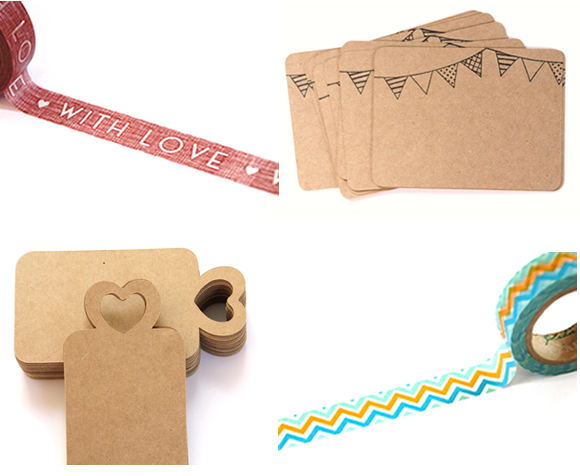
Lavender bunches with escort cards

7fcfdf074d7c4df73fe1e94ef84ea10cd5f0335e6f2e8fbe59da09639abd35c3-001 Sources: Top, Bottom 

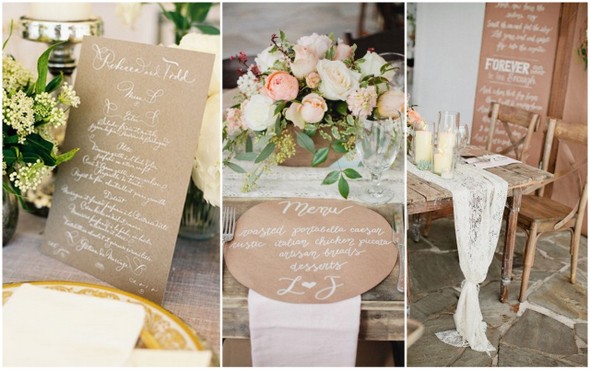
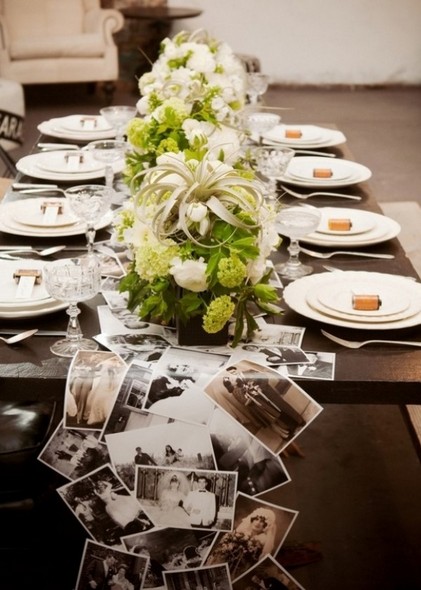
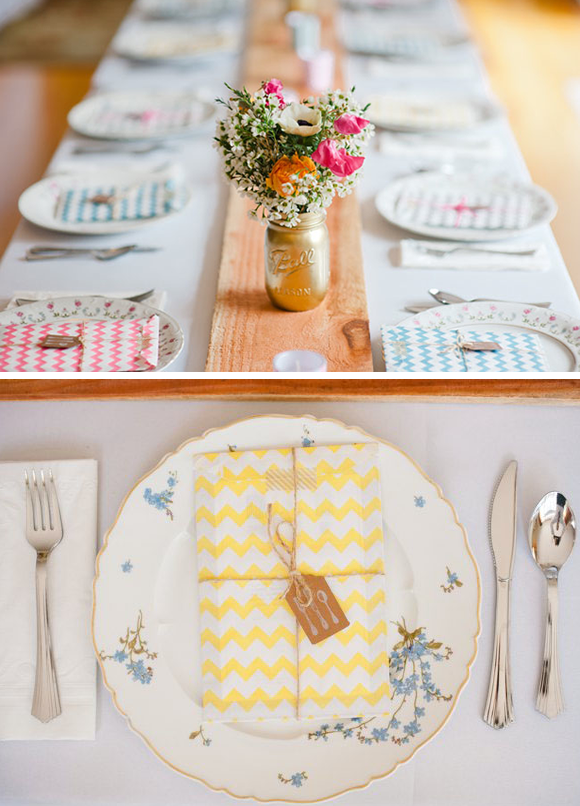
Menus and a lace runner for the head table:

Wedding Crafts1 Sources: Left, Center, Right

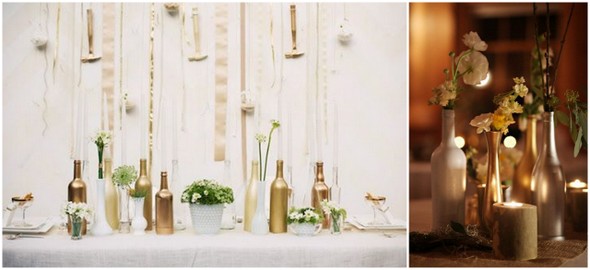
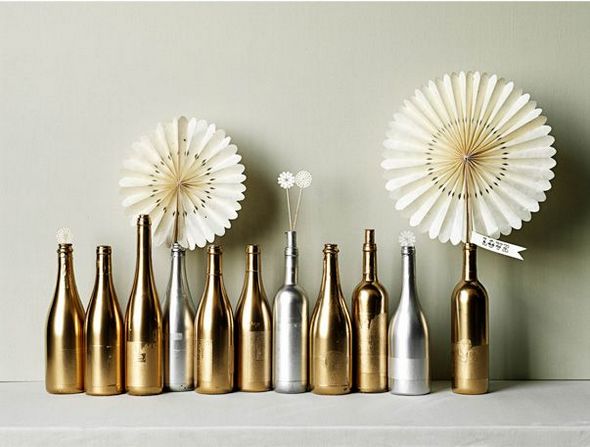
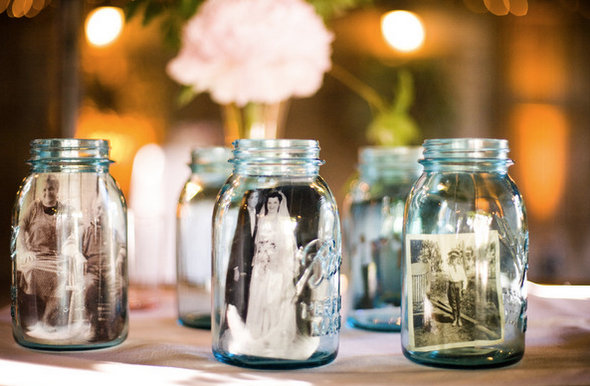
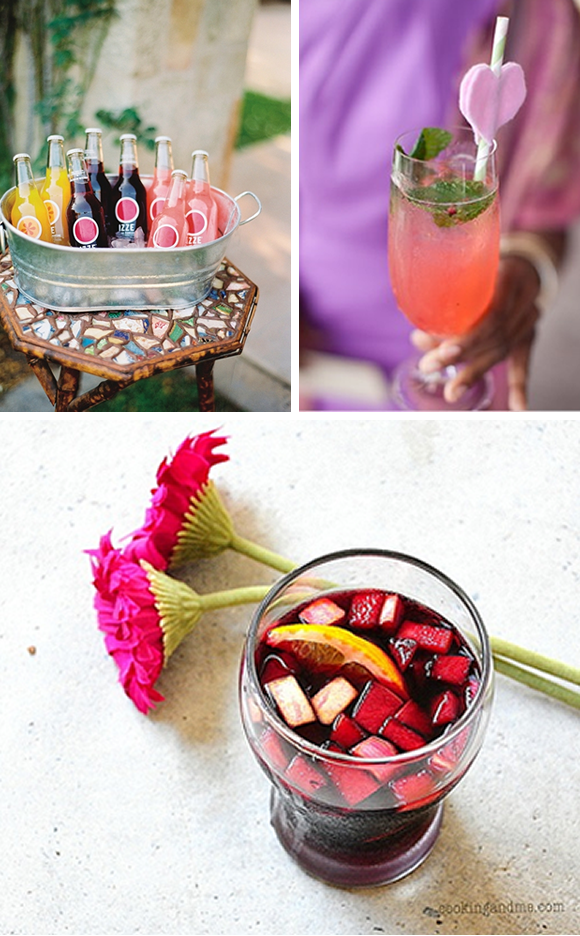
Metallic assorted bottles for the welcome party:

Wedding Crafts29b5e911693dc542ba4402bcdf6251513-001 Sources: LeftRightBottom

This is how it went for me...

DIY No-Sew Table Runner: SUPPLIES: Lace Fabric | Fabric Scissors | Tape Measure

Wedding Crafts3

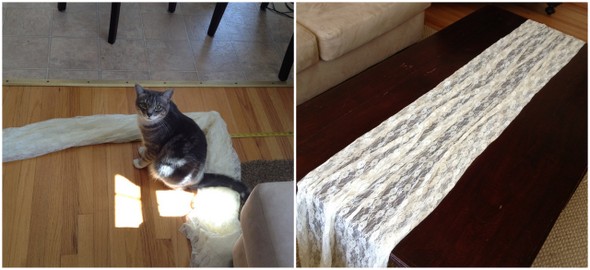
I bought the lace fabric at a discount fabric store for $23. I measured the fabric to make sure it would run the length of the table and have enough to hang down on either side. I then cut the fabric to the width I wanted. I realized if I gathered the fabric, as shown, the edges would be hidden and therefore don't need to be finished. I will be using the jute twine from the escort cards to tie each end like in my inspiration image. This project worked well for me because we only have one farm table as our head table. The other tables are round and will just have the standard linens. If you wanted to do this for more tables, you could easily get two runners out of the width - just make sure you get the length you need so you don't have breaks in the fabric.

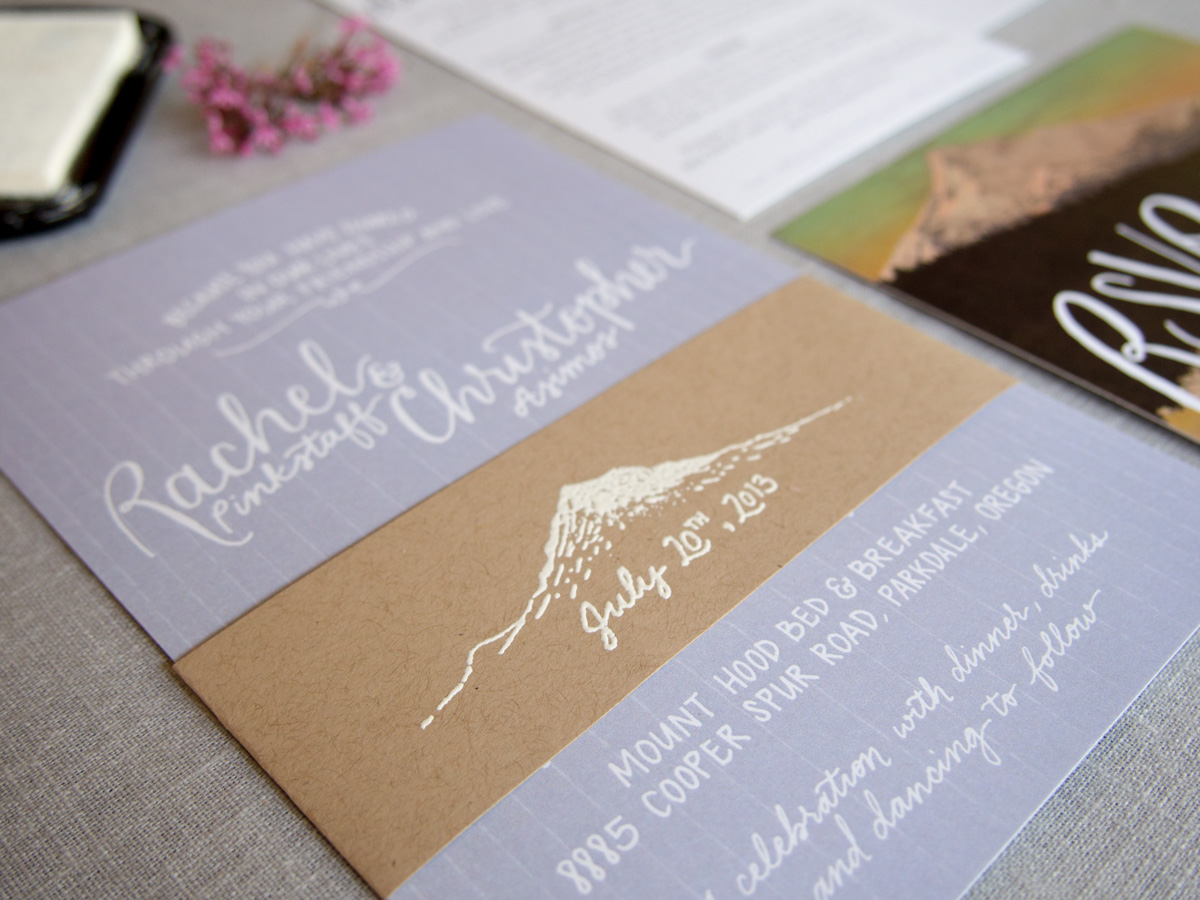
DIY Stamped & Embossed Menus: SUPPLIES: Stamps | Stamp Pad | Kraft Paper | Embossing Powder | Embossing Tool

Wedding Crafts5

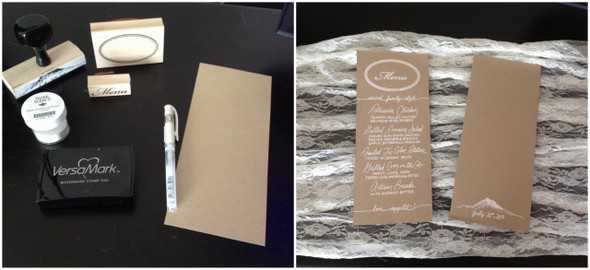
I used stamps and the heat embossing powder and tool for the top oval and 'Menu' part. For the rest, I used the white pen to write it out. It took me a couple tries to get the layout and spacing just right. To help myself from writing at a slant, I used a piece of thicker, contrasting paper and held that under the line I was writing. Then, as I wrote each item, I watched the space between my line and the other piece of paper. Slant avoided! I did enough for two per table.

DIY Metallic Bottles: SUPPLIES: Assorted Bottles | Primer Spray | Metallic Spray

Wedding Crafts4

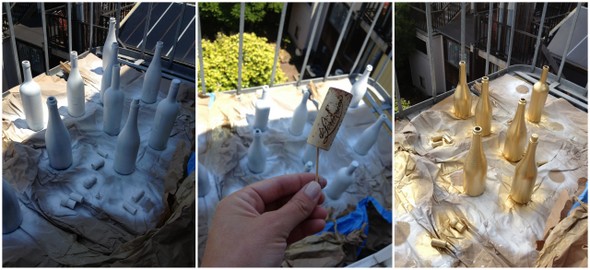
For my welcome party, I knew I wanted something cost effective and related to wine since it will be held at a Springhouse Cellar - a tasting room in Hood River, OR. I found the images of gold and silver wine and champagne bottles and HAD to give it a try.

I left the labels on and used a primer and then metallic spray bottles - I just went to my local paint store and they helped me figure out what to buy. In addition to the bottles, I also sprayed some corks to sprinkle around the bottles and I called my florist who said she would provide the single stems of white and green flowers. Easy! And all-in it will come to under $90 to decorate about six tables. Not bad, right?! *Hint: take your engagement ring off and don't do this the week before your wedding - or use some gloves!

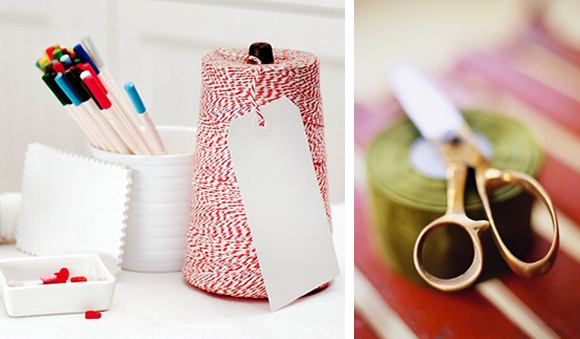
DIY Lavender Bunch Escort Cards: SUPPLIES: Lavender Sprig | Jute Twine | Cloth Pins | Small Cards (used business card sized paper from Paper Source) | Hole Punch | Pen

I haven't done this project yet, but my florist recommended grouping couples and families onto one card - that way you have less to do and the display at the wedding won't be overwhelming.

Happy crafting and happy Fourth of July to you all!


Invitation Design

BRSD-1_rev

Today I get to show off my invitations! I worked with graphic designer and E&I blogger alum, Kimberly Roth, to create my invitation suite. I love how they turned out.

Along the way, I feel that I really solidified the vision I had for my wedding. We pulled inspiration from the location - Mount Hood, Oregon - by featuring the mountain, the muted lavender color from the lavender fields in the area, and the overall whimsical feel.

 BRSD-2   BRSD-5 BRSD-6

BRSD-3Photo credit: Kimberly Roth

I also got a chance for some DIYing. Kimberly designed and coordinated having stamps made for our 'belly band' and return address. During a visit to Paper Source, I realized embossing with white would show up much better on the Kraft paper than just a white stamp. Embossing is really fun and easy (but time consuming when you are doing it for 100+ invitations).

Here's what I used:

- Stamp

- Stamp pad

Embossing powder

Heat tool

Once I got the hang of it, it went by pretty fast. I would stamp three at a time, apply the powder, lay them out on the table (until it filled the table) and then use the heat tool on all of those. Much faster than doing the whole process for one at a time. Two of my bridesmaids came over one night to help and that really speeded things up. Note to self: make sure cat doesn't get to them before you set the powder with the heat. :-)

After embossing, I folded each belly band around the invitation and secured it with a strip of double sided tape.

InvitationsPhoto credit: me

BRSD-4Photo credit: Kimberly Roth

Veiling It

VeilSource

My lovely future mother-in-law has offered to make my veil for me. She made her daughter's veil last year and it turned out great, so I trust that I'm in good hands.

Last week I went to Britex Fabrics and got some swatches so I could match them to my dress color. I can't wait to see how it turns out and get everything on!

Veil1Source: left, right

Veil2Source

Veil3-001Source

Veil4Source

I want my veil to be simple and on the longer side. I'm getting married in a potentially-windy location and I've been told longer veils are actually better because they have more weight to them so they won't blow around as much. The one thing I'm concerned about is there being too much volume. My dress is somewhere between an A-line and a ballgown silhouette and I don't want it to be over-the-top. I think the last image, above, is a good example of a fuller skirt with a long veil that looks natural and tasteful.

Should I go Waltz, Floor-length, or Chapel?

Bachelorette Accessorizing

This week I have to admit I was slacking big time with my own wedding planning. This past weekend we celebrated my future in-laws Bachelor/Bachelorette party in Palm Springs. I decided to finally make one of those Pinterest DIY projects I have been contemplating. These t-shirts are super adorable and easy to make so I wanted to share my fun find with all of you!

ST_DIY_bleach_bridesmaid_tshirt_

Source: Something Turquoise

SUPPLIES NEEDED:  Clorox Bleach Pen, wax paper, piece of cardboard and your choice of t-shirt.

ST_DIY_bleach_bride_tshirt_2

Desktop2

Source: Something Turquoise

For the full directions, click here.

Mine did not turn out quite as cute as these (so I'm not showing my finished product ). I left the bleach on for over 20 minutes, but for some reason my "Bride" was still a light pink color instead of a crisp white.

photo(1)

I will definitely try making these again with thinner material! What's your favorite bachelorette DIY project?


Wedding STD's

This week I am happy to report that we can cross our Save the Dates (or STD's as we like to call them) off our list!  What I thought would be a simple project somehow turned into a 2 + month project.  When we mailed these out on Valentine's day, I finally started to feel like we are making some progress.

We wanted to do something original so we asked a family friend to draw an illustration for us. We couldn't be happier with the way they turned out!

Now onto the other half of my dress!

Did you design your own Save the Date? How did they turn out?

Thankful for {family}

Thanksgiving is one of my favorite holidays (I think I say this at every holiday). I love Thanksgiving because it's all about bringing loved ones together to cook and enjoy a wonderful meal and remember what we are all thankful for. No presents. Just family, football, lazy couch time, cooking together, feasting and a long weekend ahead. ahhh I love Thanksgiving! So this week I've been thinking a lot about family and how we can incorporate our past generations into our wedding day, show a little bit of our families' histories, and also honor some people who will be there in spirit. I love the idea of using pictures, because it adds a personal touch and gives guests a chance to see that you have your grandma's nose or your grandpa's gap-tooth. You can't go wrong with pictures.

Source: all images above

Source: Mason Jar Photos

Source: Lockets on Bouquet

Are you doing something special to honor your family?

Happy Thanksgiving everyone! Hope you enjoy the holiday with those you love!

DIY Cake Topper Cutouts

I've seen so many cute silhouette cake toppers on Pinterest lately, that I thought I'd have a stab at my own. And while I'm at it, why not personalize it? If you recall, our Save the Dates had a little pirate theme that we screen printed. I wanted to replicate that design for our cake toppers. So, here we go... here's how to make customized cake topper cutouts!

Materials needed:

- Paper (I used cardstock black and glitter red from Paper Source)

- Wooden Skewers

- X-Acto Knife

- Mat for cutting

- Glue (I used Elmer's)

- Printouts of what you want your silhouettes to be

- Heavy books

- Scotch tape

For a double sided cake topper, like the hearts I made, fold your paper in half and tape it closed on the sides. Then tape your stencil to the paper, so it doesn't slide around when you're cutting.

Trace the stencil lines, pushing as hard as you can! You have 3 layers of paper to get through, but don't worry if you can't cut all of the way through. If you're like me and don't have the willpower to cut through all 3 layers of paper, take your stencil off, and trace back over the lines you cut with your X-Acto knife, pushing all of the way through the paper.


Success!!

Match up the hearts (or whatever shape you're doing) that are the same size, and put glue on the backs of just one of each of the pairs. Then stick the wooden skewer on the middle of the heart with glue, with the pointy side inside of the heart (leaving the blunt end of the skewer at the other end - basically the opposite of what I'm showing below). Roll the stick around a bit to spread the glue.


Press the matching hearts together, pushing them together around the skewer. Wipe off any glue that squeezes out of the sides. Then cover each half of the heart with a heavy book. Basically, push two books up next to each other so they both meet at the skewer. Leave it alone for a day as it dries!


When the hearts are dry, take your X-Acto knife and cut around the edges so there are no white spots sticking out. You may also want to color in the white edges with a red pen (or whatever colors you're using), so you don't see any white. And now you have some cute glittery heart cake toppers!

As for a more complicated stencil, where you probably only want to cut out one silhouette (because cutting out matching ones would be impossible!), it's all basically the same. You just have to be much more careful when you're cutting.


Once you think you have the entire stencil cut out, remove the stencil from your paper. Finish cutting all of the lines and corners very carefully directly on the paper, so it pops out clean and easy. Then glue or tape your cutout to a skewer.

Then stick it on a cake, take a picture, and eat the cake. You've earned it!

I rather enjoyed this delicious vegan chocolate cake from Café Indigo after all of this :)

Lock-in the Date!

This next year is shaping up to be a pretty action-packed year for us.  Not only is my fiancé’s brother getting married about three months before us, but a couple of my good friends are also tying the knot next summer.  Not wanting to miss out on any of these weddings and pre-wedding festivities, getting our Save the Dates out is at the top of my wedding to-do list. Of course, selecting a Save the Date design may not be as easy as I had thought. With so may clever and fun Save the Date ideas out there, the pressure is certainly on to come up with something unique and creative.

Source: 1, 2

Below are a selection of DIY ideas I found, ranging from stamps, fingerprints to just hitting print and tying a bow (might be more my style).

Source: 1, 2, 3, 4

Since the majority of our guests will be traveling from out of town, I also like the idea of incorporating our state/wedding location into the cards.

Source: 1, 2, 3

My engagement ring is a gorgeous vintage ring, so I have also been playing around with more of a vintage feel.

Source: 1, 2, 3

And, since we did meet on Match.com (more than 4 years ago...wow how time flies), I have also thought about incorporating matchbooks into our Save the Dates. Maybe a little too cheesy, even for me though.

Source: 1, 2, 3

So, there you have it, so many ideas to choose from! How did you decide on your Save the Date concept?

Crafters Unite {Throw a Crafting Party}

We've had a long engagement and one of my philosophies the whole time has been to enjoy each and every wedding task. So when it came time to assemble our invitations, we thought we'd make it a party. I'm sure this won't be the last project-filled party we have; it is a great way to get wedding to-do's done while spending time with you favorite people, letting them get to know each other...and maybe drinking a cocktail or two :) Here are my tips on throwing a fun, yet still productive, crafting or project party.

Source

First of all, I recommend not making this a "required" event. Your friends are doing a lot for you as it is, so be grateful for whatever time you can get from them and then tackle the remainder with your honey. That said, don't be afraid to bribe them with food and drinks. ;)

Source

When selecting a location, pick a place where you can spread out. If you don't have a big kitchen table, just move your furniture out of the way and throw some pillows on the floor!

If there is anything that you want don't really specifically or that takes some extra concentration, consider doing that on your own before hand. I had to stamp our return address on each envelope, which takes some concentration to keep everything aligned. I took care of that the night before so I didn't have to stress at party time.

Don't forget the food! Get fun (and clean!) snacks. You don't want hungry girlfriends, nor greasy, fingerprinted invitations. We had cheese and crackers and bowls of candy, but I also love the idea of air-popped popcorn or little tea sandwiches.

Popcorn, Candy

Provide drinks! Again, drinks with caps are fantastic, or at least have an area where drinks can be set down so that they won't spill on your hard work. Cocktails are always a great idea too. Consider saving the harder stuff as a celebration for finishing (though I admittedly didn't quite follow my own advice here...)

IzzeChampagne, Sangria

Also make sure you have plenty of supplies. You may need to ask your friends to bring a pair of scissors if you don't have enough. It's also smart to have some miscellaneous items like tape, string and ribbons on hand in case someone gets a stroke of inspiration in the moment (I like to stop in the sale section of Paper Source whenever I drop in just in case something catches my eye). Items like post-its, sharpies and baskets are great to have on hand to keep yourself organized. And trash cans or bags near by will also help save you some cleaning once all the cutting and pasting is done.

Sources: 1, 2, 3, 4, 5

Finally, don't forget to say thank you. Sorry, don't mean to be a mom here, but don't let your friends forget how grateful you are for their help.

And, of course, have fun! Put fun music on (we went with Michael Jackson and Whitney Houston Pandora :) ). Tell girly stories and have a good time!

Share your ideas for an awesome crafting party!

Getting Crafty {Ideas & Resources}

It is SO hard to believe but I'm just over three months away from the big day. So crazy! That means pretty much all the big things are checked off the list and I get to enjoy being crafty and creative! Before I dive in to the projects, I've been doing my research on supplies. Who has the designs and colors I'm looking for, what are the prices like, etc. I thought I'd share some of my findings with all of you!

I started with cutetape. They have some cute stuff (hence the name :) ), though not a massive selection and seem to be out of stock of a lot of things. I ordered a few bags, some twine and washi tape and everything was great in person. It was a good start to my collection.

Before picking exactly what I want to get in bulk, I went to my favorite site--Etsy. Etsy may be known for handmade and vintage, but they also have a whole section of "supplies". Here you can find pretty much any craft supply you could want and some really fantastic prices!

On my crafty shopping list, I have craft bags, washi tape and ribbon.

I'm going to have favors on the place settings, similar to Allison's sister's wedding. I love the multi-colored chevron, but I'm leaning more towards the mix and match patterns of the white-printed kraft paper.

Sources: Chevron Wedding, Chevron Bags, Kraft Bags

I've shared my love of washi tape with you before, but I don't think I really understood how much you could do with washi tape. Etsy seriously have every pattern of washi tape under the sun! Stripes and polka dots are classics, but how about hearts, music notes, newsprint, gingham, or butterflies. You could make a whole wedding look around one of these rolls and put them on anything from your invitations to your escort cards. So simple yet so stylish!

Souces: Gold, Clouds, Music, Stripes, Orange Dots, Gingham, Grid, Butterfly, Confetti, Newsprint

I also discovered today that Target sells washi tape! Great for when you need some quickly and don't have time for the Etsy order (they called it printed paper tape).

In all my searching, my favorite Etsy seller of craft supplies has got to be Bahana Splits. Her bags and tape are very cute, plus she has some really fun tags and stamps. You could do so much with these!

Sources: With Love, Bunting Card, Heart Tag, Chevron Tape

Do you have a favorite resource for craft supplies? You can never have enough so please share!