Will You Be My? {A DIY}
Hello engaged lovelies and wedding lovers! I'm here this week to share two simple DIY's with you. The first is a dress stamp that you will use in this DIY and on various wedding things. The second is a easy and sweet card to use to ask your girls to stand next to you on your big day or any other occasion you may see fit. Before we get started, here's what you'll need!
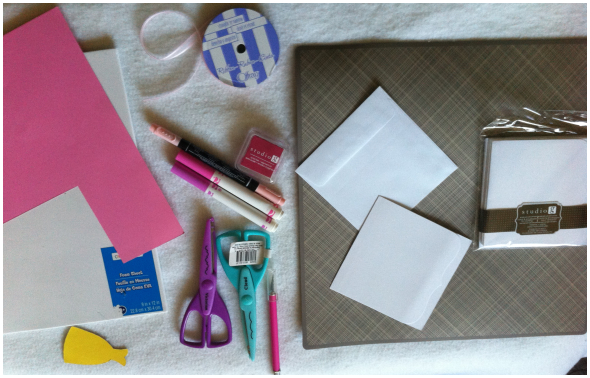
Stamp:
- Foam Sheet (Michael's $1.99)
- Xacto knife or pair of sharp scissors
- Dress template (download here)
- Clear Block (Optional)
Card:
- Dress Stamp
- Card (your dimensions from cardstock or premade card pack from Michaels, $1 for 8)
- Colored cardstock ($0.49 -$1.50 per sheet)
- Ink pad, colored marker, or paint of your choice
- Glue stick
- Scalloped scissors or other design scissors
- Cutting mat or cutting board
- Envelope (if not using the premade cards, template download here.)
- Ribbon

So lets start with the stamp! You'll want to print out your template or free hand a dress sketch if you're awesome. Then place the template over your foam sheet and start cutting with your preferred tool. We didn't have any problems with movement of the paper, but if it worries you you can just tape the paper to the sheet. (I say we because I have zero luck on cutting things out with the xacto, so the Mister did this for me.) Then, you're done! You can use as is or make tape loops to secure it to a clear block.

Now for the card. Chose what sort of paper you'll be using and once you have the card base ready, lay it down with the front on the card ready to be decorated. Now cover your newly made stamp with your desired paint or ink and stamp on to the front. (If you're not in to stamping, cutting out the dress from a pretty paper works just as well. This is what I did for this DIY. Just take a glue stick and glue it down.)

Next you'll want to open the card up and size up the area in which to put a piece of colored paper, this will be where your message goes. Now add your message in writing or print it out (I left out mine because my handwriting is atrocious). Then take your fancy pants scissors and cut around one, two, three or all of the edges of your inside paper. Now just center your paper and glue down.
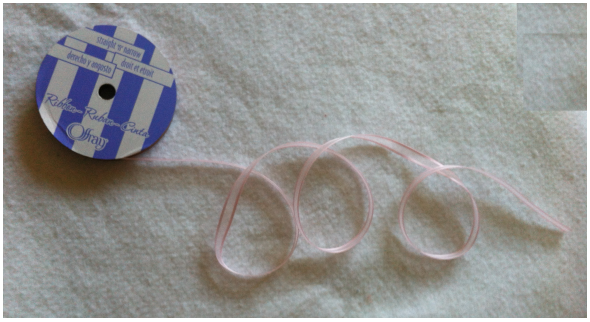
Last step is adding ribbon. While keeping it attached to the rest of the spool, measure out how much you'll need to make a pretty bow (do this but wrapping it around the front page near where the card folds), or to cover the width of the front of the card it you just want to glue it down and snip. Tie your bow and you're in business! Here's how mine turned out.

If you're feeling extra crafty, you can always add crystals to the dress or maybe draw on a sash. I think they are super cute as is, but you could always gift them with a little something as well. Next week I will be sharing the actual cards that I made for my girls since I have two more to ask!