A Warm Welcome {Baskets}

Since we are having a destination wedding many of our guests will be arriving Friday evening before the wedding to get settled. This is one of my favorite things about destinations weddings because everyone gets in the party mood and relaxes like a mini vacation. To get everyone acquainted with the town we are getting married in, I will be putting together welcome baskets with a few goodies. Screen Shot 2013-03-20 at 10.26.22 PM

As much as I love each of these above, mine will probably a simpler and more cost effective because let's face it, there's not too much budget left for these kind of extras. I still love these simpler options too:

Screen Shot 2013-03-20 at 10.37.10 PM


But here's my question, what should I put in them? Right now I'm thinking a map of the town, a couple water bottles, some snacks, and maybe a few Advil. But I'd love your help to think of fun things to put in them. Share in the comments!

Planning a Wine Country Wedding, Part 3: Where did you get that?

As an event designer, one of the questions I’m asked most by both clients and wedding guests is where I find all the unique elements — from the perfect dinner chairs to the adorable ring bearer’s pillow — that make a couple’s wedding uniquely them. For wine country weddings, you typically want thoughtful details that beautifully bridge both rustic and elegant looks. Here I share some of Esla Events' favorite sources.
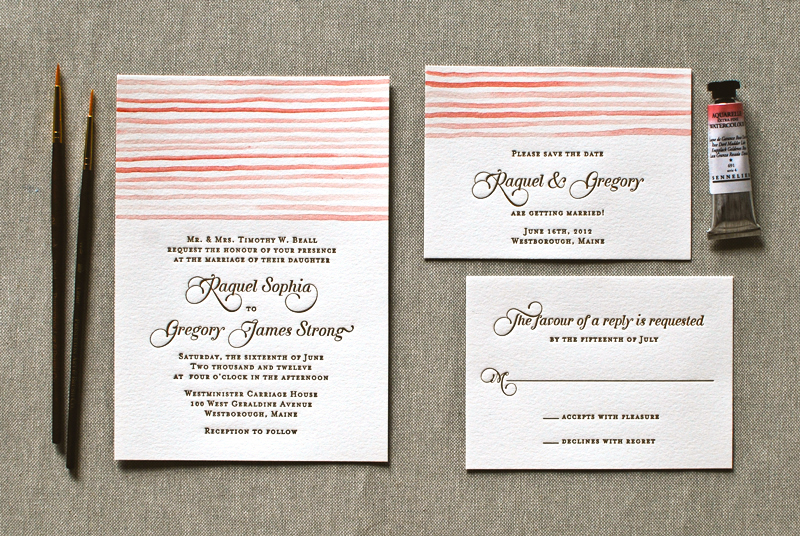
Paper Goods

Seersucker-Letterpress-Watercolor-Wedding-Invitations-Aerialist-PressSource

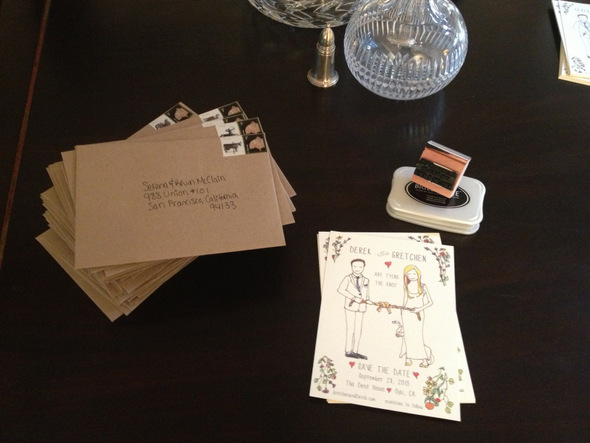
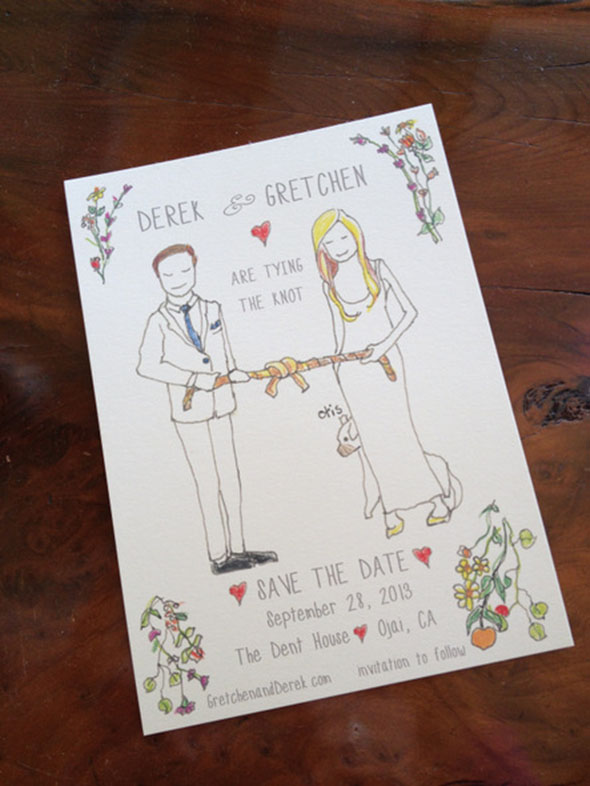
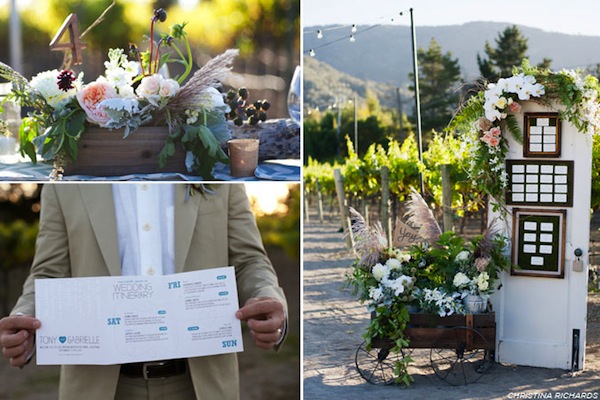
The Aerialist Press. They offer beautiful designs – both house and couture collections, and are two of the nicest people you will ever meet, who are inspiringly passionate about what they do.

Little Miss Press. She offers beautiful stationery design AND stunning calligraphy. Getting your invitations designed, printed, and addressed all in one spot? Can’t get any easier than that.


Materials & Special Touches

Millie_890A7744_gardner_smSource


Save on Crafts. For all you DIYers out there, this is a gold mine for materials. From candles to moss to baskets, this national site’s warehouse is located just down south in Watsonville, so getting your items is very quick and easy.

Pressed Cotton. One of my new favorite sites for special little details. The products are tastefully done and well curated.

BHLDN. While some items are overpriced, sometimes you just can’t find that perfect coral cake stand anywhere else. Great for items you think you’ll want to keep long after the wedding.

Etsy. And no list can be complete without this “DIYer outsourcing” site. Sometimes it takes some patience to dig through all the postings, but usually you can find the perfect item at a great price.
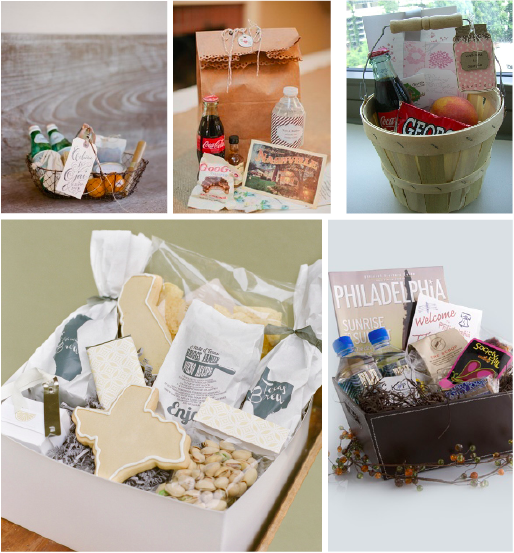
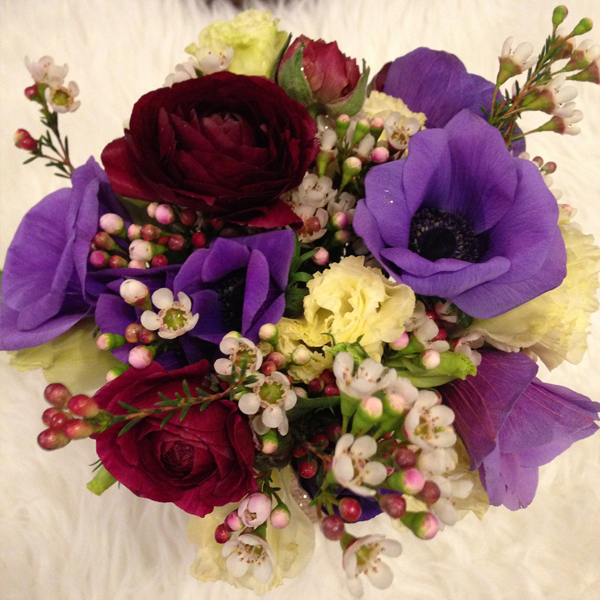
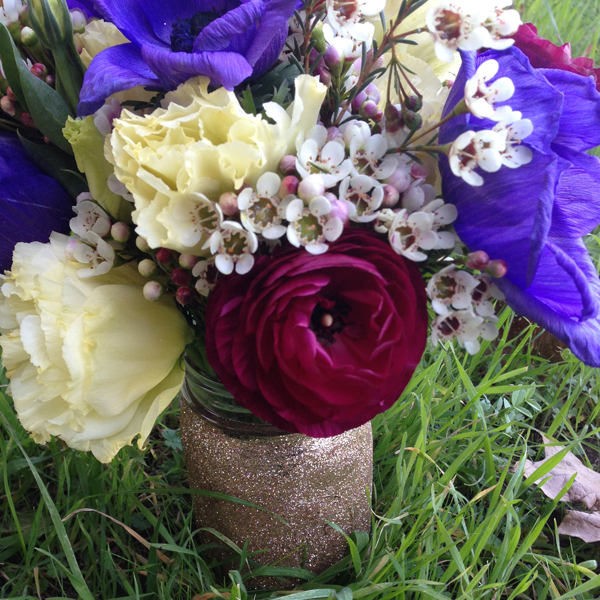
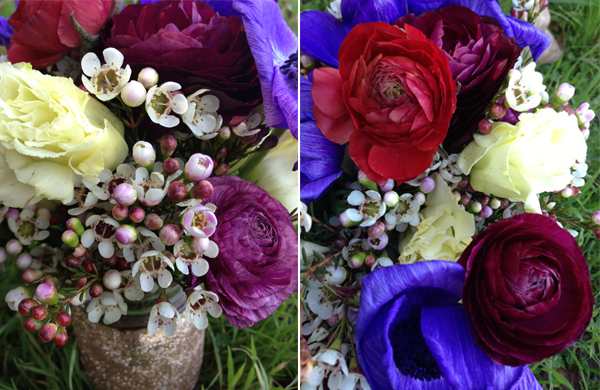
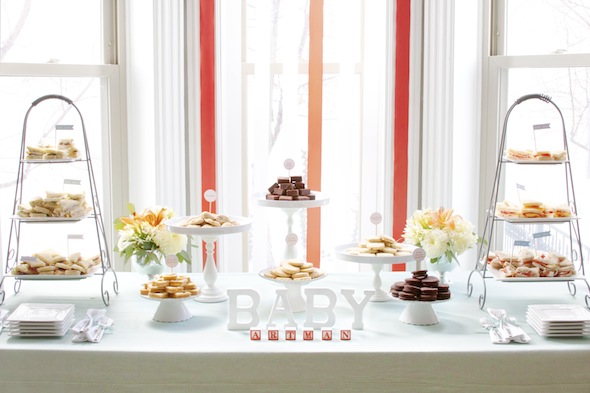
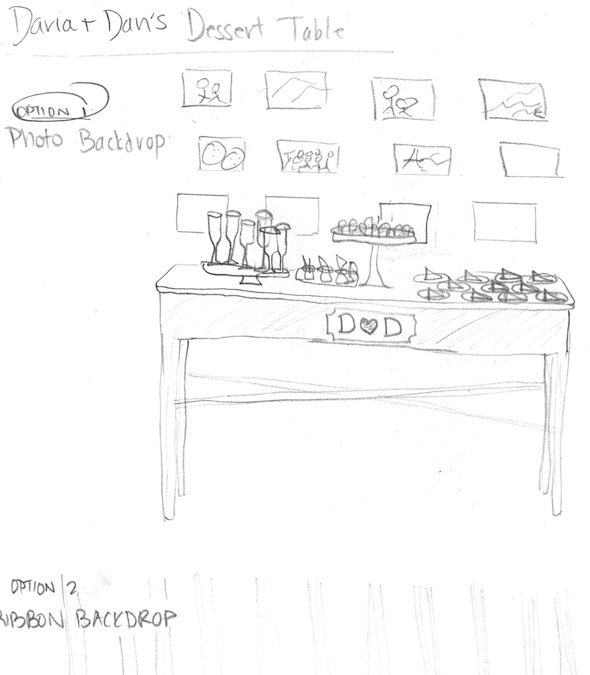
 

Pretty Sweets

MietteSource

Miette. A San Francisco classic, this store just makes you happy. If you can incorporate some of their jaw-droppingly beautiful cupcakes and macarons into your dessert table, do.

Batter. One of my favorite sources for baked goods. Delicious, unique, and beautiful.

Candy Warehouse. There isn’t anything that glamorous about this site or source, but it’s a lifesaver if you’re trying to find a range of candies in one particular shade.
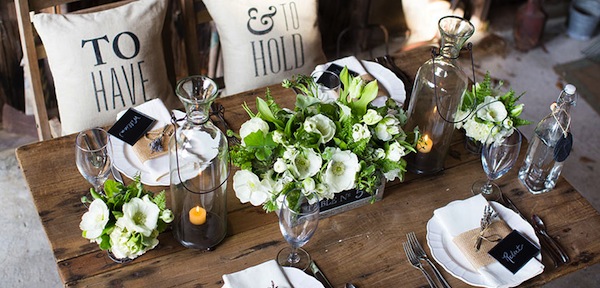
 

Rentals

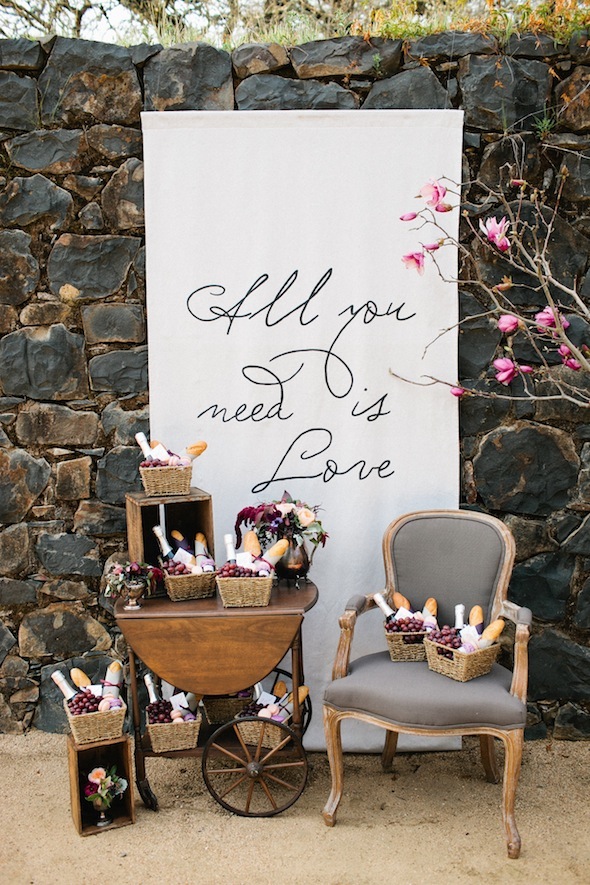
Hartmann Studio Rentals. Tip: They have one of the best shrubbery collections in the region. So if you need some olive trees or boxwoods to help define large outdoor spaces, and make ceremony spaces more intimate, this is the place to go.

Wine Country Party & Events. Not surprisingly, their inventory is geared beautifully towards the rustic yet romantic and elegant look of Napa and Sonoma weddings.

Classic Party Rentals. Looking for a great dark-wood farm table? They rent them for $85. Also, their benches and Descanso lounge furniture are quite popular with my clients.

For fans of mid century modern, industrial, and custom design rentals, keep an eye out for YEAH! Rentals and rEvolve (site coming soon!), who will both be expanding their presence in the Bay Area this coming year.


Vintage Touches

homepage-1-ef4780cfdb1ba25ffff8b96ba7dee00eSource

One True Love Vintage Rentals. Incredibly tasteful collection, with exceptionally beautiful pieces for lounge vignettes.

Heritage & Craft. With a beautiful selection of vintage goods, they also are able to craft custom pieces for you.

MilkGlass Vintage Rentals. Her selection of tables and glassware are fantastic, and she also can help you create a customized piece to perfectly suit your needs.

Wine Country Party’s Circa. Need to try and get all your rentals from the same place to avoid multiple delivery charges? Wine Country Party has a Circa line of vintage goods, so you can get 150 standard white plates and 5 wooden crates for styling your dessert table all in one place.


Linens

Napa Valley Linens. Amazing customer service and a constantly updated and beautiful selection of linens.

La Tavola. My clients go crazy for their Tuscano line (which are linen linens). Beautiful understated elegance. They have showrooms in both Napa and San Francisco, making sample viewing a snap.

Happy hunting for your perfect items!

Color Rich DIY Bouquet

Oh how I love florals. While perusing my local floral shop I fell in love with the simple white snow flower with such rich berry tones. $50 later, I had all the elements I needed to create a bouquet rich in color and texture. bouquet-3

I would never suggest DIYing florals for your wedding, but I understand that as far as budgets go, sometime something has to give. So if this is your "give" here is a great bouquet with a color palette that is beautiful no matter what season.

As for a few tips, grab about 4-6 different types of floral. Pair them together until you find the perfect mix of color and texture. Then go for it. Play around until you find something that you love. (These are the best tips I can provide from one non-florist to another :) )

bouquet-1bouquet-2florals2florals1FLORla8FLORALS6FLORALS5FLORALS4

Wedding STD's

This week I am happy to report that we can cross our Save the Dates (or STD's as we like to call them) off our list!  What I thought would be a simple project somehow turned into a 2 + month project.  When we mailed these out on Valentine's day, I finally started to feel like we are making some progress.

We wanted to do something original so we asked a family friend to draw an illustration for us. We couldn't be happier with the way they turned out!

Now onto the other half of my dress!

Did you design your own Save the Date? How did they turn out?

Planning a Wine Country Wedding, Part 2: The Design

Laurel here from Esla Events for the next installment of our Wine Country wedding series. This week’s topic: designing and styling your big day. There is no shortage of inspiration out there these days, from blogs to magazines to books (my current favorites are this one and that one). So instead of getting into the style of your design, below I provide some tips to consider when styling your designs. None are rocket science but, as any bride can tell you, it's really easy to get so deep into the specifics of your idea that you overlook some styling basics. Think of this as a 7-point cheat sheet for taking your designs from concept to execution successfully, and for getting yourself unstuck when needed. 1. Ask yourself, “What’s behind it?” Sure, you’ve considered the backdrop for your ceremony, but what about your dessert table? Your head table? Your bar? You’ll want these to be in convenient locations that makes sense for access and flow, but don’t forget about the overall visual experience. If there isn’t a gorgeously textured barn wall or natural feature to help frame the component, create one by hanging something (see point #7).

Photo by MEF Photography | Rentals by OTL Vintage | Design and Styling by Esla Events and Amanda O'Shannessy Creative


2. Incorporate a few specialty pieces. One of the easiest and most surefire ways to enhance the look of your day is to rent a few signature items. Even if you don’t have a huge budget, focusing your limited dollars on one or two additions or upgrades can really help elevate your aesthetic. Some favorite strategies include: creating a lounge area with beautiful vintage pieces from One True Love, Heritage & Craft, or Milk Glass, upgrading your napkins and dinner table linens to La Tavola’s Tuscano line, or switching out basic folding chairs for crossback chairs, available at Wine Country Party, Hartmann Studios, and Classic Party Rentals.

 Photo by MEF Photography | Rentals by OTL Vintage | Design and Styling by Esla Events and Amanda O'Shannessy Creative


3. Use varying display heights. Use stands, wood crates, or other props to create height on your various stations and display areas. Not sure how to do this? Just check out your favorite boutique or coffee shop for ideas on how to execute this well. The end result is a more friendly, engaging, and visually pleasing design.

Photo and Design by Esla Events


4. When in doubt, use the rule of three. Most items look better in clusters of three, especially when they’re varied in height. Not sure why, they just do.

Photo by MEF Photography | Florals by Leigh Okies Design | Design and Styling by Esla Events and Amanda O'Shannessy Creative


5. Consider the white space. In addition to figuring out what should go where, think about what shouldn’t be there. Giving core design elements breathing room can amplify their visual impact.

Florals by Studio Choo | Photo by Esla Events 


6. Hang something. Many venues in Napa and Sonoma have arbors, wine racks, and other easy-to-hang-from anchor points. Hanging candles, lights, ribbon, signs, and chalkboards are all easy ways to personalize a space, add that romantic touch, and get the most visual impact for your efforts.

Photo by Meg Perotti  |  Florals by Studio Choo  | Rentals by Heritage & Craft  |  Ribbon wall and design by Esla Events


7. If you're not sure whether it will work, prototype it. Sketch it. Count it out. Visit a rental showroom. Make a floor plan. Make a sample. Whatever your strategy, getting the idea out of your head and into a physical form will ensure there are no surprises on the big day, and might even give you additional ideas. And don't be shy! As you can tell from my sketch below, you don't need to be an artist to use this trick—just doodle to get clear on your idea!


Still feeling design-challenged? Consider hiring an event designer to help you flesh out your ideas, help you find all the needed materials and rentals, and handle all the styling on the big day. Or better yet, check out Amanda O’Shannessey’s recently launched workshop series, Styled.


The Details: Signage

It seems more now than ever before brides are using signs as part of their wedding decor. Of course, I could be wrong and this might be a long time practice but since I only went to my first wedding six years ago the trend really seems to have sprung in the last year or so. And I couldn't be happier this trend is "in" when I'm planning my wedding. I love signs. All signs, not just wedding signs. It's a known thing that I love signage and I'm really ok with that. Anyways....amazingly enough a friend from high school opened up a custom sign side business. Her work is absolutely fantastic and I cannot wait to incorporate it into my wedding details.

Some of the sign ideas I am loving.

Credits: Brides, Etsy, Lynnslens, Style Me Pretty, The Bridal Detective

What do you think of signs - too trendy or just right? Will you be using signs as part of your decor? Share in the comments, I'd love to hear!

Here Comes the Bride {aisle inspiration}

This past Saturday I talked with two different florists. Before doing so I gathered lots of inspiration and honed in on the look I wanted. I had been holding off on this because there are so many gorgeous options, I was having trouble committing to one. Creating a board with the things I decided on so far and adding in the flowers I was thinking about really helped me be sure I was going in the right direction. I sent the Pinterest board links to the florists and it helped them see my overall style and, more specifically, the flowers I had in mind (what did we do before Pinterest!?) One thing they both asked me on our calls was what my plan was for the aisle and ceremony space. I had been doing so much thinking about the flowers in terms of the tables and bouquets, I hadn't even thought of the aisles! So I asked them what they recommended and started searching and realizing there are endless options...

Source: left, right

Would love the candle look if I was having a nighttime ceremony.

Source

Source: left, right

Source

Shepherd hooks are really versatile and my venue has some I can use if I opt for this. No extra rentals =  money saved! But, you will be shelling out for the extra arrangements. One good option would be if you could move them to the tables after the ceremony for double duty!

Source

Source: left, middle, right

Source

And then there are petals. I love the look of petals along the aisle because it creates such a strong visual pathway. It's also romantic, timeless and (apparently) pretty cost-effective. One of the florists told me she could use the petals of a less expensive flower along the aisle.

When you have a gorgeous venue, I think you can get away with a more minimal aisle decoration. I'm thinking I will keep the ceremony decor pretty simple (we have Mt. Hood as the backdrop, so I think people will be looking at that), and put more towards the tables.

What are you doing to dress up your aisle and ceremony space? Did you have it figured out already when you talked to florists? Any cost-saving tips?

{DIY} Getting Crafty With Wooden Flatware

It is so easy and totally fun to get creative with this wooden flatware. The options are endless depending on your color palette or feel for a given event. I originally made these for dessert takeaway boxes but have since used them in a few different places. Thanks to Kara Miller Photography for photographing this lovely DIY.

Step 1: Tape in any pattern you like. Then spray!

These were even easier, if that is possible! I used stamps to stamp the pattern on. Seconds later, you are done!

Enjoy :)

Our Holiday Gift Wrapping

I have an obsession with wrapping. If you don't believe me just look at my wrapping Pinterest board. All year I have been trying different designs, color palettes and toppers in preparation for my holiday wrapping. between my husband and I there are over 20 people in the family to give gifts to, so I needed something awesome but easy!

Remember this Sarah Seven brunch I designed last month? Well, I made a pom pom wall and therefore ended up with several hundred poms that made perfect toppers for presents. I bought some grey paper, gold ink, and a snowflake stamp from Paper Source and went to town stamping all the paper before wrapping them up!

I them made some fabric tags with each person's name. They look like they took a while, but it was the easiest piece of the wrapping puzzle.

And for good measure I made a few glitter tape bows. I was obsessed with this one.

Over the holiday season I accidentally accumulated a bevy of glitter tape options. I can't wait to use all of these in 2013! (What's left of them anyway)

What did you do for your holiday wrapping?

Yarn Ornament DIY

Confession: I am not the biggest fan of traditional Christmas colors. This year I decided to do things a little different and add in some of my own fun colors to this holiday season. Hence my assortment of yarn colors to fill my home with holiday cheer. This year I decided to make a few of my own ornaments to add to our growing collection. So here is a pretty simple DIY to get you into the holiday season!

SUPPLIES:

Yarn Glass Ornaments or Styrofoam balls assorted sizes. (Michaels) Tacky Spray (Michaels)

Step 1: Spray Tacky spray on the top half of the ornament. Start wrapping the yarn around the top and continue on down the ornament.

Step 2: Spray the bottom half and continue until it is complete!

And there you have it! Perfect yarn ornaments to hang on the tree!