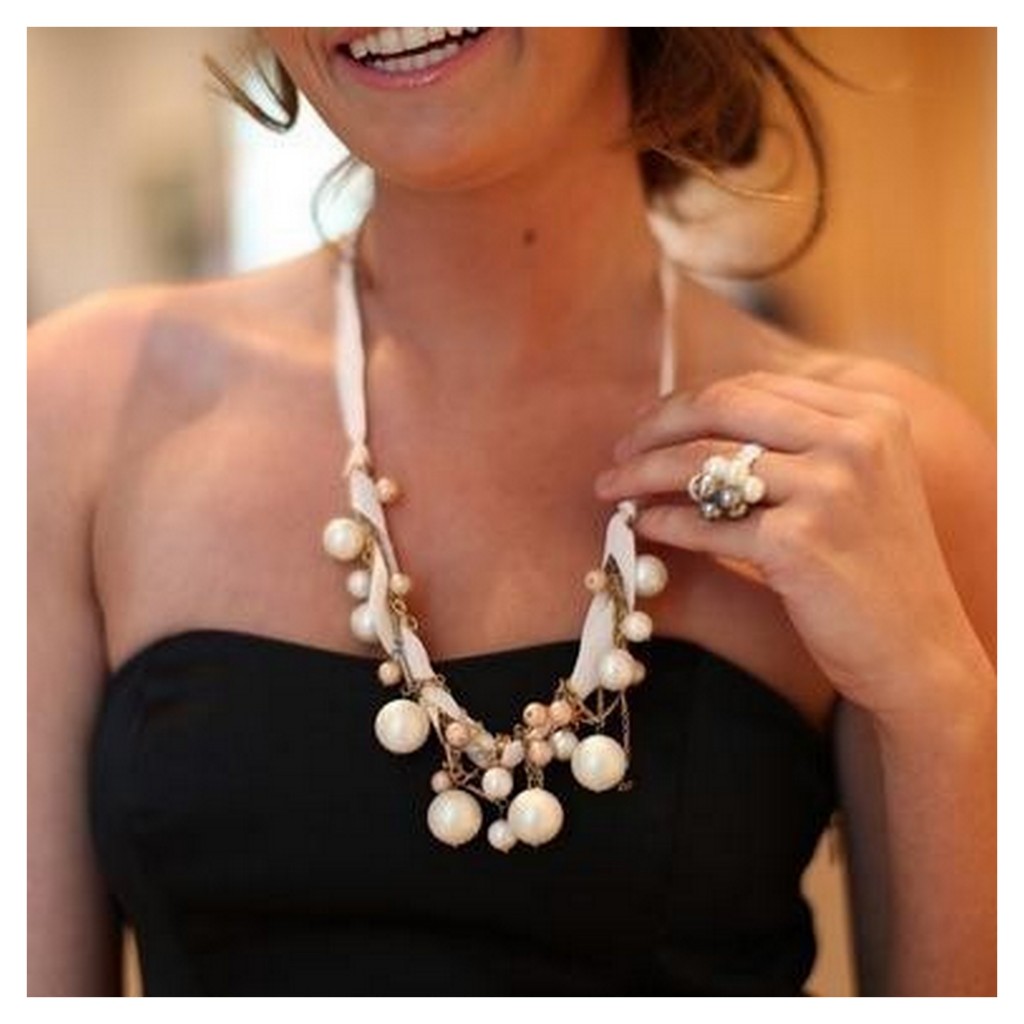
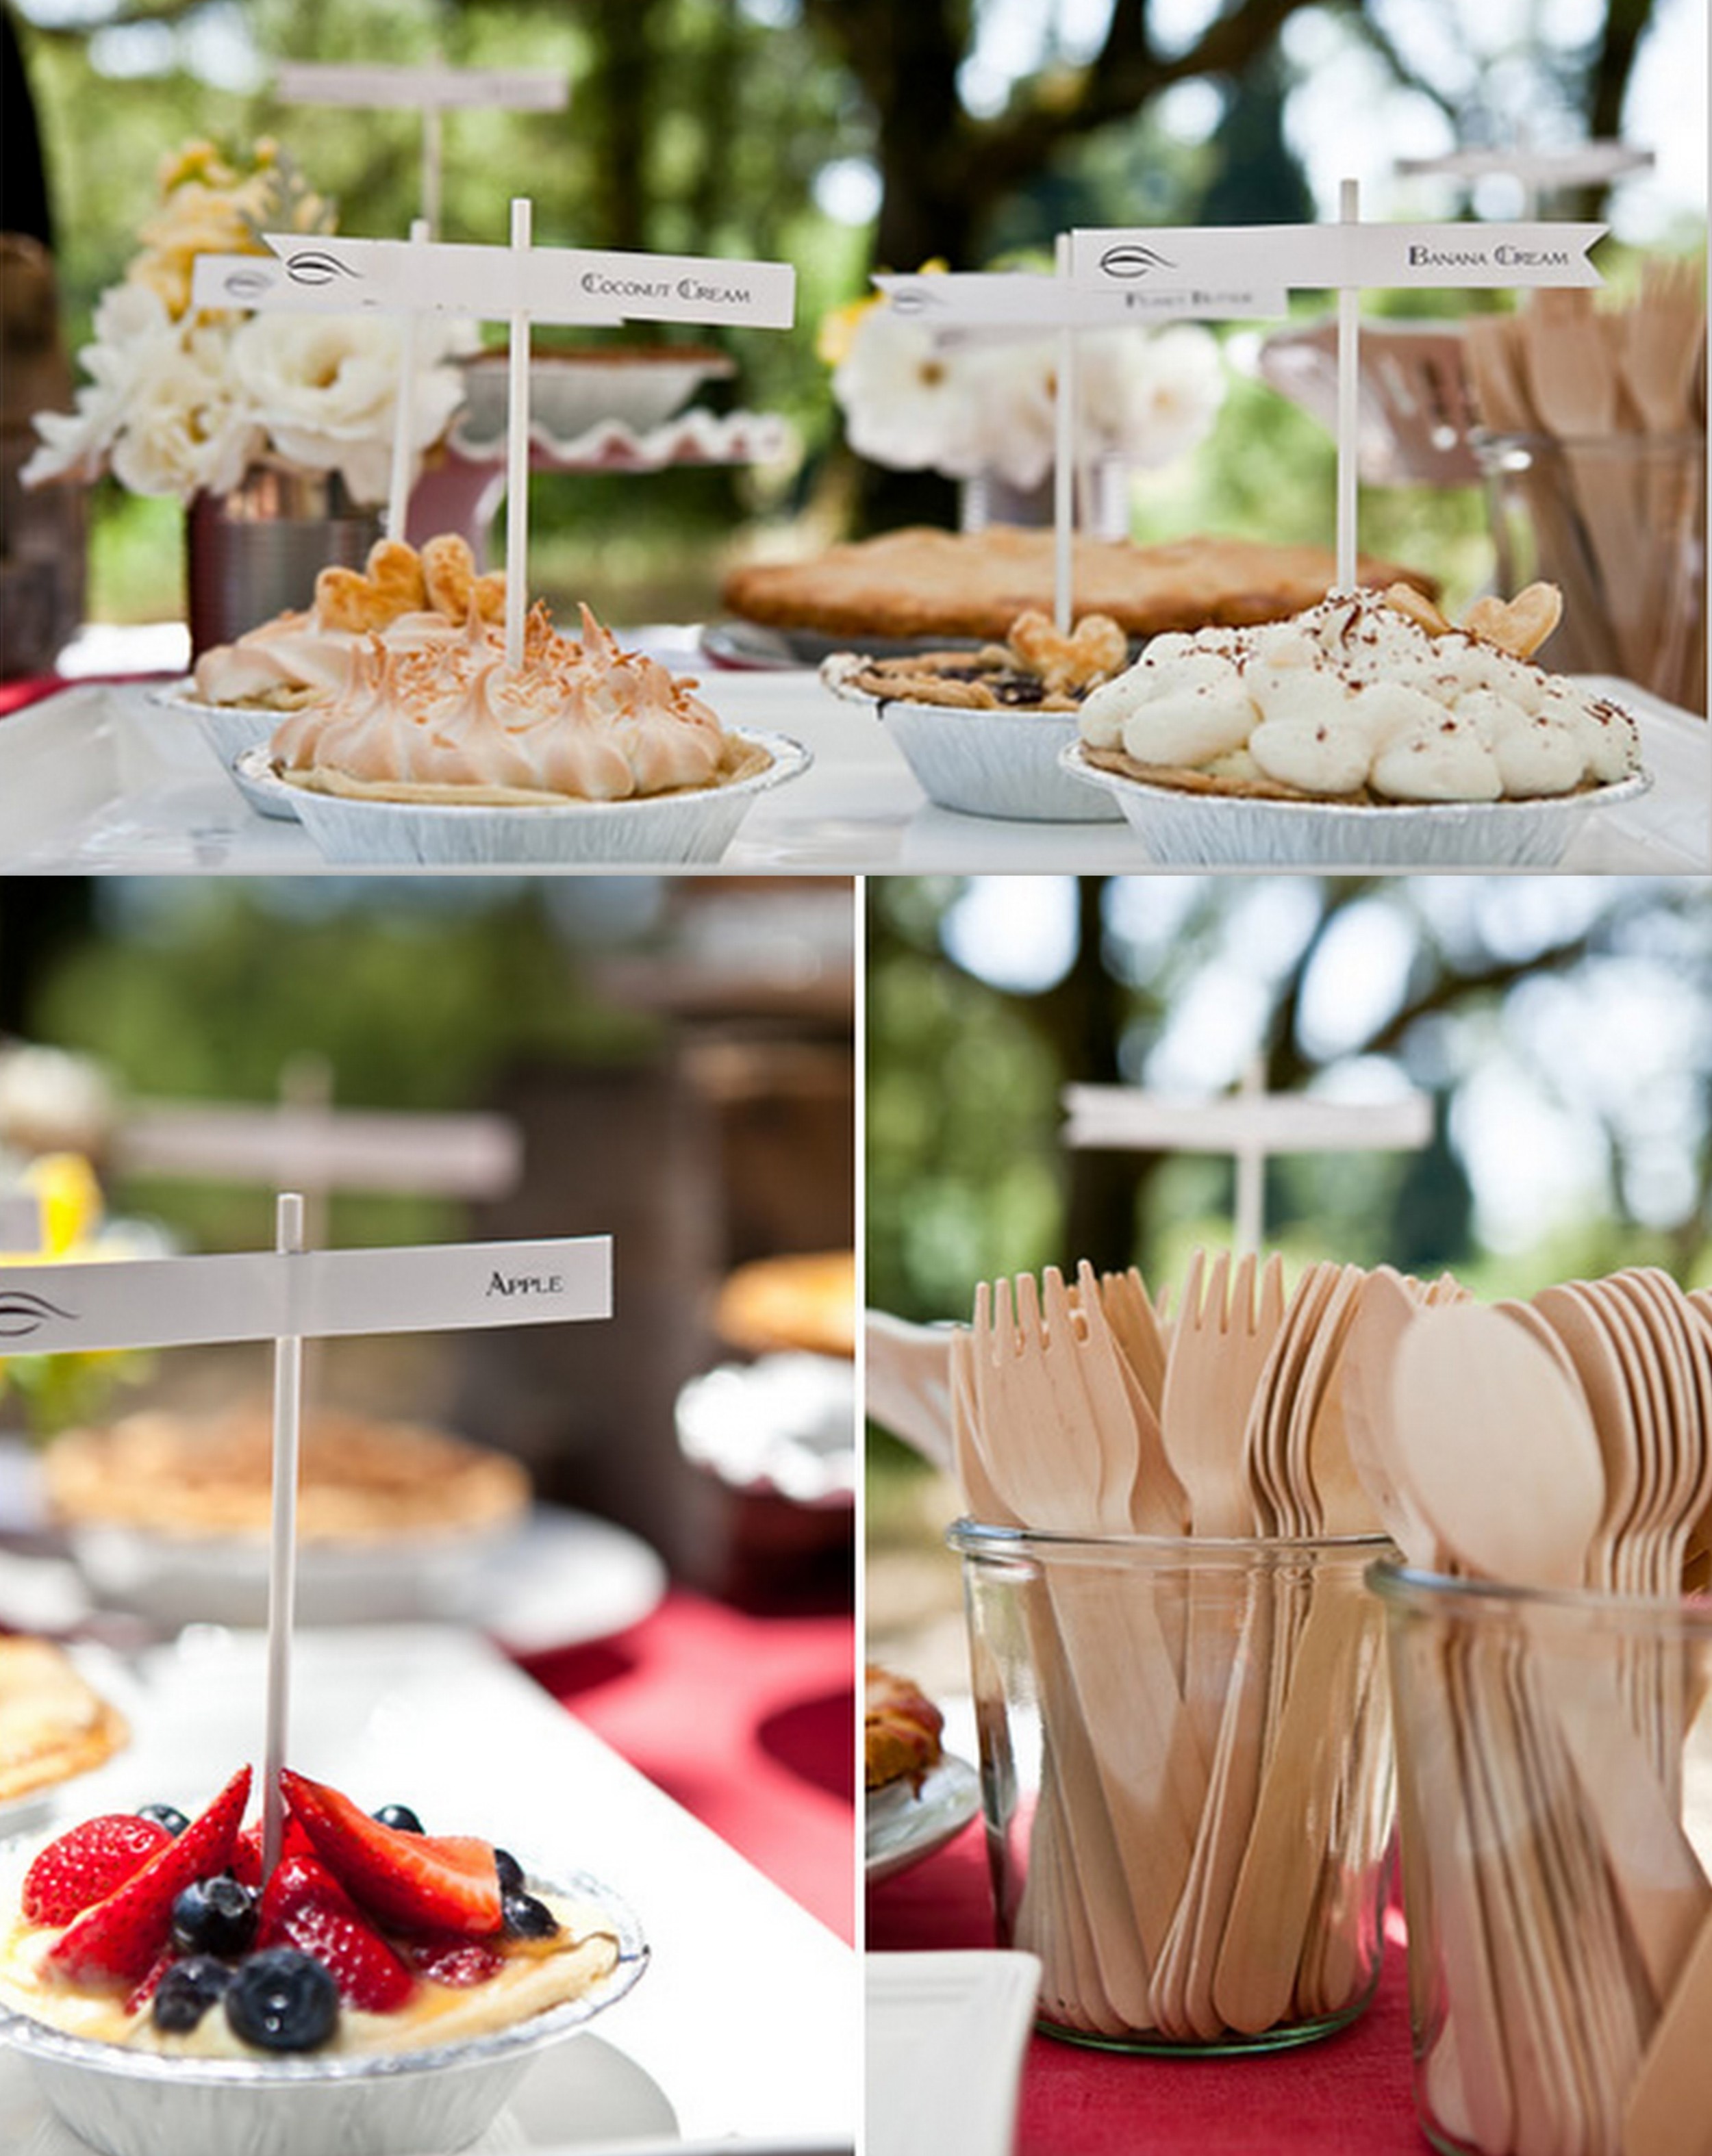
My Mr. and I decided that instead of spending $100-$150 dollars on a cupcake stand for our wedding that we he was going to build one. We are going to have a totally awesome dessert buffet for our wedding including cupcakes and mini pies so this stand will be the perfect accessory to our table. Here are the details.
Project Difficulty: Medium
Estimated Time: 4 hours (including paint)
Estimated Cost: $60
The first step in this DIY project is to pick a design and stand height that you like. A good place to start is Etsy, where (depending on size), you can easily spend upwards of $200. I decided to go with a 3-tier design which I can add small rustic boxes or mason jars to give the cupcakes varying height. My first stop was the local hardware store for materials. For each tier I chose precut 24", 16" and 8" wood round table tops. The hardware store also carries stair baulsters that are milled in precut lengths and styles.
The shopping list included:
(1) 24" table top
(1) 17" table top
(1) 14" table top
(1) 9" stair baulster
(1) 14" stair baulster
(1) can of white primer
(1) can of satin white paint
(1) container of gorilla wood glue
The next step was to get home and have the Mr. work with me on putting my plan together! The tools you will need are:
(1) Drill; drill bits
(1) Square (or anything with a straight 90 degree corner)
(1) Pencil
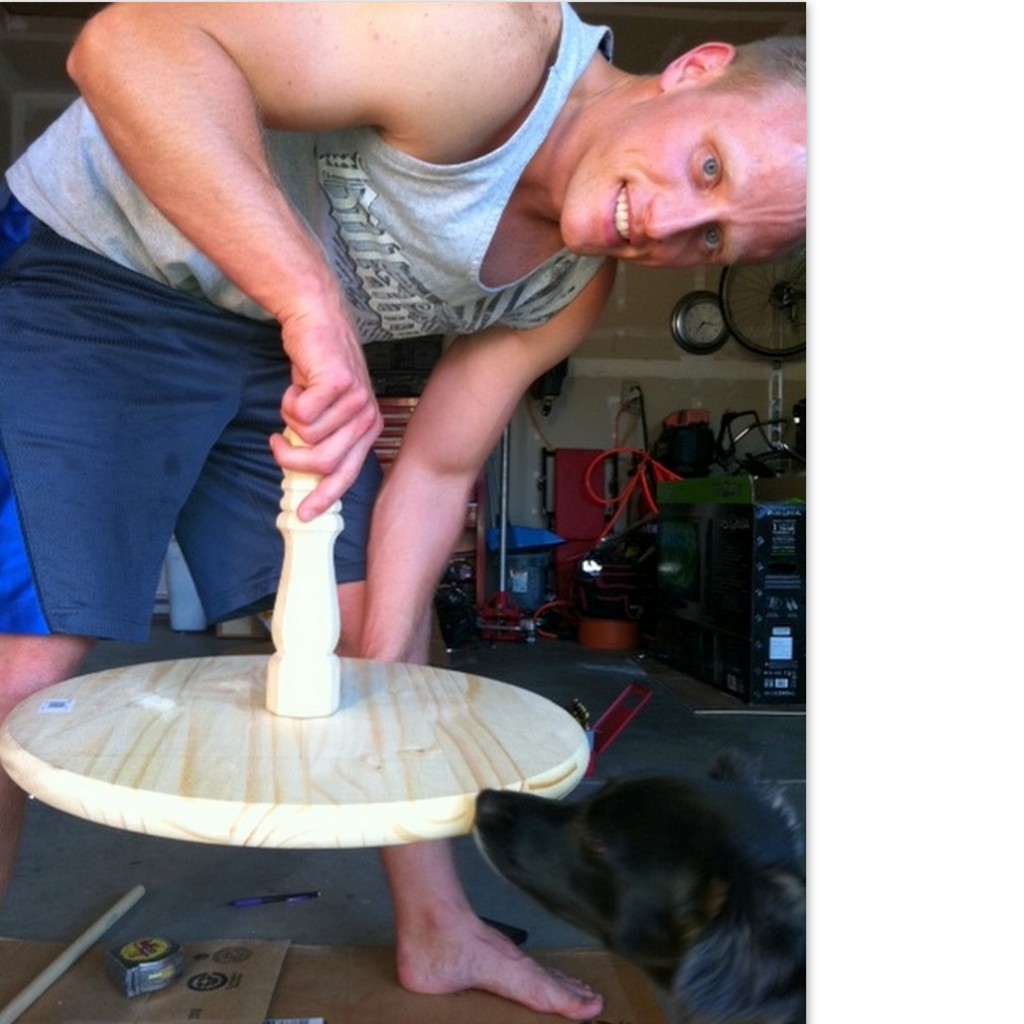
Each baulster comes with one end with a "bolt" coming out of the bottom for a screw-in installation. The other end is flat and needs to be glued to the bottom side of the tabletop. However, before we can drill the tabletop for the baulster, we need to locate the exact center of the circle. I don't know about some of you, but I don't remember my geometry homework! Luckily, the Mr. knew and explains it like this:
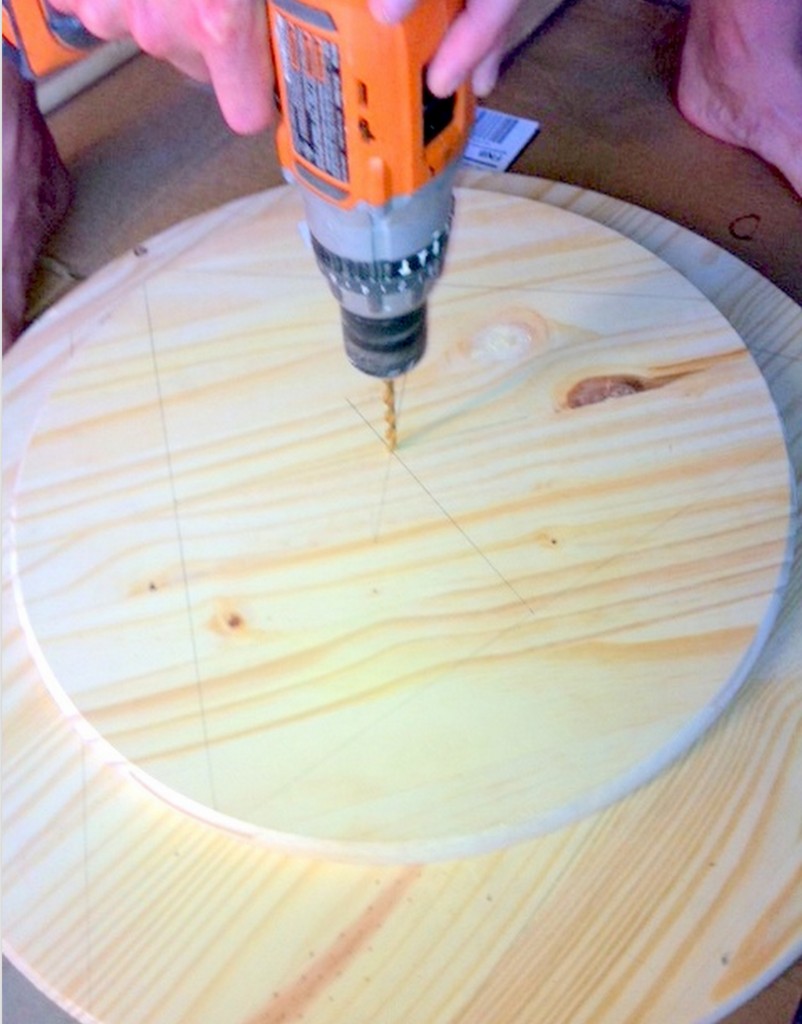
To find the center, you first need to draw 3 "chords" on the outside of the circle the same length (pick an easy number, like 12 inches). Once you draw all 3 lines, divide them in half and mark the center of the chord. From the center, use your square or 90 degree angle and draw a line across the tier. Do this for each chord and the exact center is the intersection of all three lines. He is so smart!
When you have the centers laid out, its to drill a hole slightly smaller than the "bolt" coming out of the bottom of the baulster. Drill this hole only HALFWAY into to the tabletop, and make sure it is drilled straight. Once this hole is drilled, drill a much smaller hole through the larger hole to mark the center of the citcle on the other side.
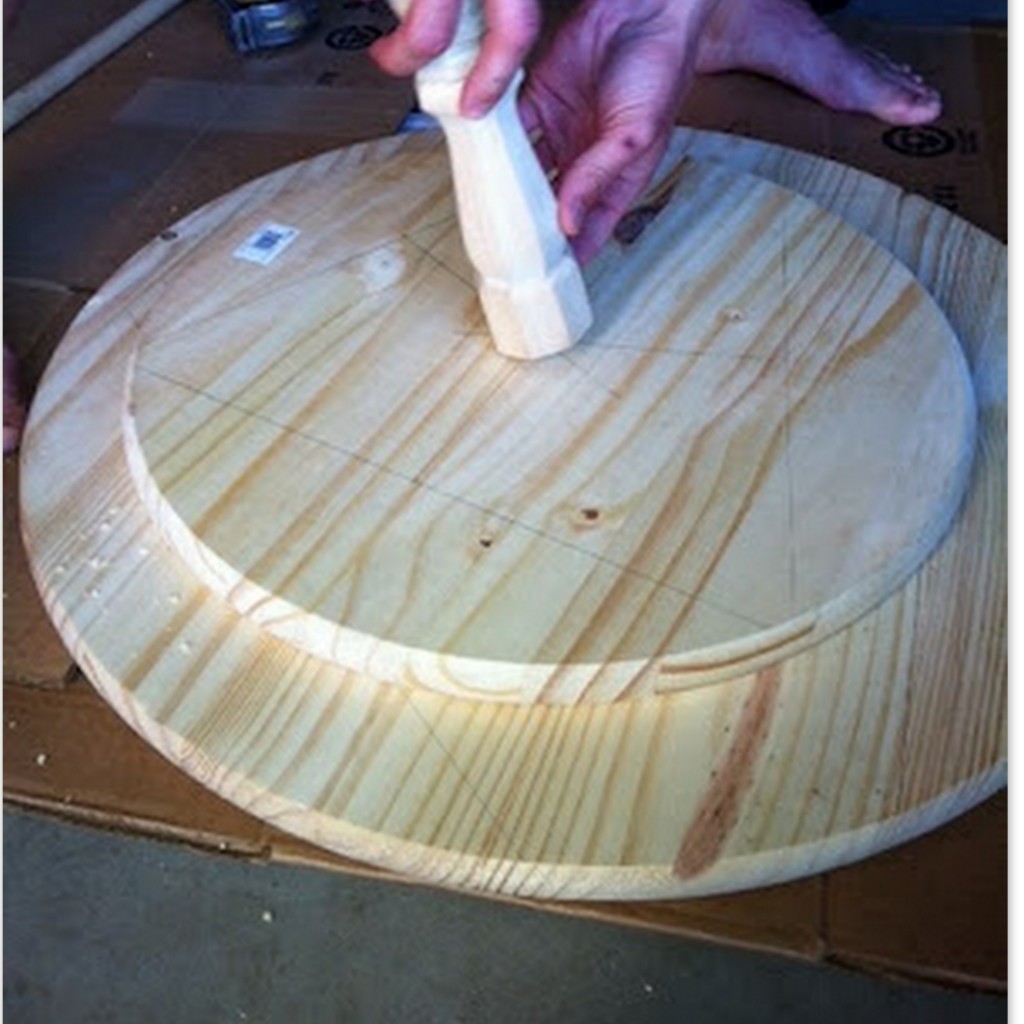
Now that the holes are drilled, we now want to glue the baulster to the bottom side of the table top. To be exact, find the center (process above) of each baulster and measure the distance from the center to the edge of the baulster. Measure this distance on the tabletop and mark the edges of the baulster. This is an important step, or else the tiers will look staggered from each other. Now, apply the gorilla glue to the baulster, press firmy agianst the table top, and hold together for about a minute. Repeat this process for the other baulster, and let dry overnight.
The next day is paint day!
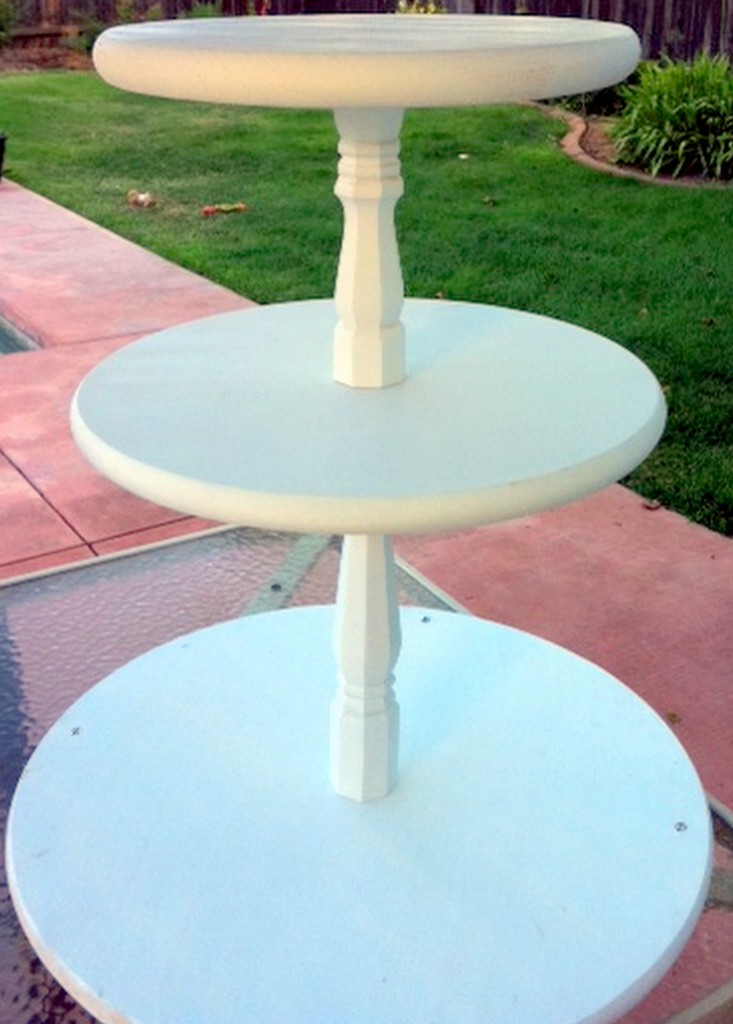
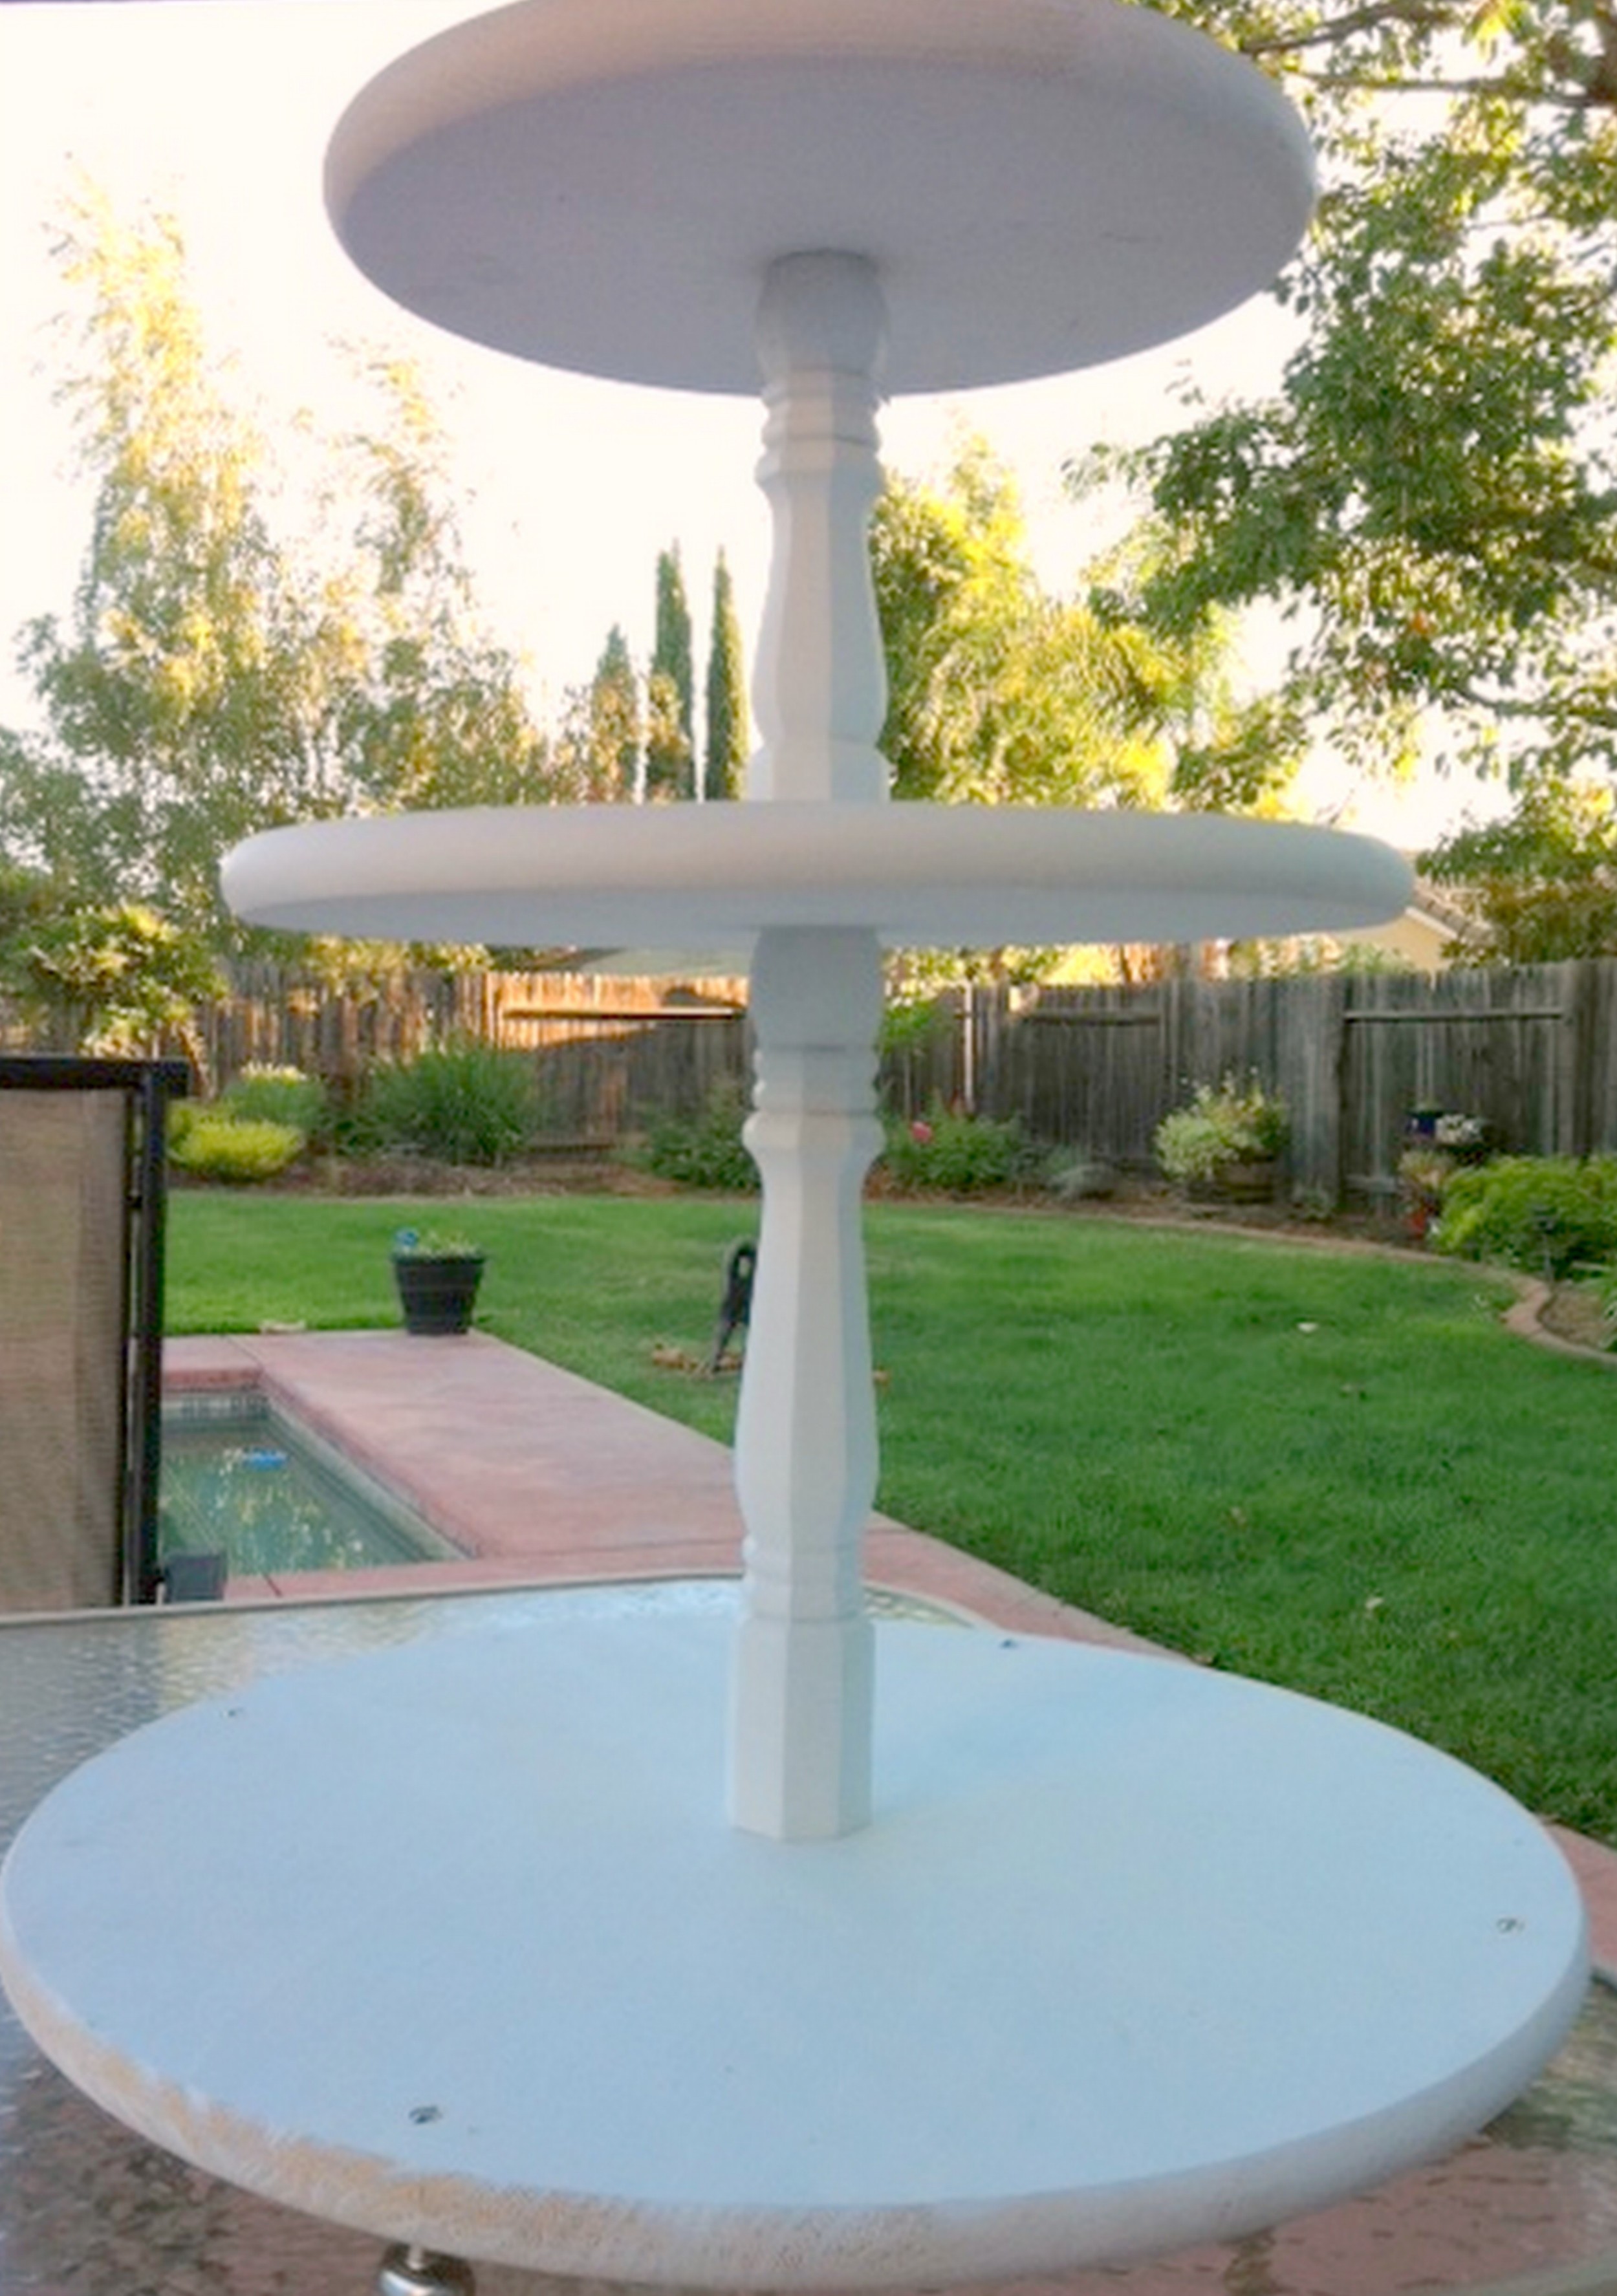
At this point, you should have three pieces that have been glued together and resemble this (largest round not shown):
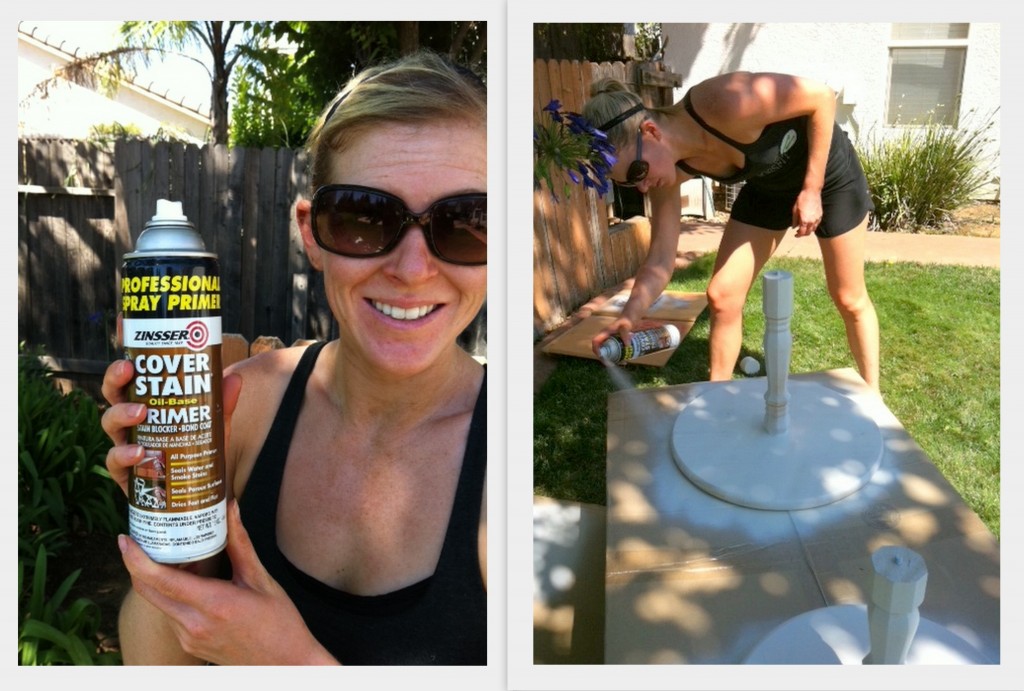
Apply your primer first, and be sure to cover all parts of the bare wood. Once the primer has dried, paint two coats of white paint to really cover it well and hide any paint streaks. Once your paint is complete, you should be able to take the three pieces and assemble them by screwing them together (since you have already drilled your hole). Voila, your finished product should resemble something like this!

We used cabinet hardware to make feet for the bottom of our cupcake stand. We just chose something with a flat surface that would sit level on a table. The best part about rustic decor is that perfection is not necessary. I think I might sand the sides down a little to give it a little more of a rustic look.
So what do you think??
Find more about what I am up to here.
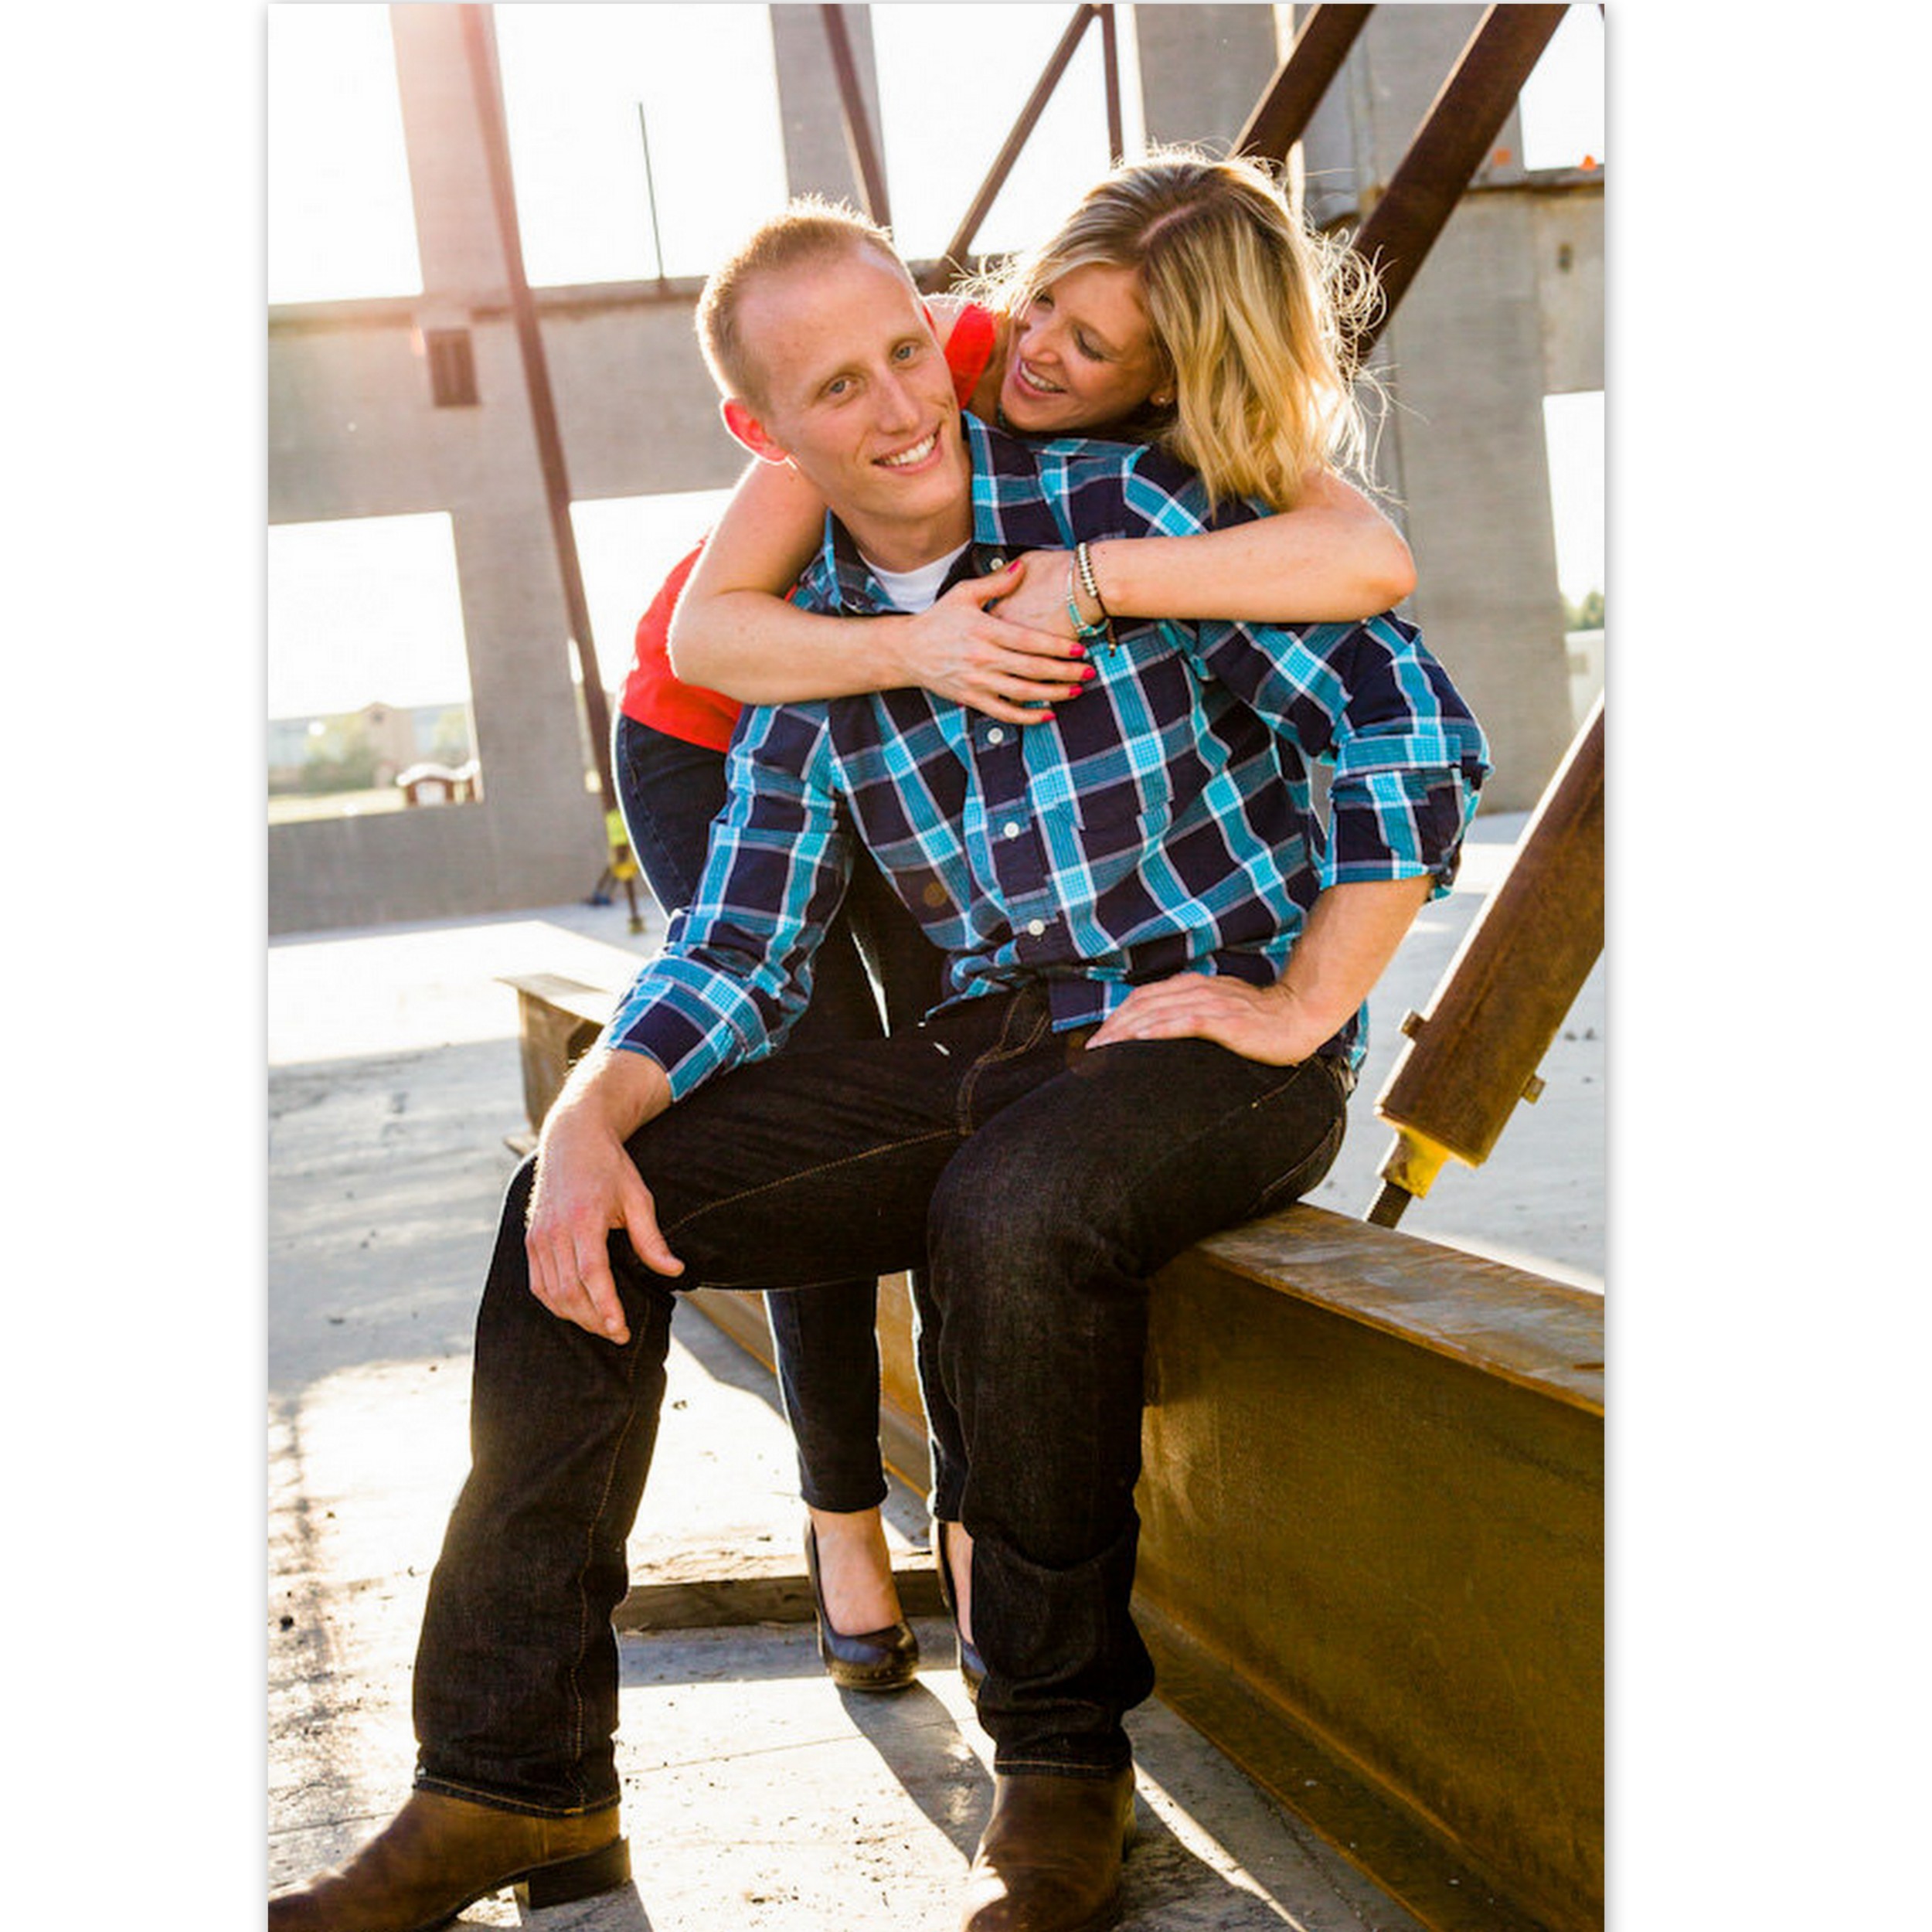
Heather

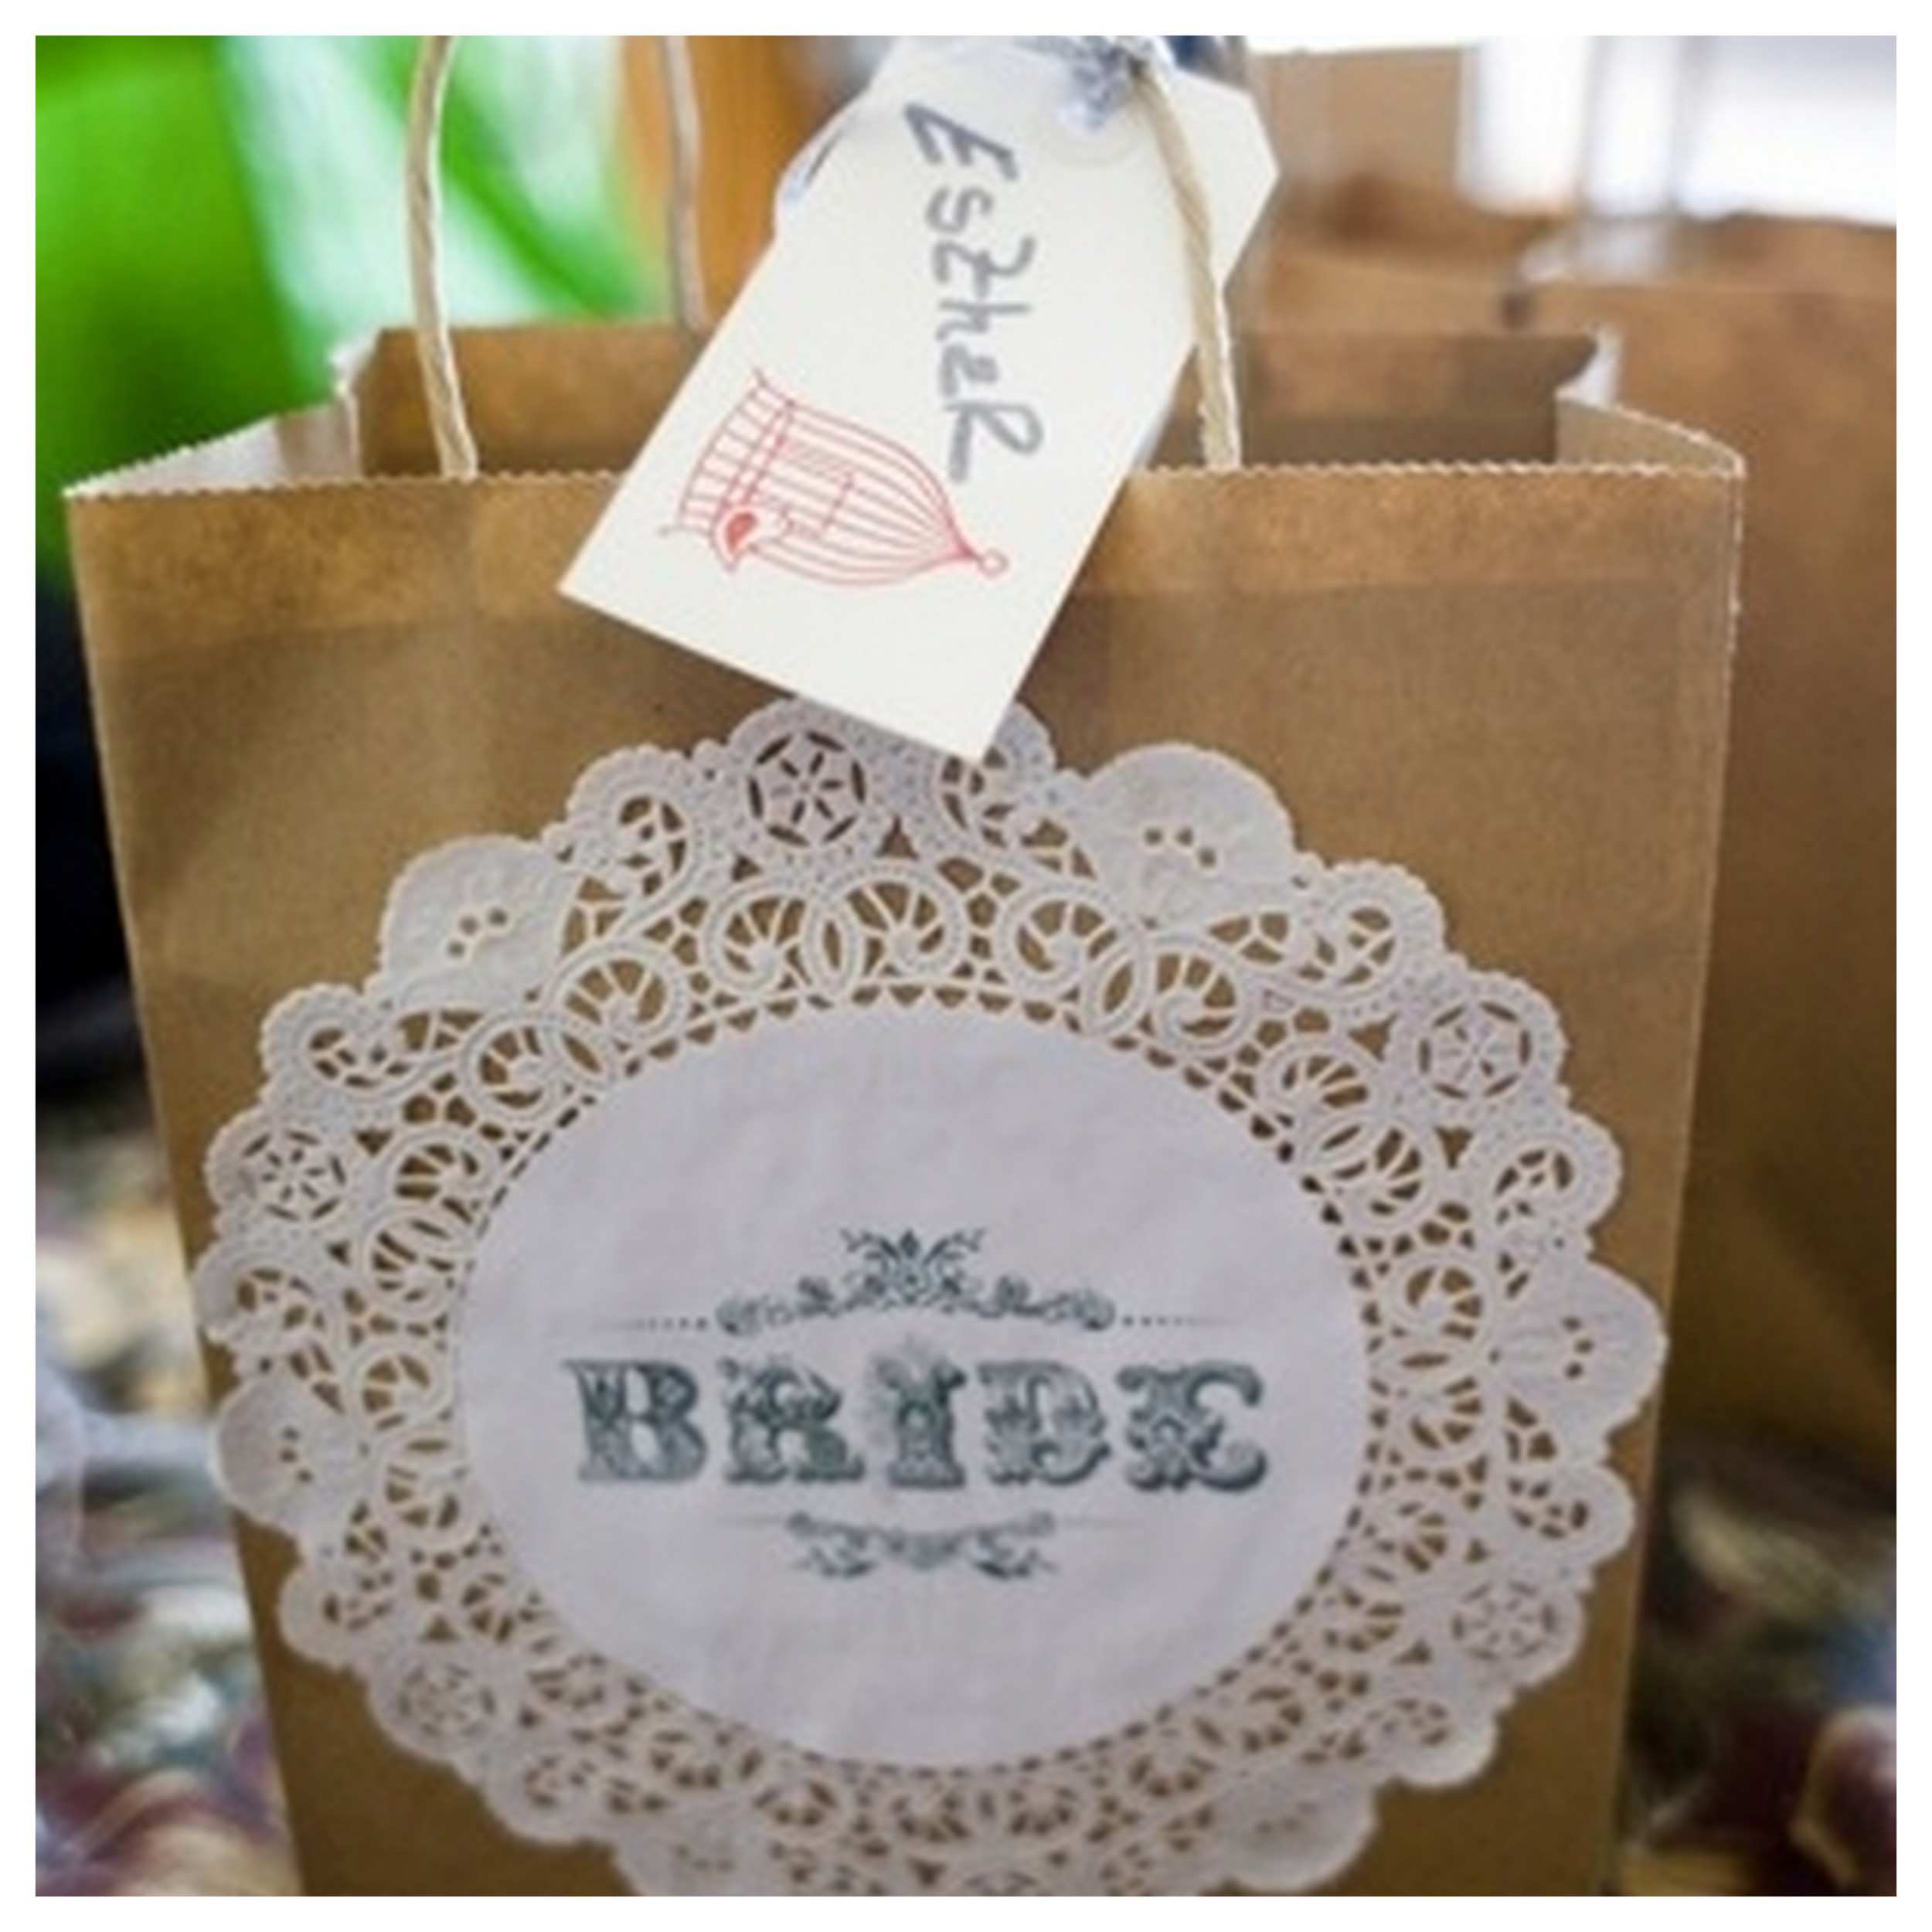
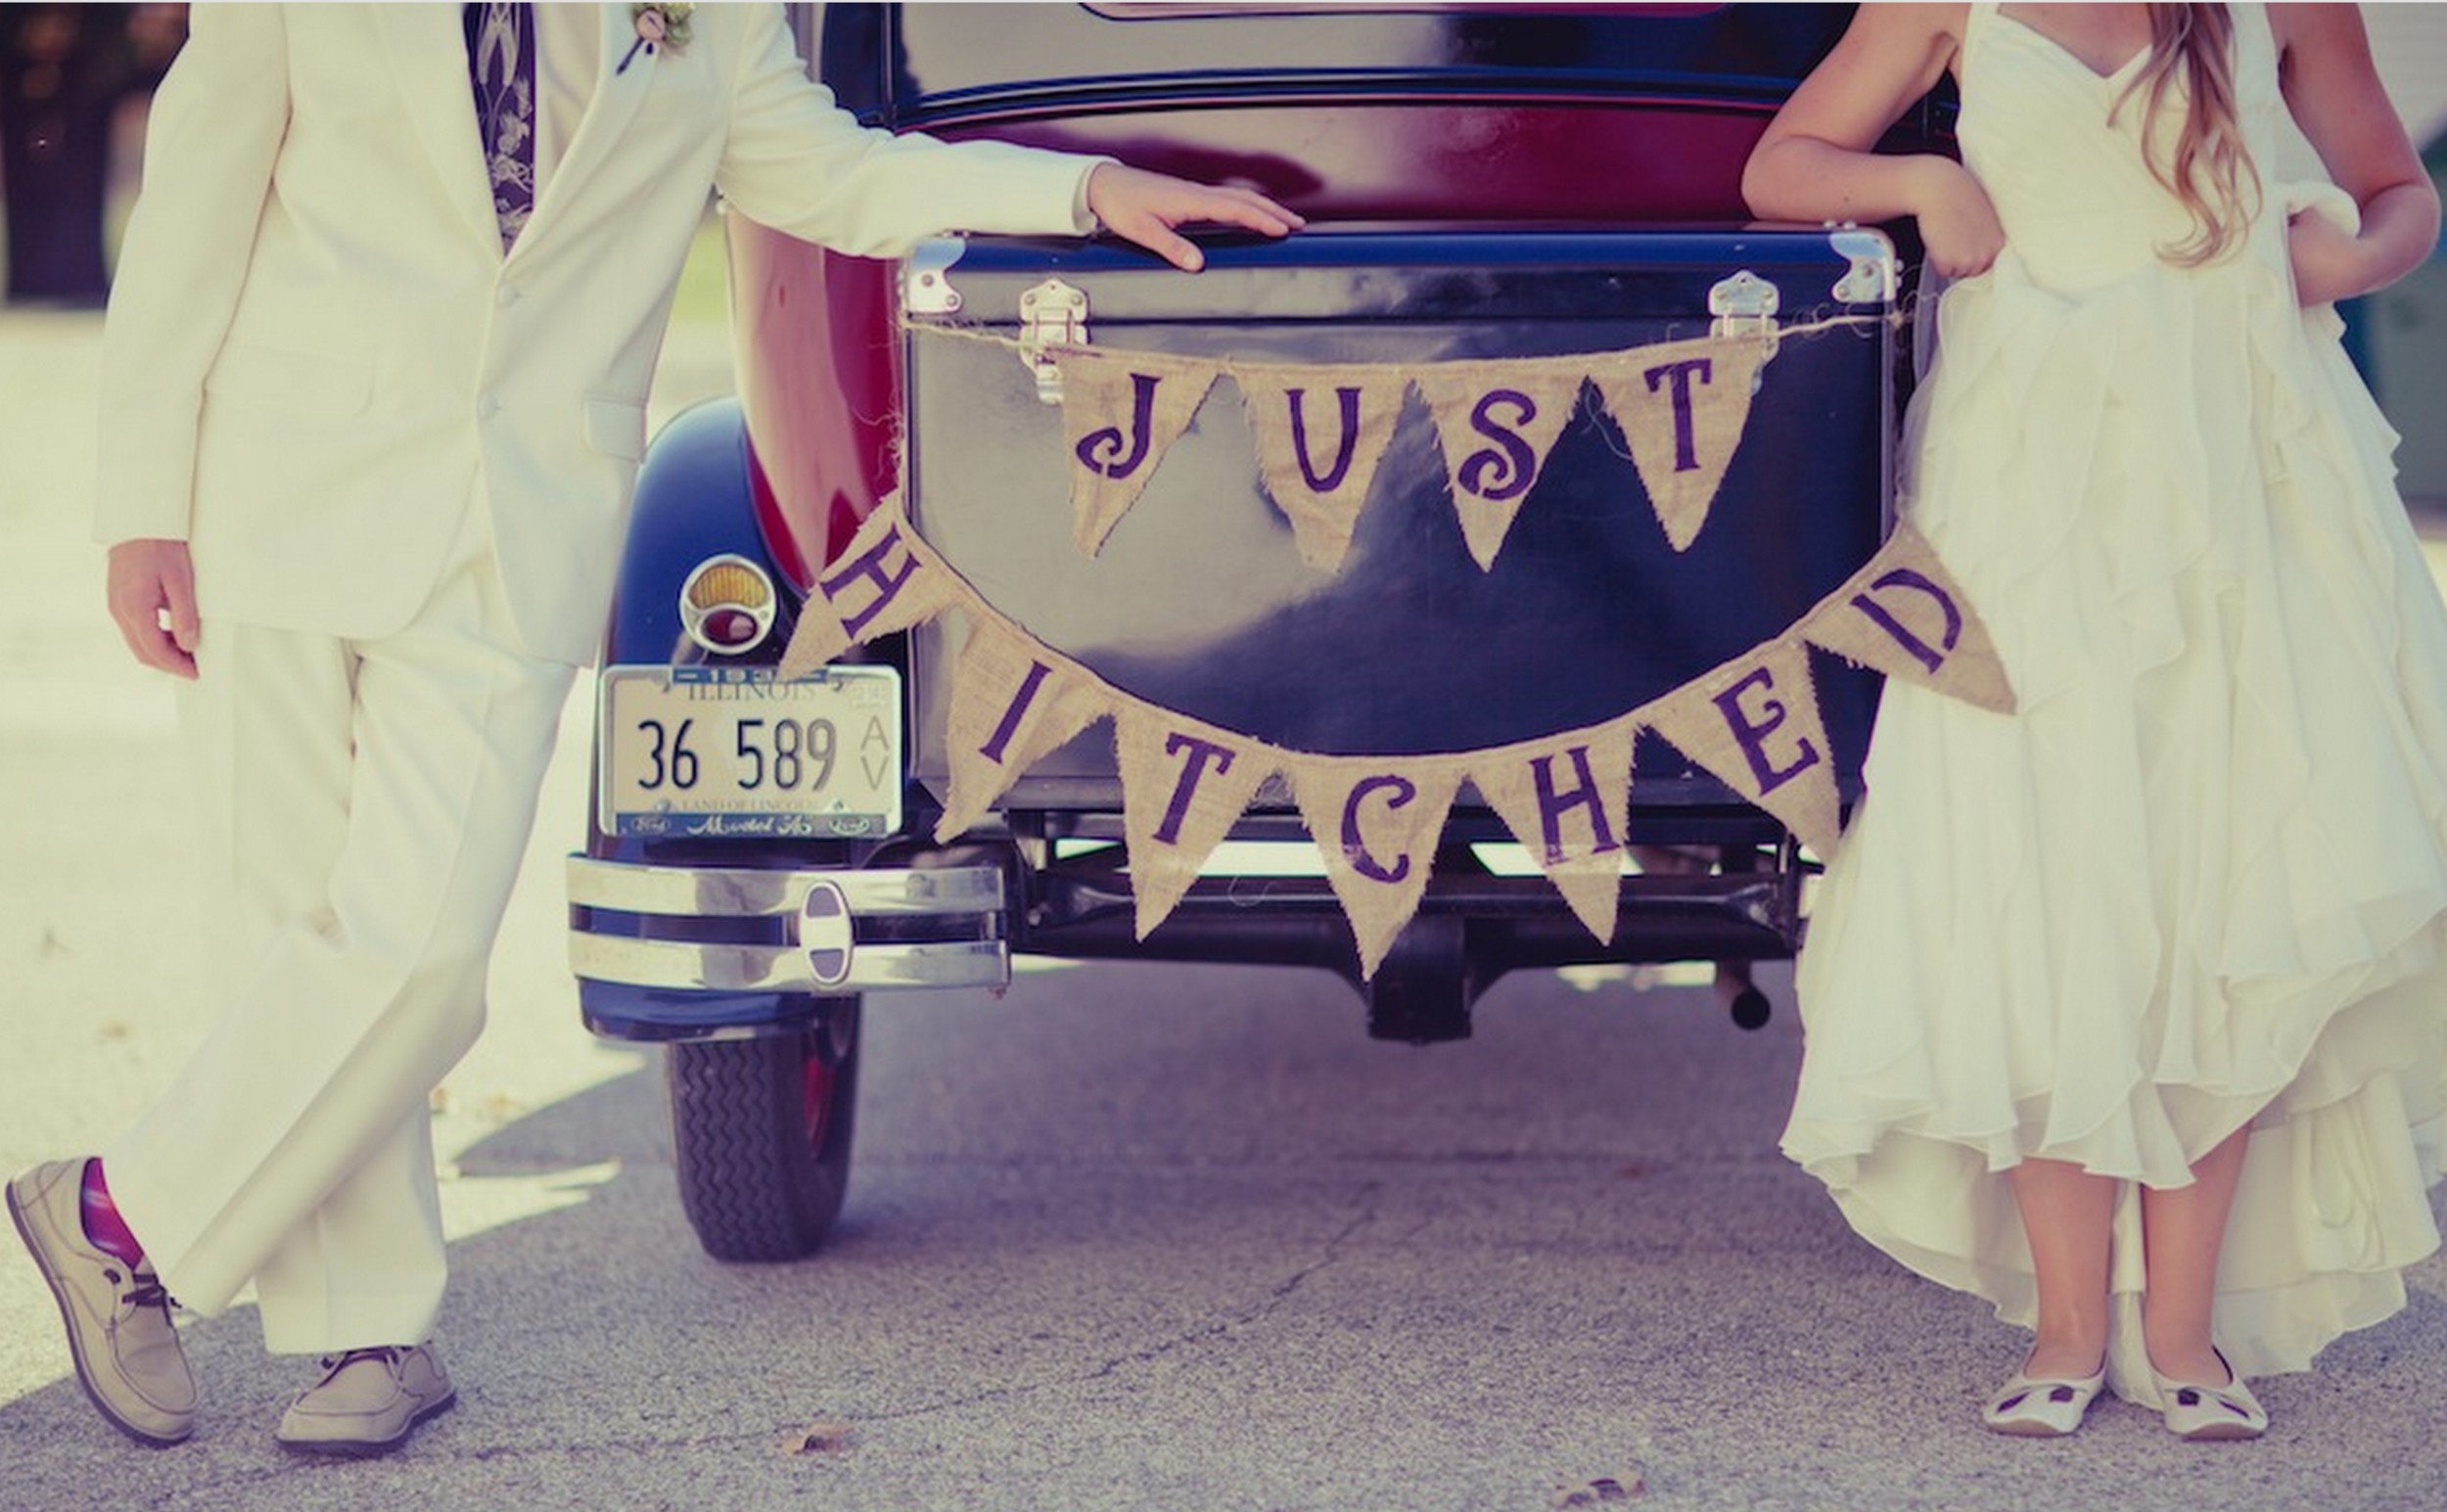
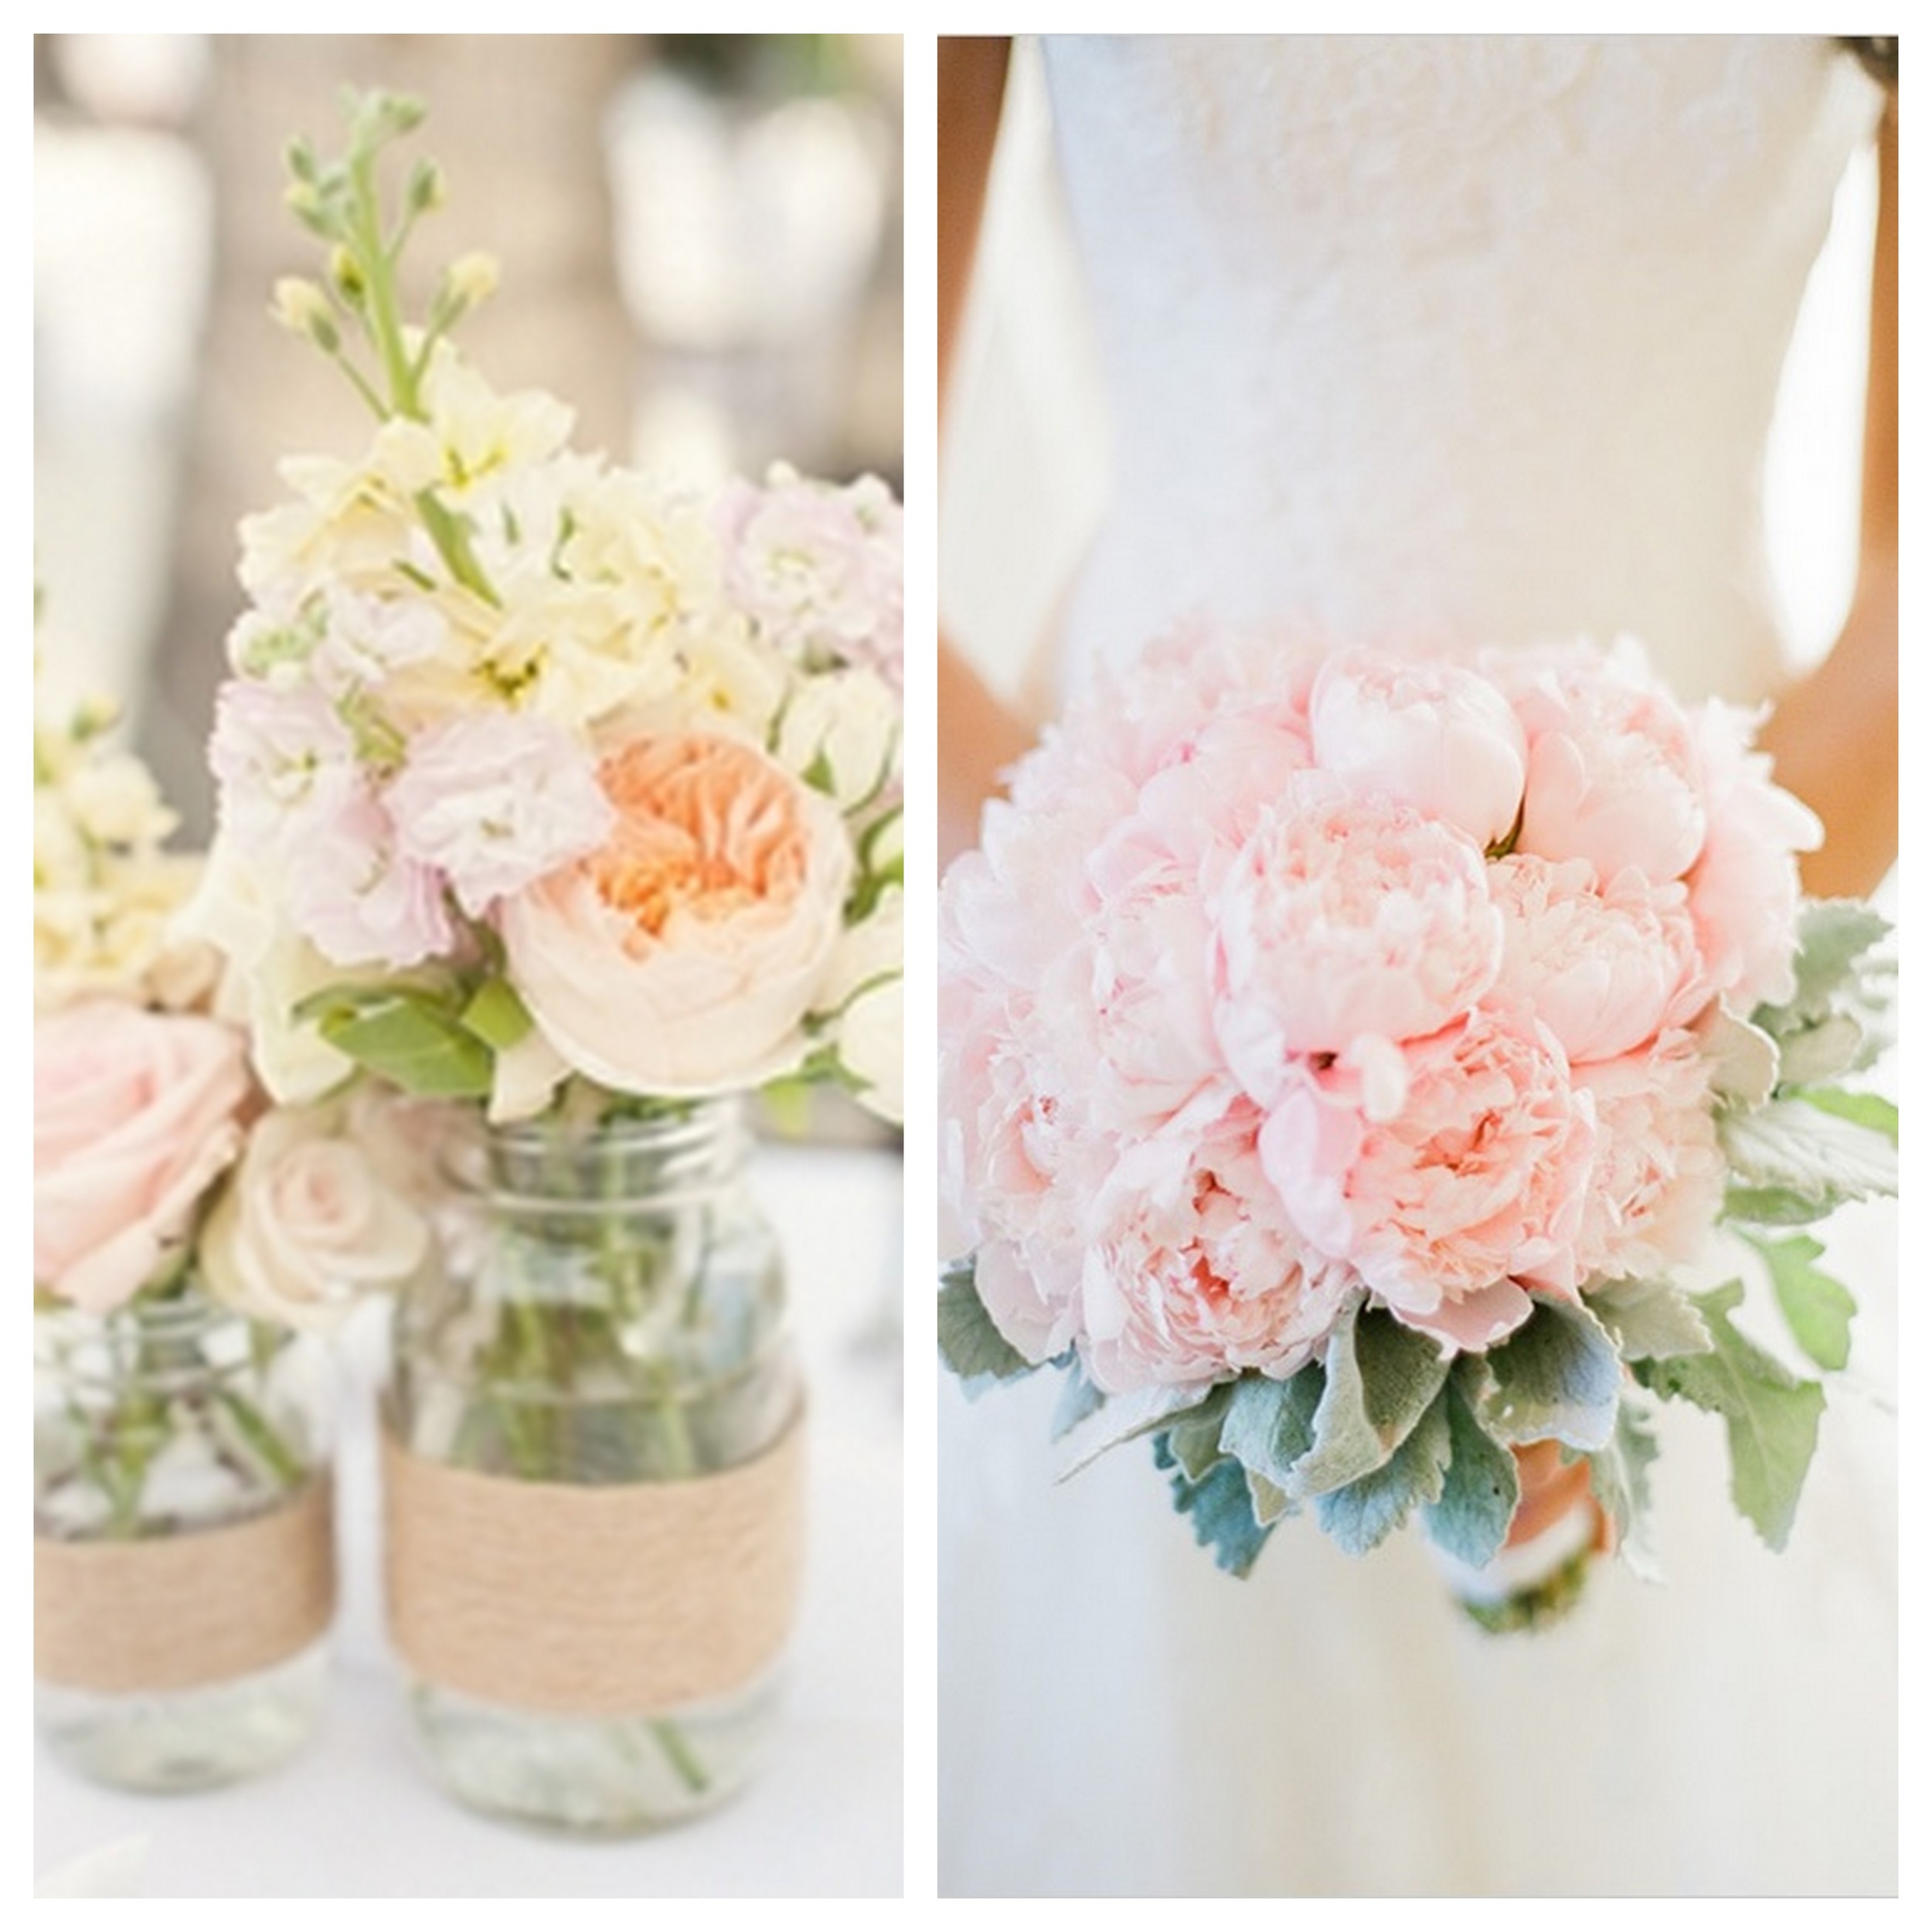
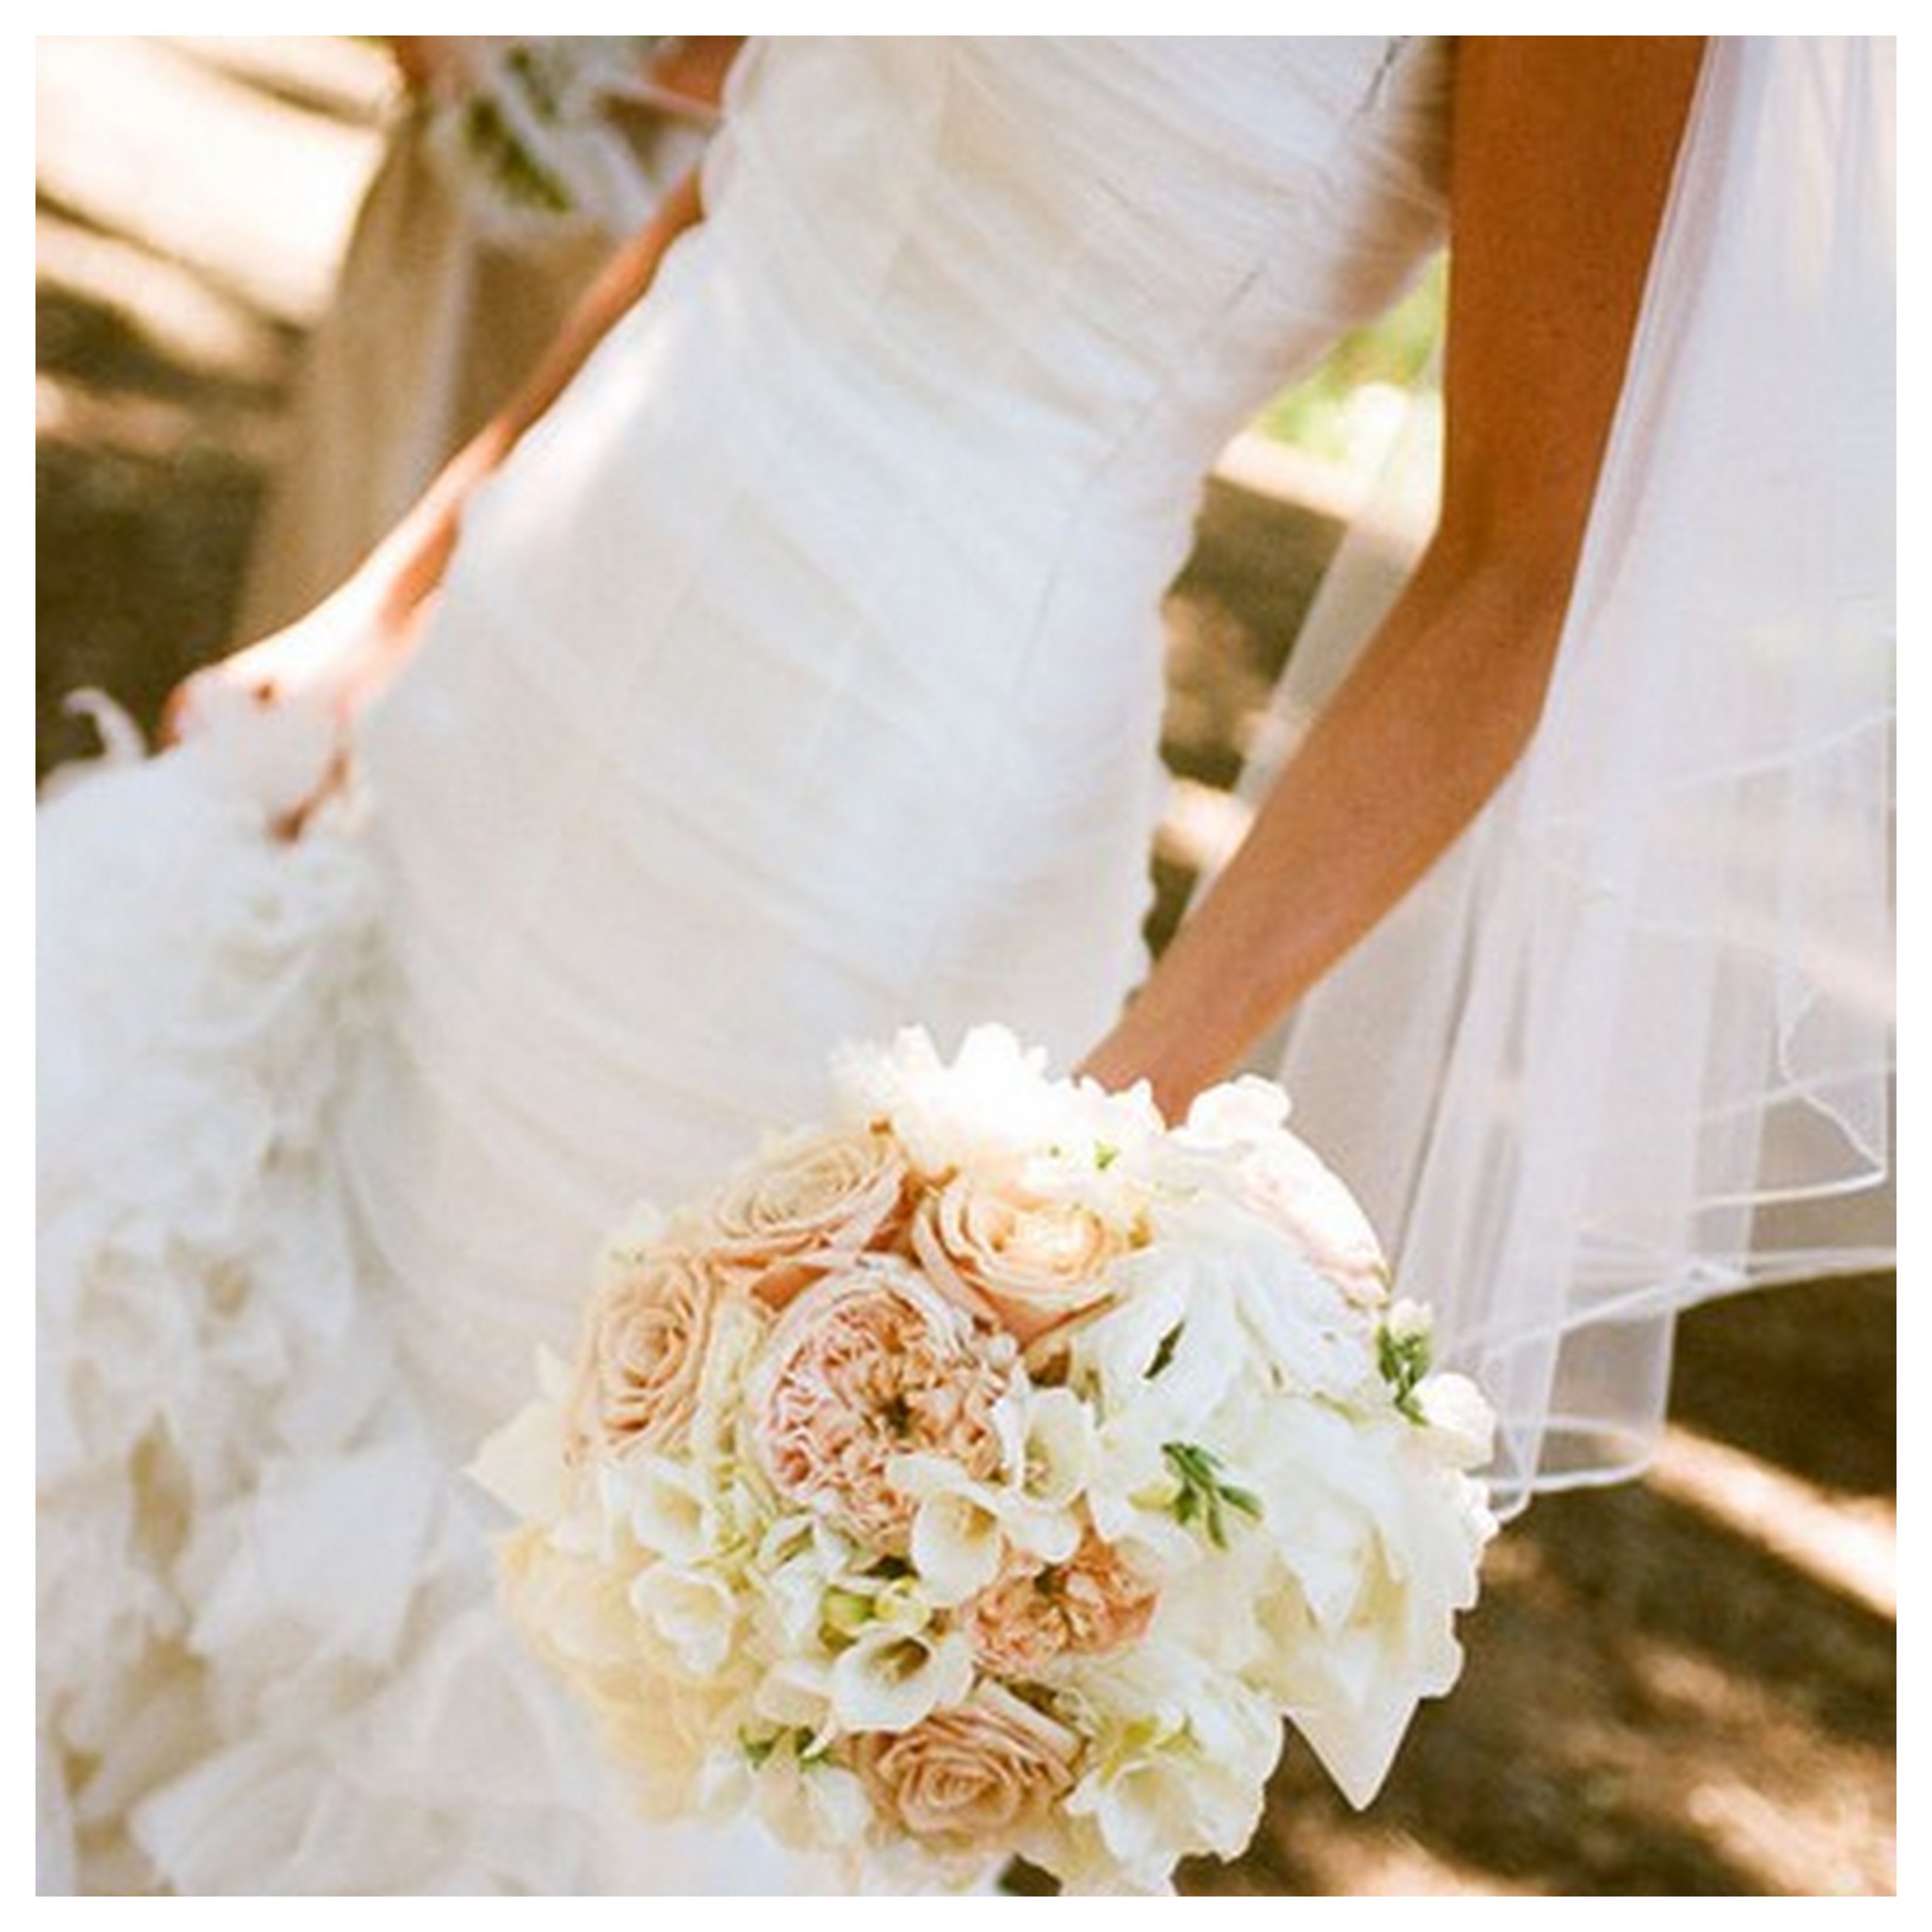
 Heather
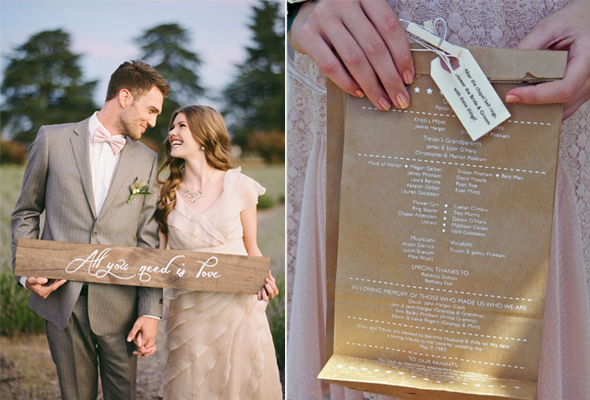


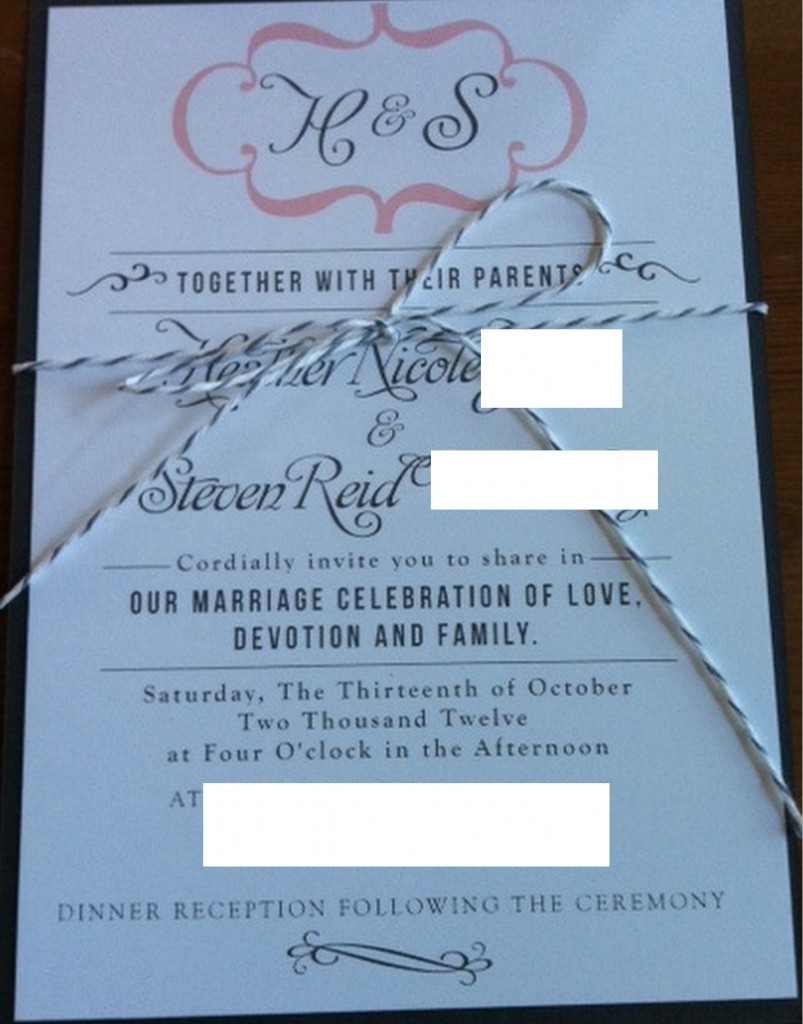
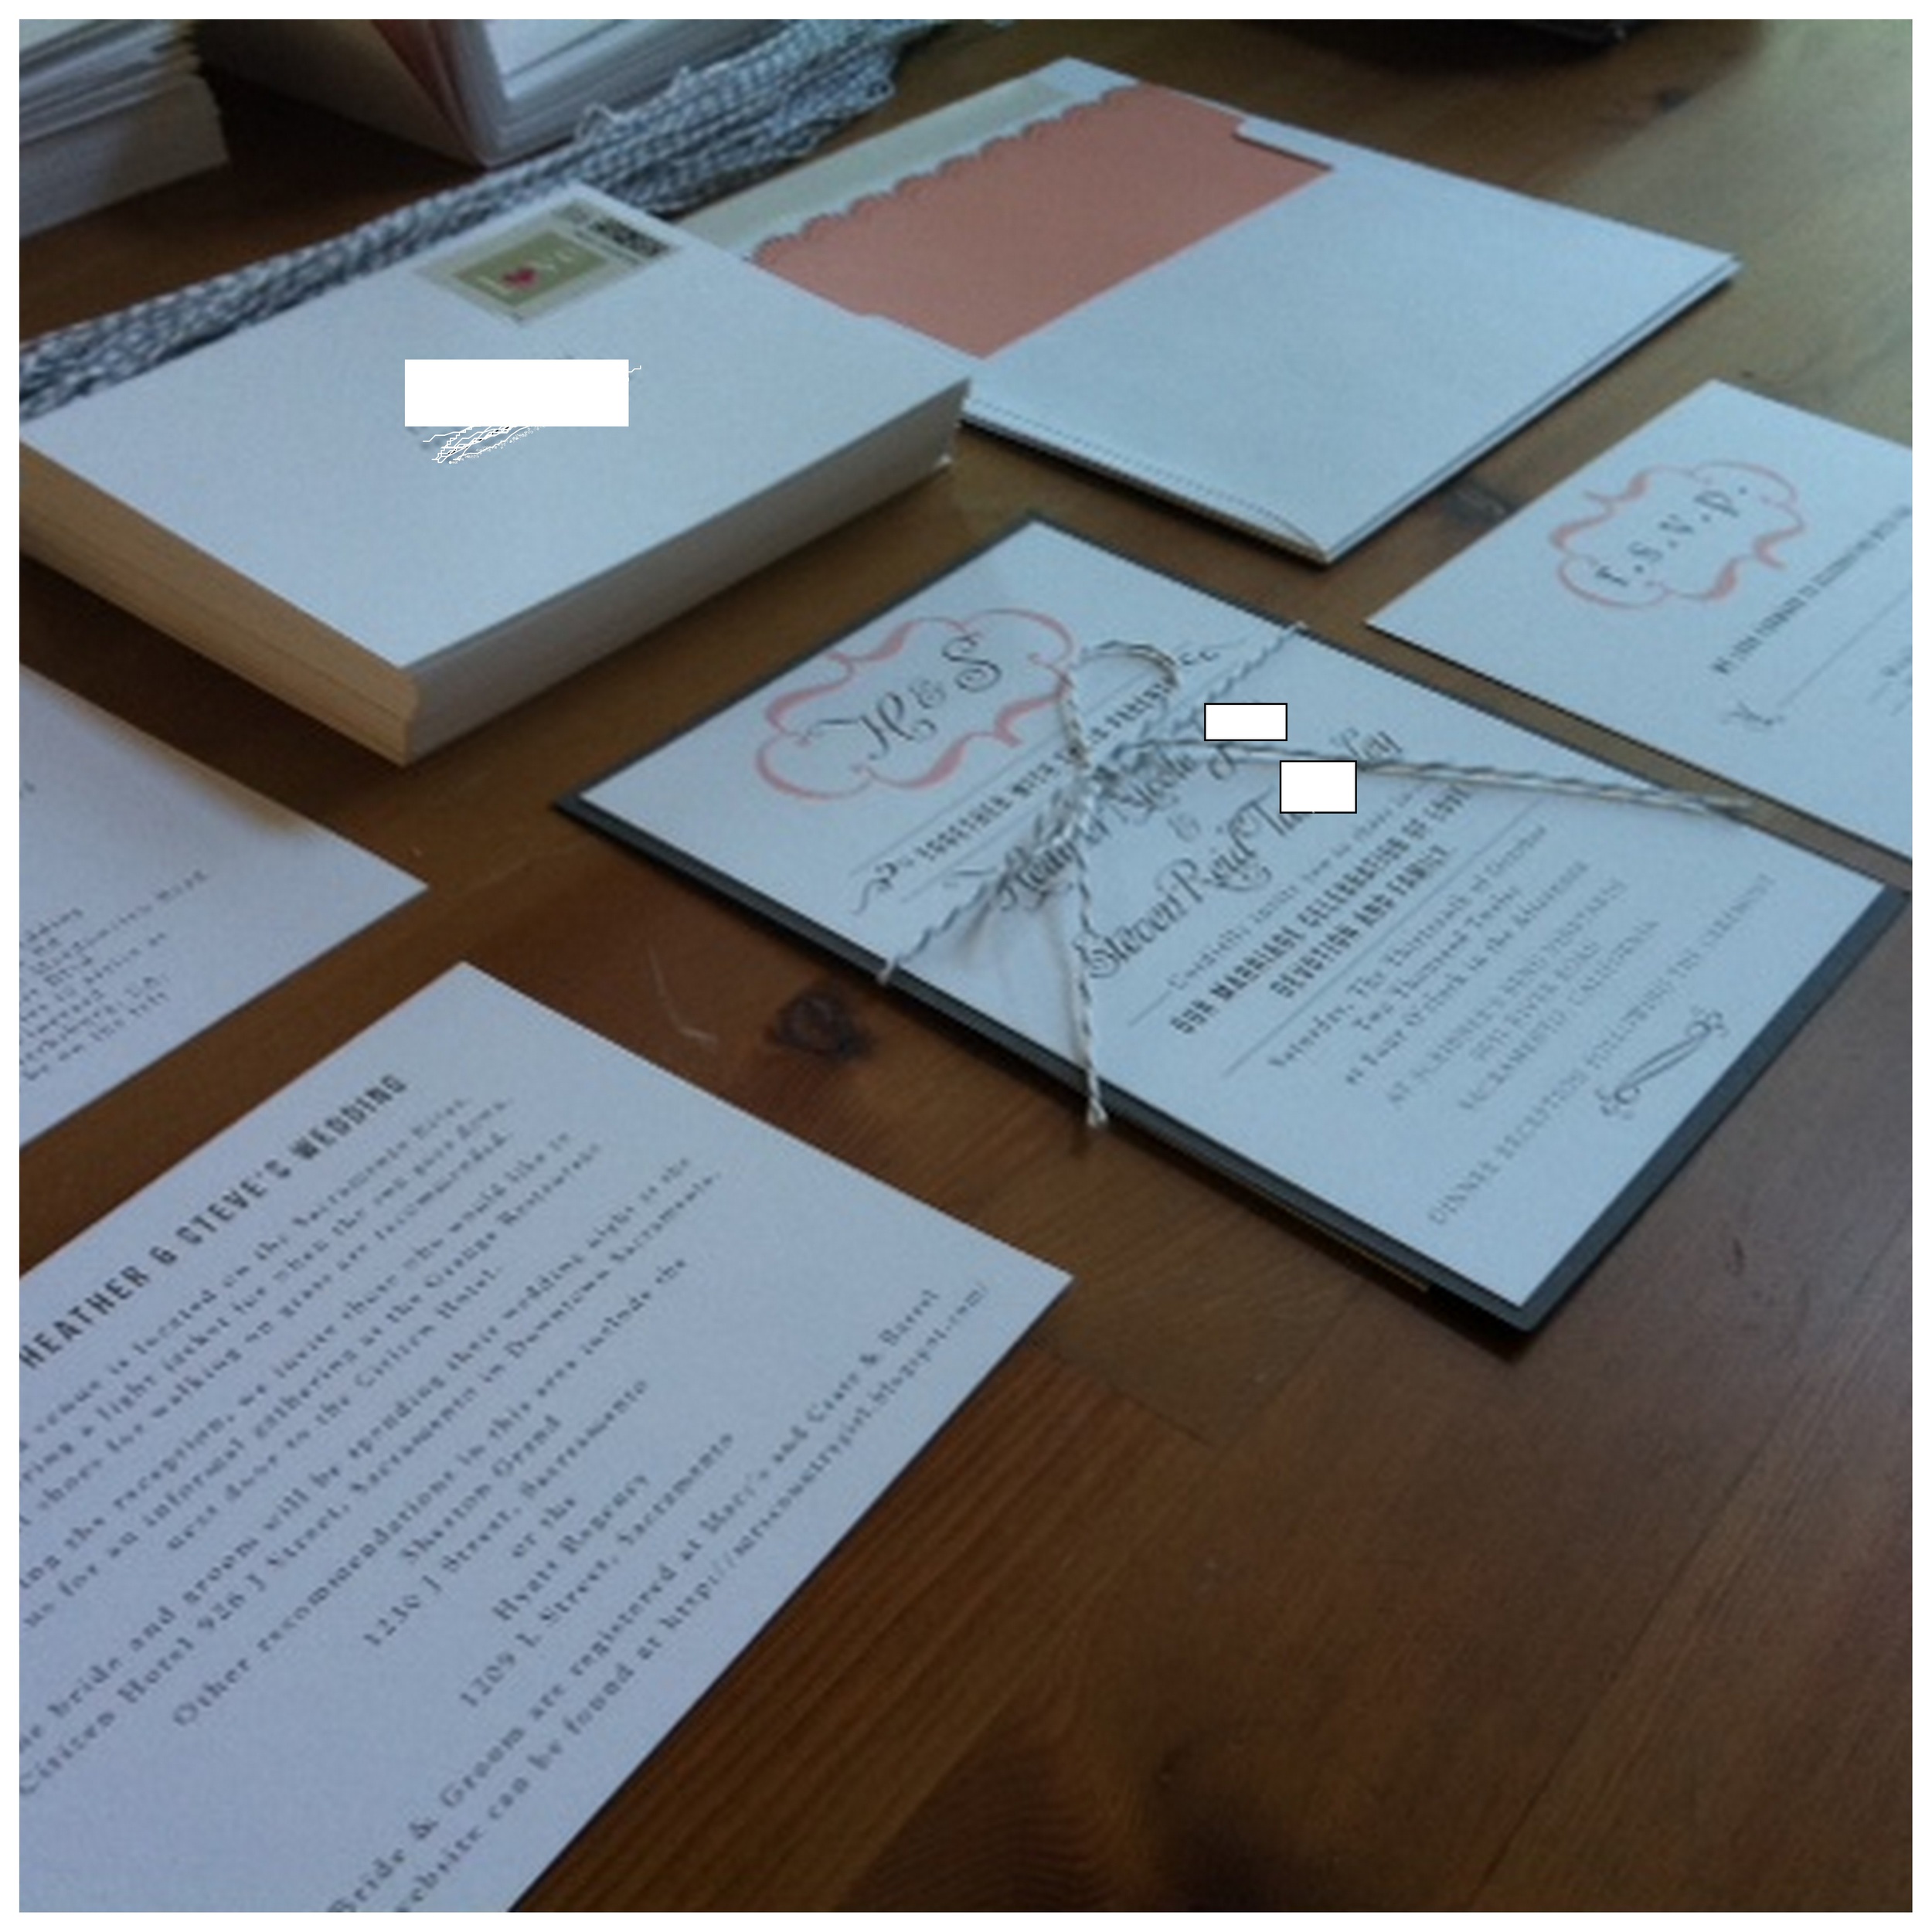
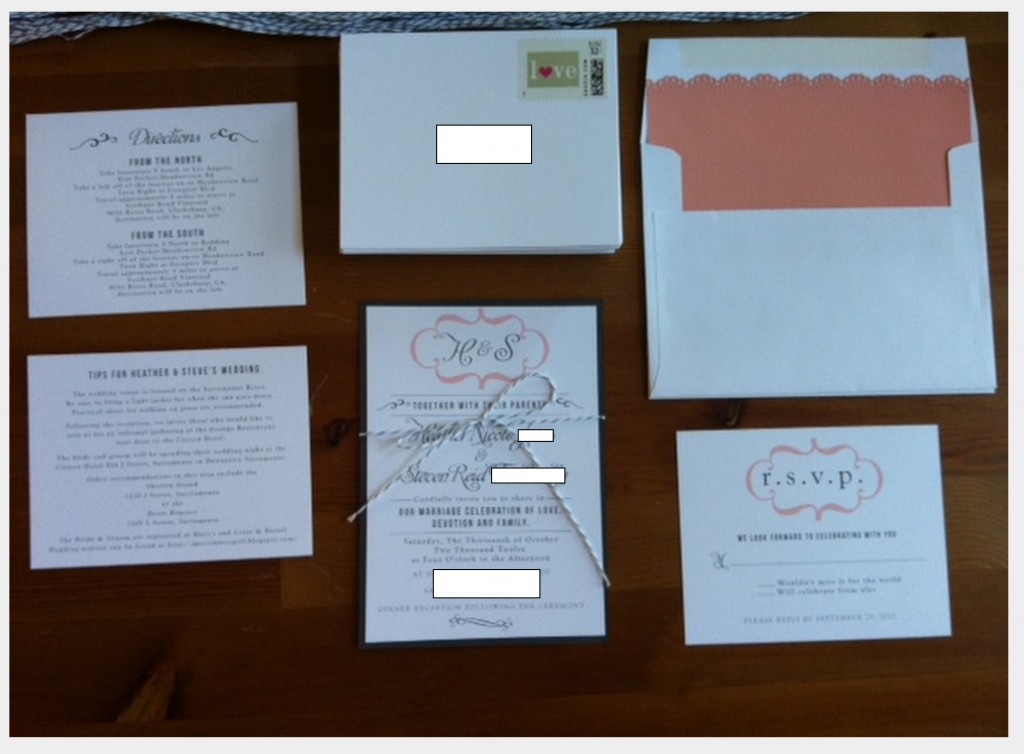 My biggest recommendation when it comes to invites is to not be afraid to do something different. Allow yourself plenty of time to create, edit and print your invites. Invites should go in the mail at 8-6 weeks before your wedding. We got our in just under the 6 week maker which was cutting it a little close. So what do you guys think?? Do you like the idea of a "tips" card to give your guest a few extra details?
 Source


 Source: