Back in July, I mentioned that my bridal shower was coming up and i was picking out dresses. It was so so wonderful and I thought I'd share with you guys some of the details that made it so special and give some ideas if you're looking to host a shower of your own.
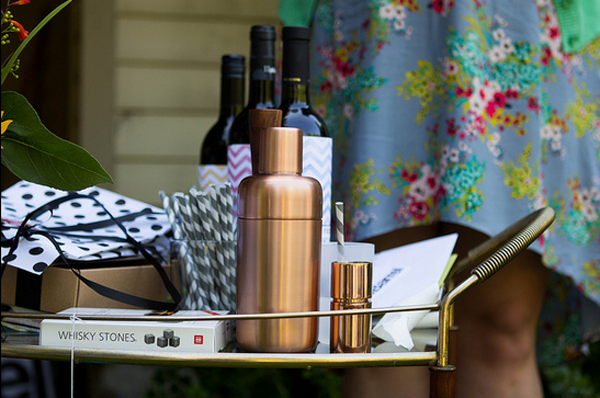
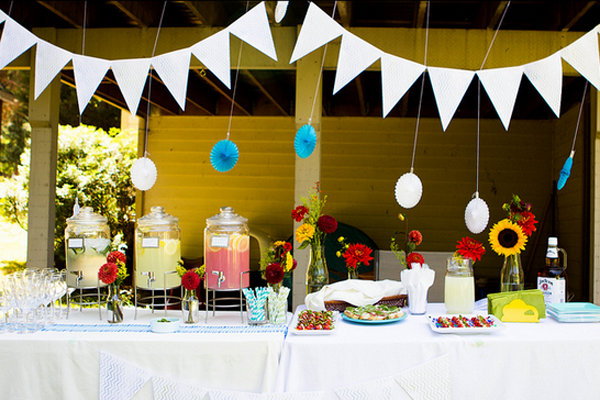
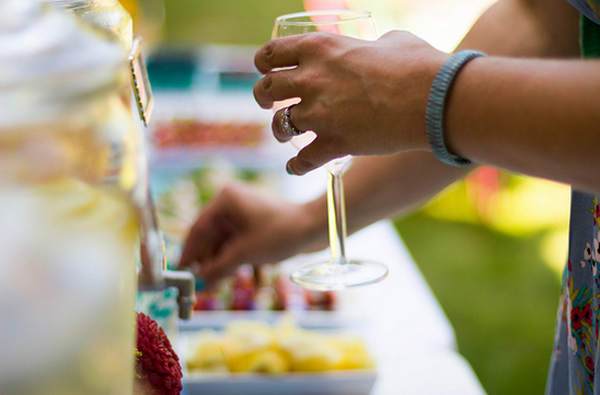
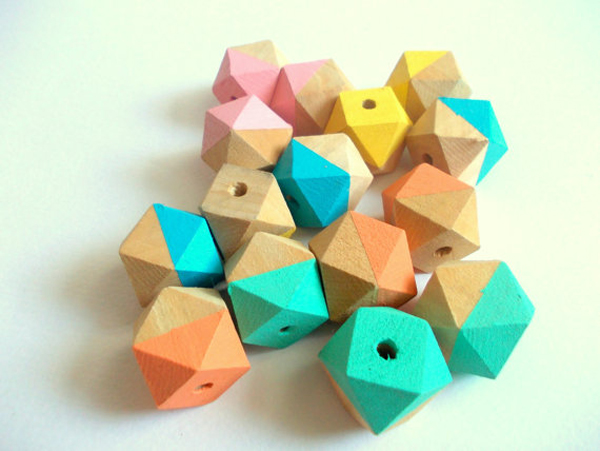
My bridesmaids asked me at the beginning of the summer if I wanted it to have a theme. I do think that its nice to have a bit of a theme to streamline the gift situation so that a smaller group of close women to you don't have to sift through your entire registry. Plus, we were still 8 months out from the wedding so Erik and I didn't really have a good handle on our registry yet. So I was talking to a friend of mine and she mentioned she had recently been to a "Build the Bar" shower and I thought that sounded like a great idea! Long ago Erik and I decided we wanted a nicely designed and well stocked bar in our future home so this was the perfect way to let our friends and family be a part of that tradition.
This week I wanted to just share some of the beautiful images that were captured by our talented friend Rebekah Gough that showcase the details of the day along with some links to the resources that my girls used. Next week I'm going to round up some amazing gift ideas based on what I received if you're looking for something to help someone prettify their home bar. Perfect as we approach the holidays!
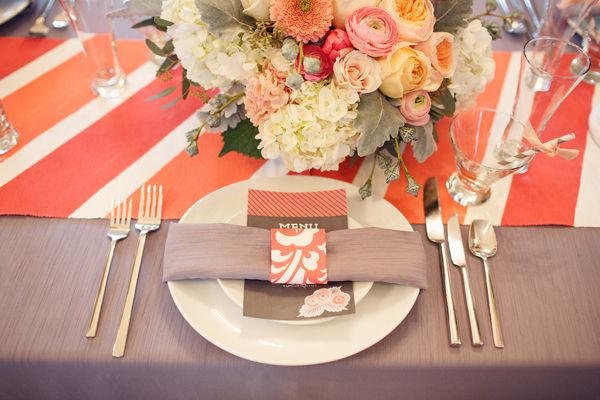
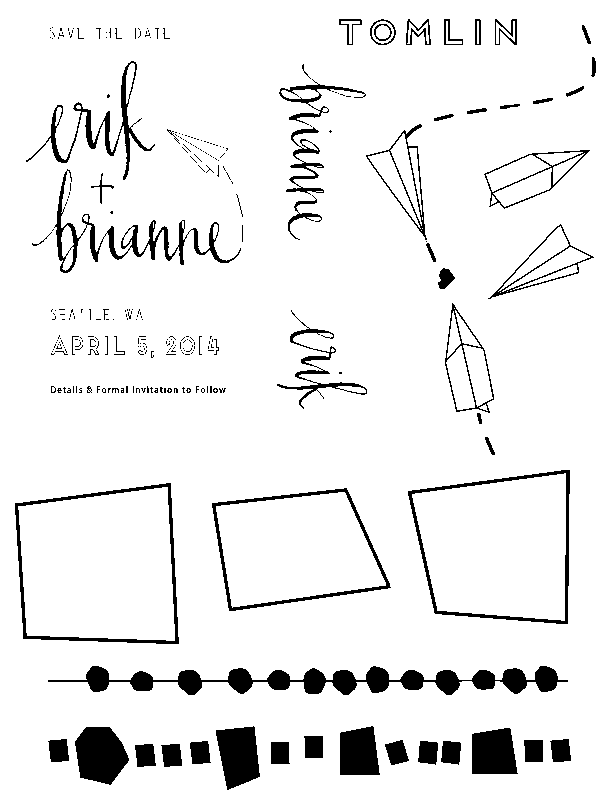
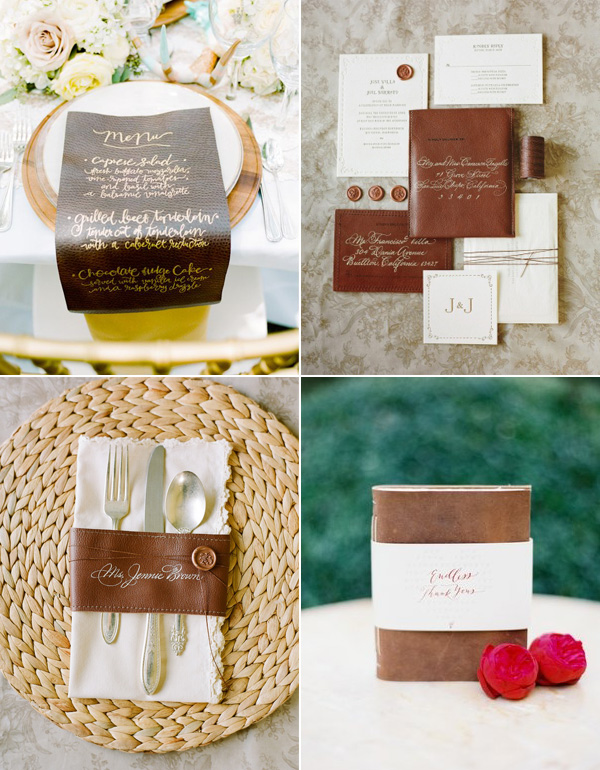
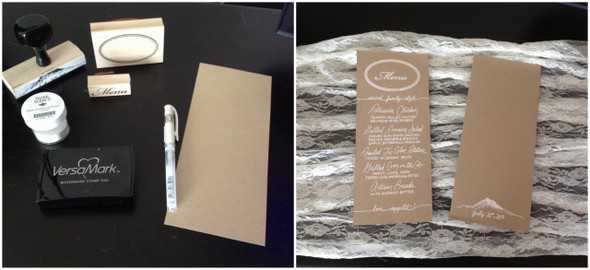
Danielle, my Maid of Honor, blogged about the invitations that Minted so generously provided here and here which gives you a pretty good idea of the tone of the party. Perfect colors for me and just that right touch of whimsey.
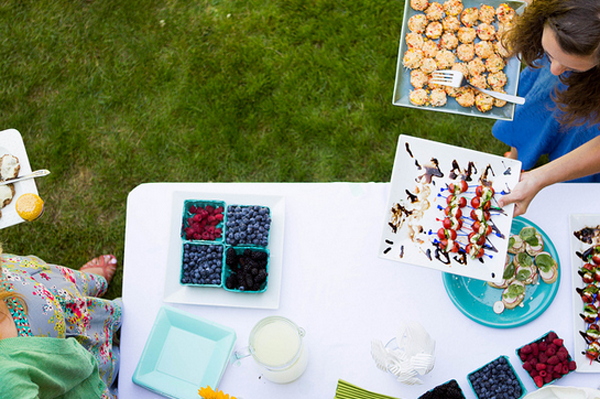
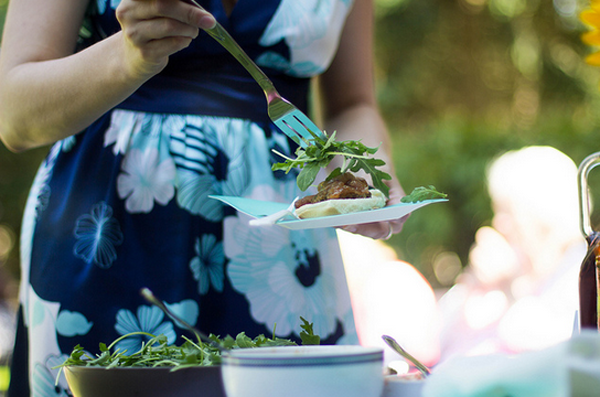
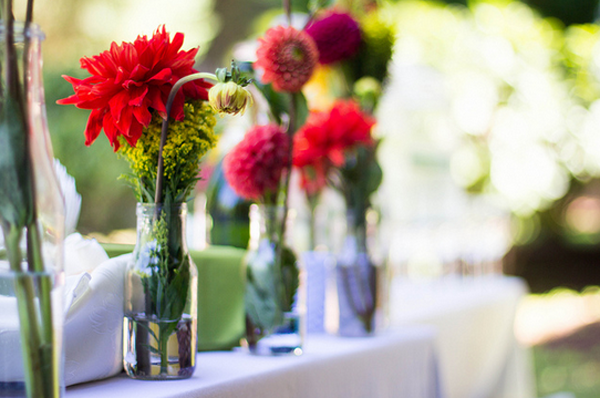
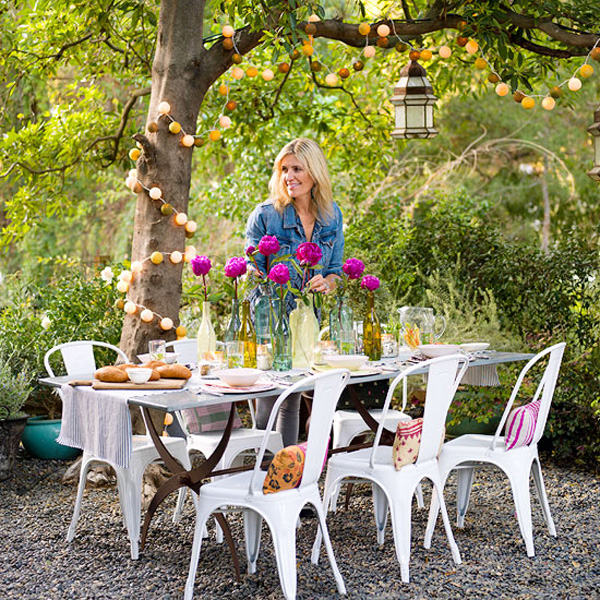
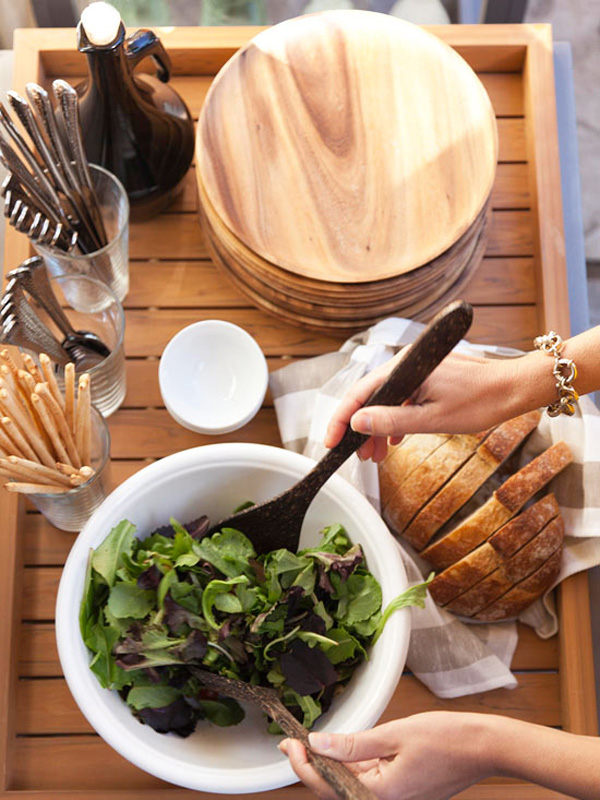
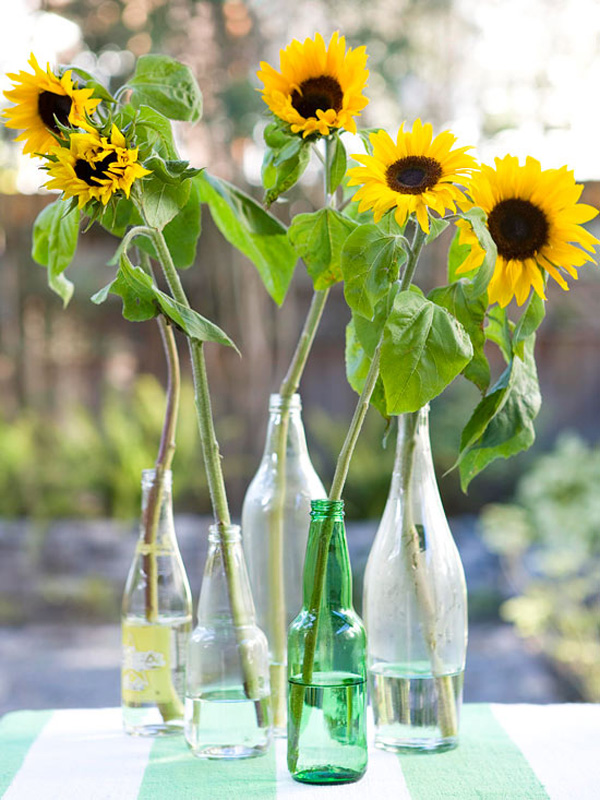
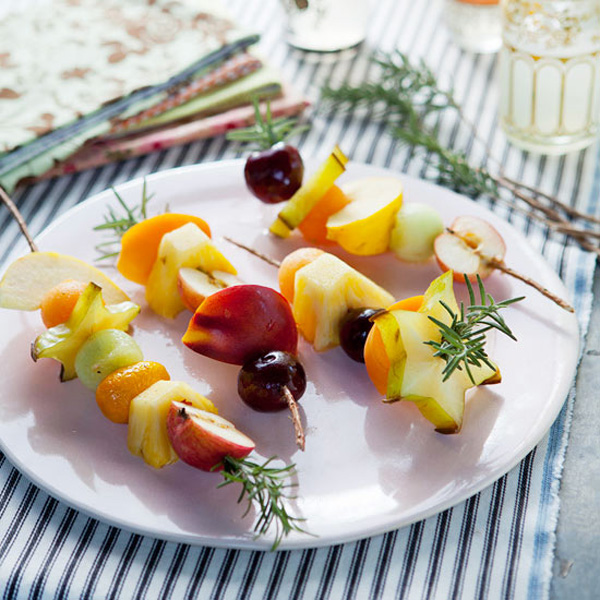
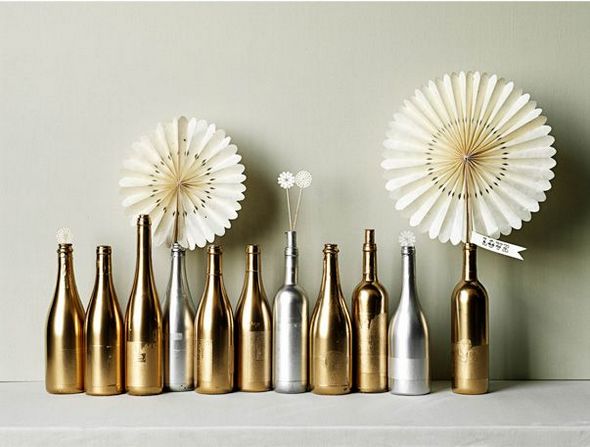
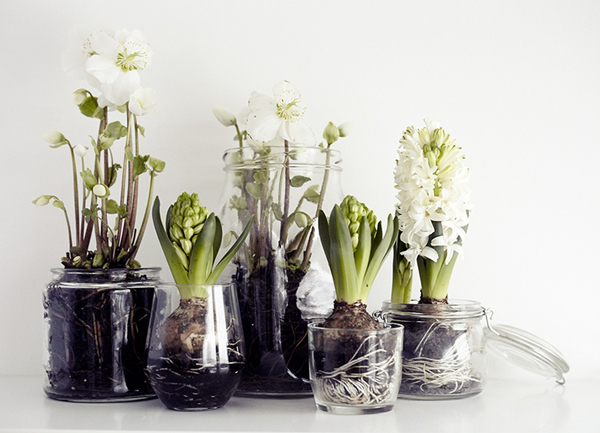
The girls decided to do small bite and cocktail pairings and they found an awesome book called Tiny Food Party that they used. They made sliders, crab cakes, and teeny tiny churros. So amazing! Danielle found milk bottles at Ikea that matched the invitations perfectly and filled them with flowers from our local farmers market.
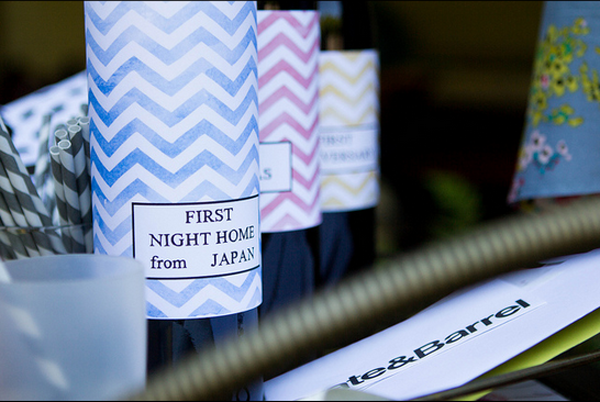
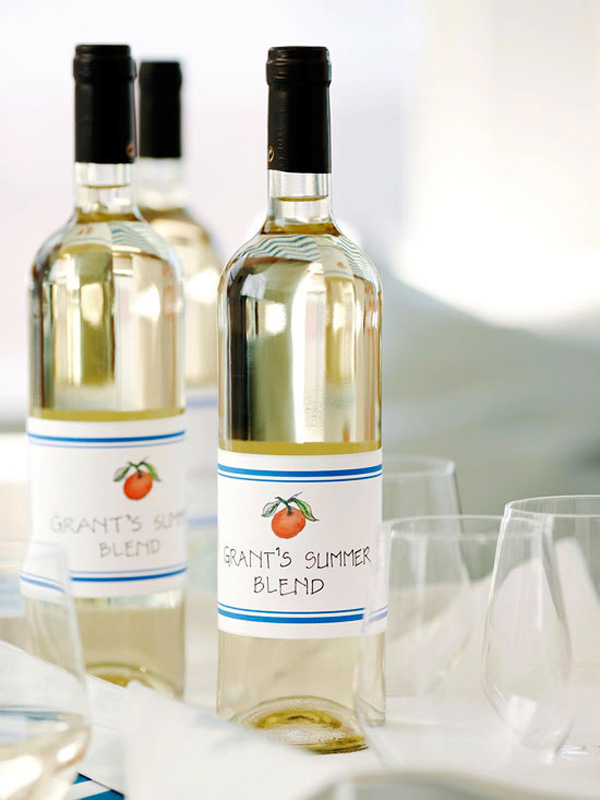
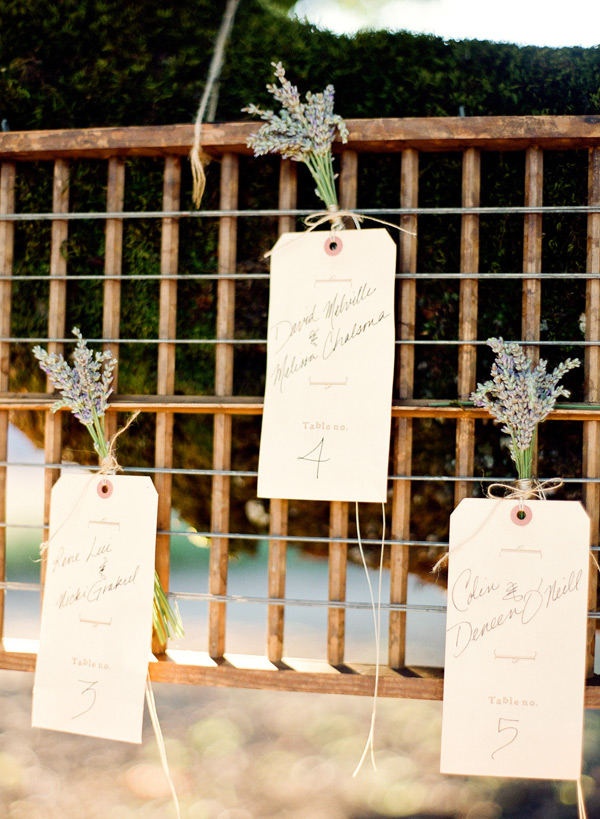
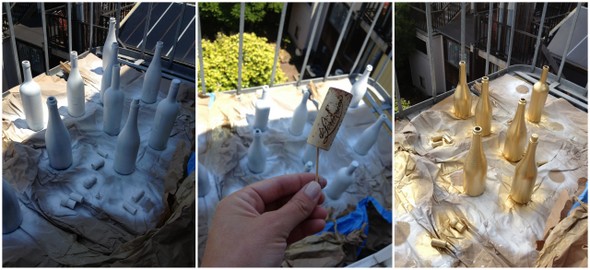
They also used this download from Jones Design Company to make labels for 3 bottles of wine: One for the night we get back from our honeymoon, one for our first christmas, and one for our first anniversary. Such a sweet idea - the gift that keeps on giving (well, for the first year, at least!)
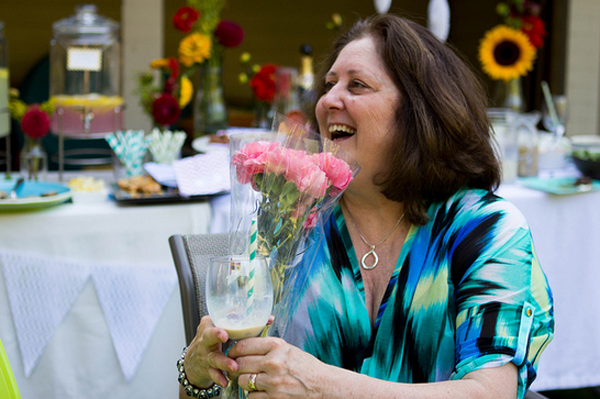
Oh, and my darling fiance stopped by the end of the party to bring flowers for the important ladies in his life (me, his mom, my mom). He's a keeper ;)
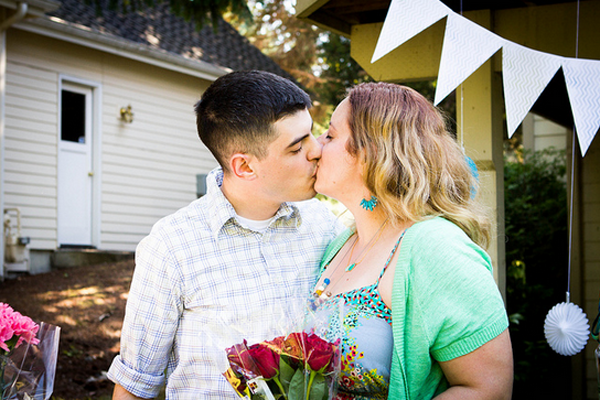
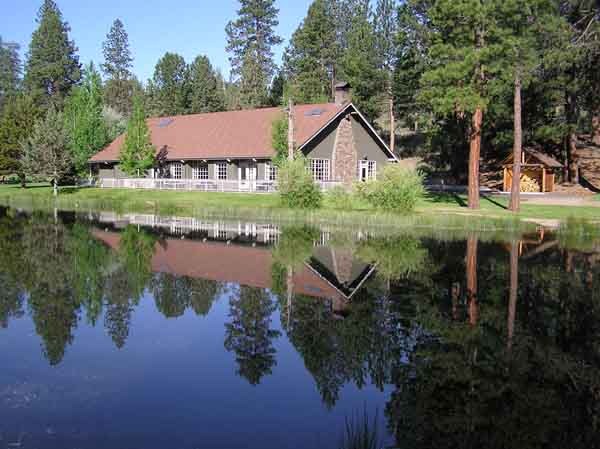
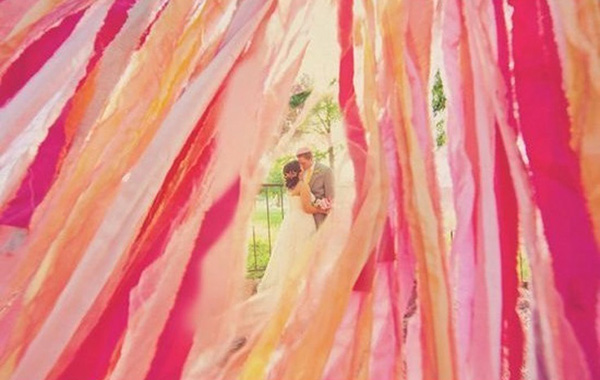
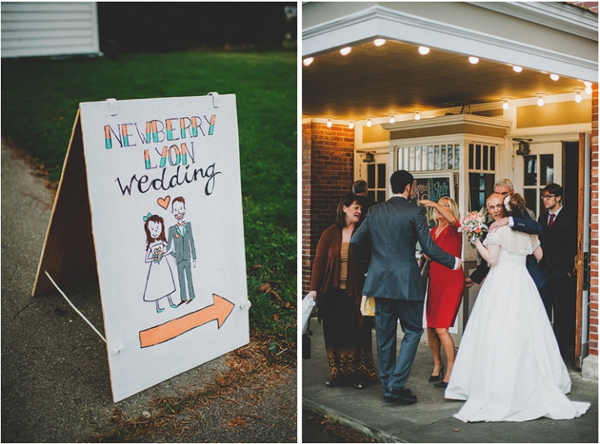
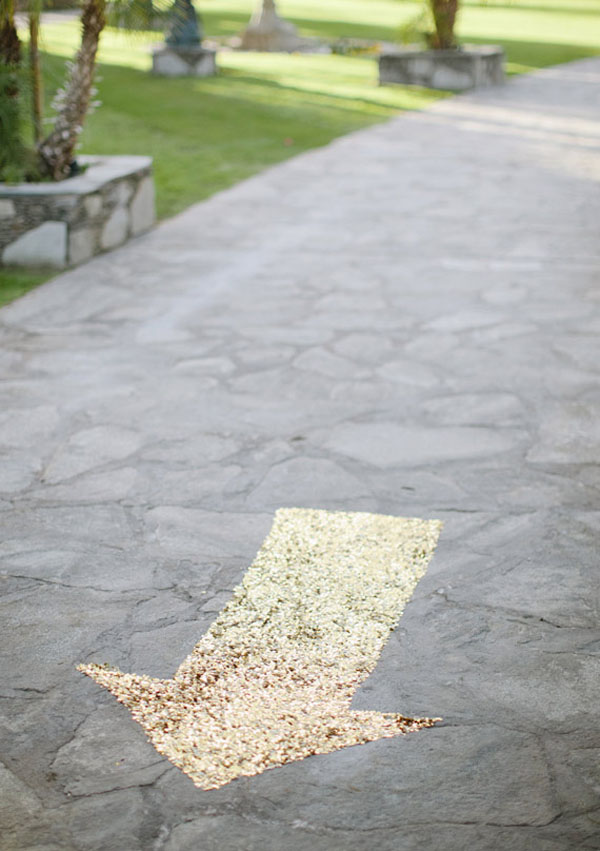
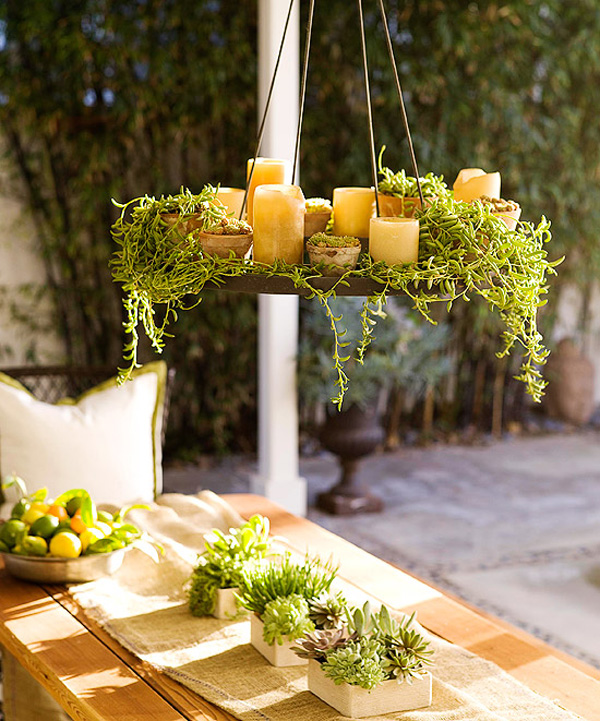
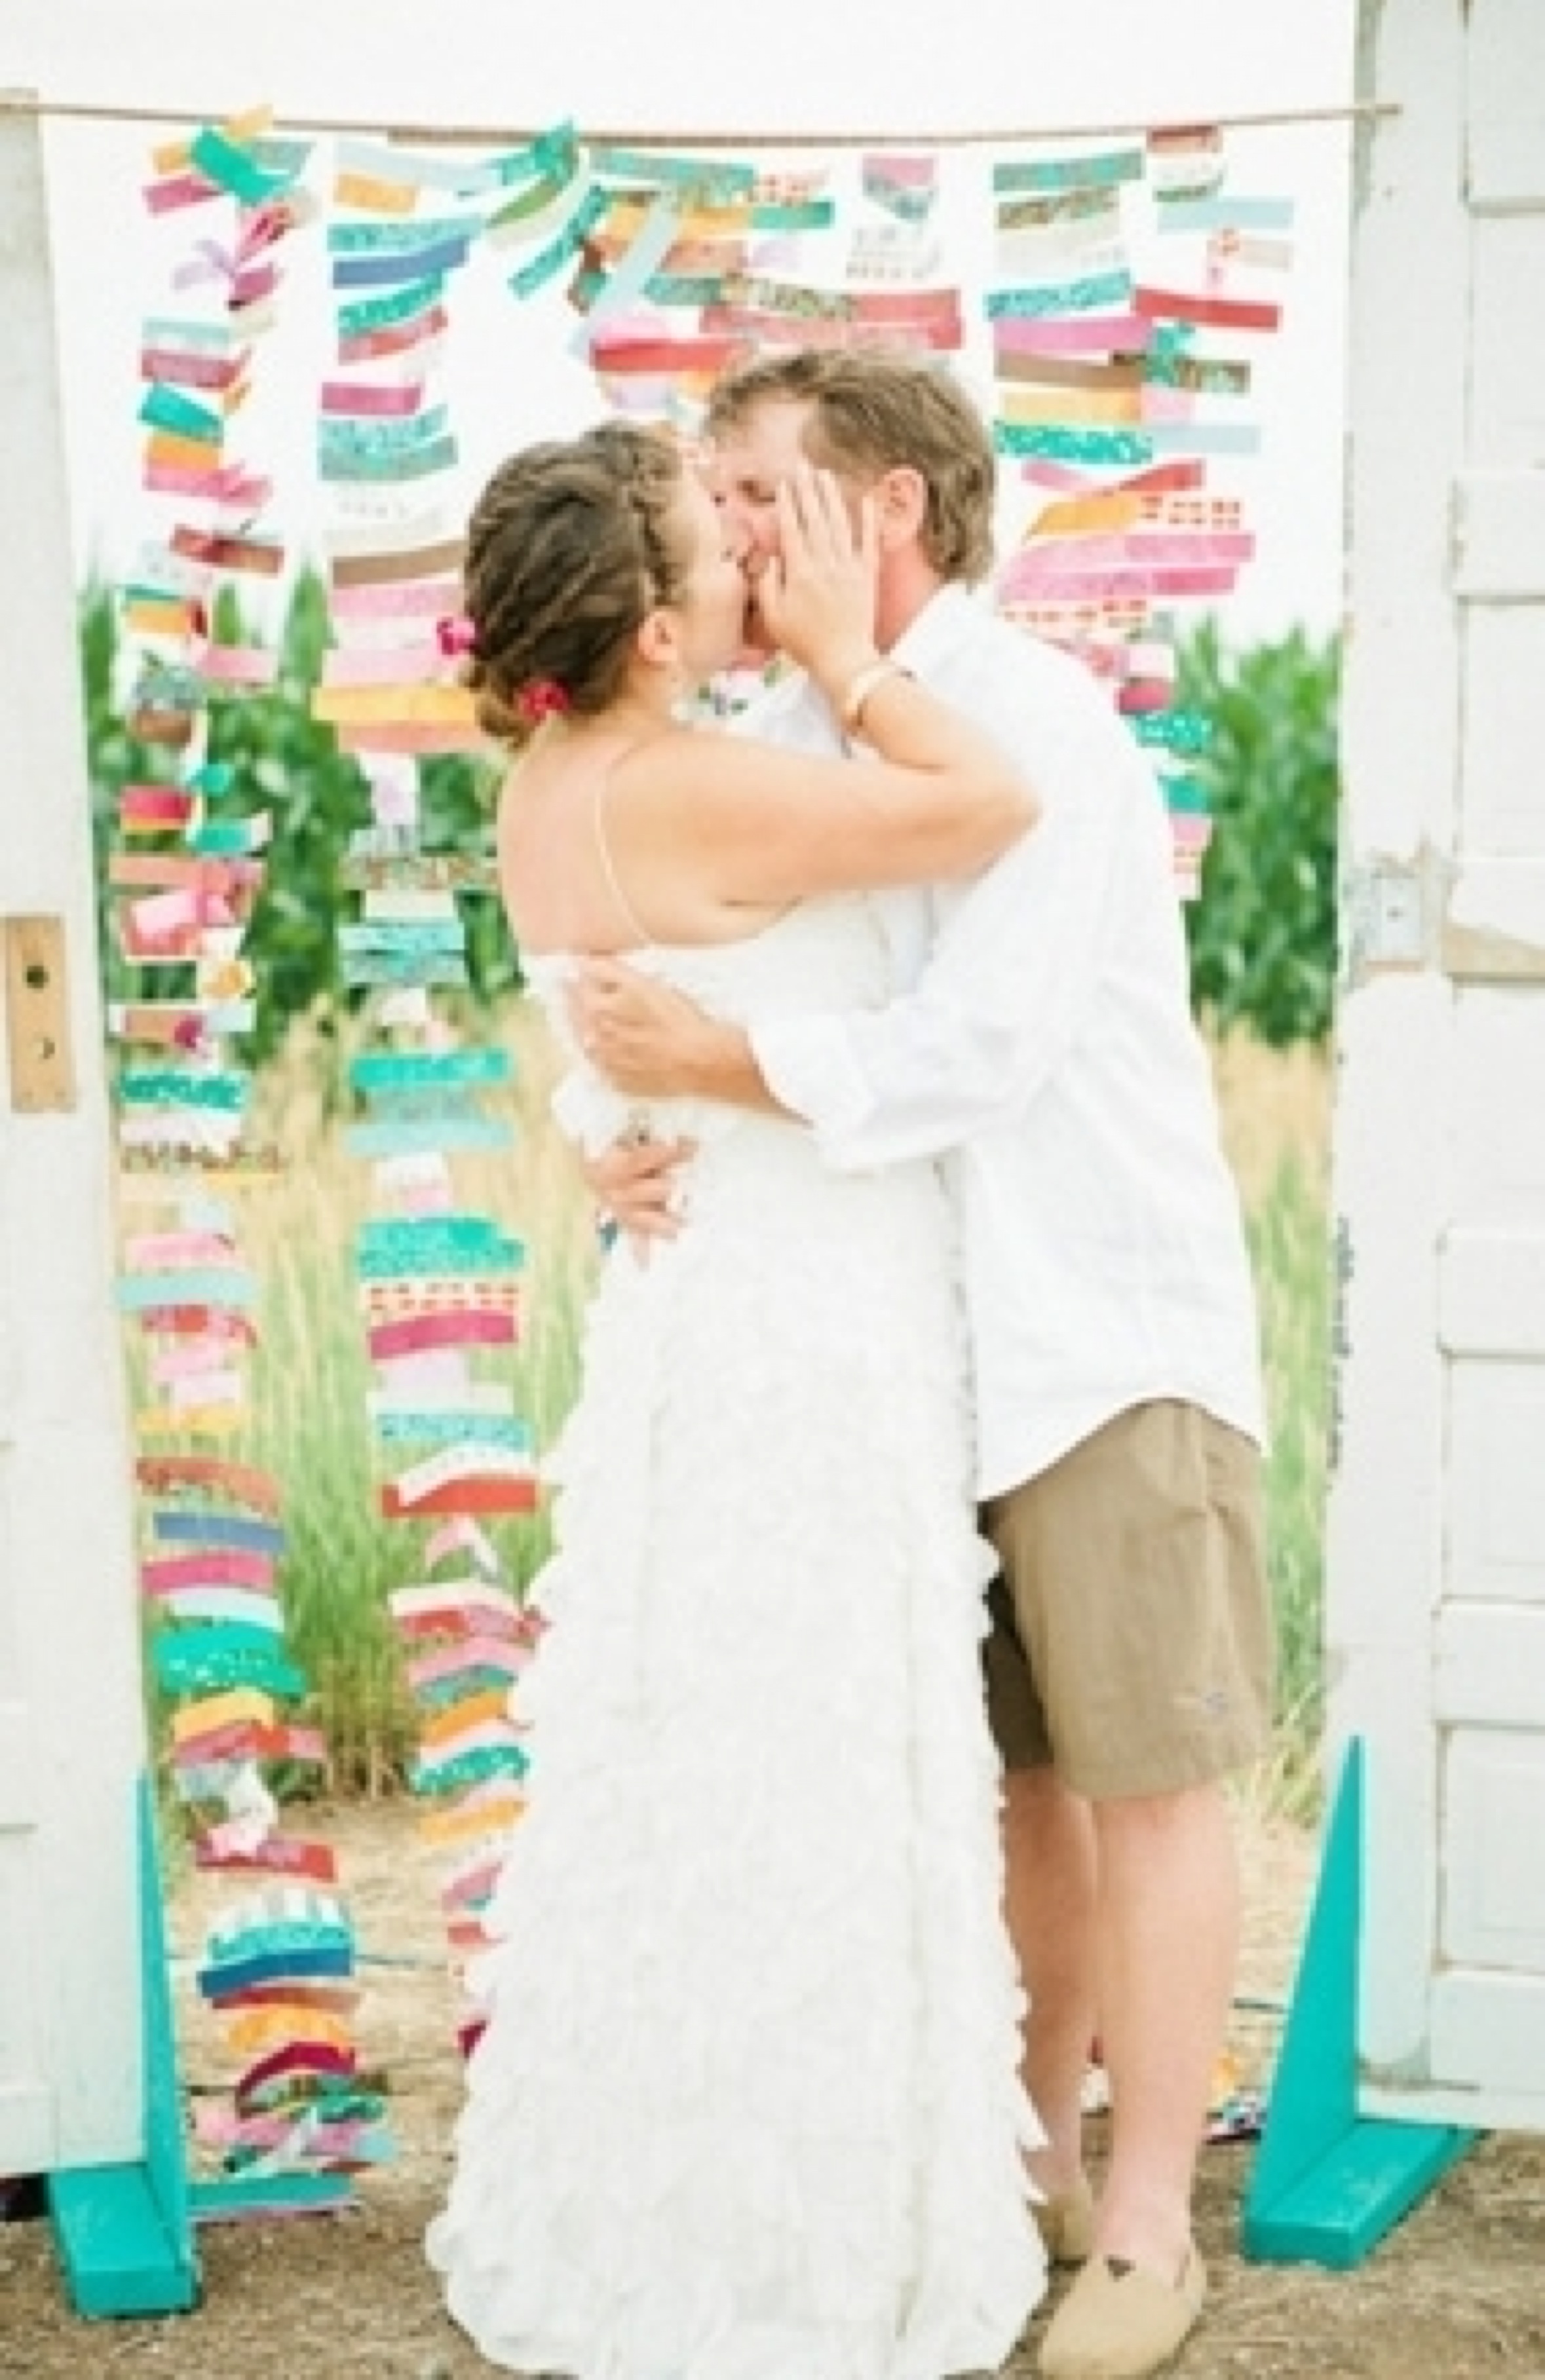
It was such a joyful day, and it really was nice to be able to capture that summer sun as part of our wedding festivities since everything else will be late winter/early spring.
Thanks to all my bridesmaids, friends, and family to helped make this day so special and to Rebekah Gough for the amazing photos.


 Source:
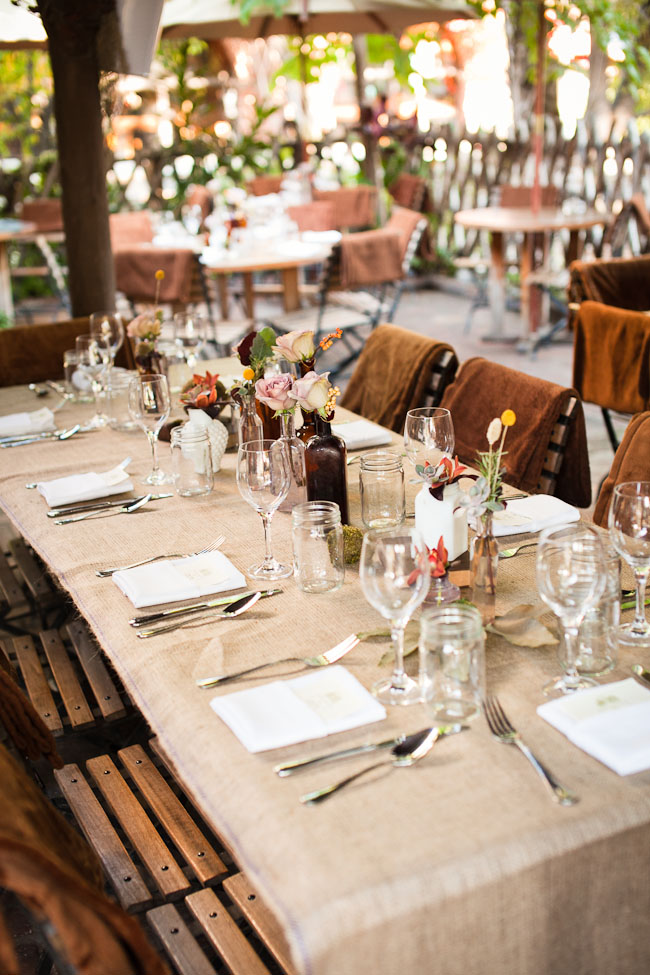

 Sources:
 Source:


